Google Pay gives your customers a fast, secure, and familiar way to check out with just a few taps. Instead of manually entering card and shipping details, shoppers can use their saved payment methods from Google Wallet to complete their purchase instantly.
By enabling Google Pay in your CartGenie checkout, you’ll reduce friction, increase trust, and make it easier for mobile and desktop customers alike to finalize their orders.
This guide will walk you through the requirements for enabling Google Pay, how to turn it on inside your CartGenie settings, and how to test the integration to make sure everything runs smoothly.

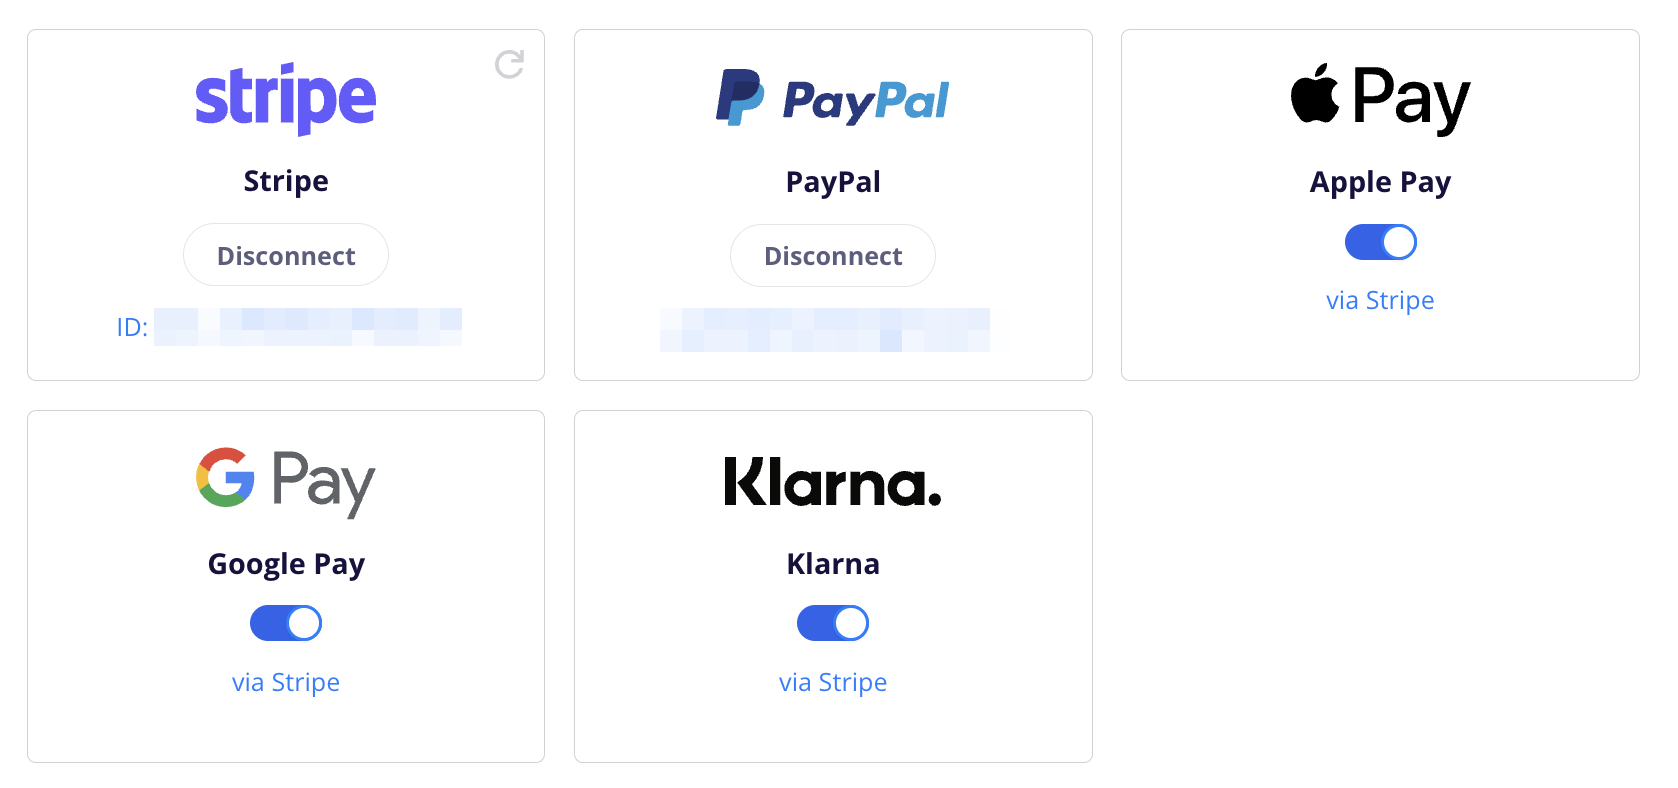
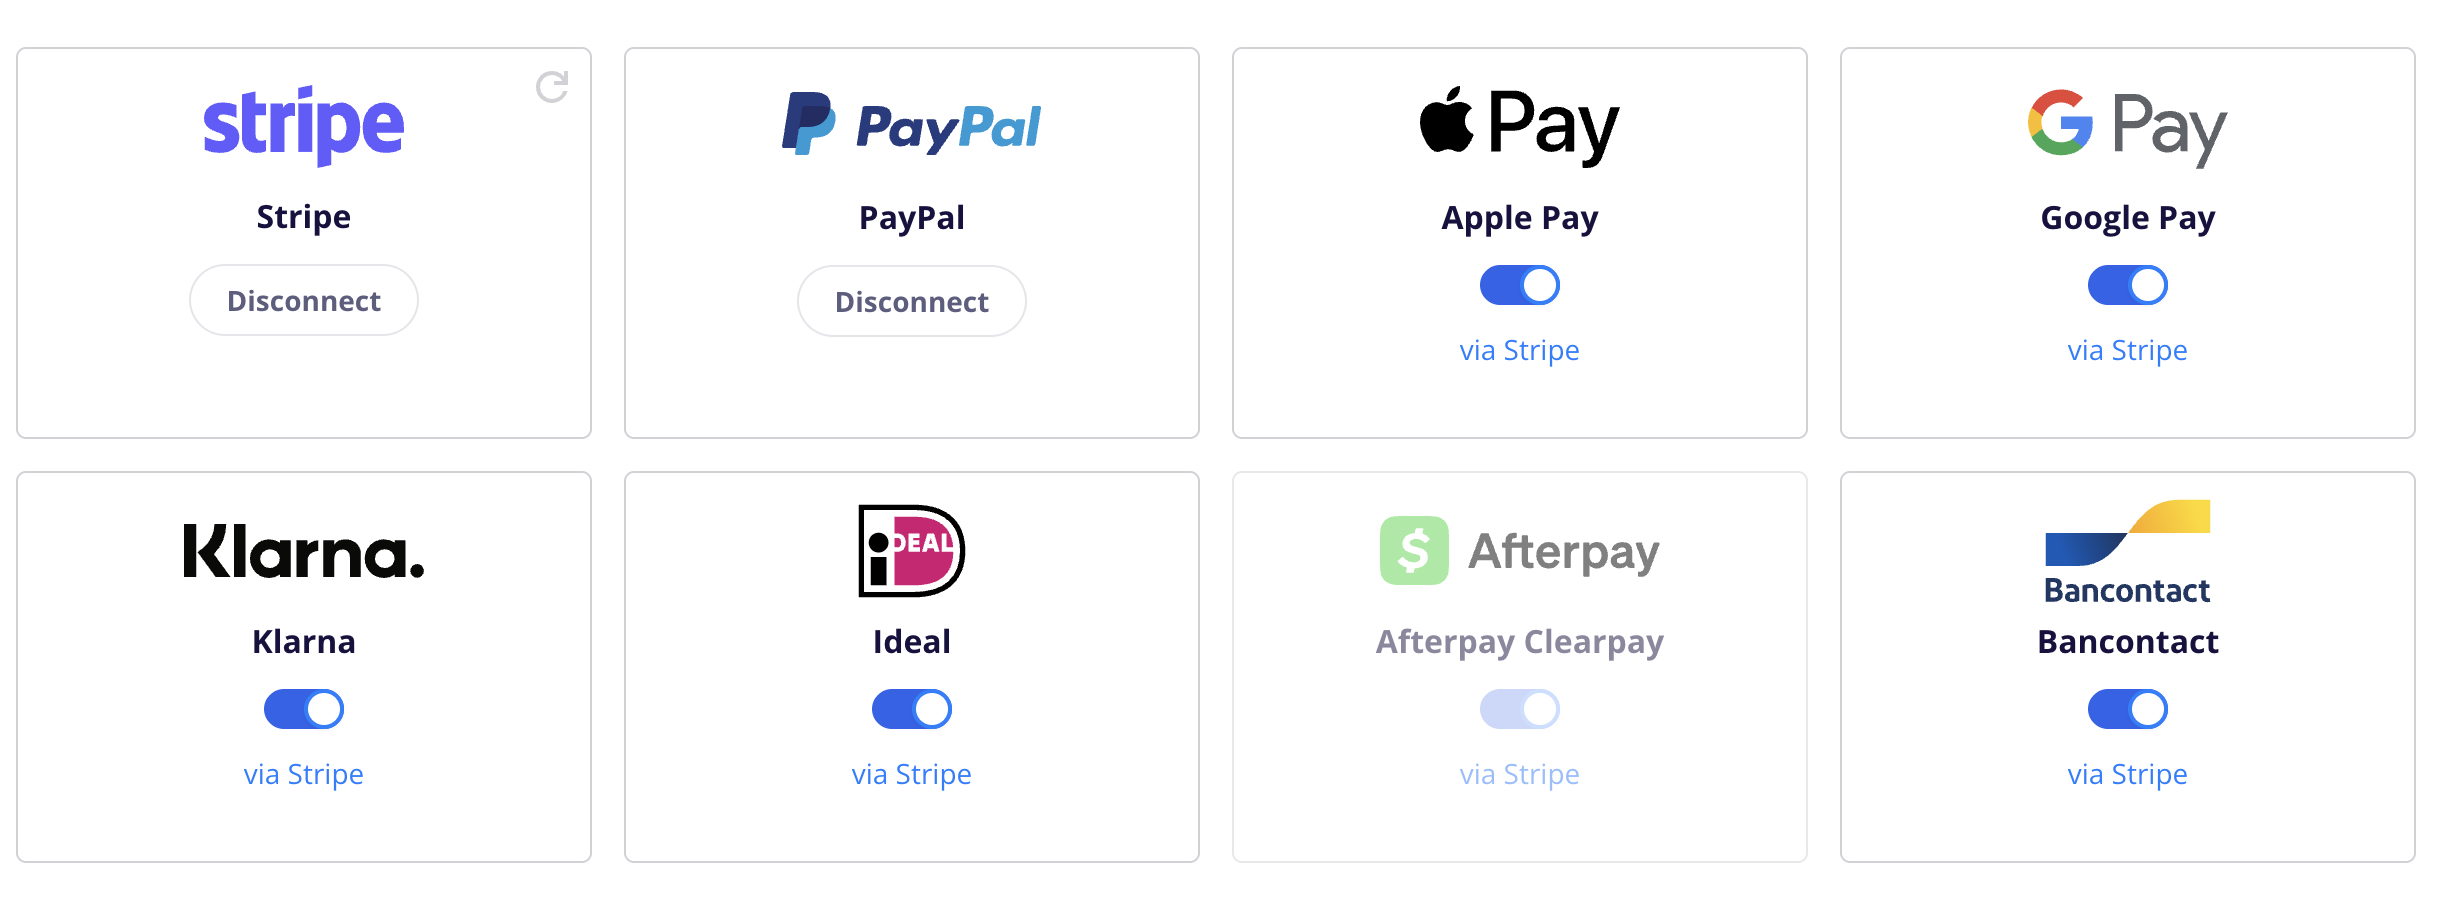
To enable Google Pay, simply connect Stripe in CartGenie Settings > Payment Gateways.
Connect Stripe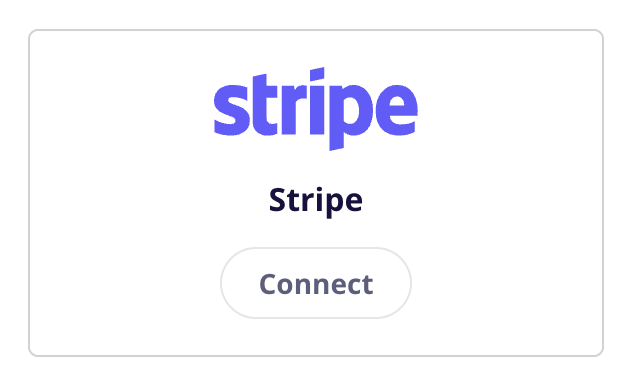
In CartGenie Payment Gateways page, be sure that the toggle for Google Pay is enabled.
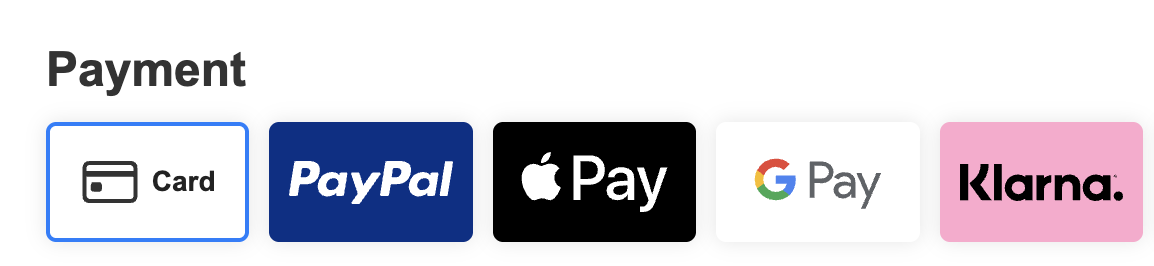
Then in Webflow, ensure that your checkout page has the necessary Google Pay payment tab option. If not, you can use our Designer Extension to simply add the “Payment Form” block to your checkout page (found in Create Product Pages > Components > Checkout).
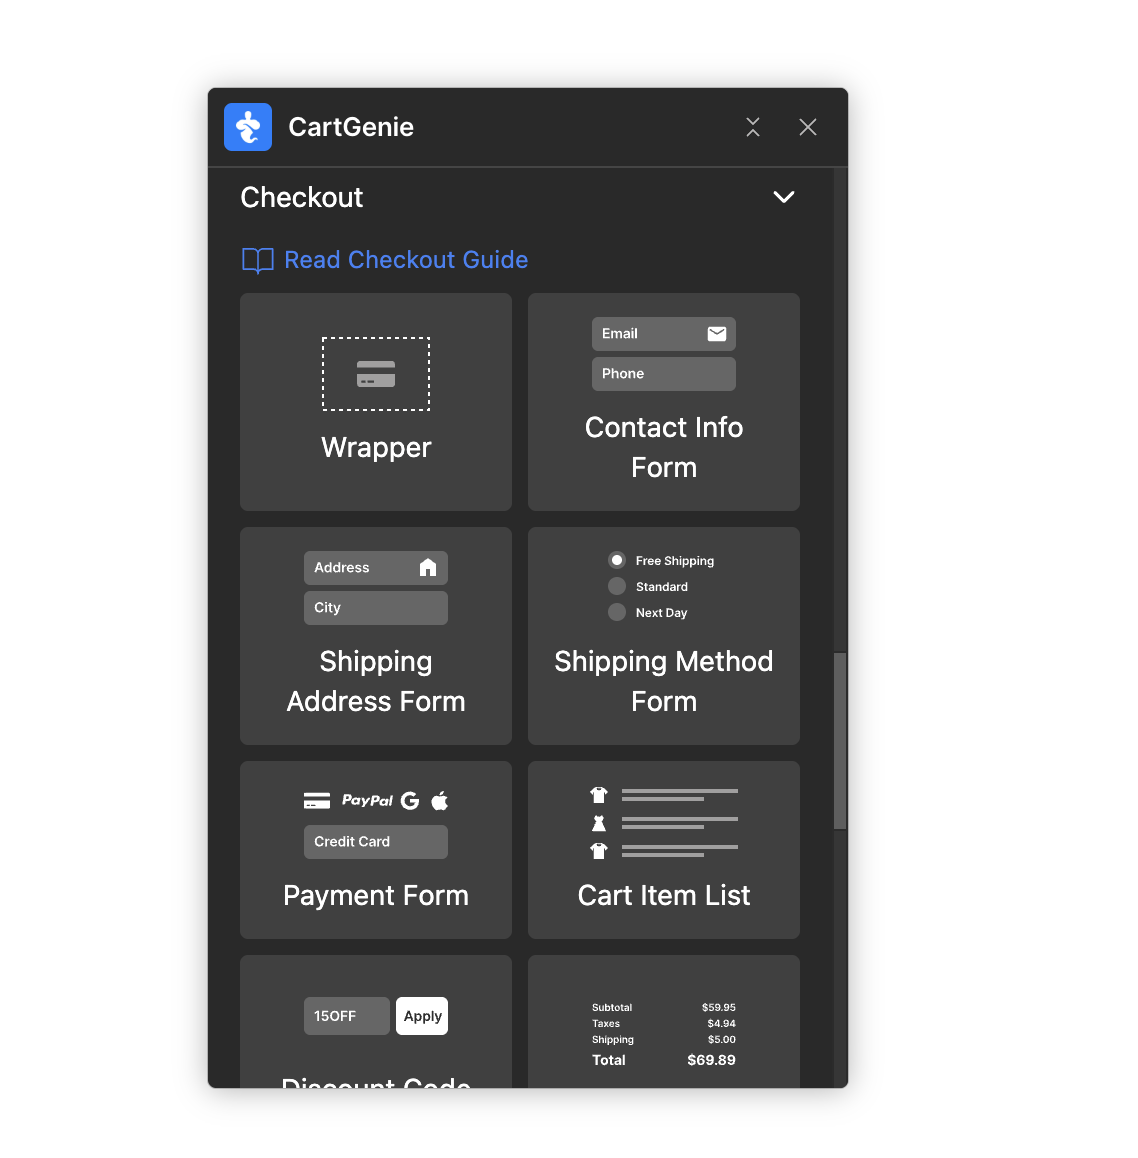
Publish your Webflow site and go to the checkout page with an item in your cart to test it.
There are several reasons why GooglePay might not show up at checkout. Here is a quick list to run down to troubleshoot this issue:
CartGenie’s Test Order Mode only works with credit cards, so all other payment methods are hidden at checkout.
Turn off Test Order Mode in Payment Gateway settings to test a live Google Pay payment.

Google Pay is most commonly available in Chrome, especially when the customer is signed into a Google account with saved payment methods.
You can test Google Pay in Chrome on desktop, Android, or other supported devices. If you are using Safari, Firefox, Edge, an in-app browser, or another unsupported browser setup, Google Pay may not appear.
If the customer is not signed into Chrome, or is signed into a different Google account than the one with saved payment methods, Google Pay may not appear.
Click the user profile icon in the top right of Chrome and confirm that the correct Google account is selected and fully signed in.
The customer must have a valid payment card saved to their Google account or Google Wallet.
You can check saved payment methods in your Chrome account by going to:
chrome://settings/paymentsCartGenie should enable Google Pay automatically when you connect your Stripe account, but you can double-check in Stripe.
Go to:
Stripe Dashboard > Settings > Payment methods
Then click Default: CartGenie configuration and look for Google Pay in the list.
Make sure Google Pay is enabled.
Back in CartGenie Payment Gateway settings, click the refresh icon in the Stripe card to make sure CartGenie recognizes the latest Stripe payment method settings.

Google Pay should be tested on a secure HTTPS page.
If the store site does not show https before the URL, has SSL issues, or has mixed-content errors, Google Pay may not appear or may fail during checkout.
Be sure you resolve any SSL issues, republish your site, and test again.
Incognito windows can be useful for testing site changes, but they can cause issues with Google Pay.
This is because you may not be signed into your Google account in Incognito, so Chrome may not have access to your saved payment methods.
Try testing in a normal Chrome window while signed into the correct Google account.
Sometimes your browser may cache payment settings and checkout options from previous page loads, especially if you visited checkout before enabling Google Pay.
Try clearing your browser cache, testing in a normal Chrome window, or testing on another eligible device.
You can also delete cookies for only your store site in Chrome here:
chrome://settings/content/allGoogle Pay is available in many countries, but not everywhere, and Stripe notes that Apple Pay and Google Pay do not display for IP addresses in India when using the Payment Request Button Element.
If the customer’s country, device, browser, card, or bank does not support Google Pay, it may not appear at checkout.
If the customer is signed into their Stripe Link account, Stripe may show Link instead of Google Pay at checkout.
So if you expected to see Google Pay but see Link instead, test in Chrome with Link signed out or use another eligible browser/device setup.
If you have connected Stripe but want to disable Google Pay, you can do this 2 ways (either works):
Remove the Google Pay tab from your Checkout page
Disable the toggle for Google Pay in the Payment Gateway settings