Now that you’ve created your product pages and added the CartGenie page templates to them, its time to add them to your store’s homepage!
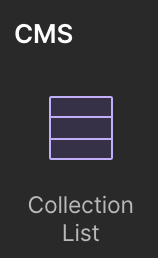
In the Webflow designer, go to your desired page and drag a “Collection List” block on the page.
Double click the block and select the “Products” collection. Then, set your preferred column layout configuration.

Next, click the app icon in the left hand sidebar and open up the CartGenie designer extension.
Go to Create Product Pages > Components > Category Page and click the desired Product Card component to copy it to your clipboard.
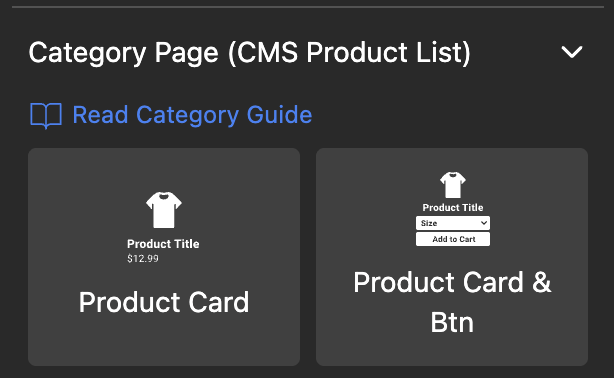
Product Card: If you just want to display your product image, title, and price
Product Card & Btn: Same as product card component, but adds an Add to Cart button (and option dropdowns) as well.
Card Options & Button: Only adds the option dropdowns and Add to Cart button
(useful if you already have created a list page for your products and want to add the button)

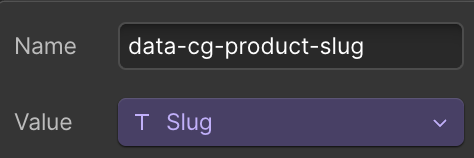
Most importantly, click the “cg-product-form” layer and go to the layer settings panel in the right hand sidebar.
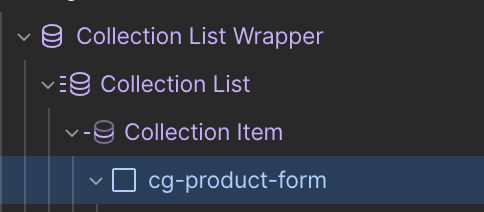
Scroll to the Custom Attributes section.
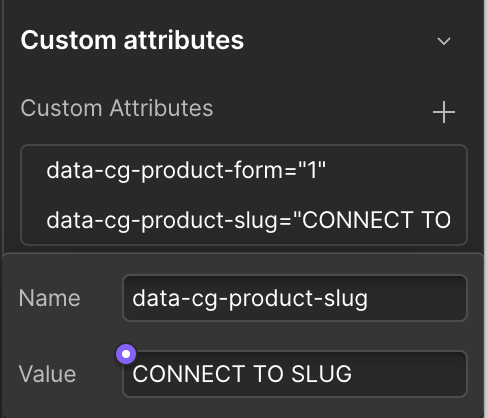
Click the purple dot and select “Slug” from the list. It should look like this when it is done correctly.
If your product list page add to cart button is not working, it is probably because you forgot this step.
Next, one by one, click on each element in the product card and connect them to the corresponding CMS field.
Example:
Click on the “product link” block and then the purple gear icon (or click on the layer settings panel in right hand sidebar). Click the purple page icon and from the “Page” dropdown select “Current Product”

Here is a checklist of all the layers / blocks that should be connected:
Product Link → Current Product
Product Image → Main Image
Product Name → Name
Price → Price
Compare at Price → Compare at Price
Opt 1 → Option Name 1
Opt 2 → Option Name 2
Opt 3 → Option Name 3
Under the “Product list option wrap”, you will see 3 “list option wrapper” divs.
These are what contain the dropdowns for your option sets. We want each of these to only show if they are used for that specific product.
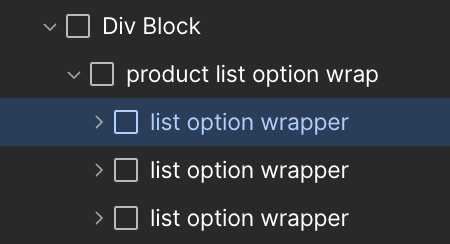
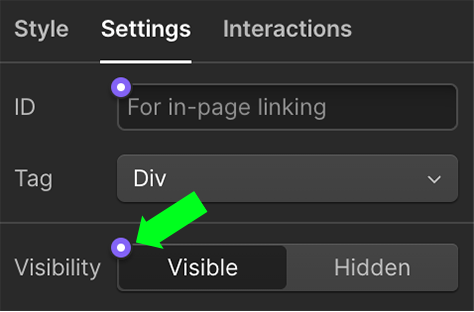
Select the first “List option wrapper” in the list and under the layer settings Visibility section, click the purple dot and set the layer to be visible when “Option Name 1” Is Set
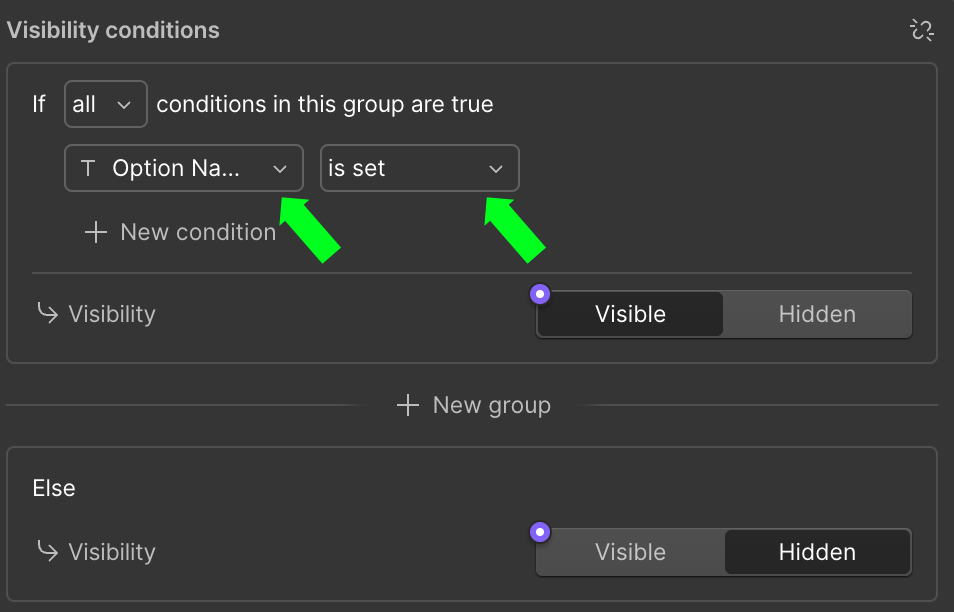
Now do the same for the second and third option wrapper individually to set conditional visibility for when:
2nd list option wrapper: “Option Name 2” is set
3rd list option wrapper: “Option Name 3” is set.

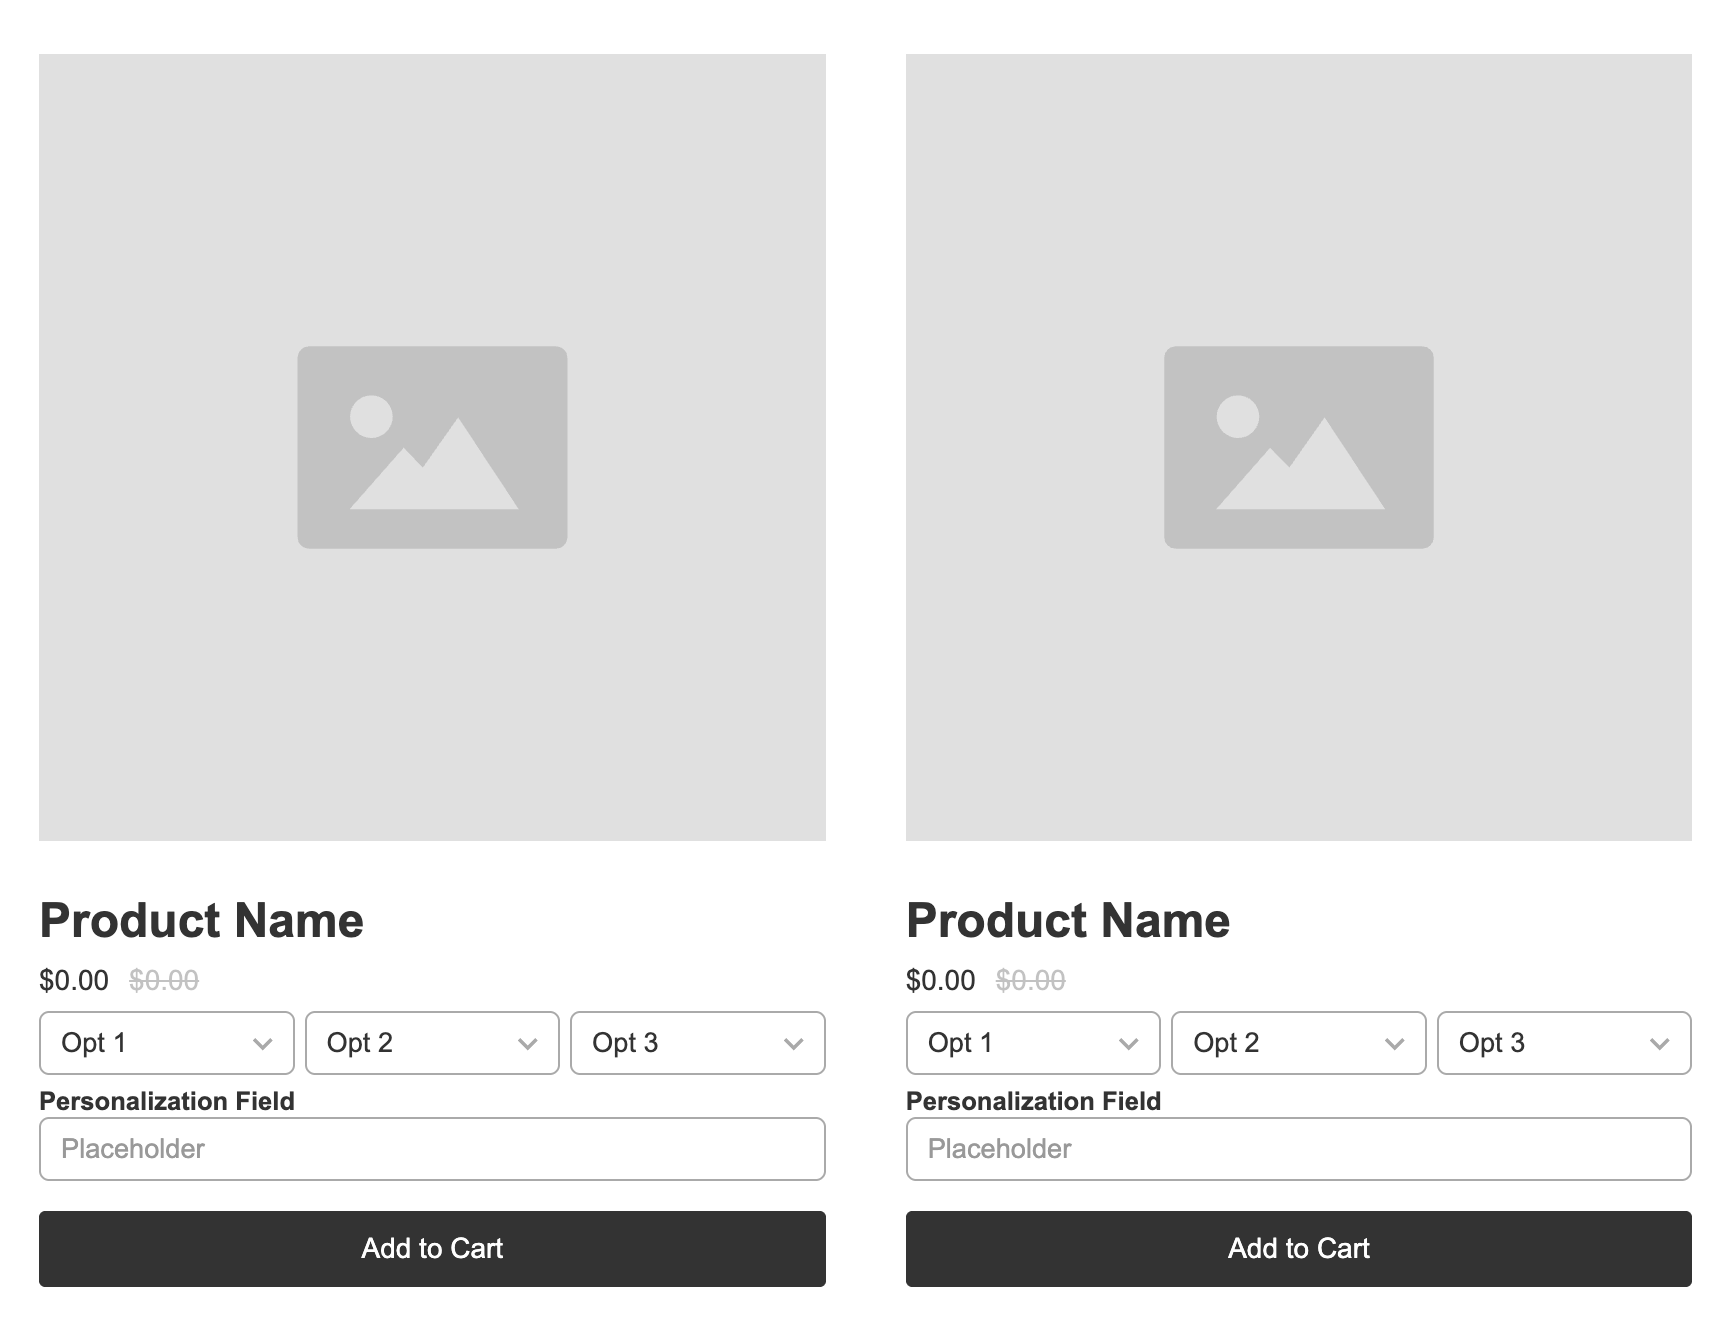
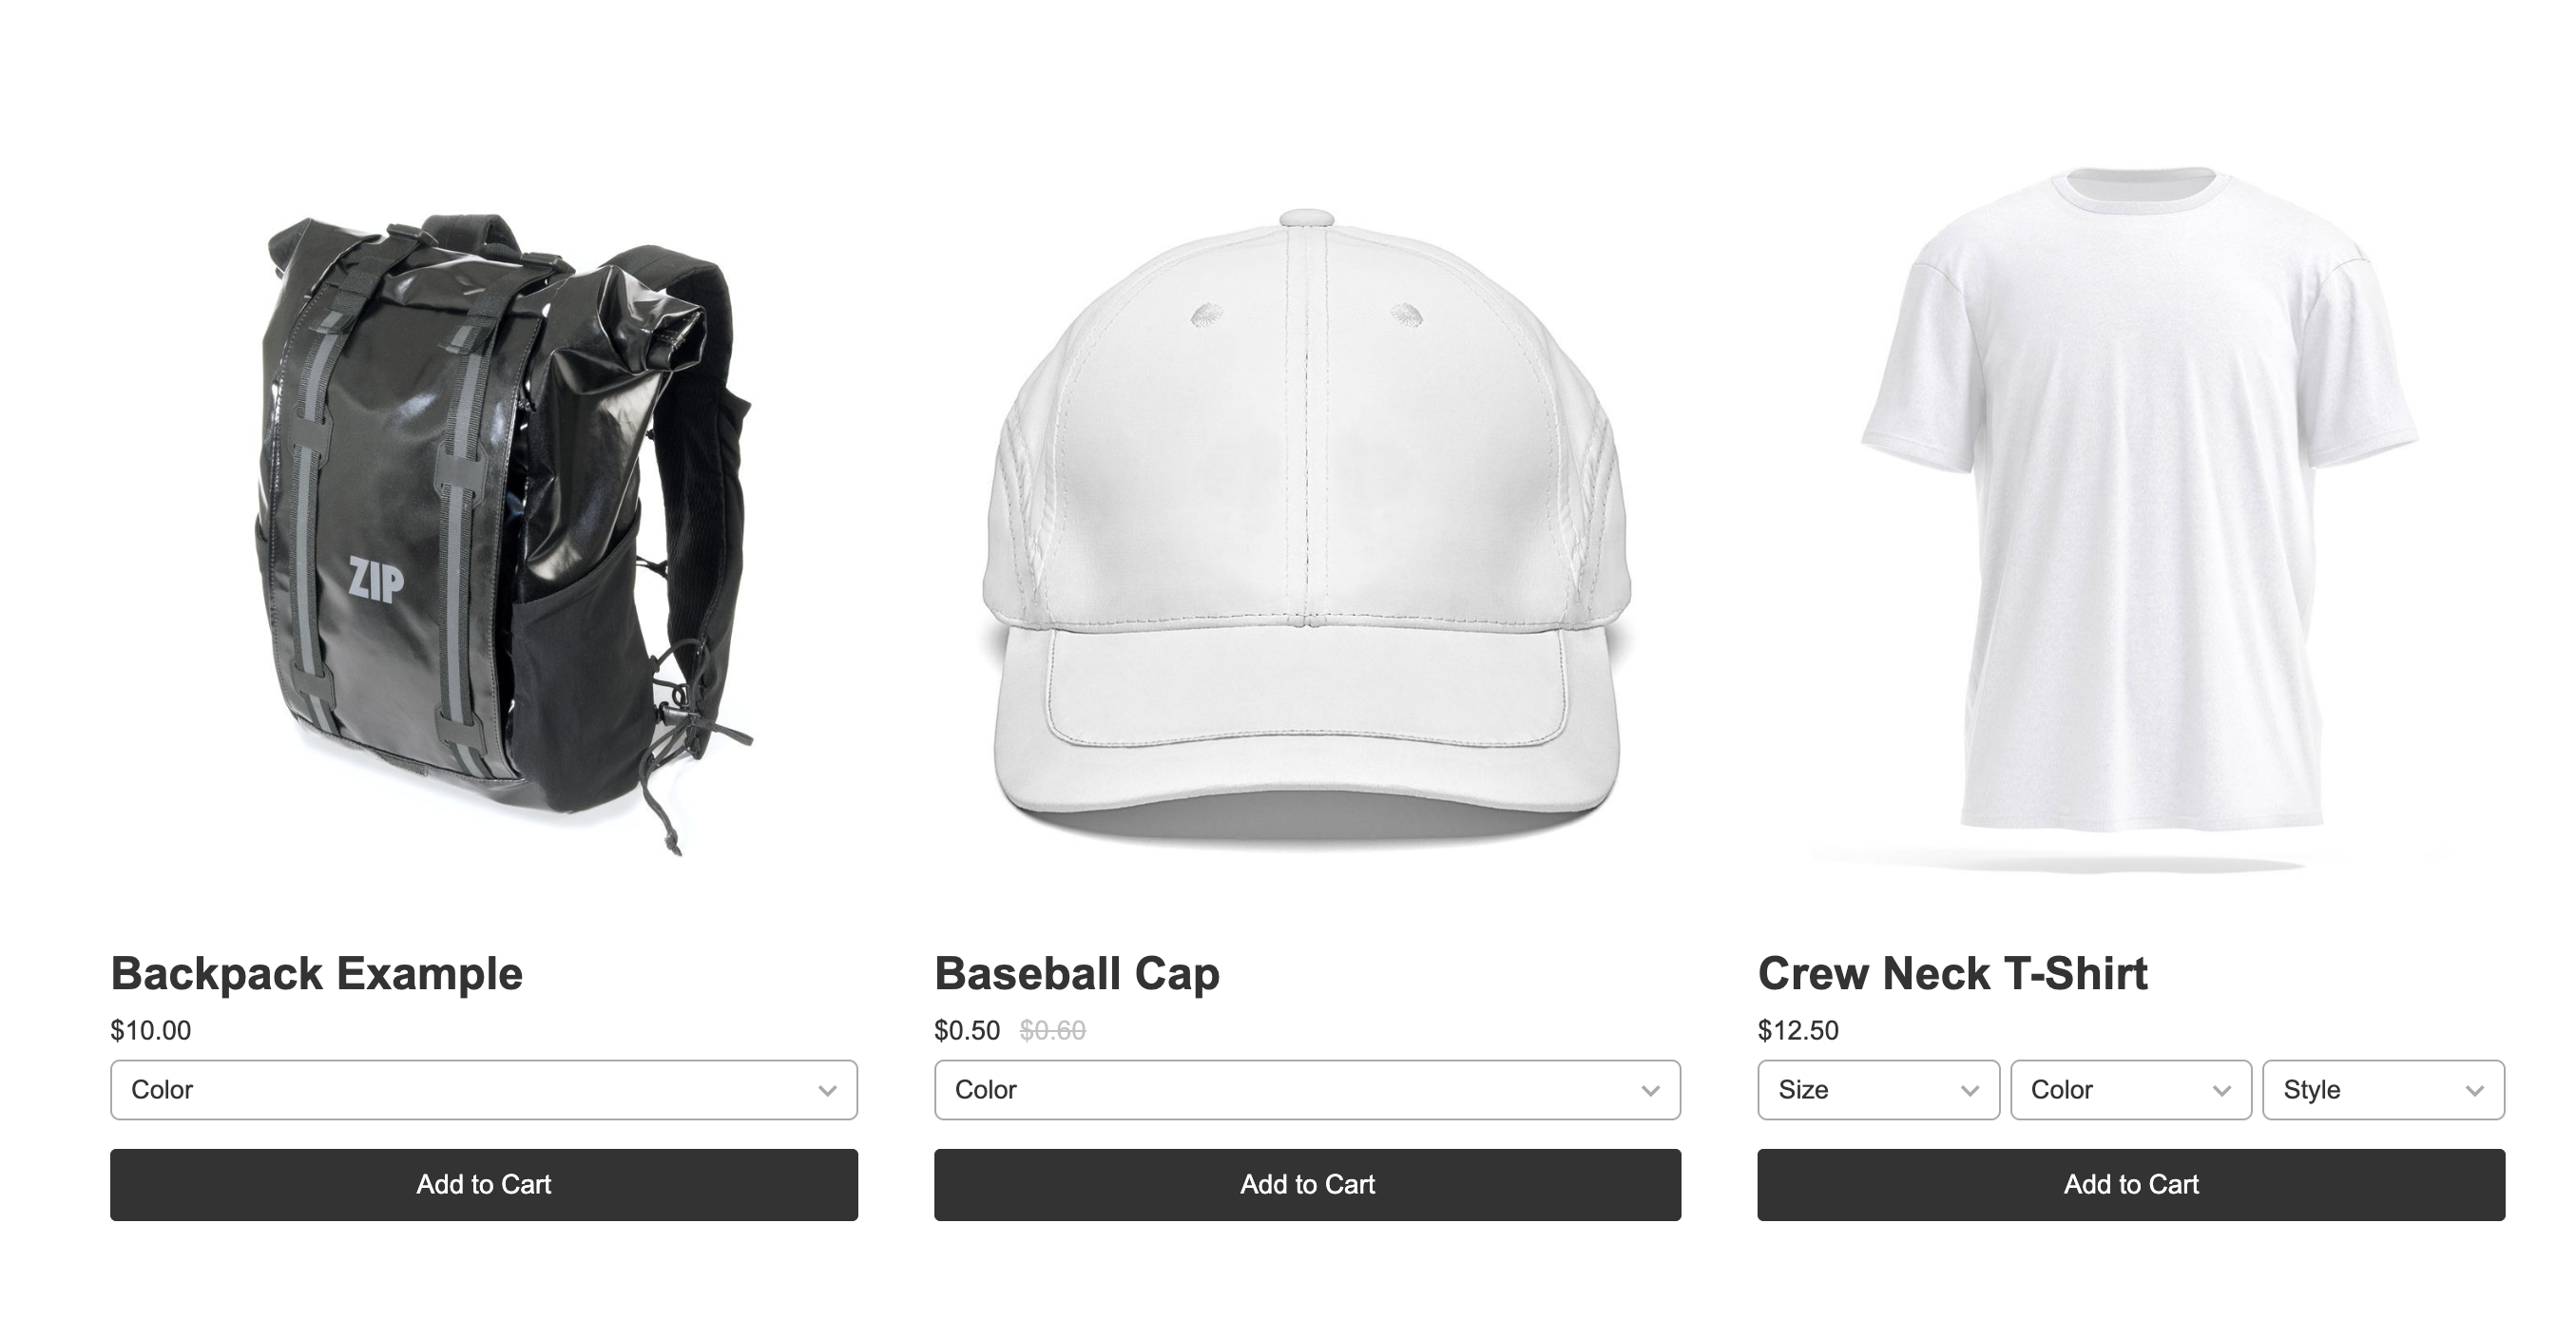
Here is a live example of how it should look!
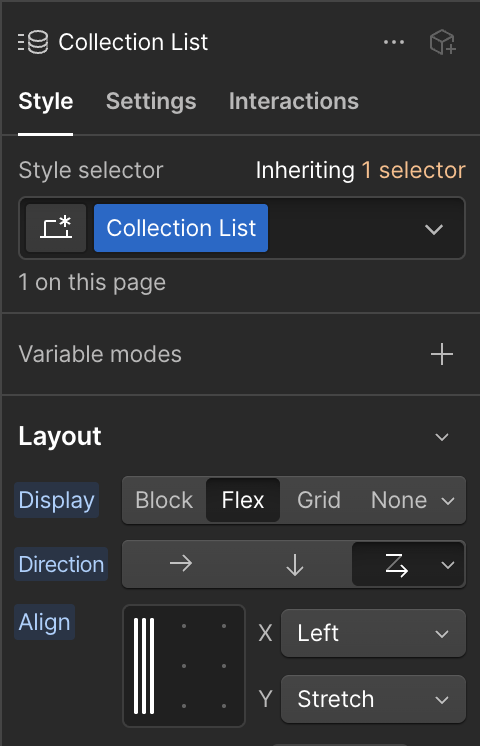
Note: If your product grid has weird gaps of missing products that are being pushed to the next row, then you might need to set your “Collection List” layer to:
Display: Flex
Direction: Stack children left to right, wrap down
X: Left
Y: stretch
With Webflow, the possibilities are endless! Almost anything you can think of, you can do.
I’m going to just show a quick example of how I created this product grid layout for my homepage. These same principles can be used to style the product, checkout, and confirmation pages.

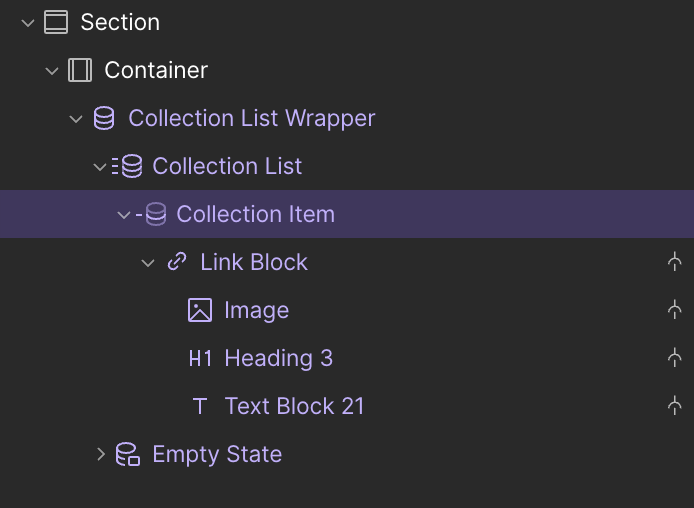
I then selected each layer and then went to my “style” settings on the right of Webflow’s designer and edited these bits:
Collection Item
Background: White
Border radius: 10px
Box Shadow: 0px 0px 15px 0px rgba (0, 0, 0, 0.1)
Link Block
Width: 100%
Height: 100%
Padding: 30px
Decor: none (so the text won’t be underlined)
Image:
Max-Width: 200px (depends on your site)
Max-Height: 200px (depends on your site)
Fit: Contain
Heading:
Font: Montserrat Bold
Size: 30px
Line Height: 37px
Color: #616161
Text Block
Font: Montserrat Medium
Size: 19px
Line-Height 20px;
Color: #b3b3b3
Feel free to get creative and style the elements on the other store pages as well! If you make a mistake on a CartGenie page, we recommend deleting the CartGenie section and using our Designer Extension to re-paste the template back in.
