company logo

Help center

Go to CartGenie
App DashboardCartGenie Website[email protected]
All collectionsGeneral QuestionsHow to reconnect your CartGenie account to Webflow

How to reconnect your CartGenie account to Webflow

Follow these steps if you need to reconnect your site

There are several reasons why you might need to reconnect your site such as re-adding one of the Custom Scripts or if it is disconnected.

Step 1 - Click “Add Store” in the Profile Popup

Click your store name in the bottom left corner in CartGenie.

Then click “Add Store”

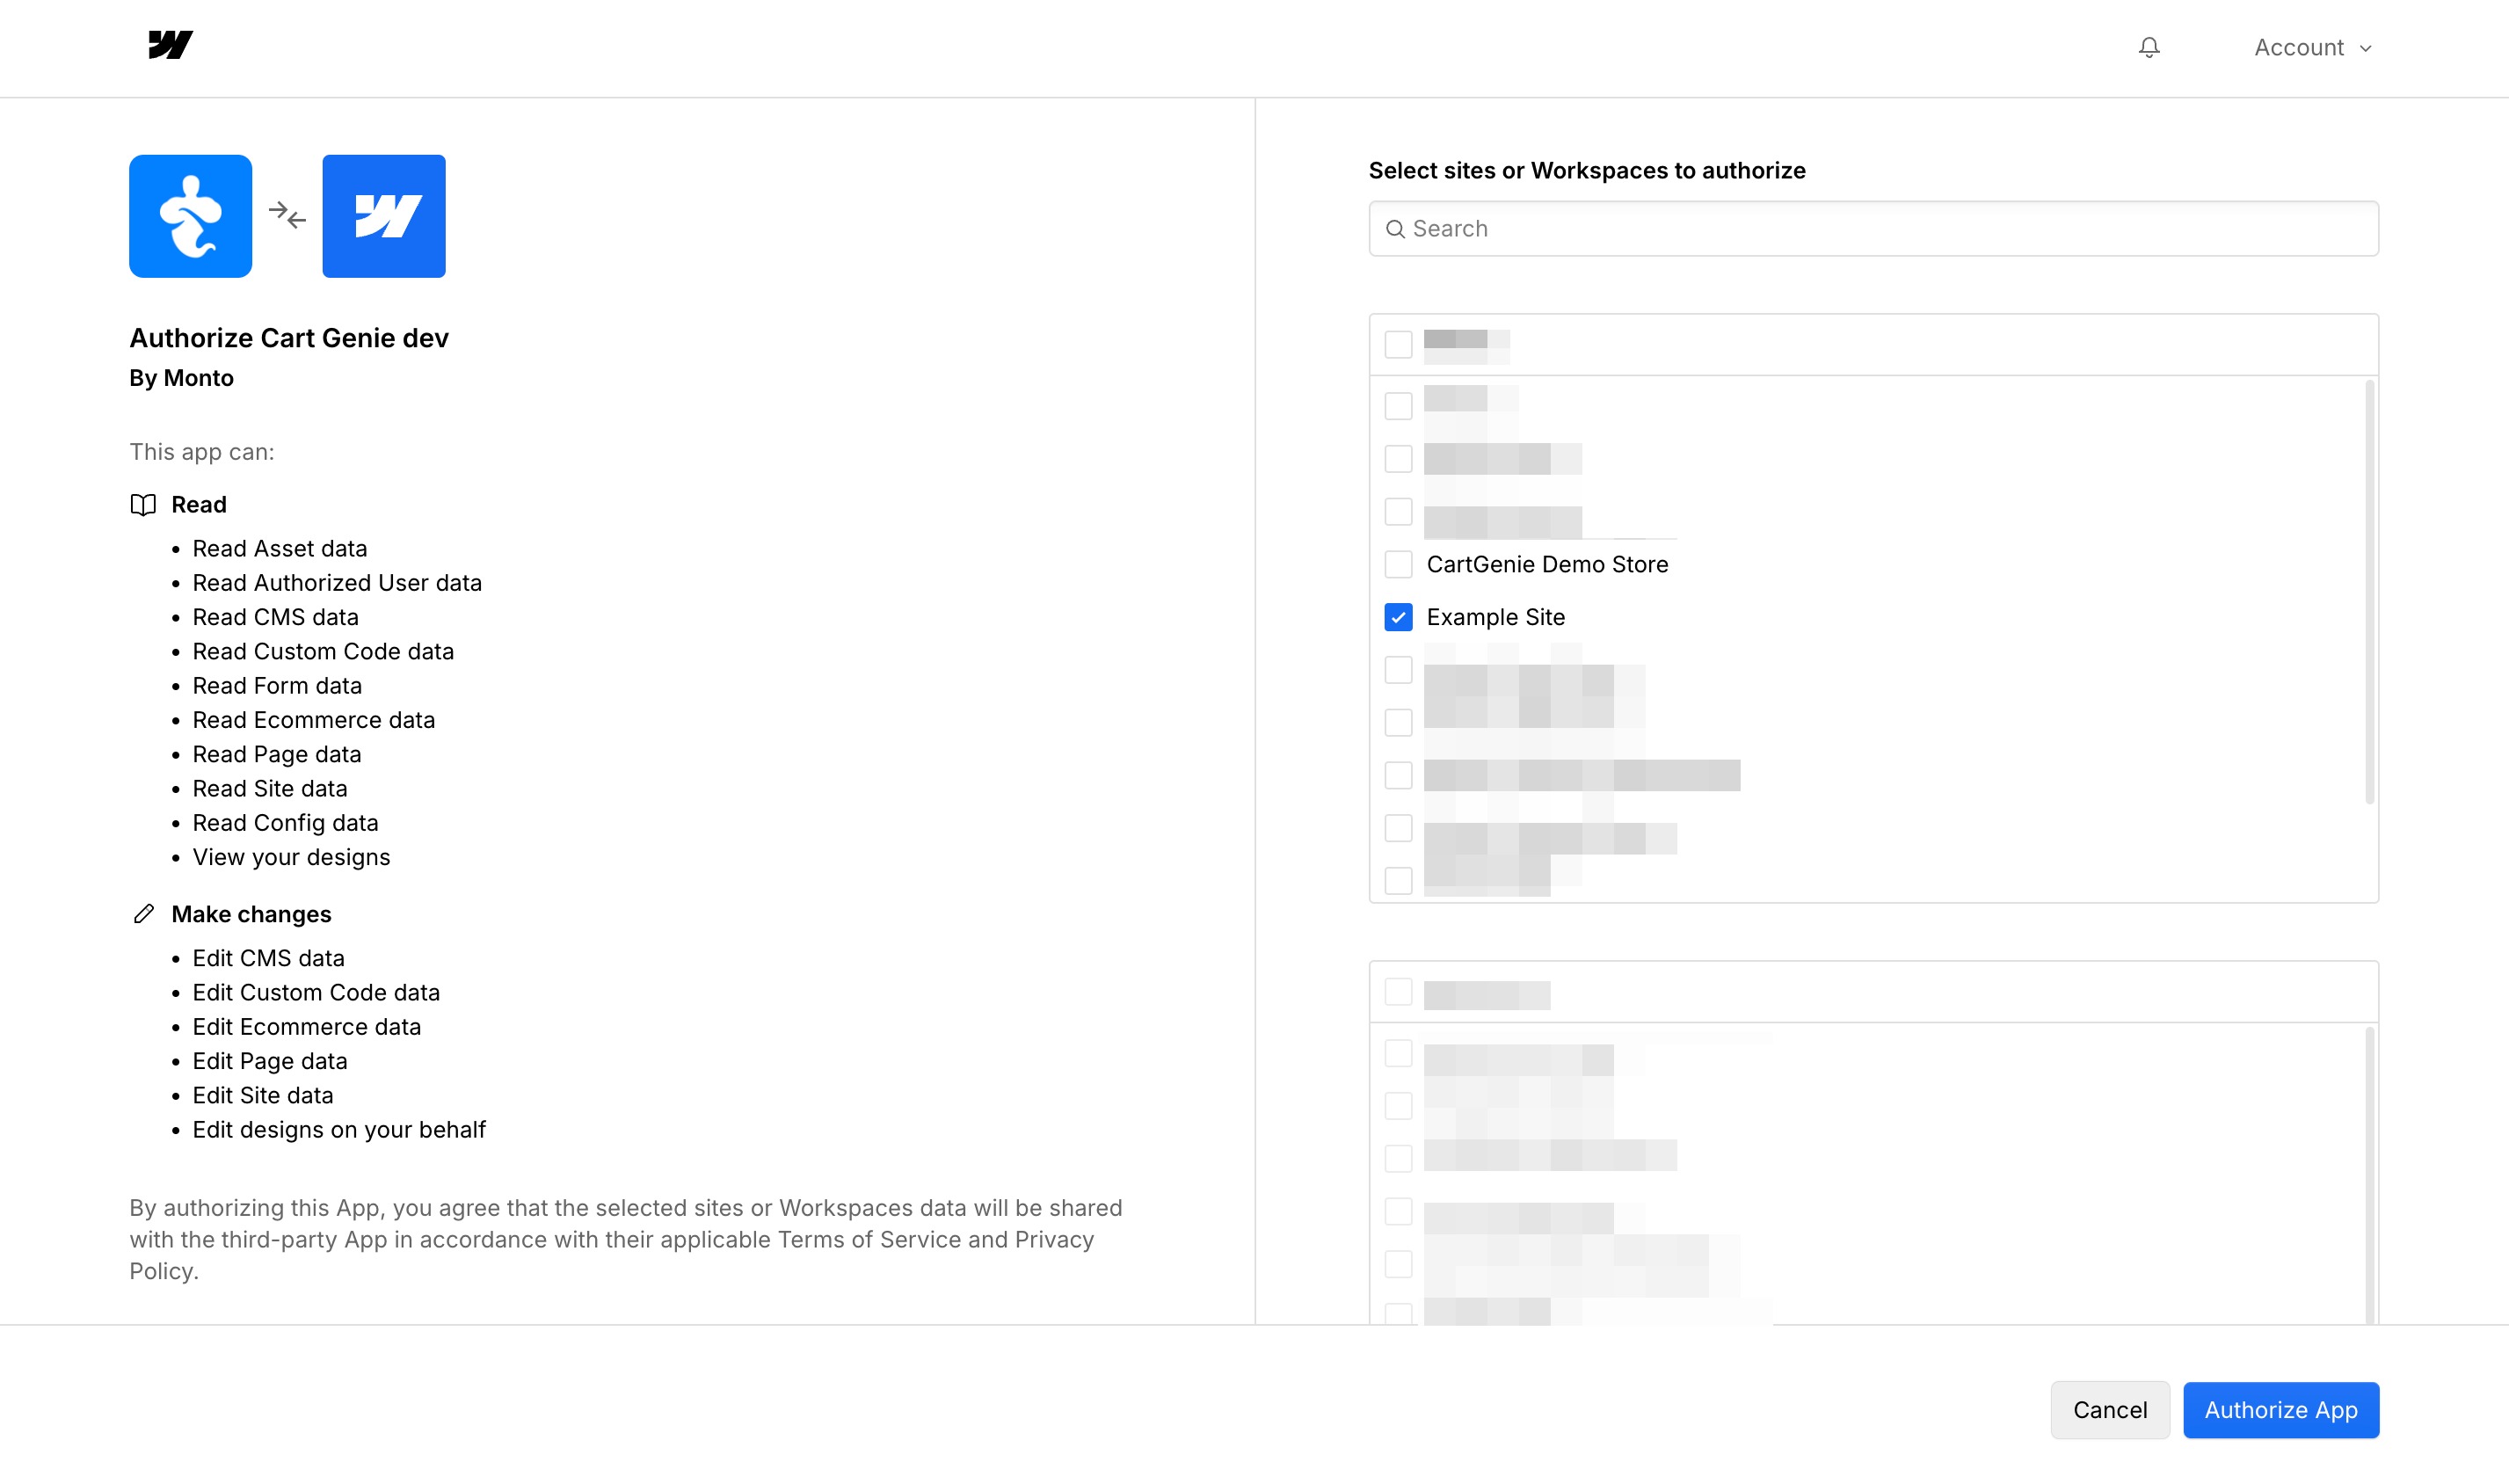
This will open up the authorization flow. Click the “Connect to Webflow” button.

Step 2 - Select your Webflow site

You will see a list of your Webflow sites.

Be sure to only select the site that was previously connected to this CartGenie store.

warning icon
Connecting to a different CartGenie account will cause issues with your store

Step 3 - Confirm Your Info

Next, confirm the primary URL you want to use for the site.

error icon
IGNORE the Migration step – click the “Skip To Next Step” button

Your products are already saved in your CartGenie account so you do not need to migrate anything else.

Migrating again will cause issues with your site.

You should now be redirected to your Setup Guide.

Step 4 - Republish Your Webflow Site

Go into your Webflow site and republish it.

This will resolve most outstanding issues.

Step 5 (If Needed) - Reconnect Webflow CMS and Pages

In CartGenie, refresh the setup guide page.

If Step 1 and/or Step 4 of the Setup Guide are showing as incomplete, you will need to reconnect them. You can do this by toggling on the “I am using a CartGenie template” option to see the dropdown selectors for each collection.

Select the correct collection for each and click save.

Go to Setup Guide

If you are not seeing all of your current collections or if you see the error above, you can click the refresh icon to pull in all the latest updates from your site.

info icon
You may need to republish your Webflow site in order to see these connected with all green dots.

If you had not previously added these collections, you will need to generate them using the “Create All Collections For Me” button and then click Save.

You’re done!

Your Webflow site should be reconnected to CartGenie.

You can turn on “Test Orders” in the Settings > Payment Gateways page if you’d like to test and ensure everything is working properly.


Potentially Necessary: Re-Add the Code Scripts

info icon
This step is only necessary if you had previously deleted the CartGenie scripts from the Custom Code tab of your Webflow project.

One script will be added when you complete the steps above.

The second script can be added by opening the CartGenie app Designer Extension in your Webflow site.

How to add the CartGenie header script to your site

The global header script is necessary for your store to function

If added correctly, it will look like this:

Did this answer your question?
😞
😐
😁