CartGenie supports a variety of offline payment methods to give you and your customers more flexibility at checkout. Whether you’re accepting wire transfers, offering cash on delivery (COD), or using other manual payment options, you can easily enable and customize these within your store settings.
Offline payments allow customers to place orders without paying online immediately — you’ll then handle the payment manually based on your selected method. This is especially useful for B2B stores, local deliveries, or high-value purchases where customers may prefer non-digital transactions.
Go to Settings > Payment Gateways in CartGenie
Go to Payment Gateways
Scroll down to the offline payment methods section and you should see 2 methods that we’ve already created for you: wire transfer & cash on delivery. Both will be disabled by default, but you can enable them if you would like to use them. Then follow steps 2+ to ensure they are set up to your preferences.
To add a new custom offline payment method, click the Add Offline Method button.

Fill out the following options:
Method Name: This is an internal name only and won’t be shown to the customer
Status: Active means it will be shown on the site and usable by the customer (if tab is added to checkout page). Not active will be hidden.
Instructions for Order Confirmed Email: These instructions will be sent to the customer in their order confirmed email
Initial Fulfillment Status of Orders: This is the default order status that orders using this method will be set to.
Order Value Requirements: Determines if method will appear based on order value
Any order value: Method will appear for any order value
At Least $___: Method will only appear if order total is greater than entered value
At Most $___: Method will only appear if order total is less than entered value
(Instructions Custom Attribute) Value: Enter a unique name that will be used in custom attributes to display this method (see instructions further below on customizing emails)
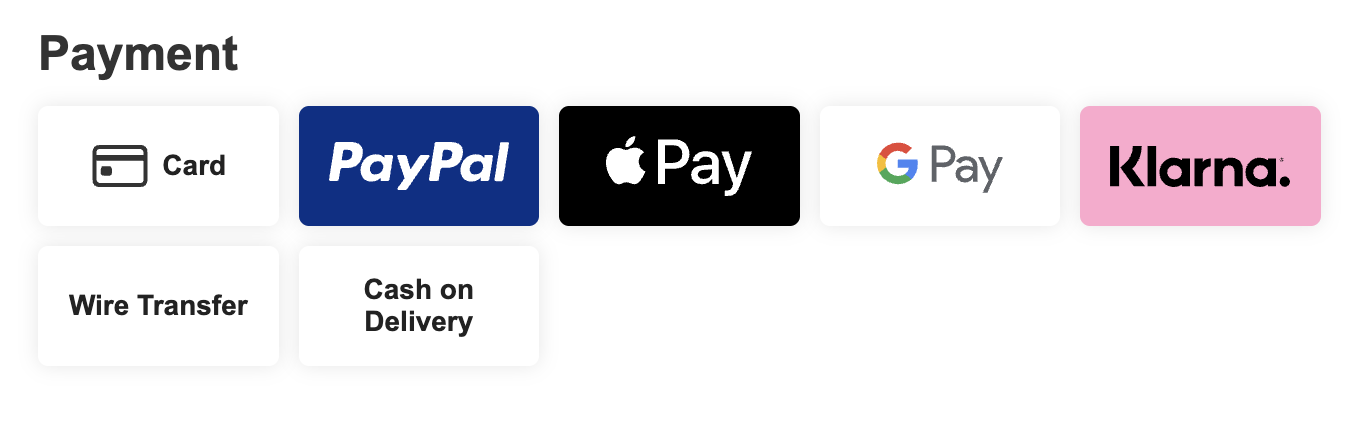
Open Webflow and go to your CartGenie checkout page.
If you are only using Wire Transfer and/or Cash on Delivery, you will likely see them here. If not, you can add them easily using CartGenie’s designer extension (found in the “Apps” tab in Webflow). If your template already includes these and you don’t wish to add a custom offline method, you can skip to the “Tab Content” section below to modify the instructions for wire transfers and/or cash.
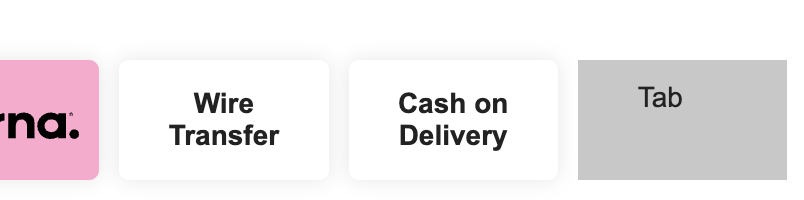
For adding a new offline method, click on the payment method tabs and add a new tab in the layer settings.

I’ve created one here called “Check”.
This will add a new un-styled tab to your payment methods. You can now edit the name and styling to match your existing tabs.
The standard style classes are:
“cg-pmt-method” for the tab
“cg-pmt-method-name” for the title text
Most importantly, you now need to add the required custom attribute to the tab.
Go back to CartGenie’s offline payment method settings page and copy the custom attribute information under the “instructions” section.
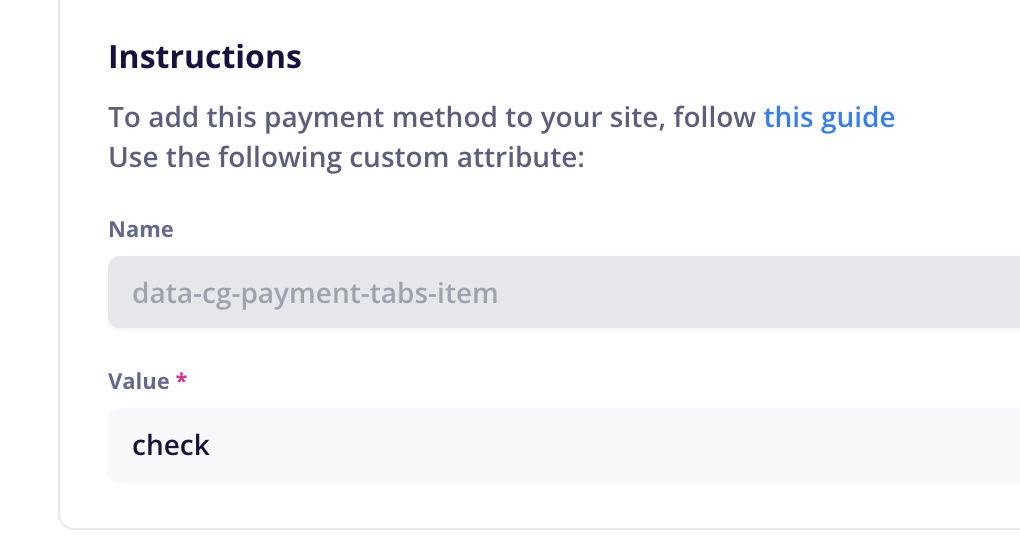
In Webflow, add this Custom Attribute to the new tab you created.

The new tab will also add a location for tab content. You can add text here explaining what is required to use this offline method.

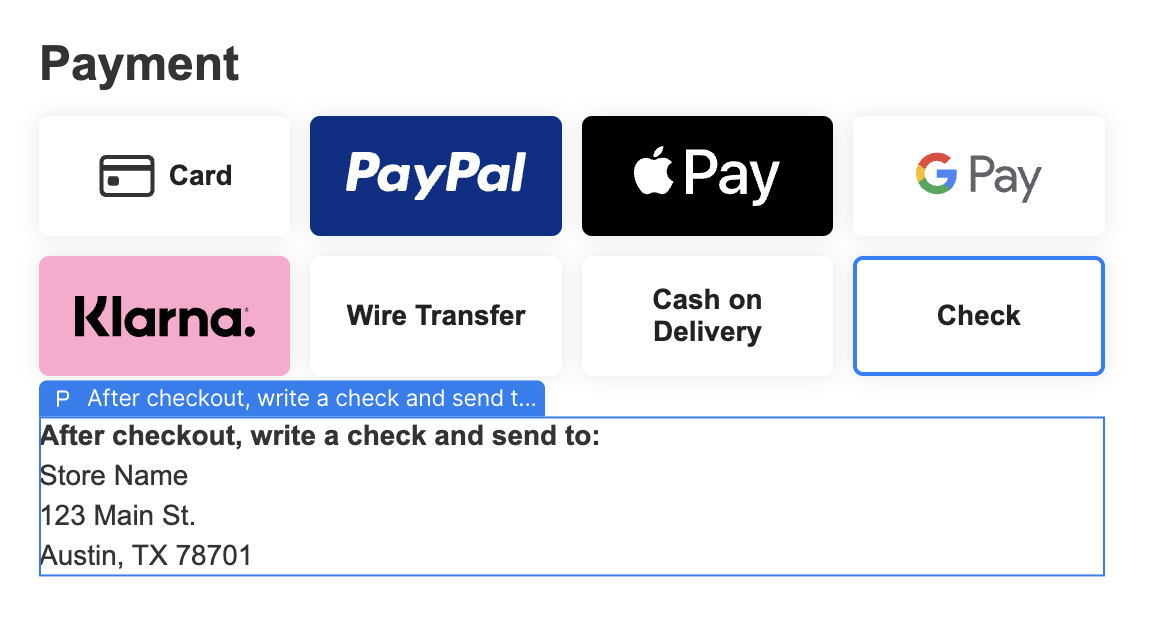
While this step isn’t required, its highly recommended to ensure the customer knows what to do in case their email gets lost in spam.
In Webflow, go to your Confirmation page.
Add a new div wrapper or rich text block inside the cg-section wrapper. (can be above or below order info). You will need a new block for each offline method (if using multiple such as wire transfer & cash on delivery, etc.)
Select your div / block and add a custom attribute to it:
Name:
data-cg-receipt-offline-payment-method-instructionValue:
[your custom value]The value should be the same custom value you added in the offline payment settings earlier in CartGenie and on your checkout tabs (ex: “check” in my example above)

Give your div / block a custom class such as “offline instructions”.
Set it to display:none
Then add another class to it called “is-visible”. Set display to “Block” with this is-visible class.
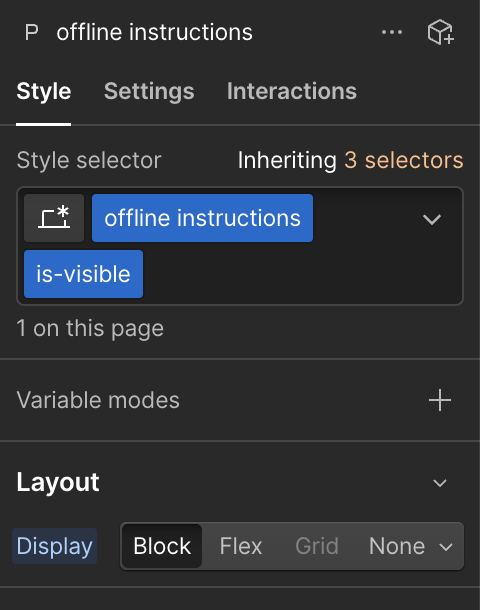
Then, remove the is-visible class so that the block is hidden and won’t be shown for normal payment methods.
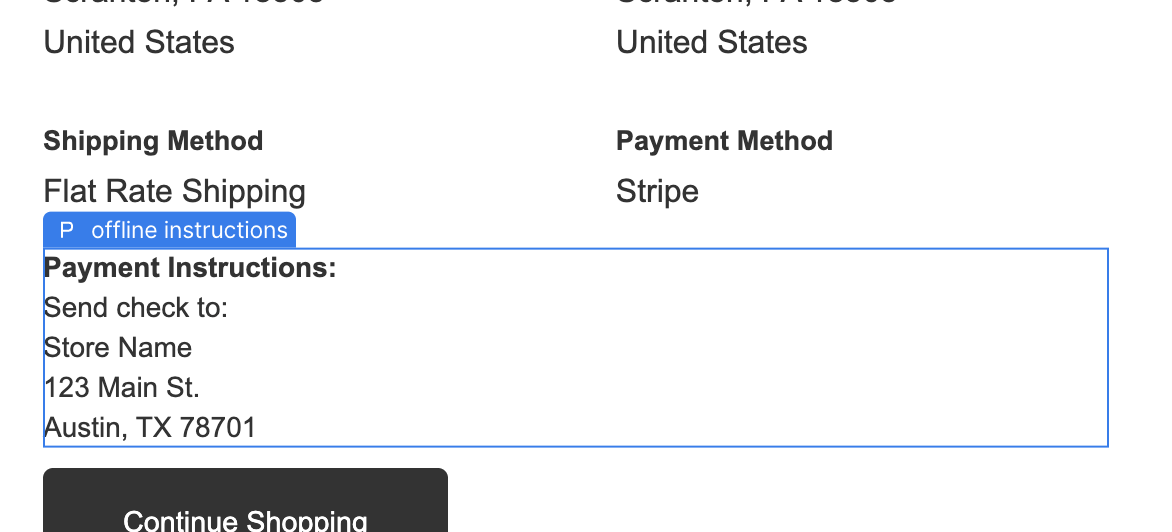
CartGenie will automatically display this block if your customer uses that specific offline method only.
Go to Settings > Communications and find the 2 offline emails we’ve added.
Go to Communication Settings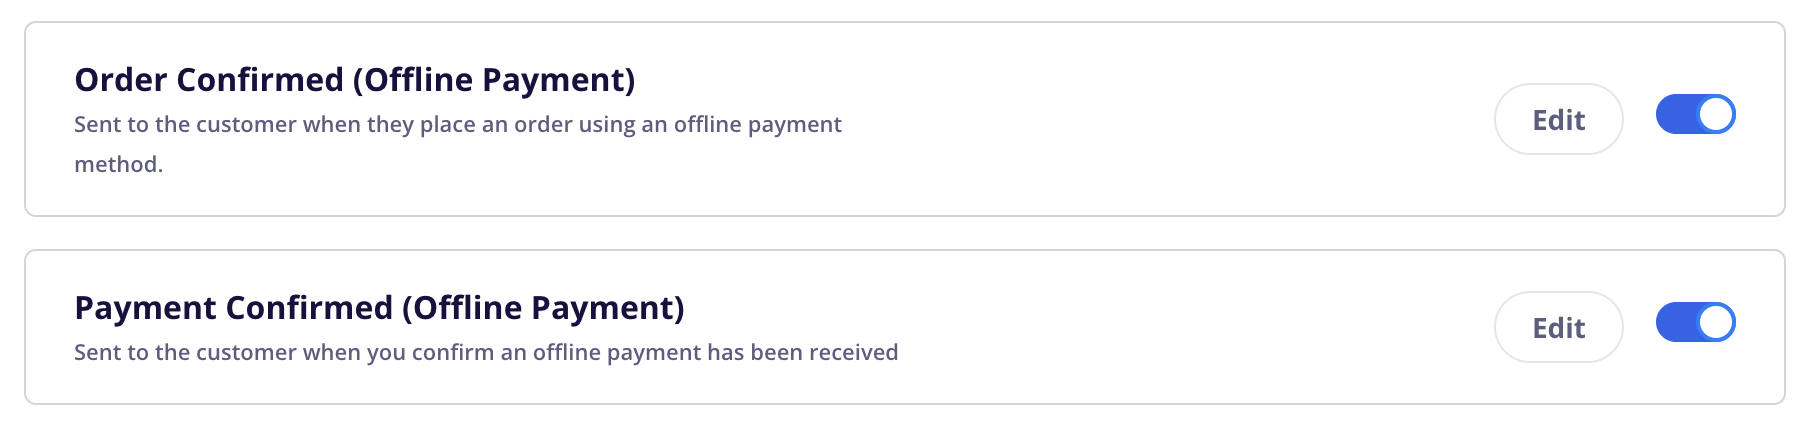
Click into each and customize the wording to your liking.
The Order Confirmed (Offline Payment) email is where the instructions you added back in Step 1 will be displayed to the customer. This is useful in case they closed out of the confirmation page before following instructions to send the payment.
The Payment Confirmed (Offline Payment) email will be sent to customers once you manually confirm payment in CartGenie.
If you haven’t done so already, go back to your Offline Payment Methods in CartGenie and enable all offline methods you wish to allow customers to use.
Then, publish your Webflow site so your new payment tabs are live!
Once you receive an offline order, CartGenie will automatically mark it as unpaid and set the order status to your previous settings (default is pending).

These unpaid orders will display a yellow dollar sign with a line through it, indicating that the order has not been paid yet. Depending on your store’s order flow, you likely will not want to fulfill this order until you receive payment.
If you click into an unpaid order, you will see the option to “Mark as Paid”.

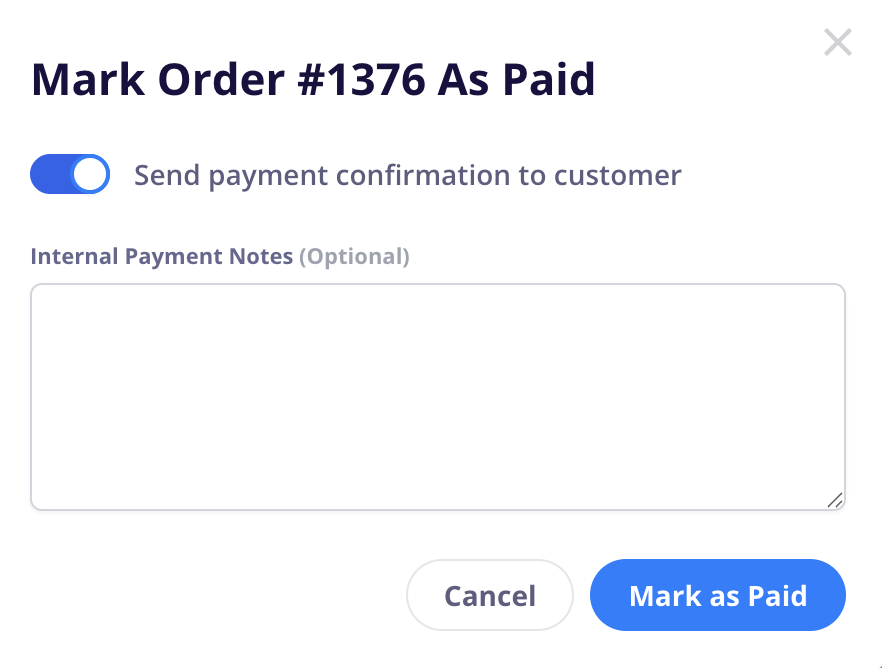
Clicking this option will bring up a popup.
Enabling the Send payment confirmation to customer toggle will send the “Payment Confirmed (Offline Payment)” email once the order is marked as paid. This lets the customer know you’ve received the payment and will be shipping it out soon.
Internal Payment Notes will NOT be sent to the customer and are for your own team’s uses. This can be used to note a wire # or any other information you want to tie to the order regarding the payment. These notes will be displayed on the order detail page in CartGenie only.
Click Mark as Paid to confirm the payment was received.
At this point, the order status will be changed to “Unfulfilled” (if not already fulfilled) and payment status will be changed to “Paid". You are then free to fulfill the order as you normally would.
Ensure the method you’ve added to checkout is enabled in CartGenie Settings > Payment Gateways
Currently offline payments do not work with CartGenie’s subscription products. If you want to allow customers to purchase a subscription, please ensure you have Stripe enabled and the credit card tab available at checkout.
