Afterpay (known as Clearpay in the UK and EU) lets customers split their purchase into four interest-free installments — giving them more flexibility and helping merchants increase conversion. With CartGenie and Stripe, enabling Afterpay / Clearpay is simple. Your store doesn’t need to be located in an Afterpay region, but your Stripe account must meet Afterpay’s eligibility requirements, including being in a supported country and charging in an approved currency.
In this guide, you’ll learn how to activate Afterpay / Clearpay in Stripe, enable it inside CartGenie, and offer shoppers a seamless Buy Now, Pay Later checkout experience that can help boost average order value and reduce checkout friction.

(the logo and name depends on the country you’re located in)
To add Afterpay, simply connect your CartGenie store to Stripe in Settings > Payment Gateways.
Connect Stripe
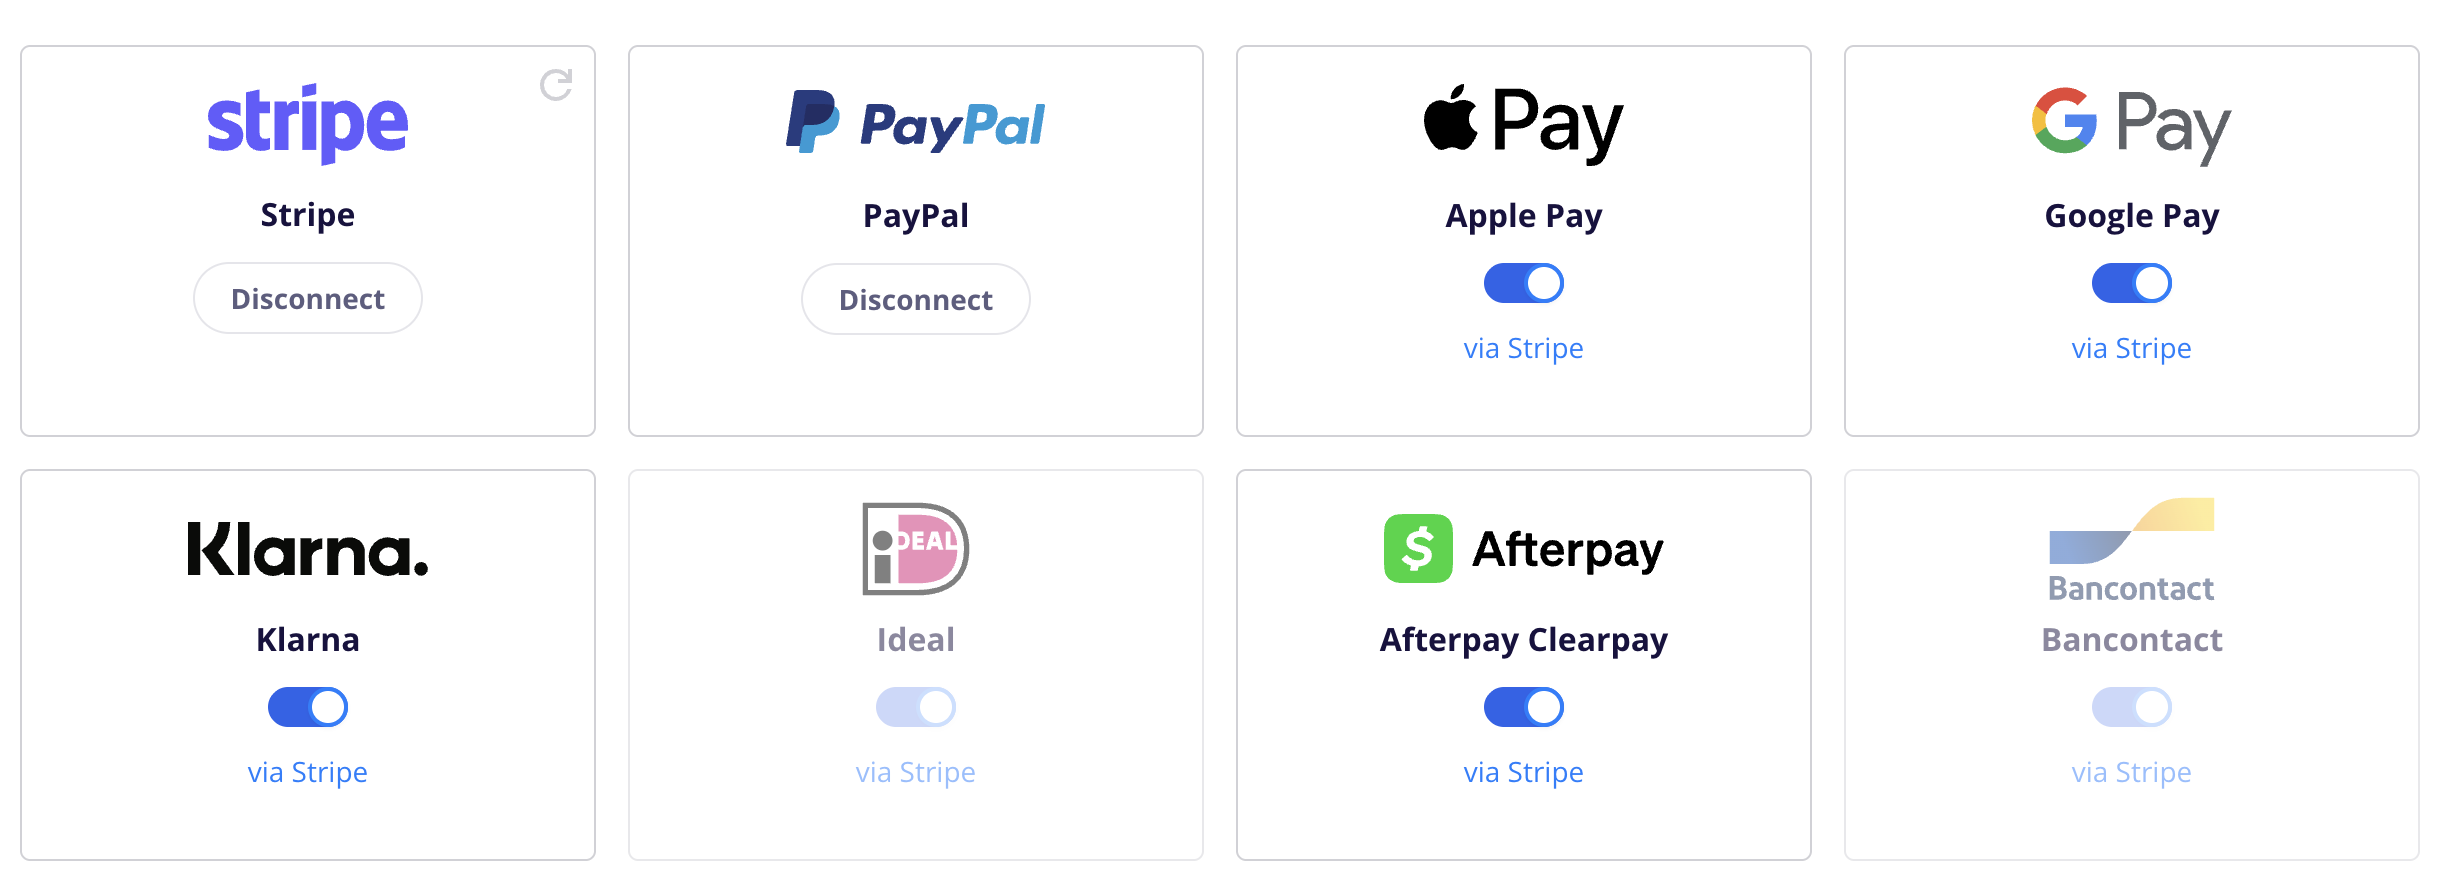
Then, enable the toggle for the Afterpay gateway.
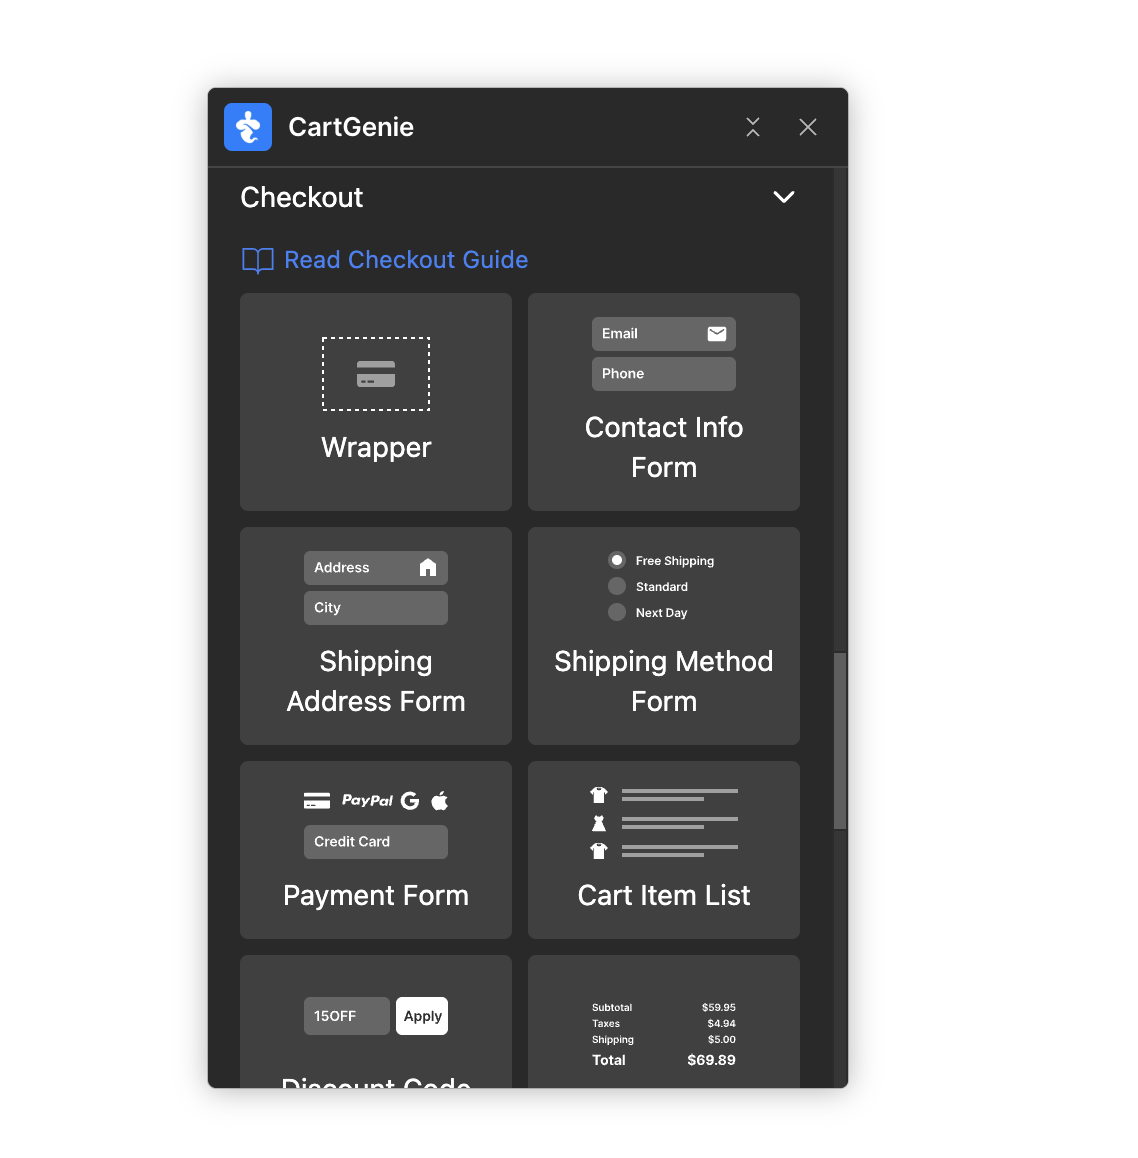
Next, in Webflow, ensure that your checkout page has the necessary Afterpay payment tab option. If not, you can use our Designer Extension to simply add the “Payment Form” block to your checkout page (found in Create Product Pages > Components > Checkout).
If you are based in a country with a different logo, you can find it on their respective sites (green logo and clearpay logo) and replace it in Webflow
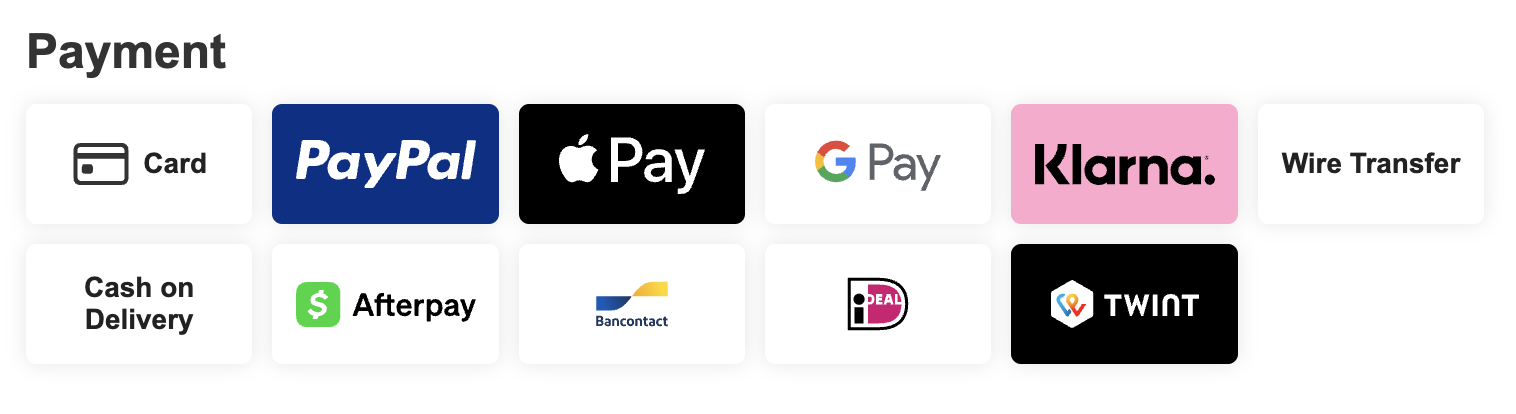
Publish your site and you should see Afterpay as an option at checkout!
When users select Afterpay at checkout, they will be redirected to the site to complete their payment.

Store currency must be in USD, CAD, GBP, AUD, or NZD
Customer’s address must be in the United States, Canada, United Kingdom, Australia, New Zealand
The store’s Stripe account is based in one of the following countries:

Order amount must be in the supported ranges:
Australia | AUD | 1 - 2,000 AUD |
Canada | CAD | 1 - 2,000 CAD |
New Zealand | NZD | 1 - 2,000 NZD |
United Kingdom | GBP | 1 - 1,200 GBP |
United States | USD | 1 - 4,000 USD |
There are a few reasons why you may not be seeing Afterpay at checkout on your site. Here is a list of steps to try to see if it resolves the issues.
CartGenie’s Test Order Mode only works with credit cards, so all other payment methods are hidden at checkout.
Turn off Test Order Mode in Payment Gateway settings to test a live Afterpay / Clearpay payment.

Afterpay / Clearpay only supports certain currencies.
Your store currency must be set to one of the following:
USD, CAD, GBP, AUD, or NZD
If your store currency is set to EUR, SEK, DKK, CHF, or another unsupported currency, Afterpay / Clearpay will not appear at checkout.
Afterpay / Clearpay is only available for customers in supported countries.
Supported customer countries include:
United States, Canada, United Kingdom, Australia, and New Zealand
For shippable products, the customer should have a shipping address in one of these supported countries.
For non-shippable products, the customer should have a billing address in one of these supported countries.
Afterpay / Clearpay requires the payment currency to match the customer’s country.
For example:
United States customers must pay in USD
Canada customers must pay in CAD
United Kingdom customers must pay in GBP
Australia customers must pay in AUD
New Zealand customers must pay in NZD
If your store is set to USD, Afterpay may appear for United States customers, but not for customers in Canada, the United Kingdom, Australia, or New Zealand.
For shippable products, customers need to be able to select a supported shipping country at checkout.
If the customer’s country is not added as a shipping zone in CartGenie, the customer may not be able to enter a valid shipping address and Afterpay / Clearpay may not appear.
Add the supported country as a shipping zone, make sure a valid shipping method is available, then test checkout again.
CartGenie should enable Afterpay / Clearpay automatically when you connect your Stripe account and enable the toggle in Payment Gateways, but you can double-check in Stripe.
Go to:
Stripe Dashboard > Settings > Payment methods
Then click Default: CartGenie configuration and look for Afterpay / Clearpay in the list.
Make sure Afterpay / Clearpay is enabled.
Back in CartGenie Payment Gateway settings, click the refresh icon in the Stripe card to make sure CartGenie recognizes the latest Stripe payment method settings.

Afterpay / Clearpay availability depends on the country and eligibility of the connected Stripe account.
If Afterpay / Clearpay is not available in the store’s Stripe payment method settings, the connected Stripe account may not be eligible to offer it.
Afterpay / Clearpay has minimum and maximum order amounts that vary by country and currency.
If the order total is outside the allowed range, Afterpay / Clearpay may not appear at checkout.
Afterpay / Clearpay is generally for one-time payments.
If the order includes a subscription, recurring payment, or other unsupported payment mode, Afterpay / Clearpay may not appear at checkout.
Sometimes your browser may cache payment settings and checkout options from previous page loads, especially if you visited checkout before enabling Afterpay / Clearpay.
Try clearing your browser cache, testing in a private/incognito window, or testing in another browser.
You can also delete cookies for only your store site in Chrome here:
chrome://settings/content/allAfterpay / Clearpay payments should be tested on a secure HTTPS page.
If the store is loading over HTTP, has SSL issues, or has mixed-content errors, Afterpay / Clearpay may not appear or may fail during checkout.
Make sure the checkout page loads with a valid HTTPS URL, then republish the site and test again.
Currently Afterpay / Clearpay does not work with CartGenie’s subscription products. If you want to allow customers to purchase a subscription, please ensure you have Stripe enabled and the credit card tab available at checkout.
