CartGenie automatically sends product inventory to Webflow’s CMS so you can display this on your product template page if you wish. This works great for single products without variants.
If your product has variants, you can still connect it to the CMS but also should use our custom component so we can display the variant’s inventory when selected by the customer.
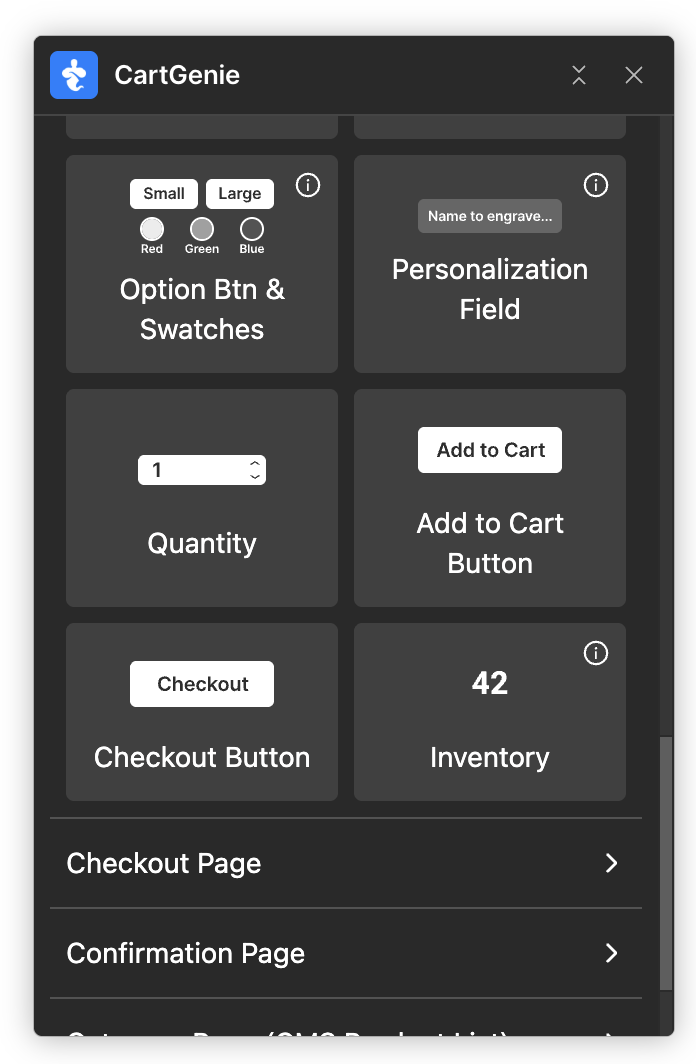
In Webflow, open the CartGenie designer extension (click the app tab > CartGenie) and then navigate to Create Product Pages > Components and scroll to the Products section. Click on the Inventory component to copy it and then paste in your product template page (inside of the CartGenie product wrapper).
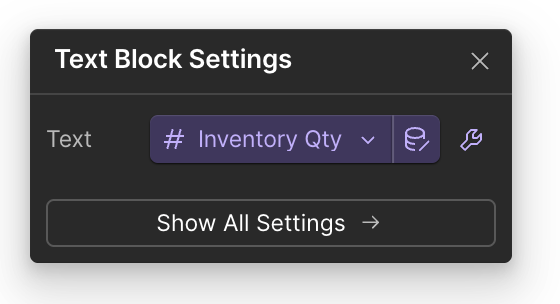
Then, click on the gear icon, and then the purple plus icon.
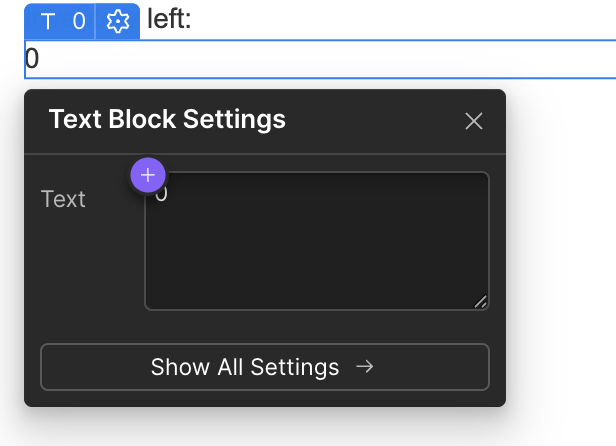
Then select the “Inventory Qty” from the CMS collection
For products without variants: This CMS field is the amount of the product left in your inventory
For products with variants: This CMS field is the total amount of inventory of all variants
(the component will automatically update to each variant’s specific inventory when the customer selects a variant on the product page)
In the layer Settings tab, click on the purple dot in the Visibility section.
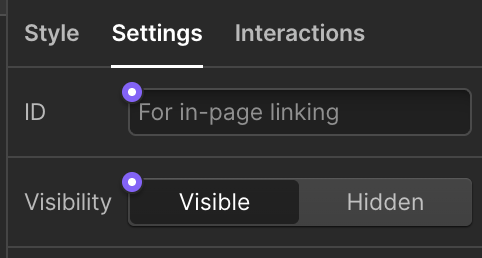
Then, select “Track Inventory” from the dropdown so that the inventory quantity will only be visible if your product has inventory tracked.

Done!
Publish your site and your inventory display should now be live.
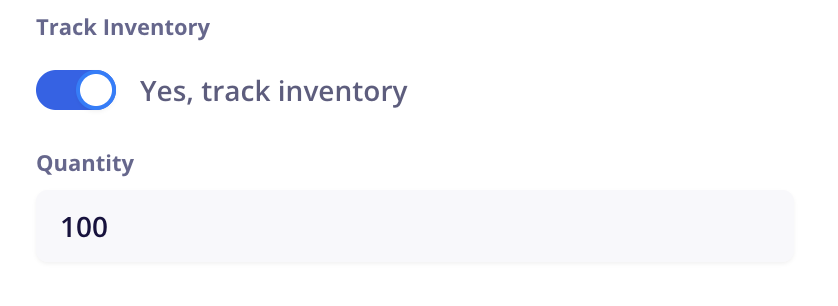
Inside of each CartGenie product you want to track inventory, navigate to the product’s billing & shipping tab.

Then enable the toggle for “Track Inventory” and enter your amount.
If you add variants, this number will be added to each variant you create. Once variants are created, you can edit the inventory for each inside the “Variants” tab.