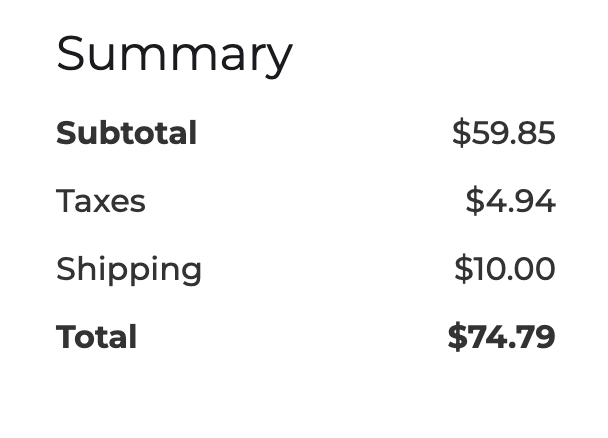
Our Designer Extension makes it super easy to create store pages by instantly pasting in one of our page templates. We highly recommend using this easier method and then styling the blocks to match your brand.
Creating your store pages in Webflow ***
How to create your product, checkout, and confirmation store pages in Webflow and connect them to CartGenie
This method is very advanced and requires tedious work. We recommend using the easier method above.
If you have an existing store with product, checkout, & confirmation pages that you want to convert to CartGenie, you can use our Webflow Designer Extension to manually connect elements from your site to our app!

This help doc is not about connecting a page template block to the CMS custom field to dynamically populate the text or image (see how to do that here). This is about ensuring that page components are able to be manipulated and information is able to be sent to CartGenie’s app.
In Webflow, open the App tab in the left-hand menu and launch the CartGenie app.
Click on the “Connect Existing Elements” option
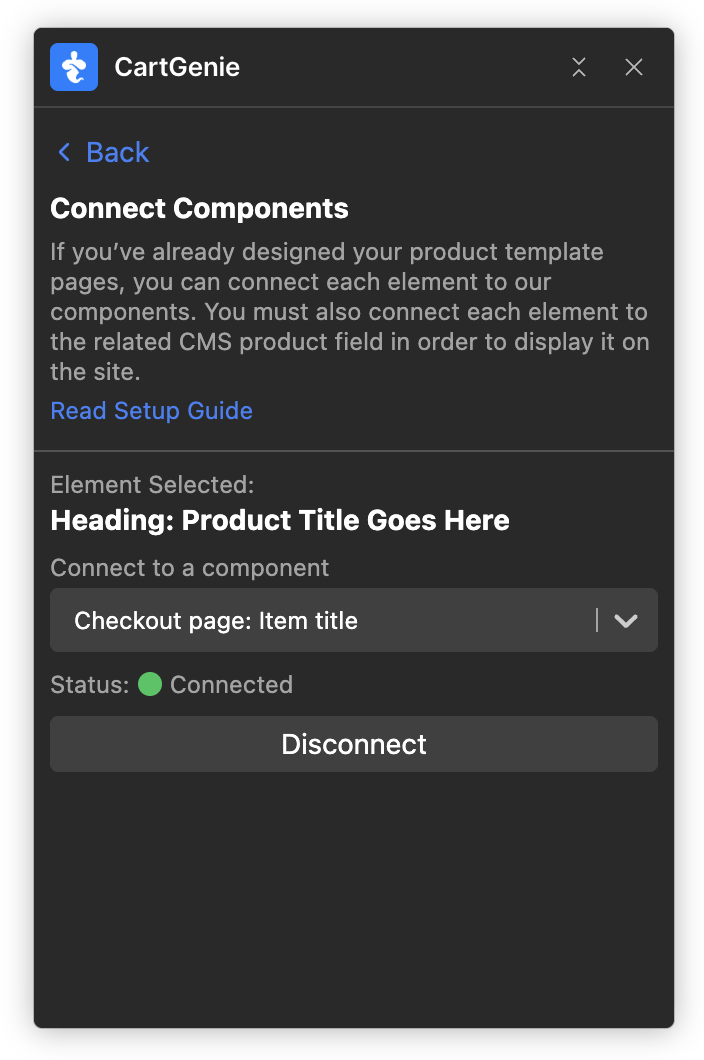
While editing your product, checkout & confirmation pages, you can no select an element (such as the item title or the shipping address city input field) and connect it to CartGenie so we can pull that information upon checkout.
Once you click on the desired element, find the corresponding item in the dropdown box. You can also search here if needed. Then click the save button.
This process will add a Custom Attribute to the item, which you can view in the Settings tab.
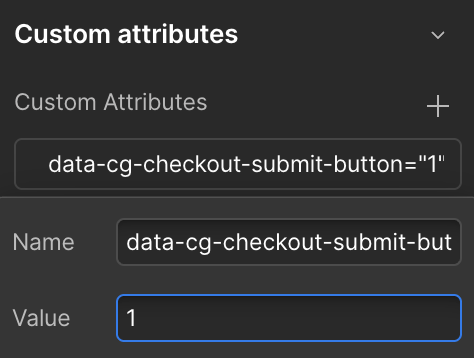
In order for CartGenie to function properly, you must connect each of the following elements using the Designer Extension.
Comprehensive List of Required FieldsDefinitions to note in this doc:
Key
Internal naming reference. Used for detailing parent / nesting requirements
Page
This is the page where this custom attribute must be placed on the relevant element
Parent
This is the parent element which this attribute must be nested inside of.
Title
Internal prettier name
Attributes
This is the name and value of the custom attribute that must be added in Webflow so CartGenie can recognize this element.
Optional
If optional is not listed, this custom attribute must be in the given Webflow page in order for CartGenie to function properly.
If optional = true, you may skip this custom attribute if you wish
This list may not be comprehensive and doesn’t detail nesting requirements. See link above for full required list.
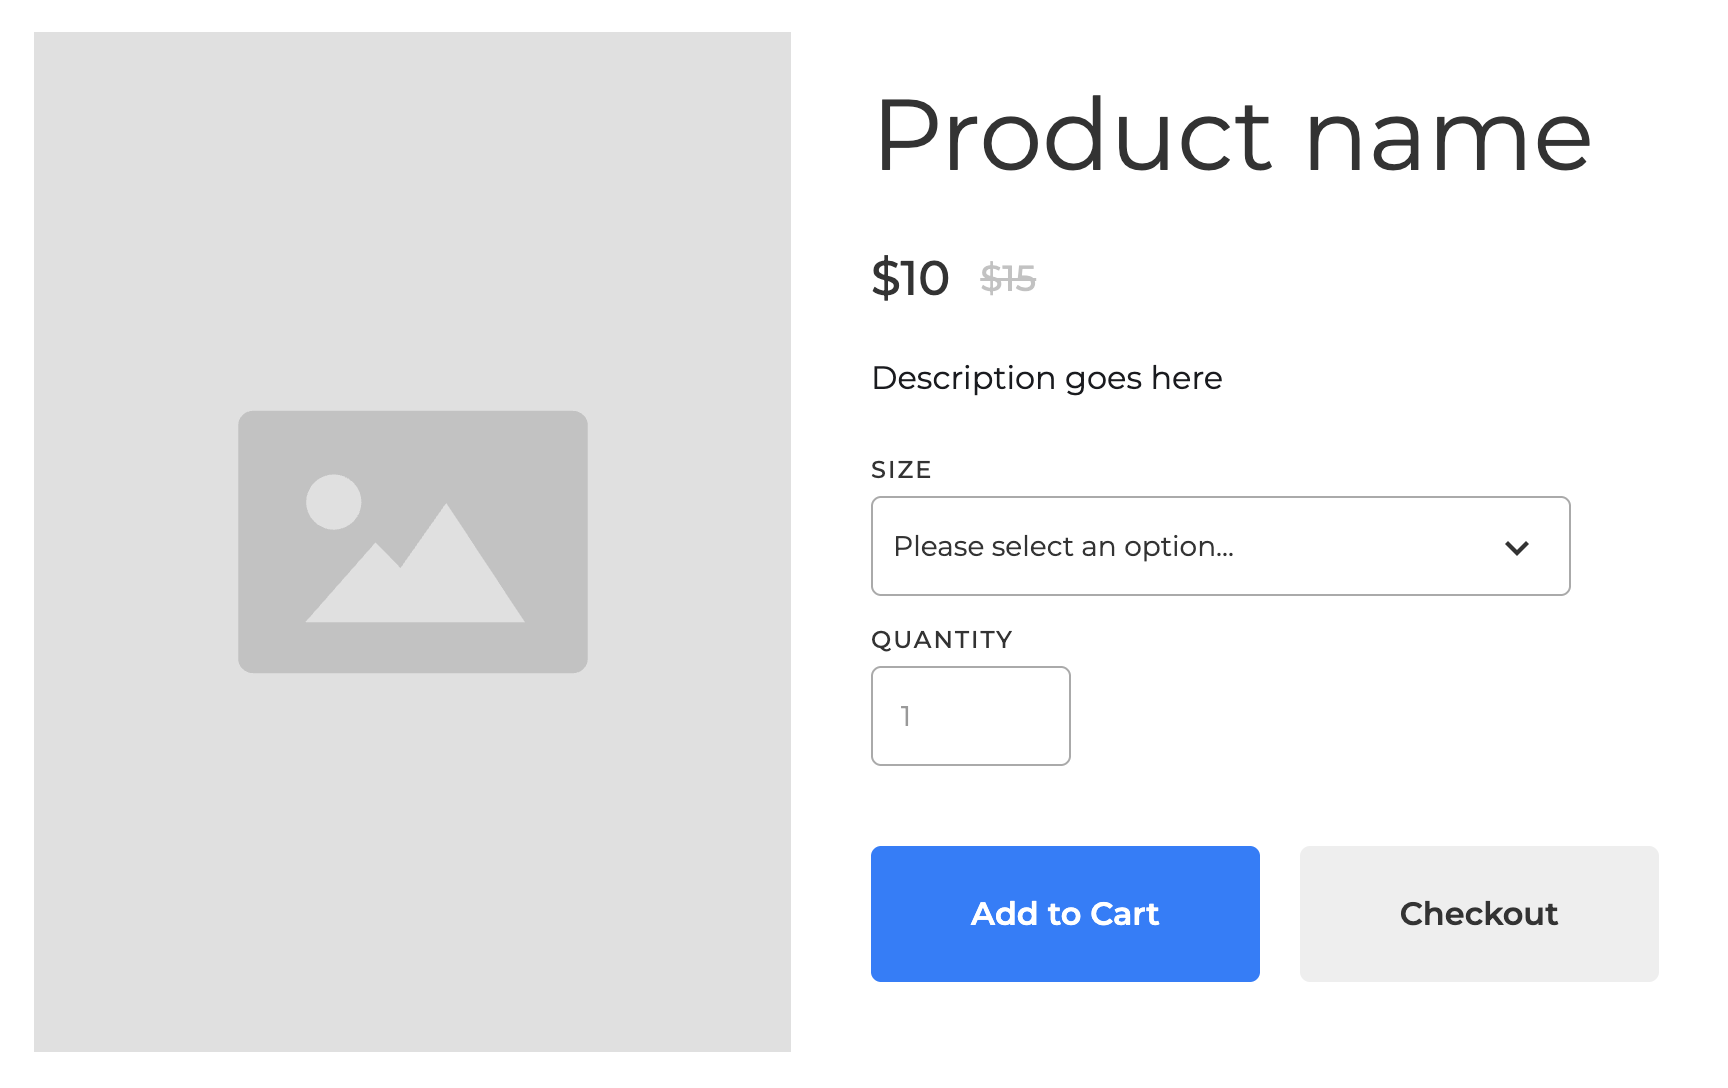
Add the following elements to the product page and connect them to CartGenie
Product Price
Old Price
Quantity
Add to Cart button
Checkout button
Add the following elements to the checkout page and connect them to CartGenie
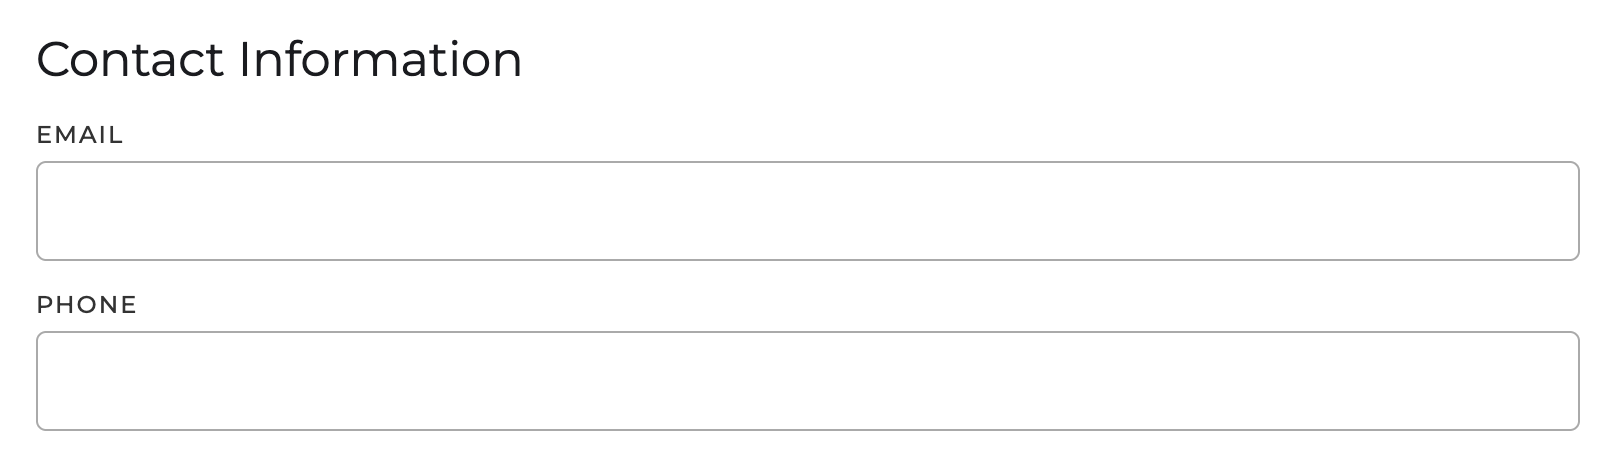
Contact
Phone
Shipping
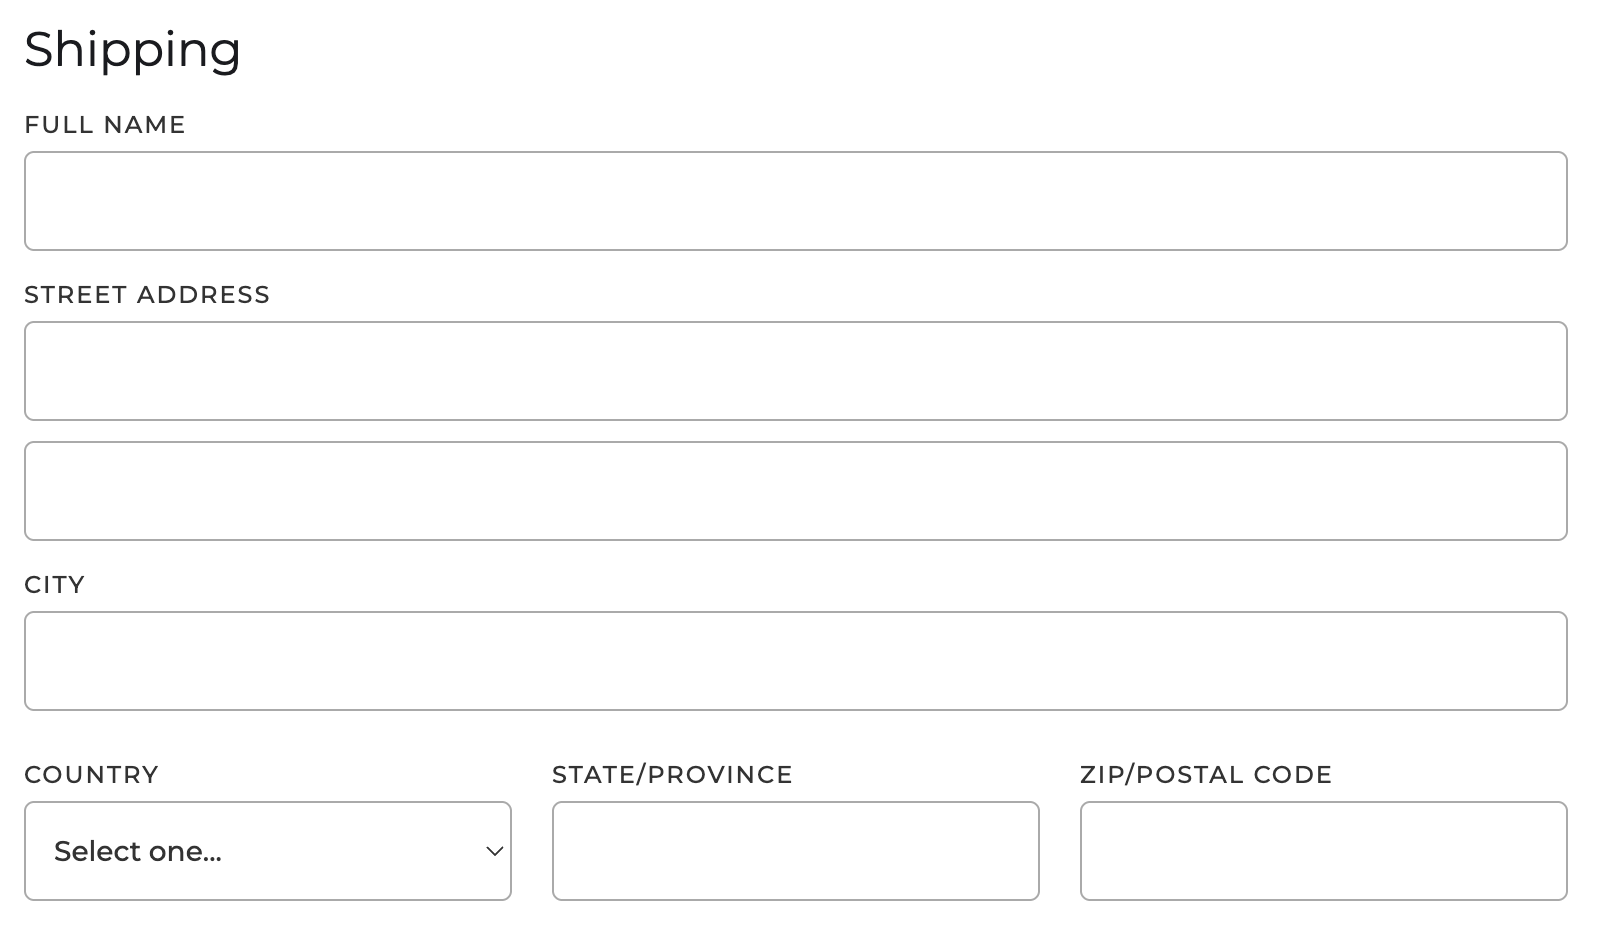
Shipping section
Shipping address section
Shipping Fullname
Shipping address line1
Shipping address line2
Shipping address city
Shipping address country
Shipping address state
Shipping address zip
Shipping Verification
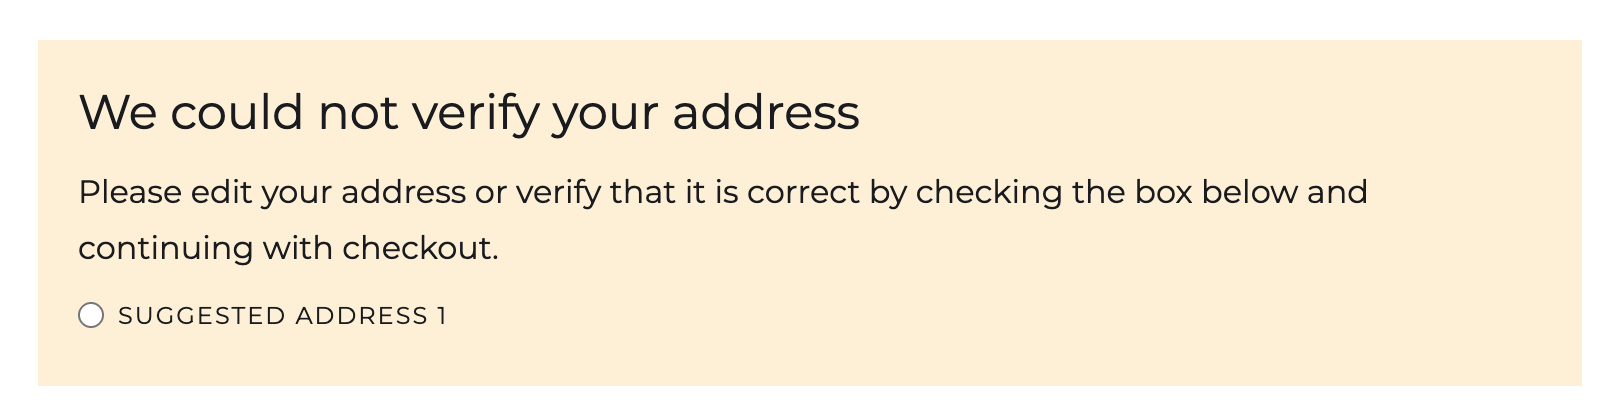
Shipping address verification failed
Shipping address verification failed option radio
Shipping Method
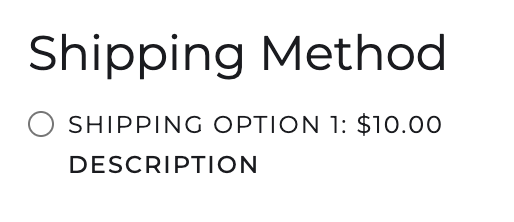
Shipping method container
Shipping option radio
Shipping option description
Billing
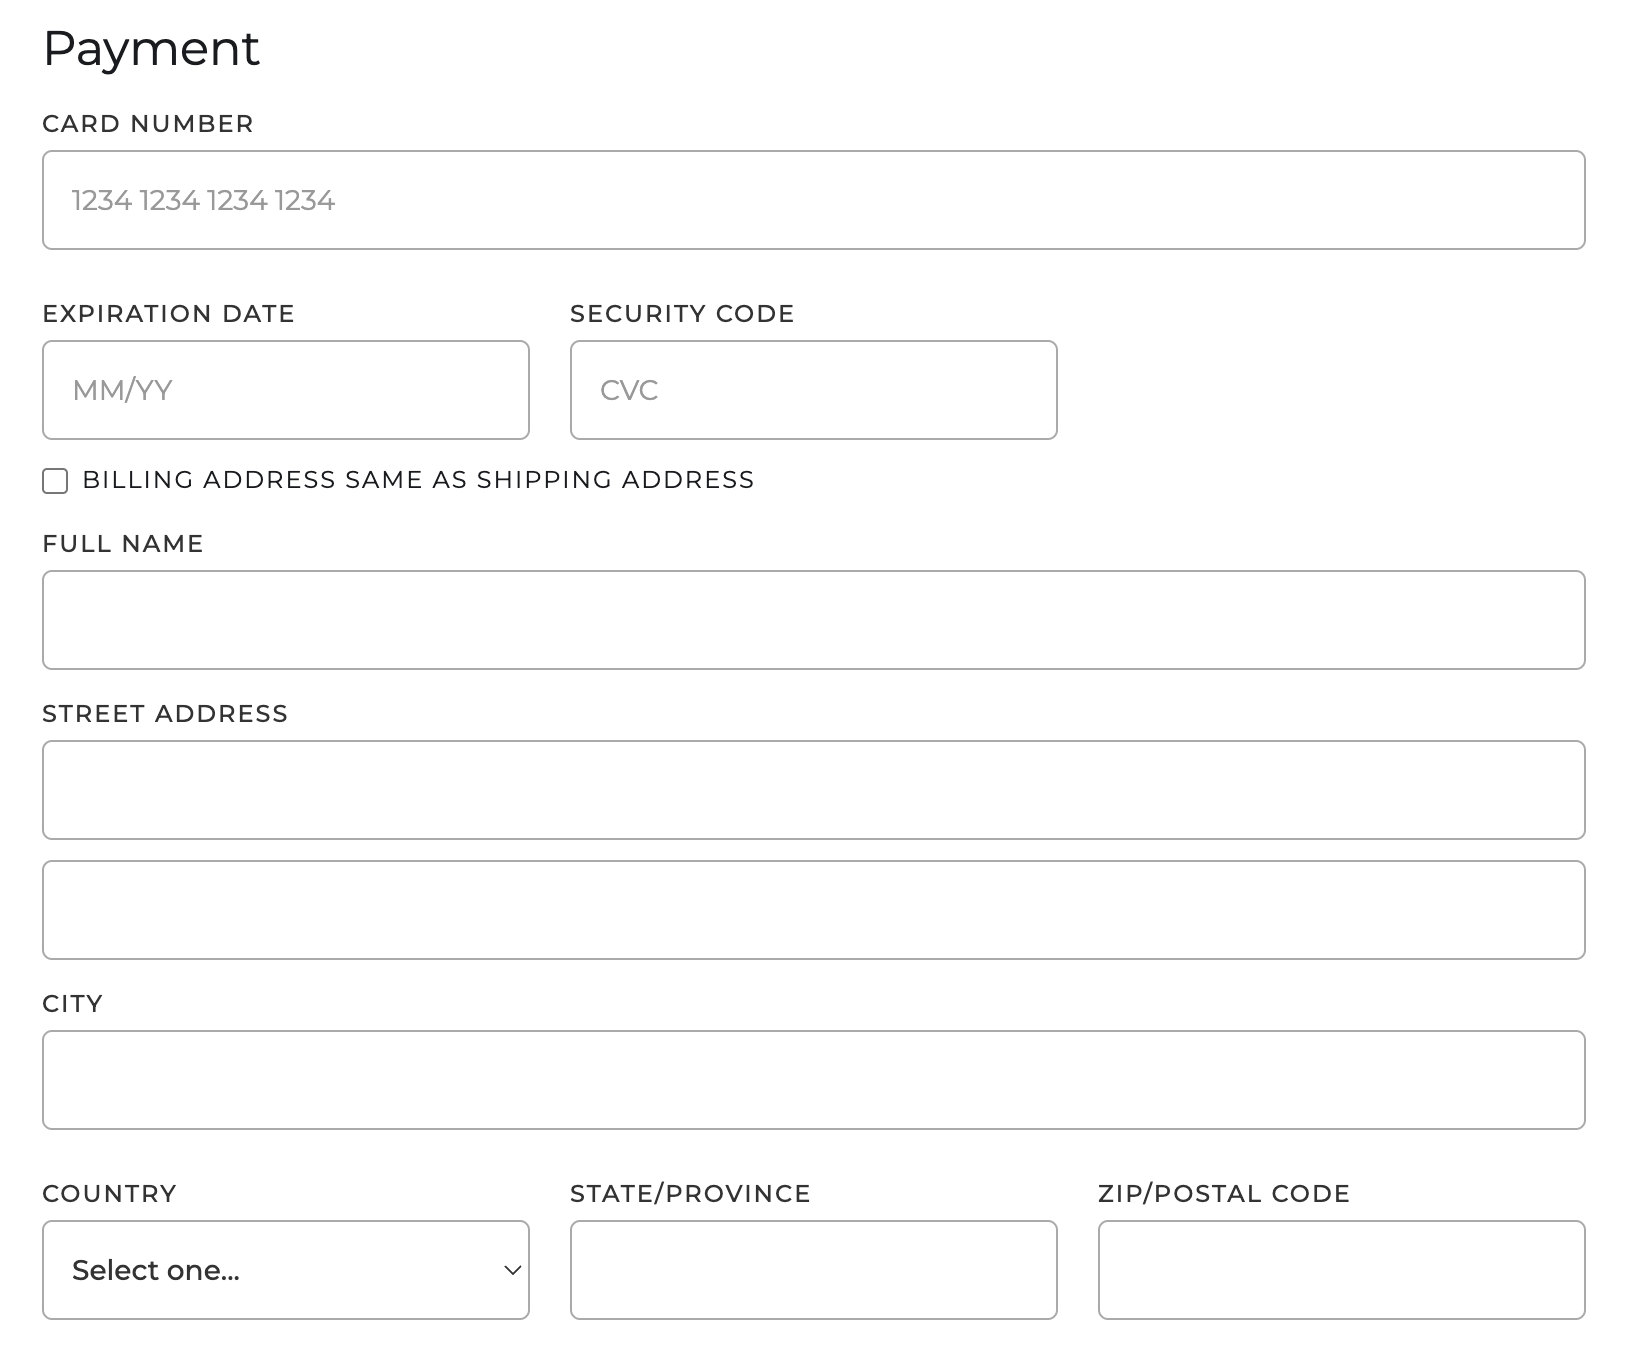
Card number input field
Card date input field
Card CVV code input field
Billing same as shipping checkbox
Billing Fullname
Billing address line 1
Billing address line 2
Billing address city
Billing address country
Billing address state
Billing address zip
Products
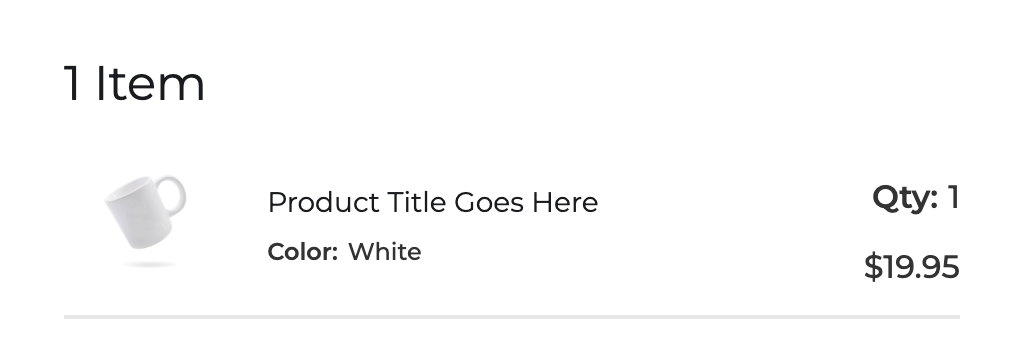
Item section
Item image
Item title
Item Price
Item quantity
Item option name
Item option value
Item total
Discount Code
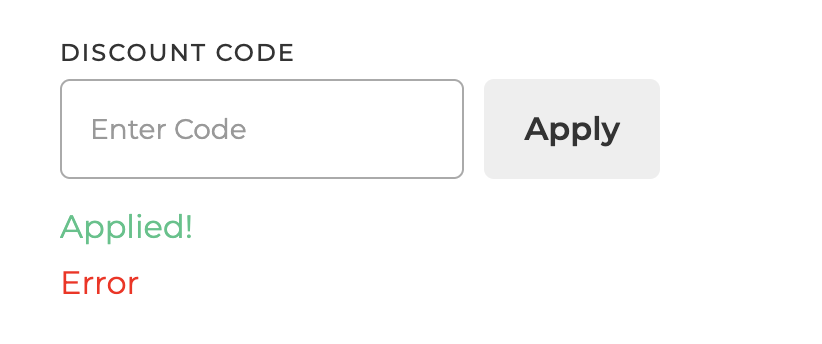
Discount field
Apply Discount button
Summary
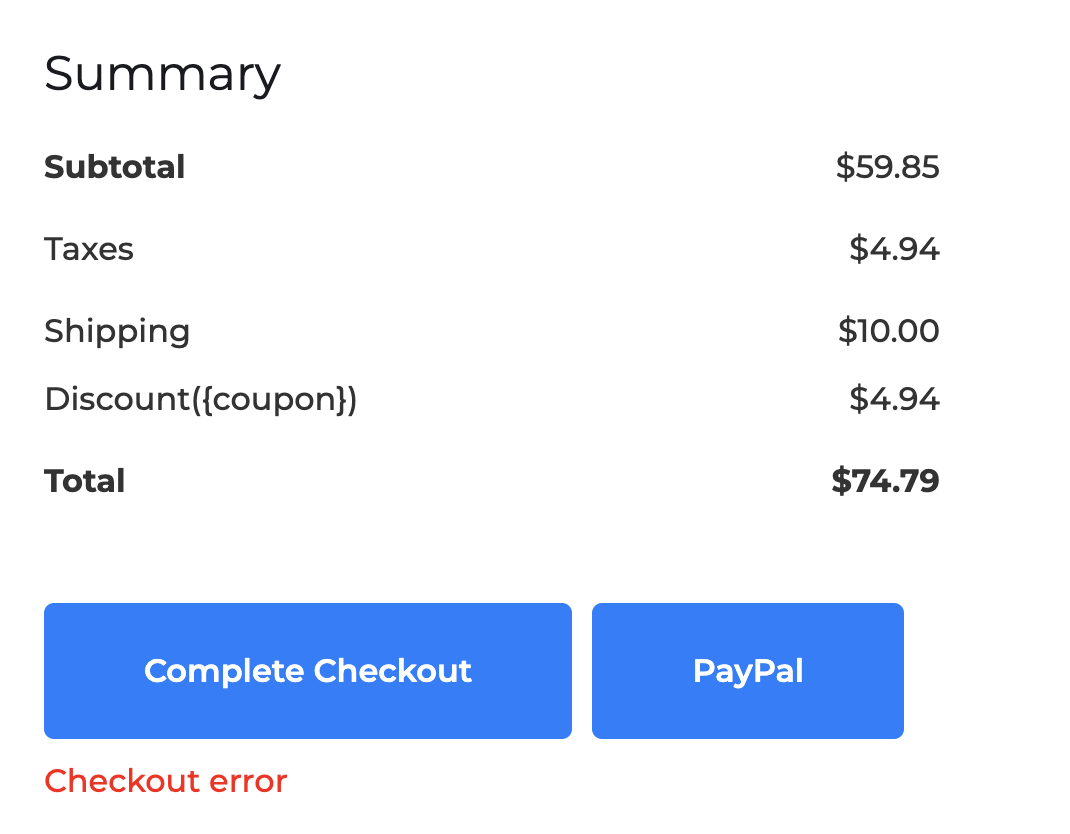
Subtotal
Taxes
Shipping total
Total
Place order
Paypal Button
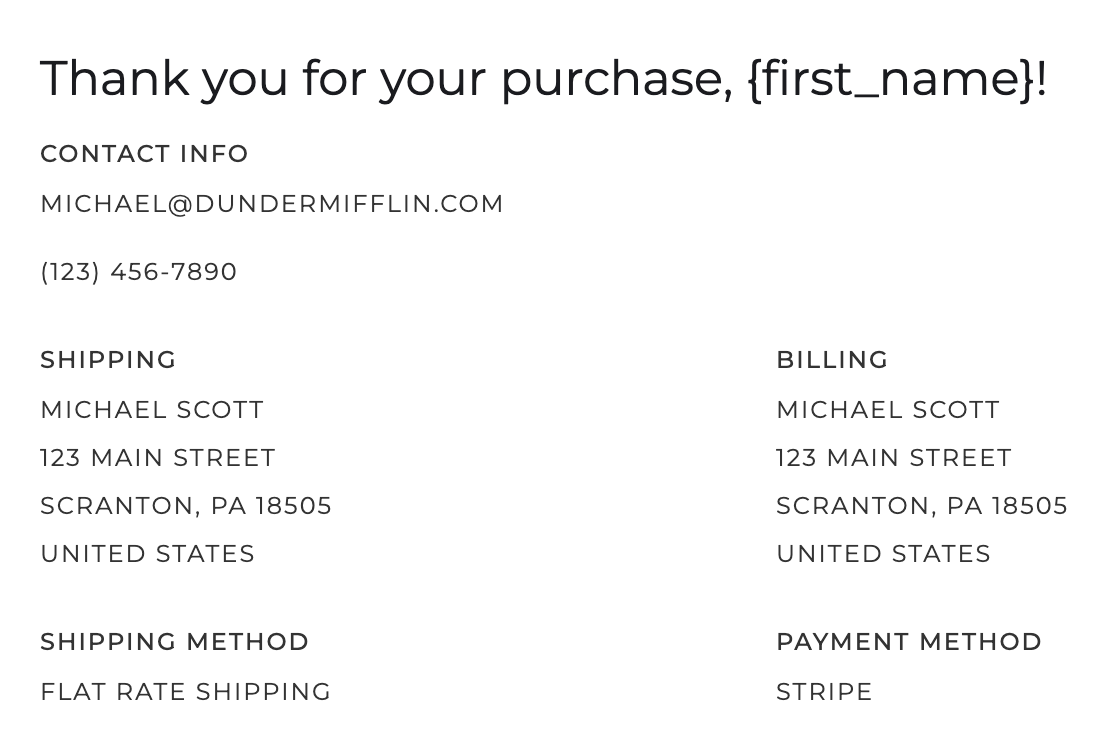
Add the following elements to the confirmation page and connect them to CartGenie
Info
Thank you message
Customer Phone
Shipping address
Billing address
Shipping method
Payment method
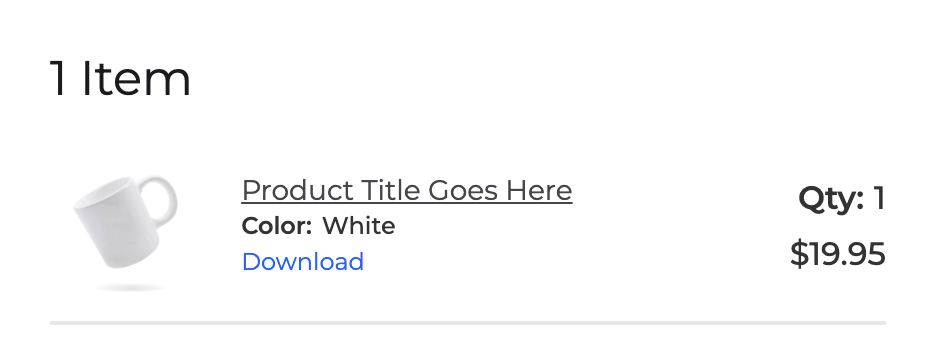
Items
Item section
Item image
Item title
Item option name
Item value
Item quantity
Item total
Summary
Order subtotal
Order taxes
Order shipping total
Order total