If you’ve used our CartGenie page templates (and not moved or deleted any elements) for your cart, product, checkout, and confirmation pages, then you can ignore this tutorial.
If you’ve been modifying your site or connecting elements from scratch, then you’ll want to ensure everything is in place before you launch. Otherwise, your store may not function properly.
The page validator is also very useful if something on your CartGenie product pages or checkout is not working correctly and you want to ensure everything is set up correctly. The Page Validator is a good first step to troubleshooting any issues you may be experiencing.
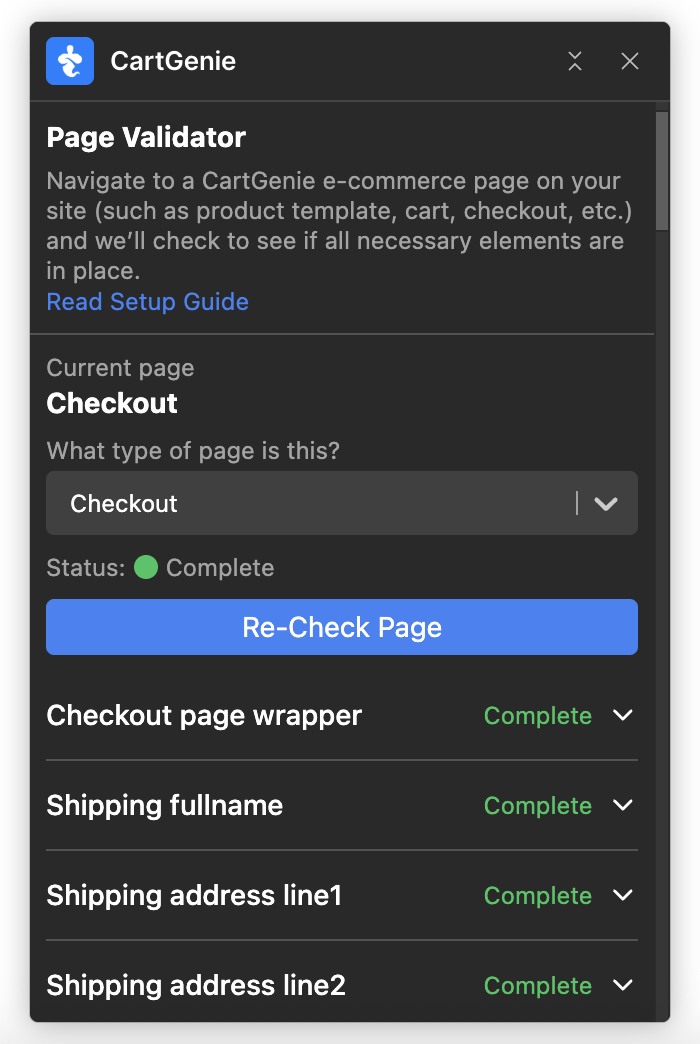
To validate your pages, go to the App tab in Webflow and launch the CartGenie app.
Click on the “Page Validator” option
From the drop down, select which page you are currently viewing (product, checkout, confirmation, or cart) and click “Check Page”
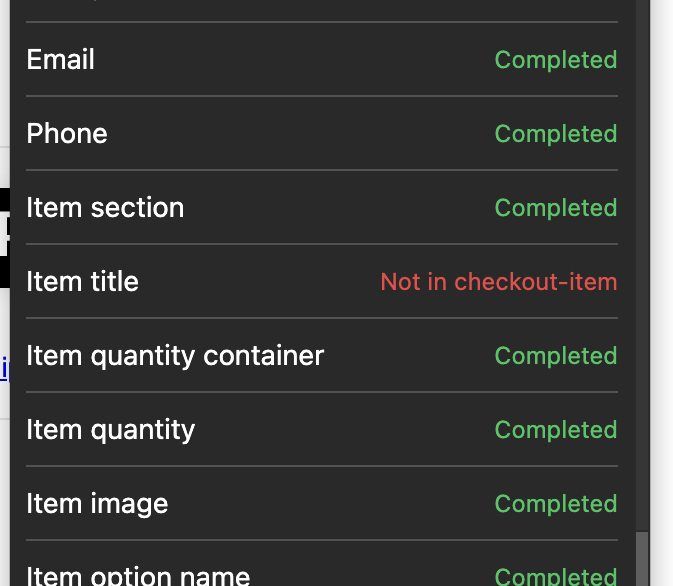
The app will then display a checklist of all the necessary fields and whether it found them on your page.
In order for the Designer Extension to be able to see the attributes in your cart, the cart must be present on the current page you’re viewing.

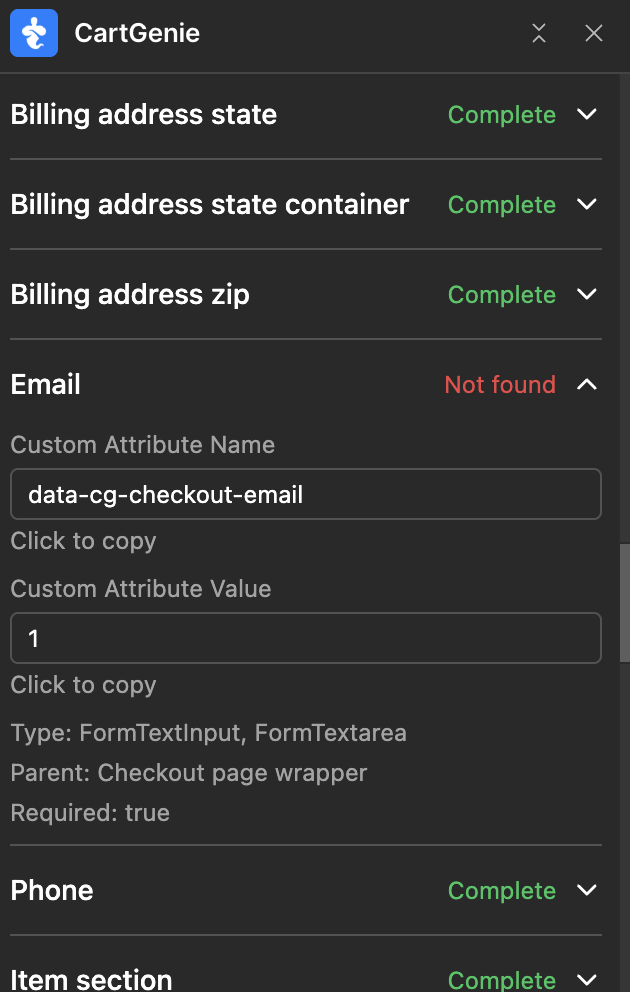
You may see an error similar to this: “Not in ______”.
This means that the required element is not nested inside of the required parent element (which will also be an item in the list).
If you only need to fix a few items, then you can expand the missing section and see how to fix it.
In this example below, we need to add a text input field inside of the checkout page wrapper and with the custom attribute name and value specified.
If you have a lot of errors, the simplest method is to simply delete the CartGenie section wrapper on the page and re-paste the CartGenie page template. Alternatively, delete only the section of the page (such as payment methods) that has errors and paste in the correct component in its place.
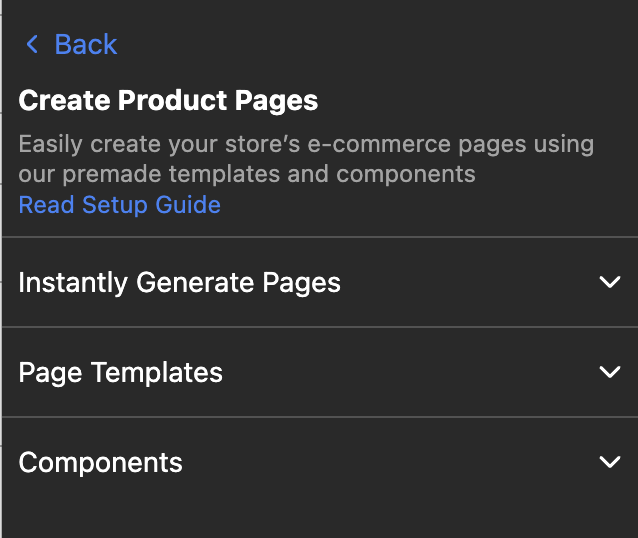
Open the CartGenie app extension.
Go to Create Product Pages
Open either the Page Templates or Components section and copy the relevant option
This should resolve all attribute errors.
