CartGenie makes adding and editing a cart super easy! Follow this guide below to add a cart to your new store.
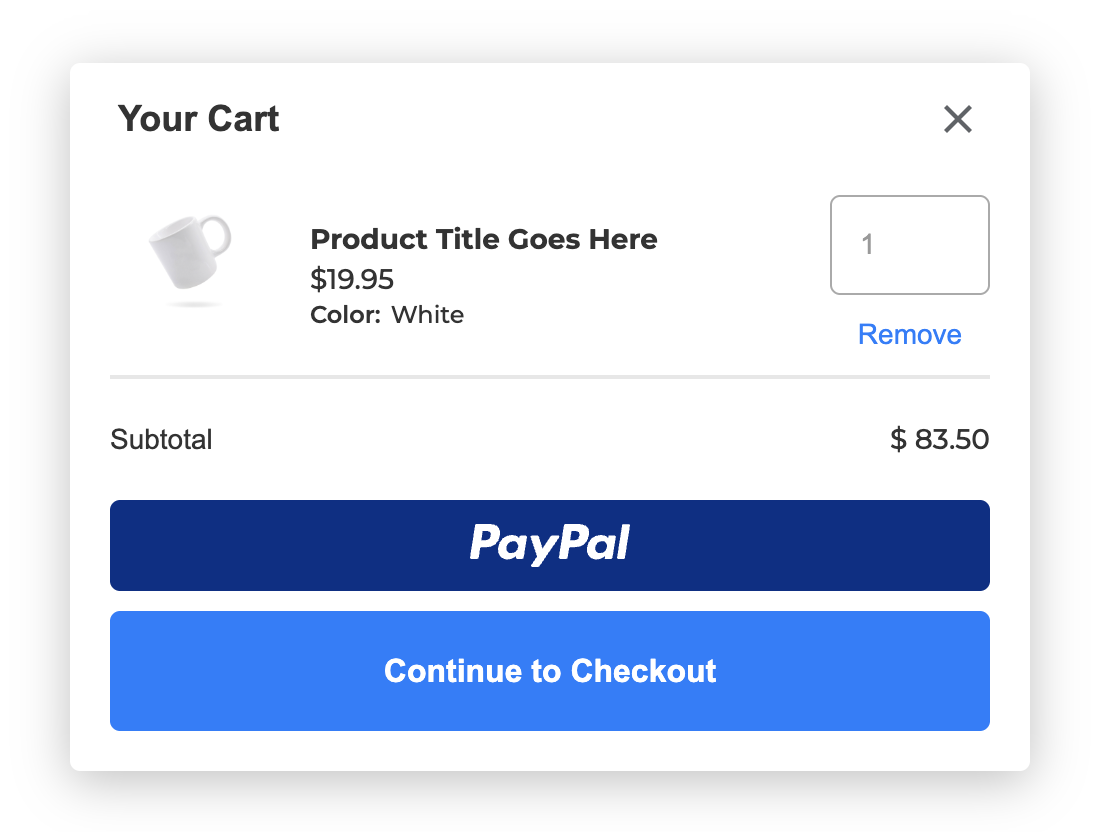
If you’ve installed CartGenie, we automatically add a cart to your site to ensure your customers are never left without a way to add items. This cart is not editable in Webflow, but it is fully functioning otherwise.
If you like this cart and don’t want to spend the time adding and styling a cart yourself, then you are good to go and can skip the rest of this tutorial!
If you want to customize the way your cart looks or change the layout, you can do so using our Designer Extension components.
In Webflow’s designer, open the apps tab in the left menu and open the “CartGenie” app.
Then, select “Create Product Pages” and open the “Components” accordion and “Cart Pages” section.
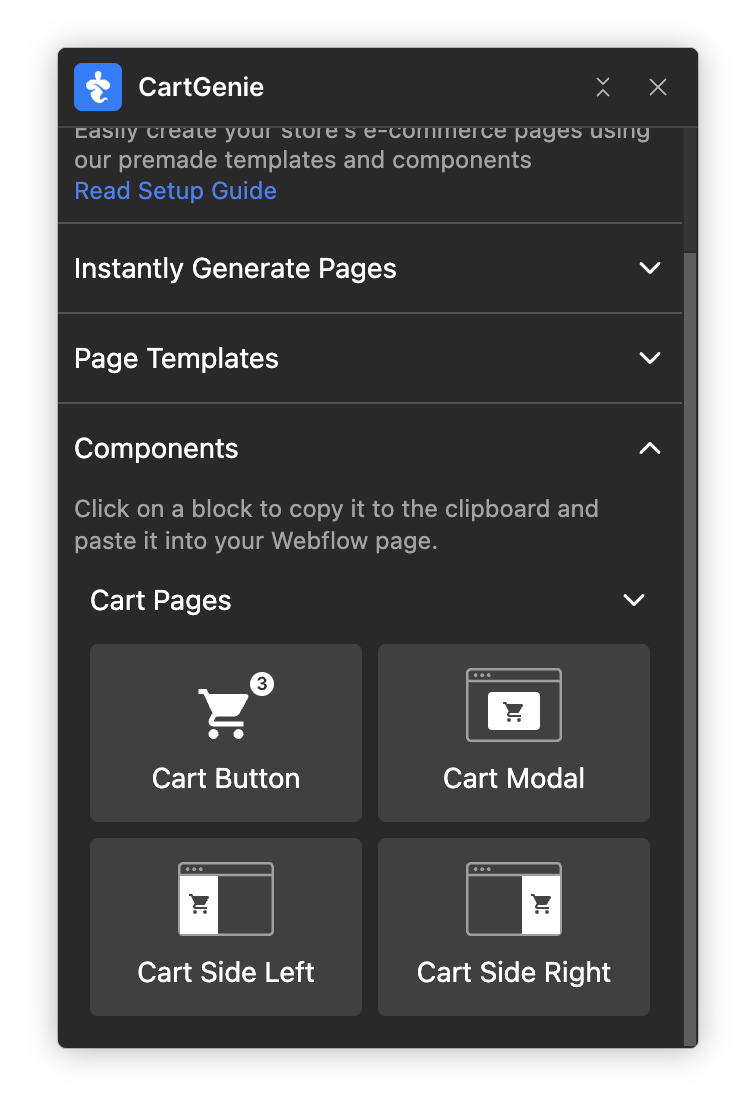
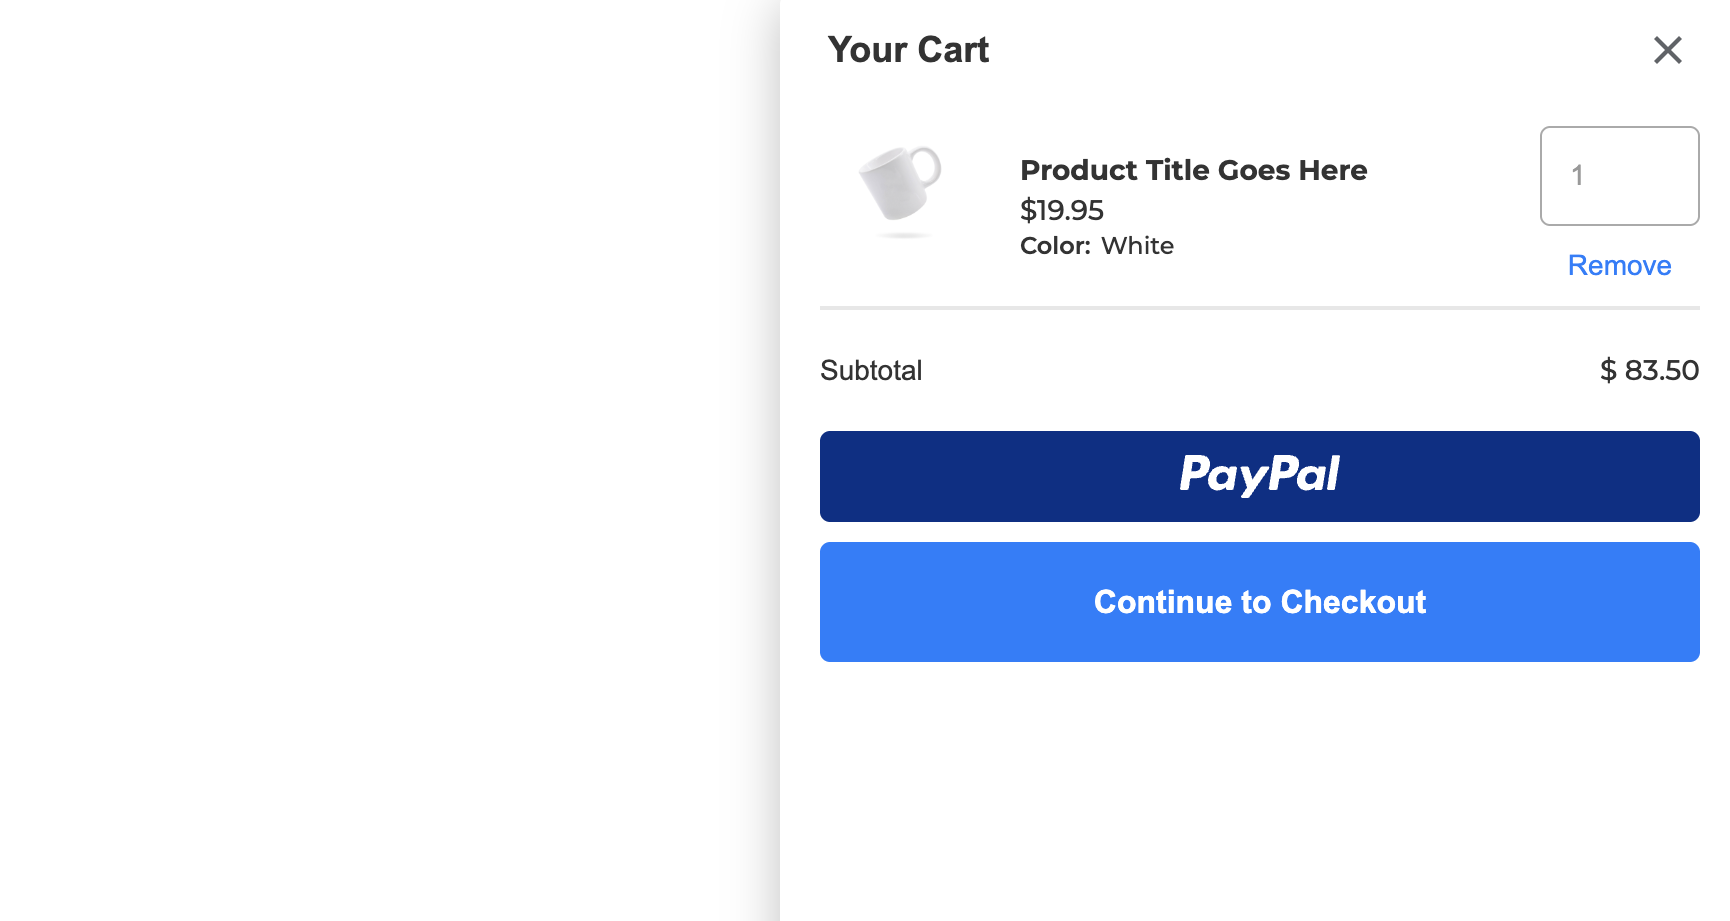
Here you’ll see 3 options for your cart layout:

Click on the option you want to copy it to your clipboard. Then paste into your site using Ctrl-V (Cmd-V on Mac).
(The “Cart Button” is a cart item counter and trigger to open the cart and can be added to your navigation and/or footer as well)

We highly recommend adding the cart to a Webflow component that is present on all pages of your site.
Such as the navigation bar or the footer, etc.
If you’ve used the same navigation component across your entire site, then the cart will be added to all pages it is on as well.
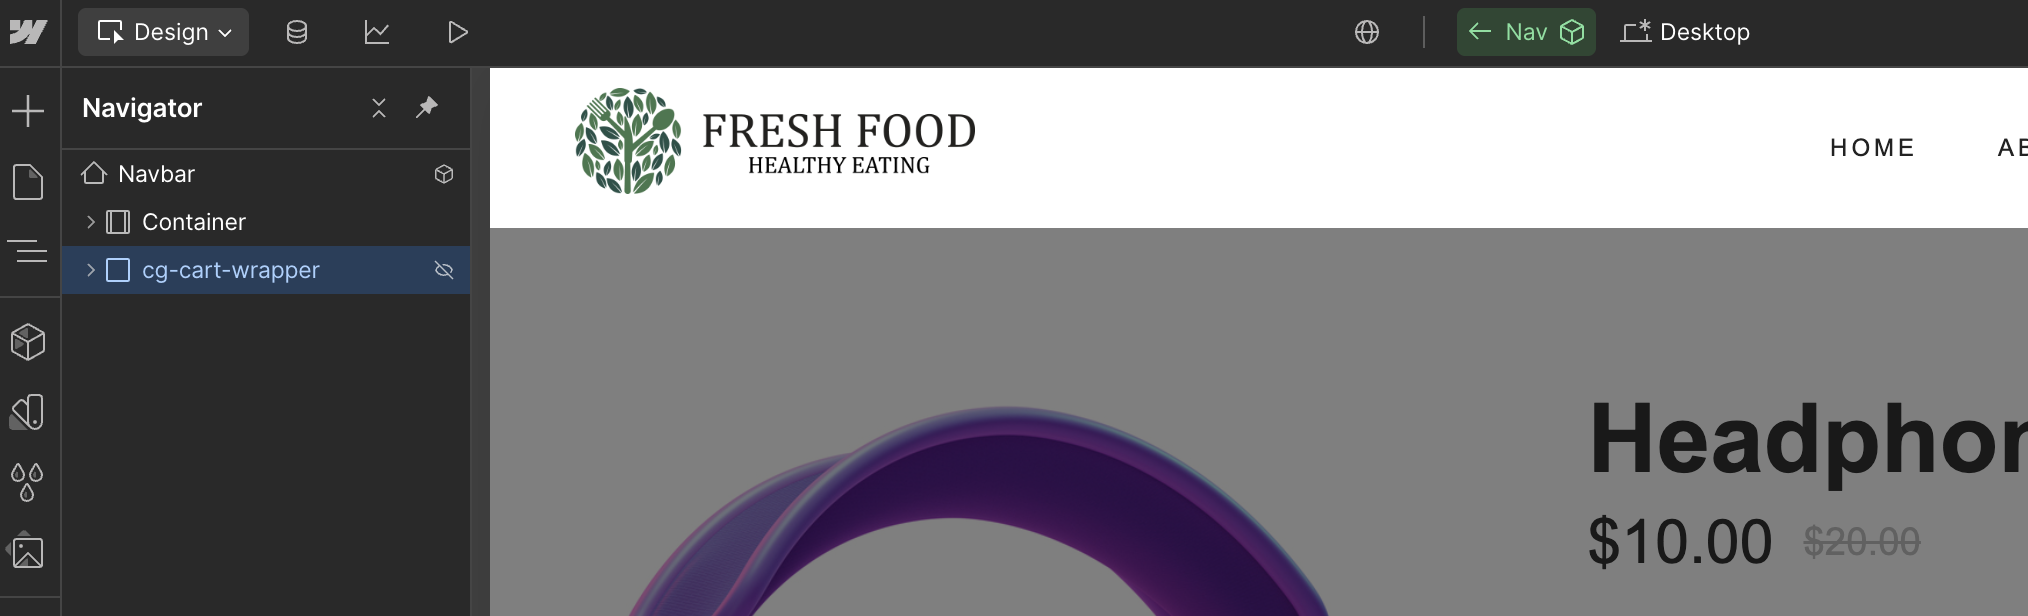
Here we’re editing our navigation component and added the cart modal as a layer right below our actual nav (not inside of the nav container).
Now, anytime someone adds an item to cart, they will see the exact same cart modal every time.
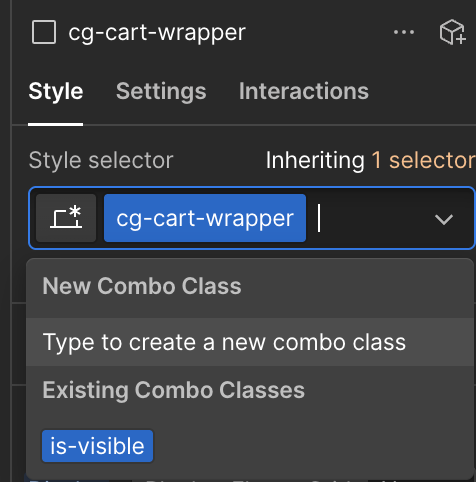
By default, the cart will be visible when you paste it in. This is because we’ve added a custom “is-visible” class to the cart wrapper.
To hide the cart, simply remove the “is-visible” class from the cart wrapper.
This will still allow the cart to be opened/closed by customers on your site, but prevent it from always being visible in your designer.
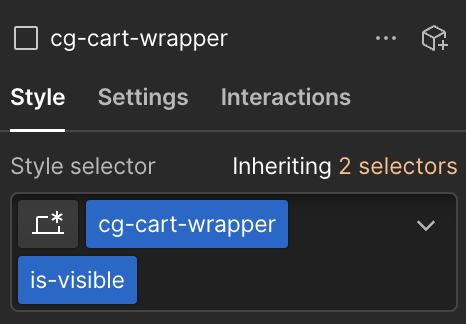
If you go back into your Webflow designer and want to make additional changes, you can select the cg-cart-wrapper in your layers panel (as it will be invisible in the design view). Then simply add back the “is-visible” class to view it and make any design changes.
Now that you’ve added a cart to your store, you can start to style it to match your design!
Select each layer and add your preferred fonts, font colors, background colors, etc.
To edit the height of the mobile cart, simply select the cart-container, go to the mobile view, and set the “height” and “max-height” attributes to your preferred values.
The last step (if you haven’t done so already) is to add the Cart Button to your navigation and/or footer using the Designer Extension.
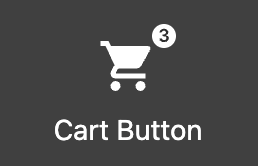
The Cart Button acts as an item counter to tell the customer how many items are currently in their cart. And, it also works as a cart trigger to open the cart when clicked.
Here you can see it added to a site’s navigation bar.


CartGenie’s cart component is 100% styleable in Webflow giving you a lot of flexibility to match your brand and preferences. Simply edit the style classes in Webflow or add your own pre-existing classes for each element.
There are a few classes that get added to your cart component in order to add a smooth animation when opening / closing. These differ slightly depending on which cart option you choose: modal, sidebar left or right (example: sidebar carts will slide in from the side).
