By default, Webflow’s designer creates a single page template for each CMS collection. This means that all items within that collection (such as individual products) each have the same layout and page template – only the content such as images and text is typically different from one to the next.
But, there’s a workaround for this!
Go to your CartGenie Products > Product Settings page
Product SettingsAdd a new “Option” field and name it “Template” or whatever you prefer
Add values now for the different templates. You can name these specific names or you can use numbers to designate them. I’m going with 4 templates and I just named mine: “2, 3, 4”.
Note: I started with “2” because we’re going to assume the default template is “1”. We want this template to be a “catch-all” that will be applied to any product that doesn’t select a specific template.
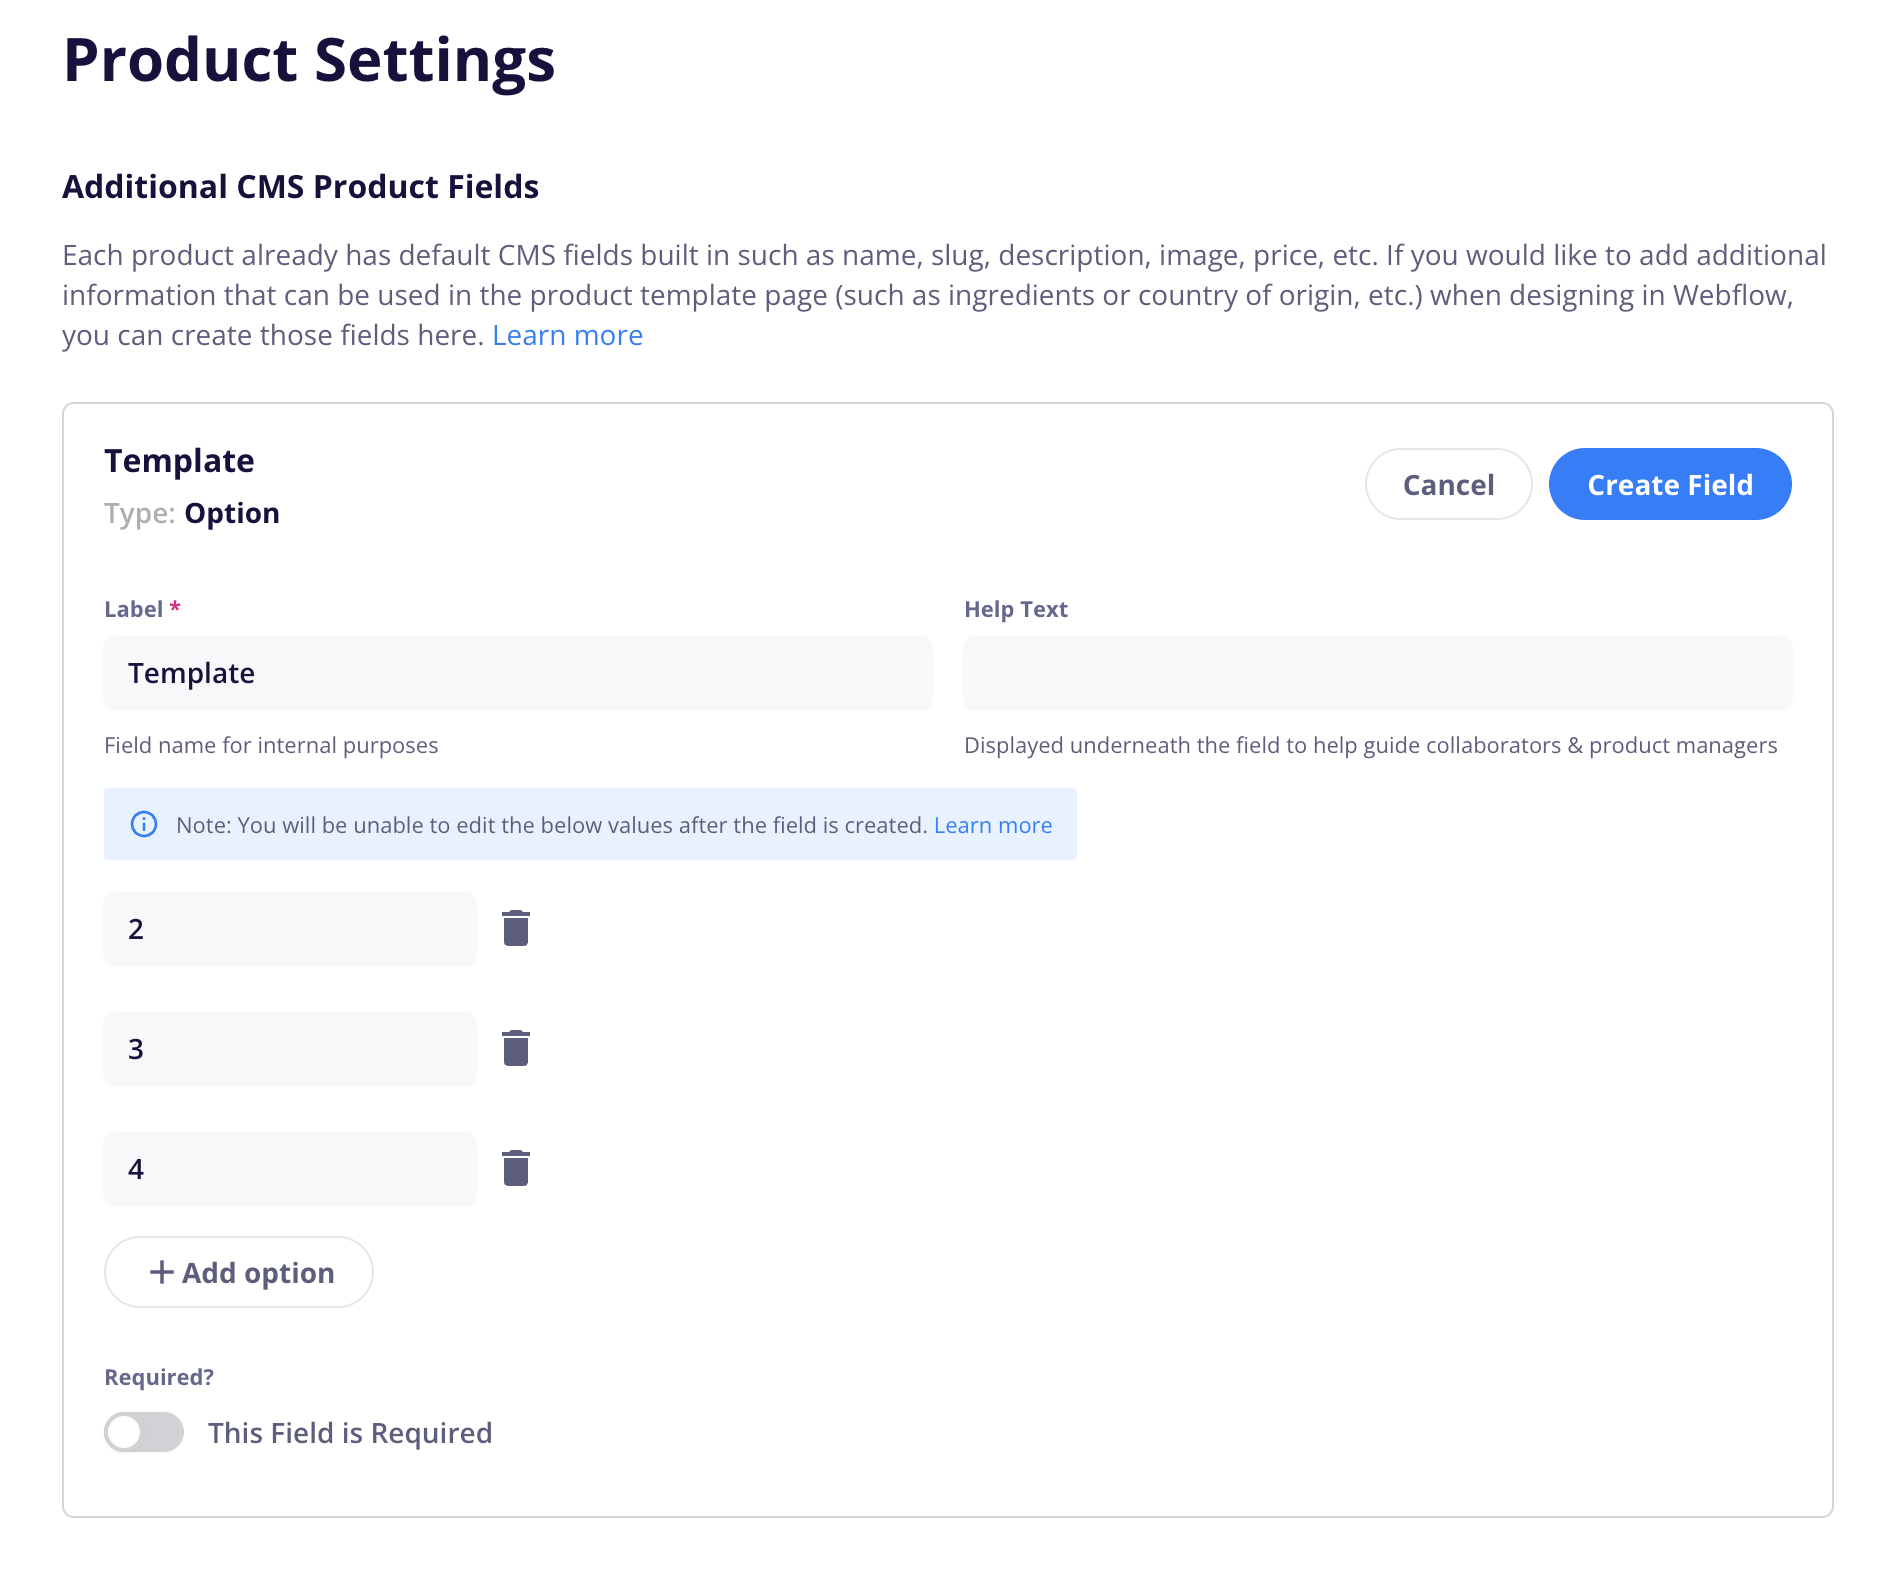

We recommend making it ‘not required’ so all your previous products will use the default “template 1”.
Click Create Field and now your template selector is ready to go.
Go into Webflow and open your Products Template page.

If you haven’t done so already, we highly recommend using CartGenie’s designer extension to paste in the products page template so your page has all the necessary elements to function properly. See instructions below:
Creating your store pages in Webflow
How to create your product, checkout, and confirmation store pages in Webflow and connect them to CartGenie
Then, in your layers panel, duplicate the “cg-section” to match the total templates you created in the step above – in our case 4.
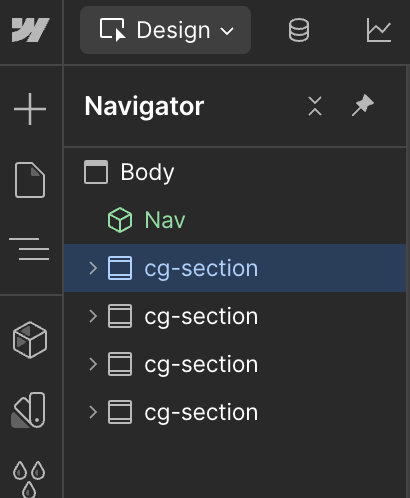
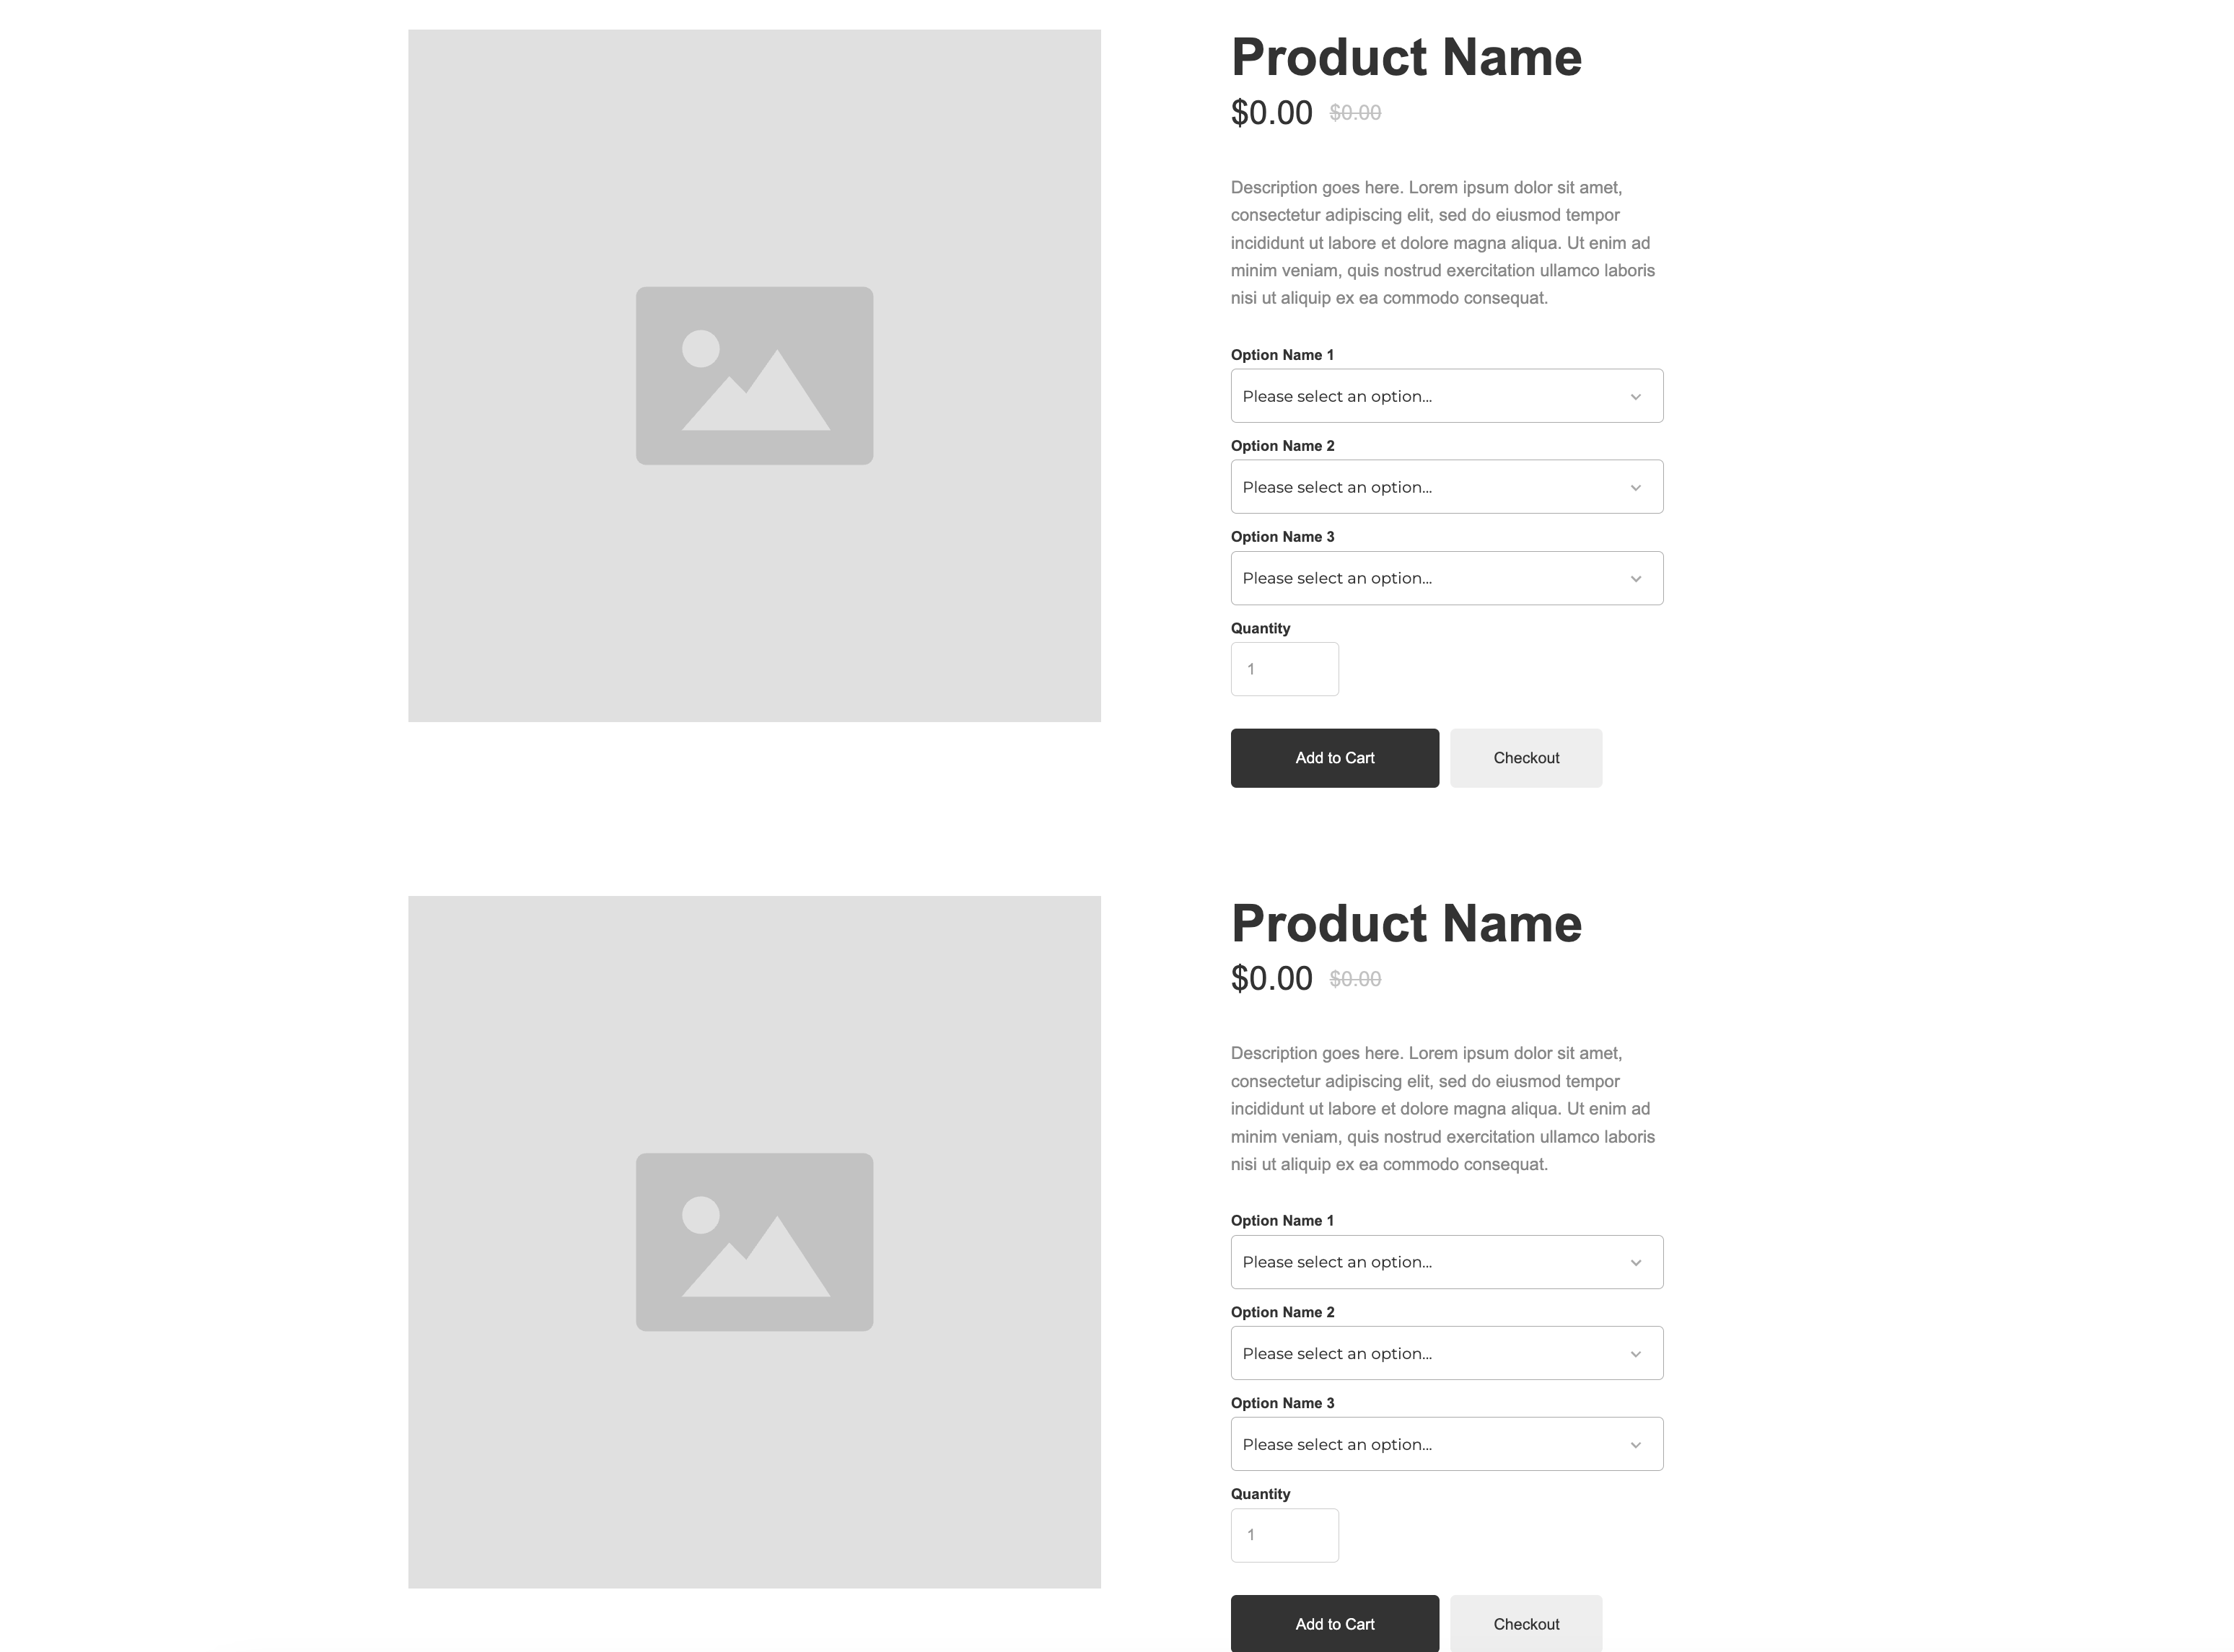
Your page will now show 4 duplicate product sections on the page.
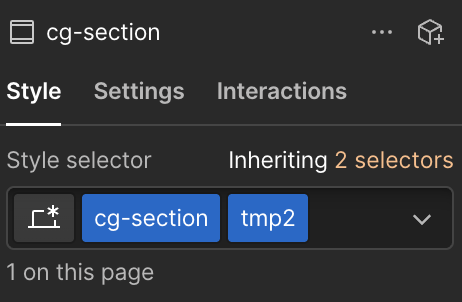
Select the second section and in the style selector, add a new class named something like “tmp2” for template 2. Do this step for each section - changing the numbers for each template.
This will allow you to make changes to this section without affecting the previous section.
Note: You will need to add a class to each element you want to change or else it will affect your previous section as well.
Change up the design of each template as desired.

When you’ve designed each section as you like, we need to set up the conditional visibility for each section so it only displays for products set to use that template.
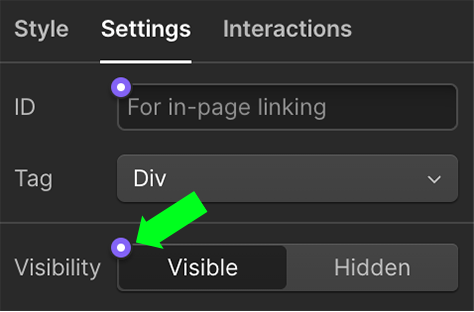
Select the first section (the default “template 1”) and go to your layer settings and click the purple dot next to the Visibility section.
Add a condition to show element when the “Template” field “Is Not Set”
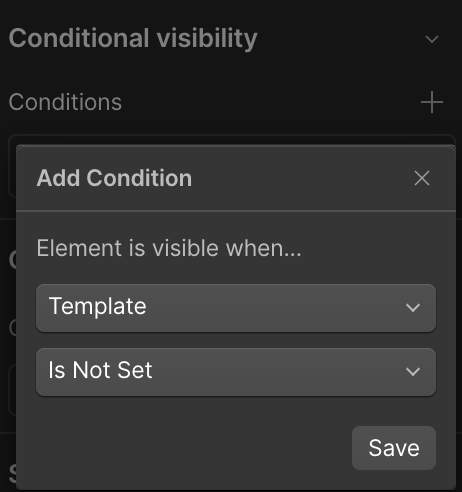
This will effectively make any existing product use this template so the value for the “Template” field for these products is currently blank.
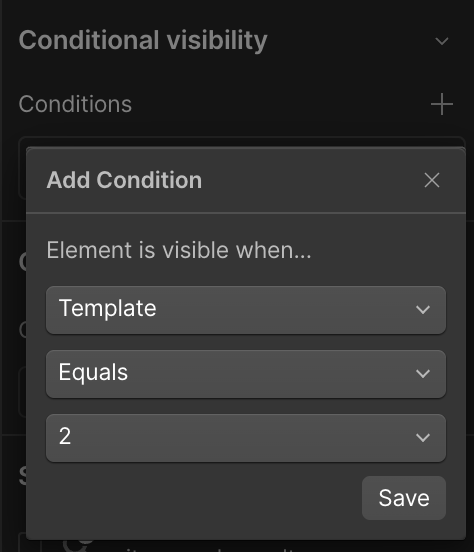
Next, click on the second template section and do the same thing. But this time set it to be visible when “Template” Equals “2”
Do the same for each template section you’ve created. It is ok if you have more number values in your custom field than page templates currently. You can always add more layouts later to fill these in (just be sure not to use them until then).
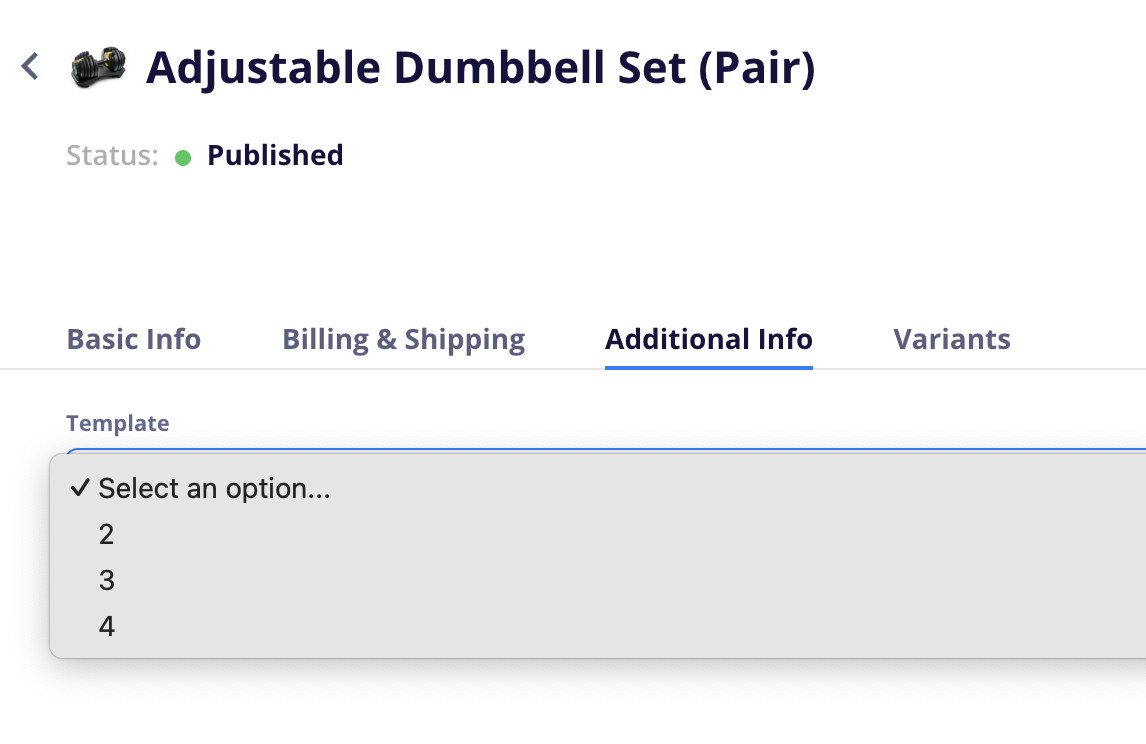
In CartGenie, click into a product and go to “Additional Fields”. You’ll now see the “Template” dropdown here.
Select your preferred template for the product and be sure to publish it again.
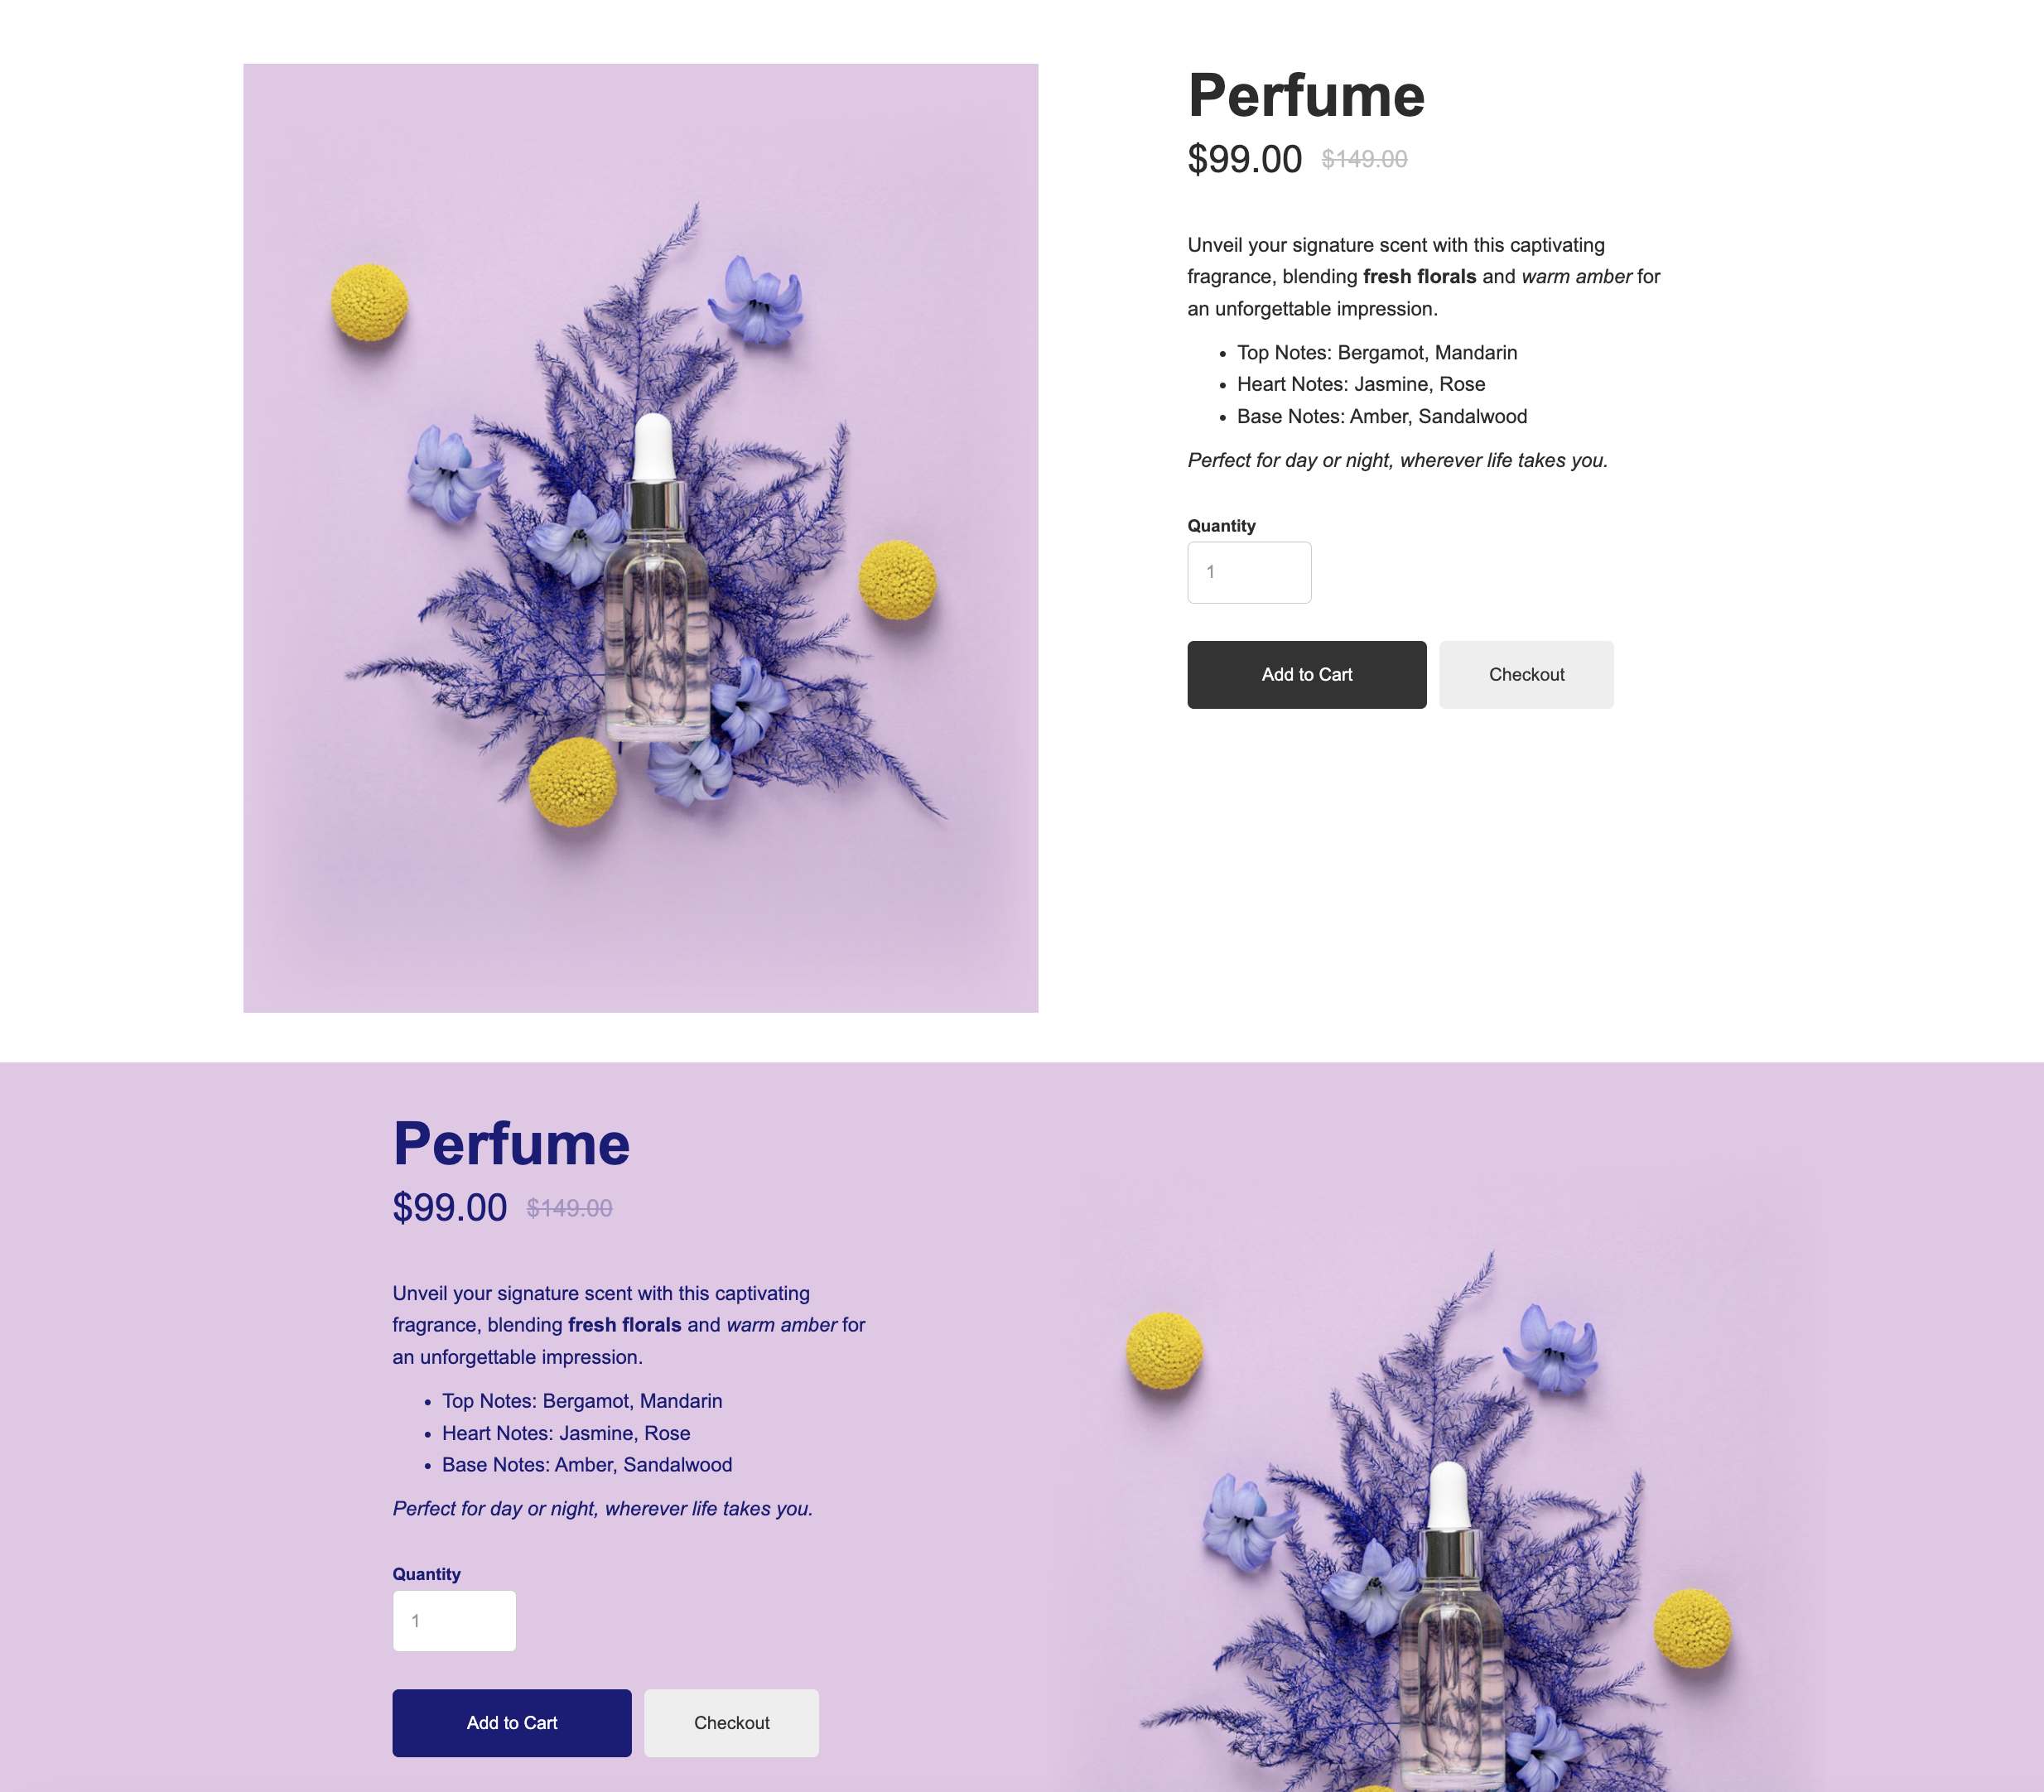
Viewing your live site, you should now see the selected template on each product page!
Template 1:
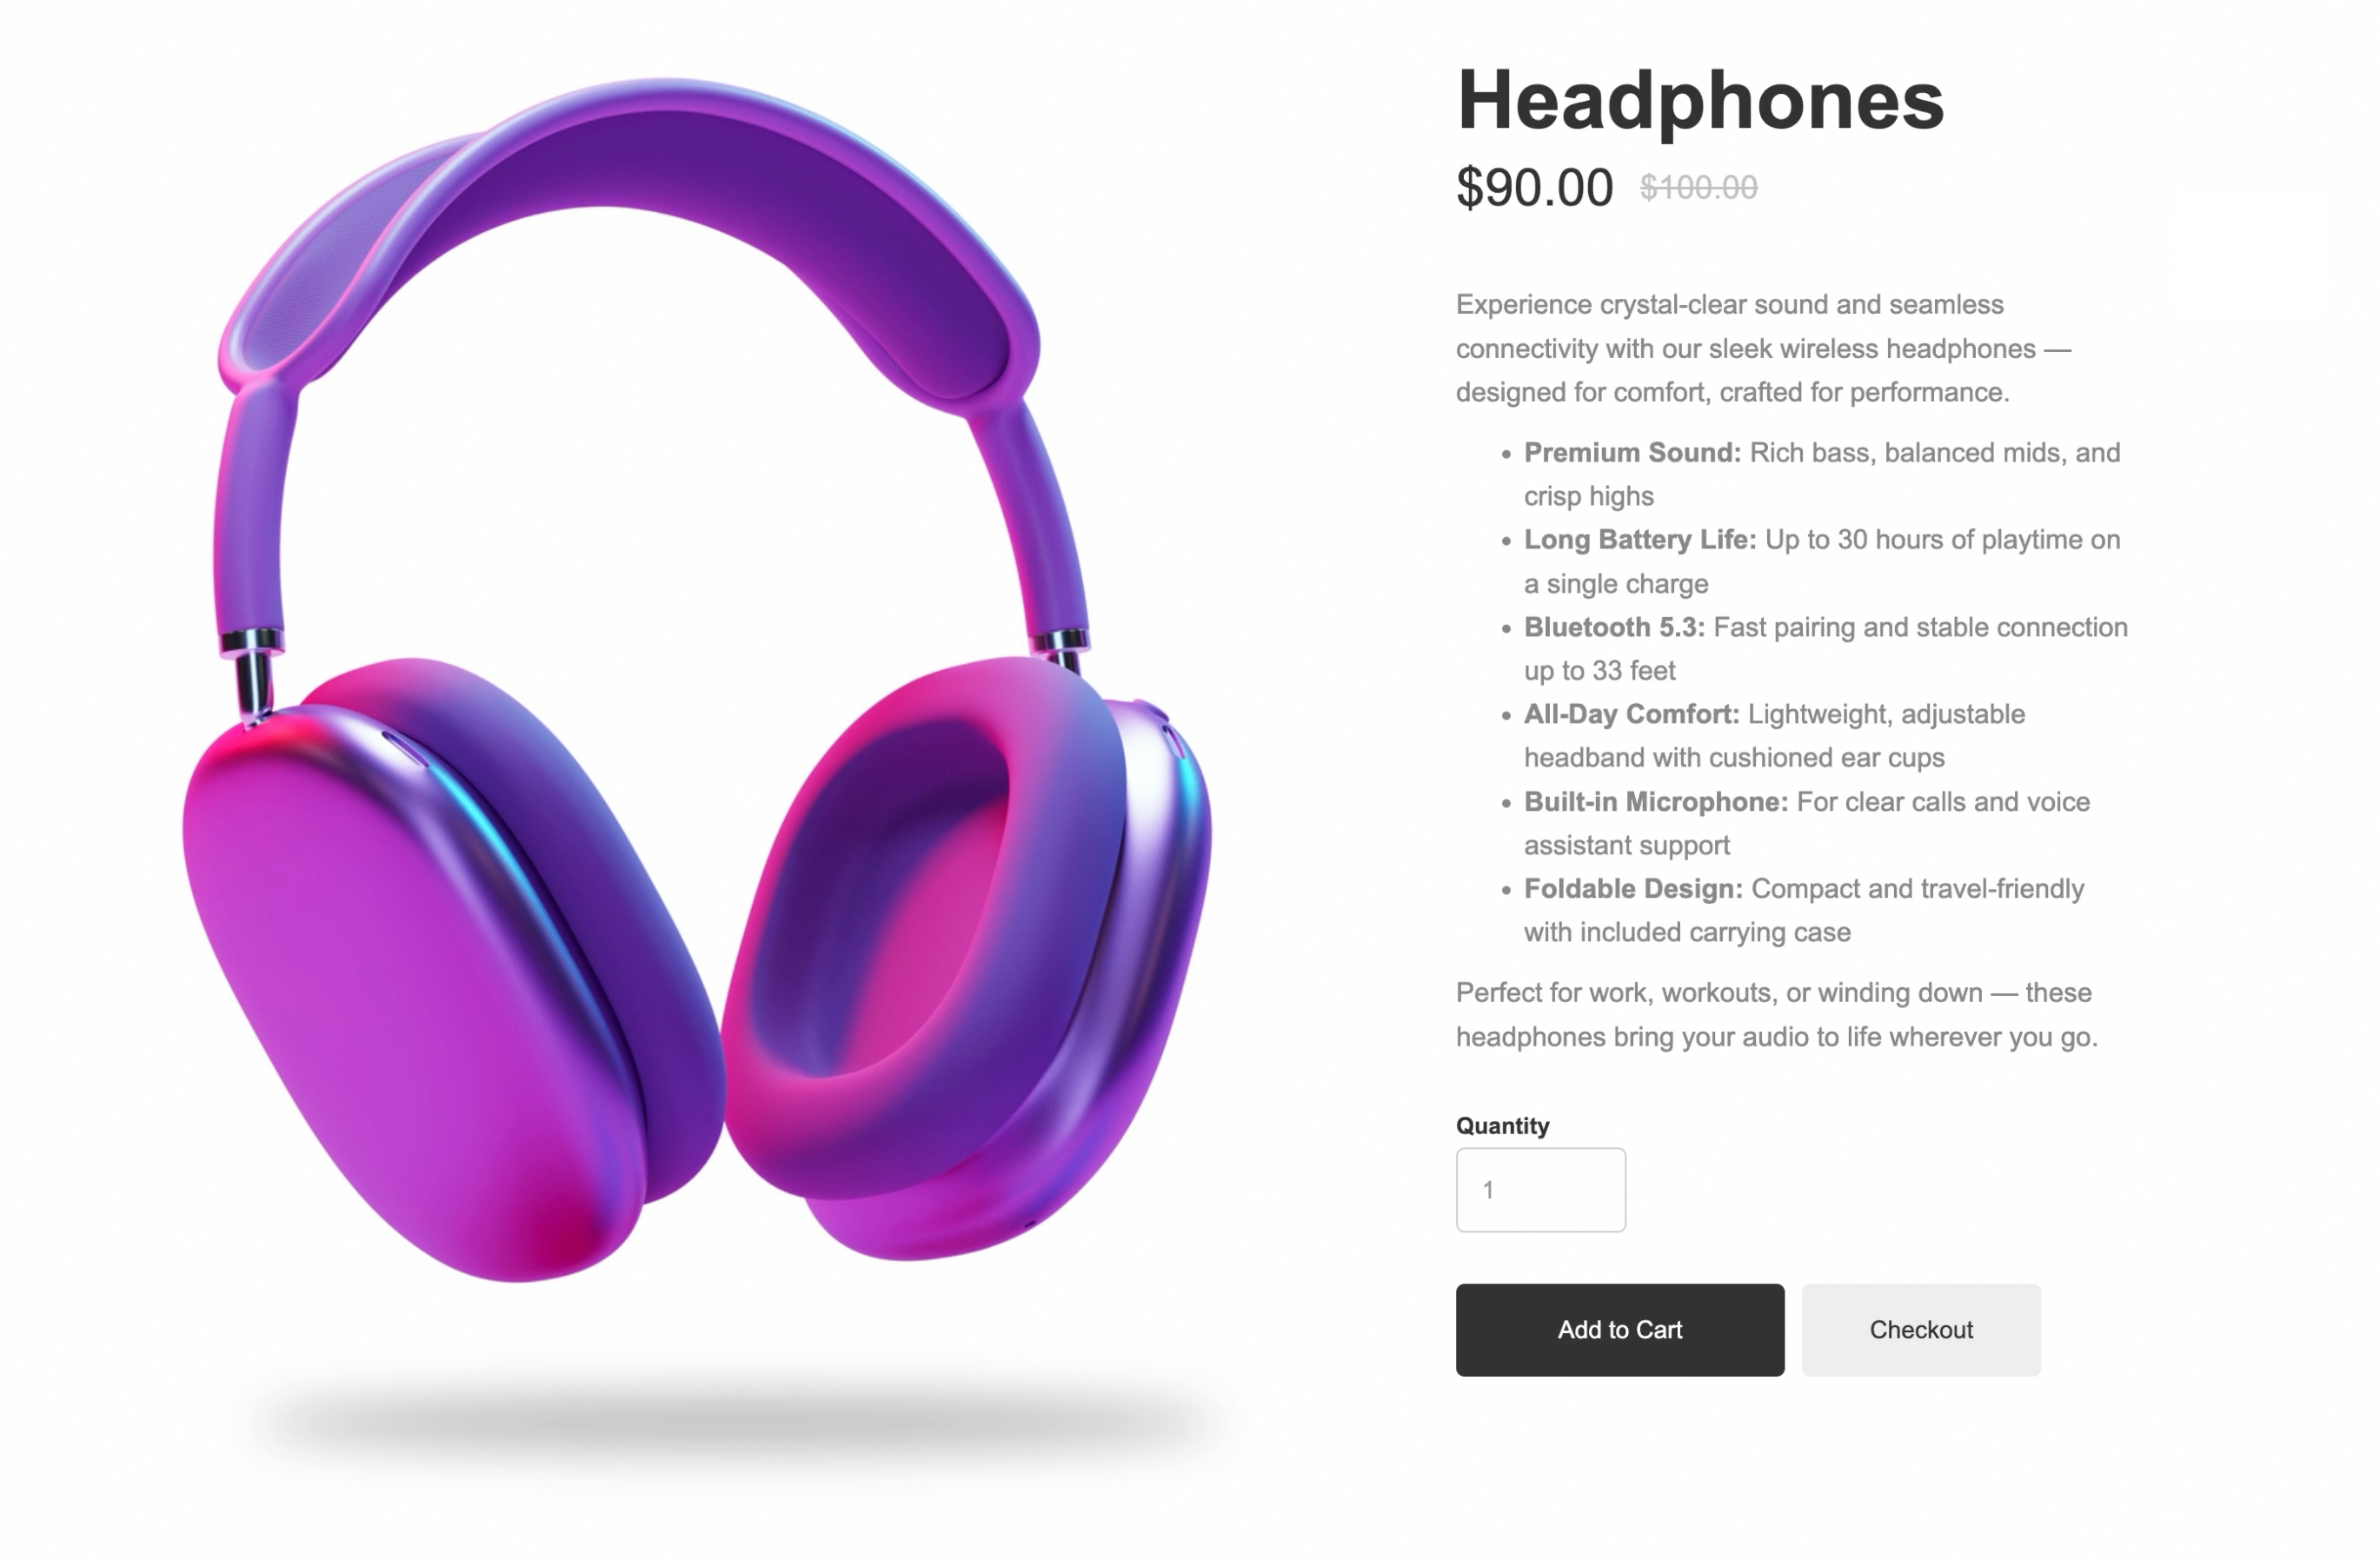
Template 2: