CartGenie’s checkout templates contain all the typical information you need to collect at checkout (such as name, email, phone, shipping address, etc.).
But if you have more personalized information you want to collect, CartGenie makes it super easy to do so! This information is then displayed alongside the order details and sent in order emails.
CartGenie currently supports collecting personalized information from the following fields at checkout:
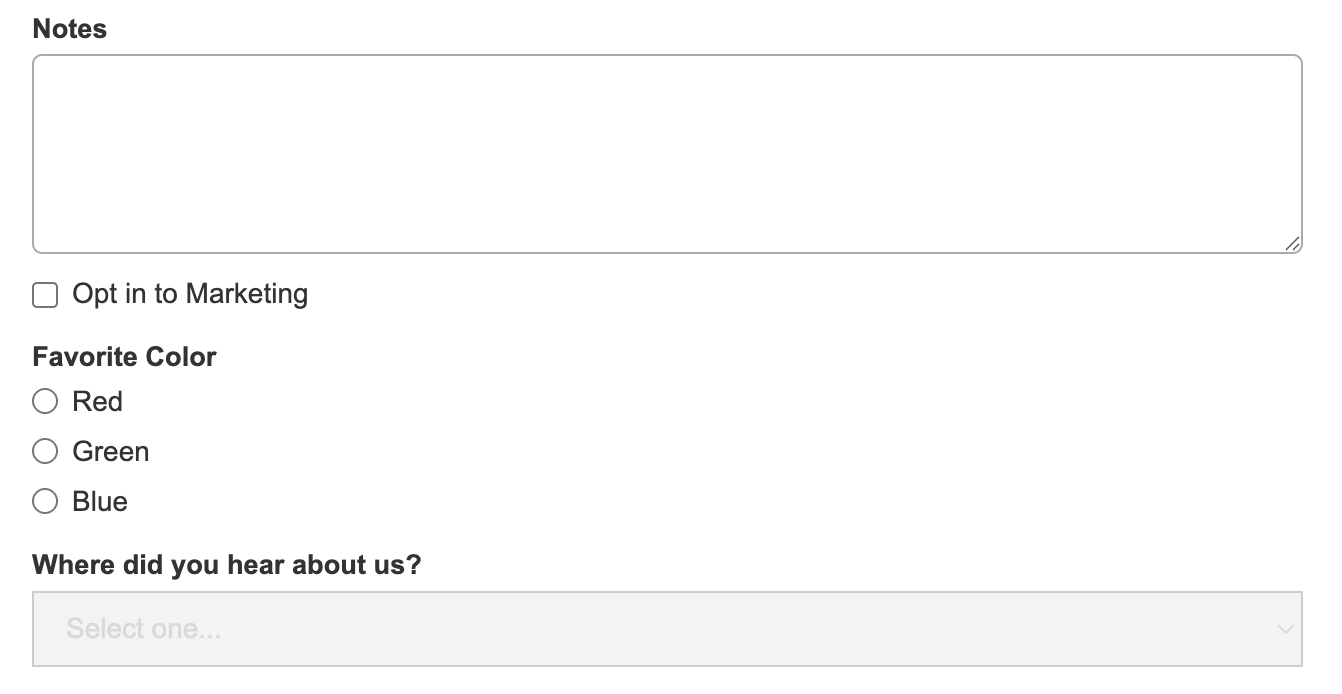
Input (ex: Pet name, Date, Delivery instructions, VAT or Tax ID number)
Text Area (ex: Gift message, Notes)
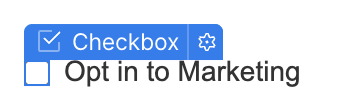
Checkbox (ex: Marketing opt-in, Terms & conditions)
Radio Button (ex: Preferred contact method, RSVP)
Select (ex: How did you hear about us?, Feedback)

In Webflow, open the CartGenie Designer Extension from the Apps tab.
Go into the Create Product Pages > Components > Checkout section and find the Custom Field component.
Clicking on it will open up a new screen with several options.
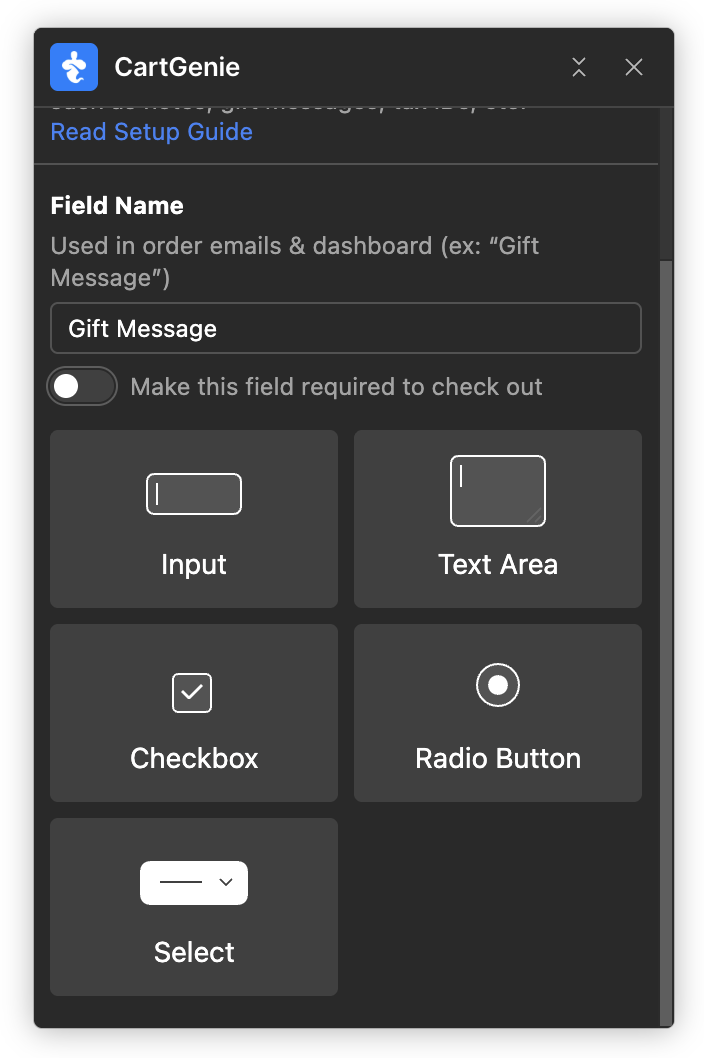
First, add your Field Name. This name will be used to refer to the field in order emails and in your dashboard so make it concise and client-facing. (Ex: “Gift Message”).
Select whether you want the field to be Required or not in order for customers to complete their purchase.
Then select your Field Type such as: input, text area, checkbox, radio, or select dropdown. Clicking on a field will copy the block to your clipboard.
Paste your block on your checkout page within an existing form block (or create a new one) within the cg-section wrapper.
Done!
See where this information will get displayed
You can display custom inputs from checkout on the confirmation page.
To do this, simply add a text field.

Then, with this text field selected, add the exact same custom attribute name and value as you did for that specific input field on the checkout page. (You can find this by clicking on the input on your checkout page and going to layer settings > Custom Attributes section)
Repeat this process for every custom field you’ve added to the checkout page.
Example: for a “Gift Message” field I created:

I’ve added a bolded label above the text field to make it clear what the answer is for, but this is not required and should not have a custom attribute.
Done! Publish your site and start collecting responses from customers.
Creating a custom checkout field in CartGenie just requires adding a custom attribute to your field!
First, open the Webflow designer and go to your Checkout page.
Add your preferred field type(s) on the checkout page (such as an input field, text area field, etc.). You can add a label above the field if you wish or add placeholder text to ensure your customers know what to enter.
Next, click into each field you created and add a custom attribute by going to the settings and find the “Custom Attribute” section.
ement | Layer | |
Input | Text Field | |
Text Area | textarea | |
Checkbox | checkbox | |
Radio Button | Radio Button | |
Name:
data-cg-metaValue:
Enter the name you want the field to be called. (example: “Gift Message”). This will be the label for the data in your CartGenie orders page and in order emails.
Gift Message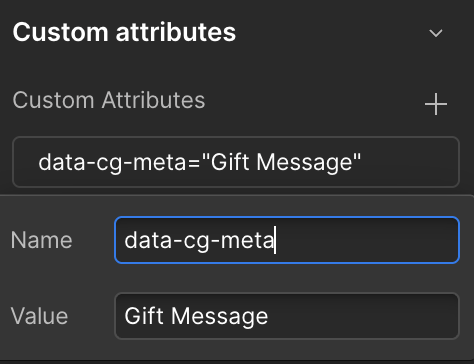
There are a few things to note when implementing this on various input types…
Be sure to add the custom attribute on every Checkbox itself (not the label)
If you have multiple checkboxes, give each checkbox a unique custom attribute “value” as a name
The customer selection will be displayed as “true” for checked and “false” for unchecked.
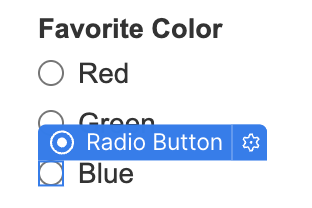
Be sure to add the custom attribute on every Radio Button itself (not the label)
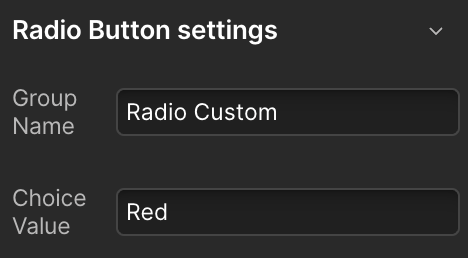
Be sure all radio buttons for a custom attribute are in the same “Group Name” to ensure only one can be selected
Be sure to set each radio’s “Choice Value” to match your label (or preferred name). This will be the displayed selection on the order page.
CartGenie does not support the “Allow multiple selection” feature. If you need customers to select multiple items in a list, we recommend using checkboxes with separate “values” for labels

You can display custom inputs from checkout on the confirmation page.
To do this, simply add a text field that is blank or with something like “No Response”
Then, with this text field selected, add the exact same custom attribute name and value as you did for that specific input field on the checkout page.
Repeat this process for every custom field you’ve added to the checkout page.
Example: for a “Gift Message”
I’ve added a bolded label above the text field to make it clear what the answer is for, but this is not required and should not have a custom attribute.
Whatever the customer enters at checkout in the field will be displayed in their order alongside the field title.
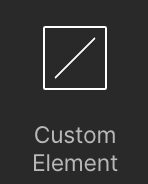
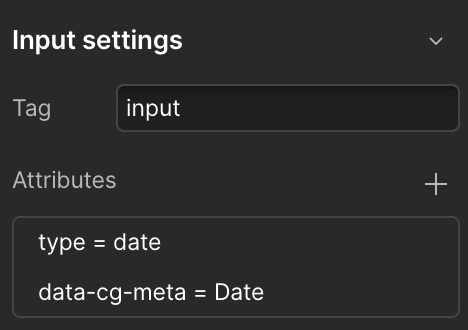
You can add a date picker to your checkout page using the same method, with a slight tweak. Webflow doesn’t have a native “date” option for the input field, so you have to use a Custom Element instead.
Add a Custom Element to your checkout page
In the block settings panel on the right hand side, set:
Tag = Input
Then add custom attributes for:
type = date
data-cg-meta = (the value you want to name it. Ex: Date)
Then, style the field as desired to match your site!
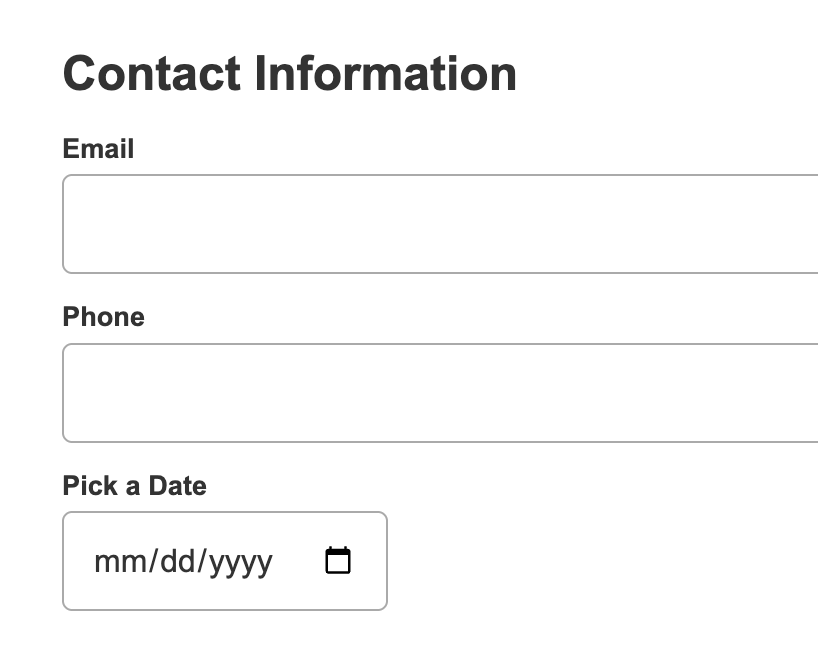
You can also add a text block to the confirmation page with the same data-cg-meta attribute to display the selected text there.
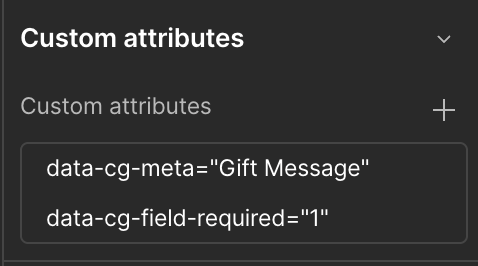
Yes, you can!
Select your custom field with the CartGenie attribute and add a new custom attribute to it.
Name:
data-cg-field-requiredValue:
1When done, you should see both custom attributes on the element
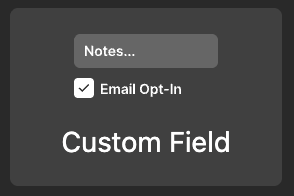
If you follow the instructions in Step 3 above, your customer’s answers will be added to the confirmation page for them to see after their purchase is complete.
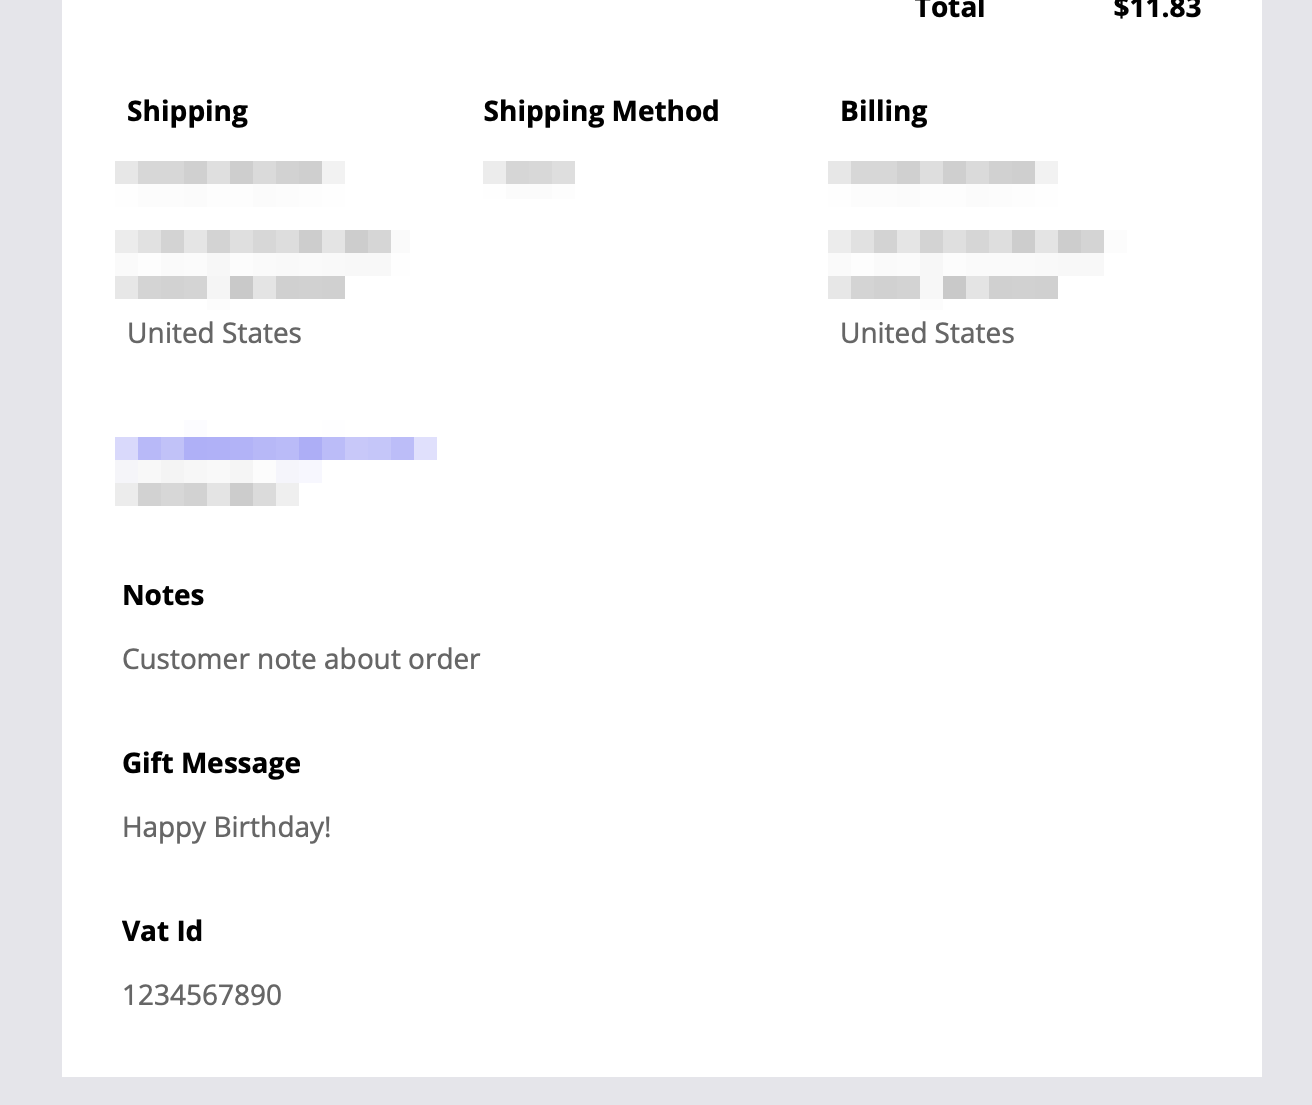
The personalized information entered at checkout will get automatically displayed on the customer’s individual order beneath shipping and billing information.
Example:
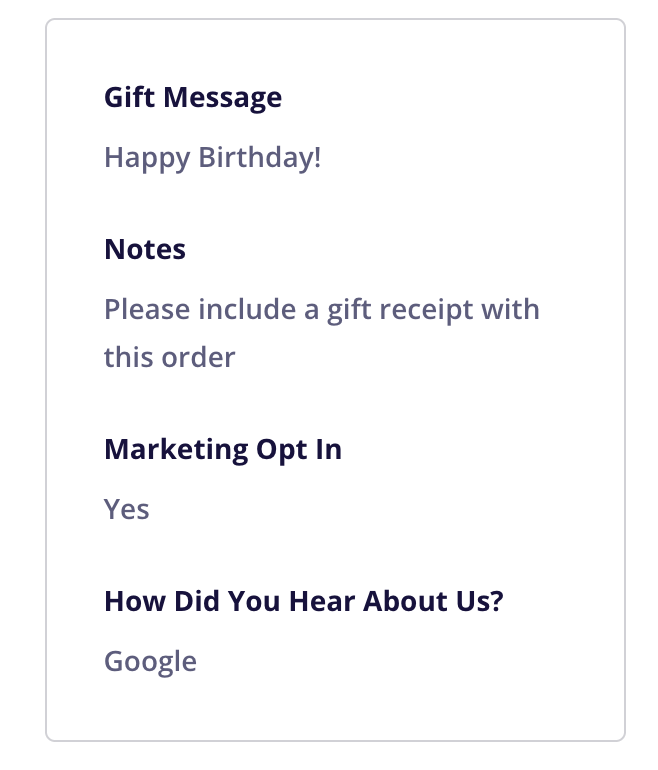
It will also get automatically added to the bottom of order emails (sent to both you and the customer).
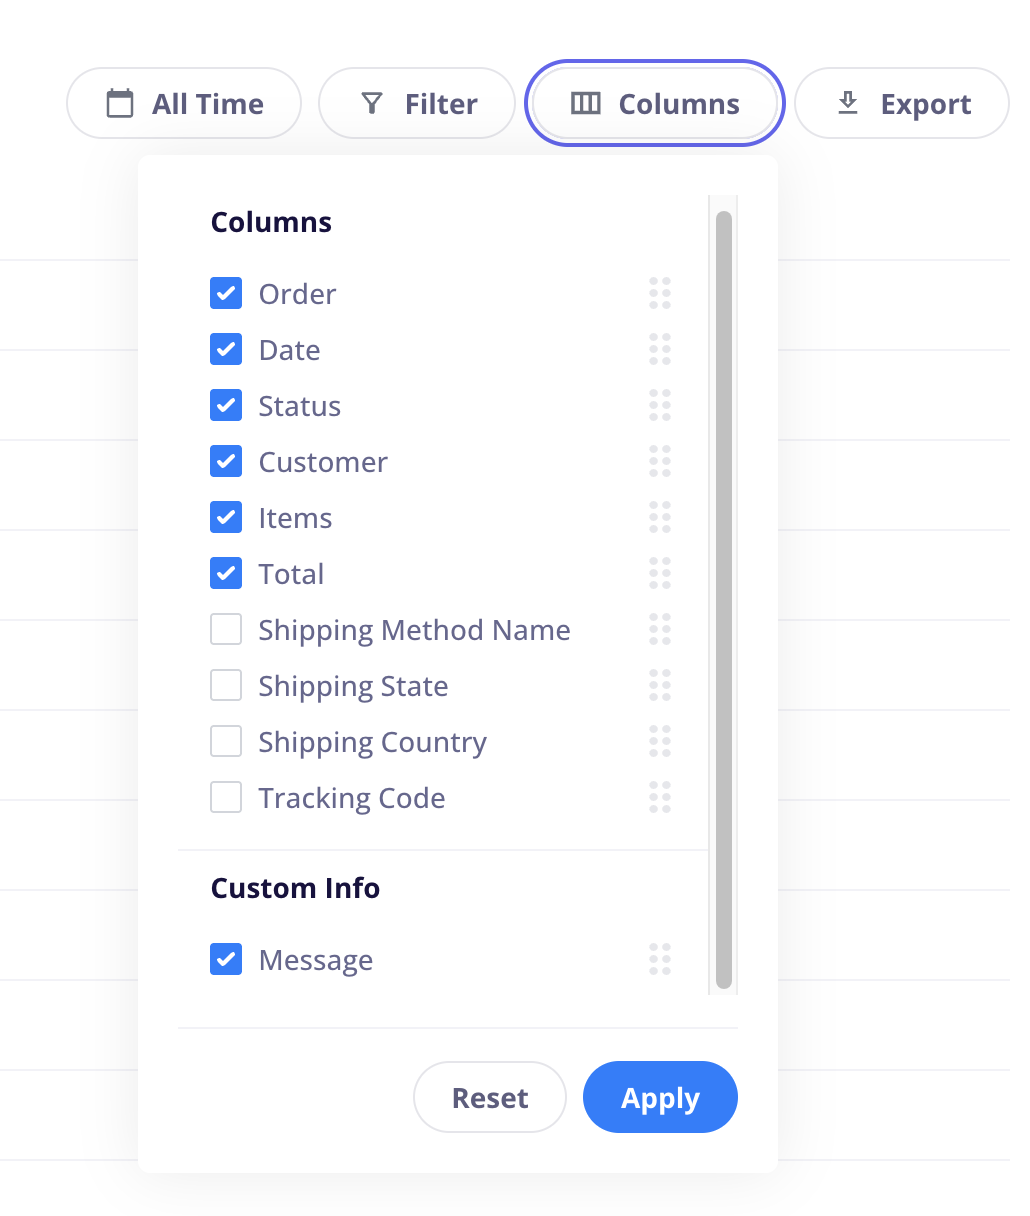
You can view all responses to your custom fields for all orders by enabling your fields from the Columns button on the order list page.
This will add each field as a new column for easy viewing.
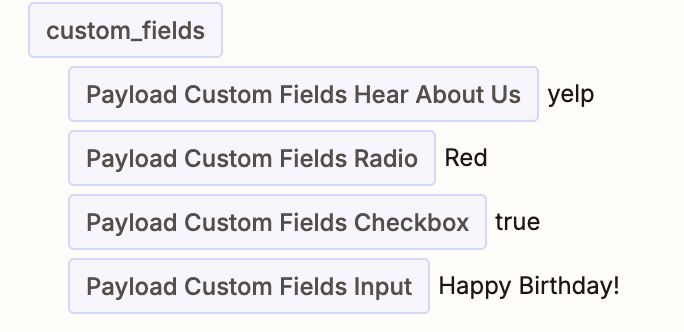
These customer inputs will be automatically sent to any order webhooks and Zaps that you have created so they can be used in 3rd party integrations.
Yes! You can gather custom information at checkout and not display it to customers – including using hidden form fields. This can be helpful for collecting meta information such as UTM parameters, referral URL, device type, etc.
You can apply this custom attribute to any field type above (including a hidden form field).
At checkout, instead of using the (data-cg-meta="___") attribute above, if you want to hide the information from customers you should instead use:
Name:
data-cg-meta-privateValue:
Enter the name you want the field to be called. (example: “Private”). This will be the label for the data in your CartGenie orders page and in order emails.
PrivateThe “private” custom info is sent only to the Order detail page in CartGenie and in the Order Received email (not Order Confirmed email which is sent to the customer). If you do not add to the confirmation page, it will not be displayed there.
