Alongside our webhooks support, CartGenie also has a direct app integration with Zapier!

Zapier lets you connect CartGenie to thousands of popular apps—like Google Sheets, Slack, HubSpot, Airtable, Mailchimp, and more—without writing a single line of code.
Whether you want to send new order data to a spreadsheet, notify your team in Slack when a sale comes in, or trigger automations in your CRM, Zapier makes it easy.
Orders & Subscriptions
New Abandoned Cart: Triggers when a cart is abandoned (no action for 30 minutes) – requires an email to be entered.
New Customer: Triggers when a new customer is created
Example: a customer checks out from your store for the very first time
New Order: Triggers when a new order is placed in your store
New Subscription: Triggers when a new subscription is created
New Subscription Charge: Triggers each time a subscription is charged.
Updated Order: Triggers when an existing order is updated
Example: fulfillment status changes, payment status changes, etc.
Updated Subscription: Triggers when a subscription is updated
Example: customer pauses / resumes or cancels their subscription
Products & Categories
New Category: Triggers when a new category is created.
Updated Category: Triggers when a category is updated.
Discounts
New Discount: Triggers when a new discount is created.
Updated Discount: Triggers when a discount is updated.
Stay tuned—we’re actively working on adding CartGenie actions so you can send data back into your store from other apps.
First get added to our private Zapier integration:
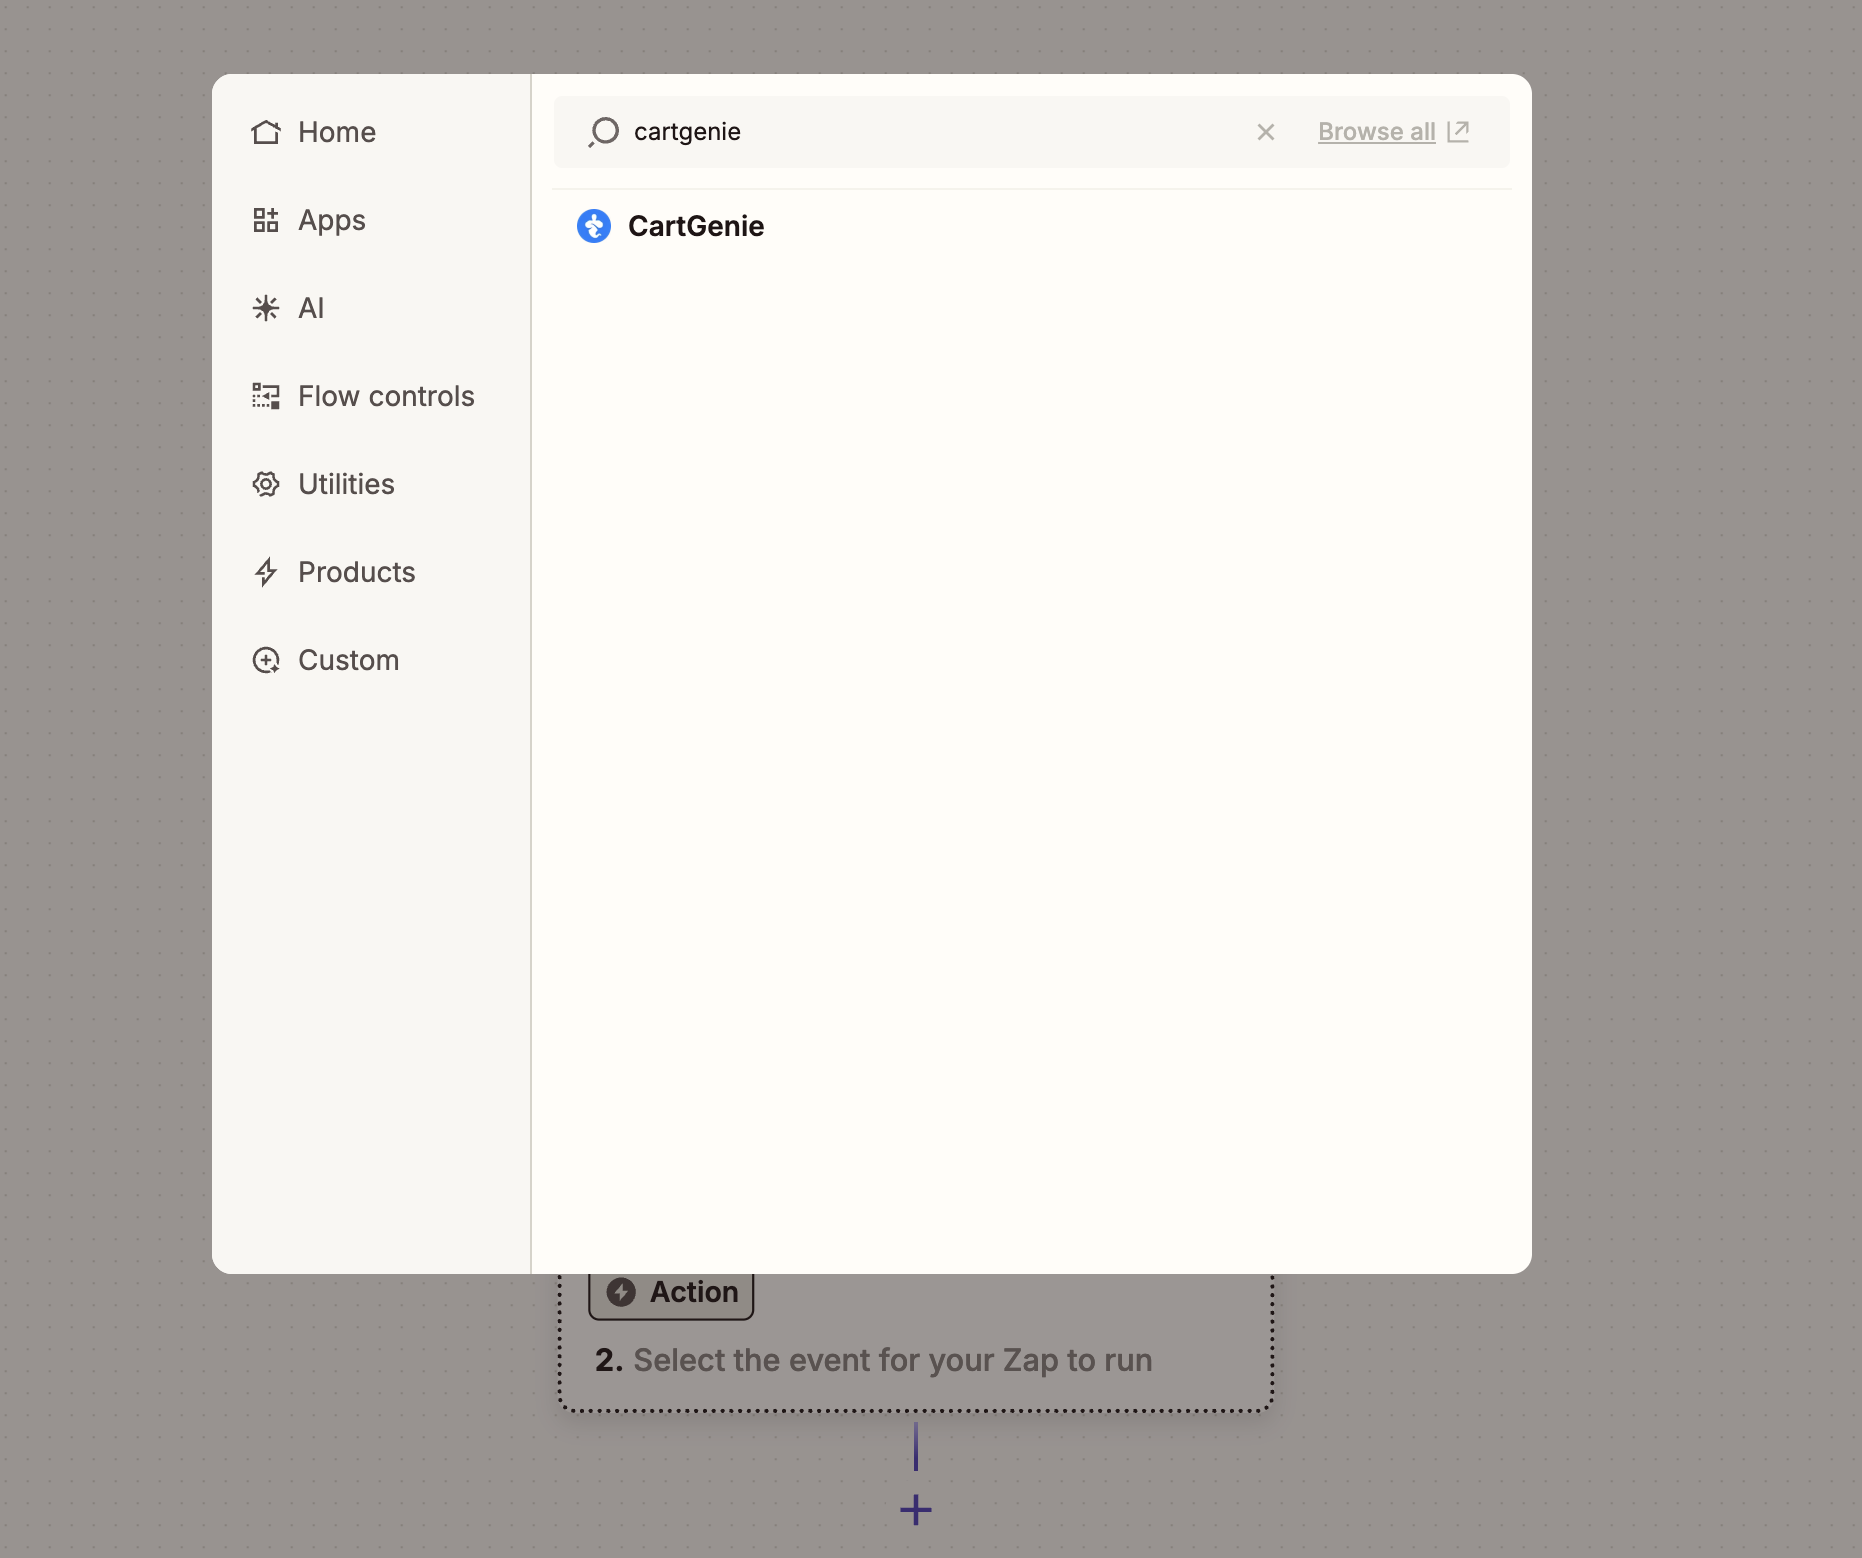
Accept Private Zapier InviteGo to Zapier’s Zap Editor and click Create Zap
Search for CartGenie as the trigger app
When prompted by Zapier during setup, enter your CartGenie API key (found in your CartGenie settings > Webhook page)
Get My API Key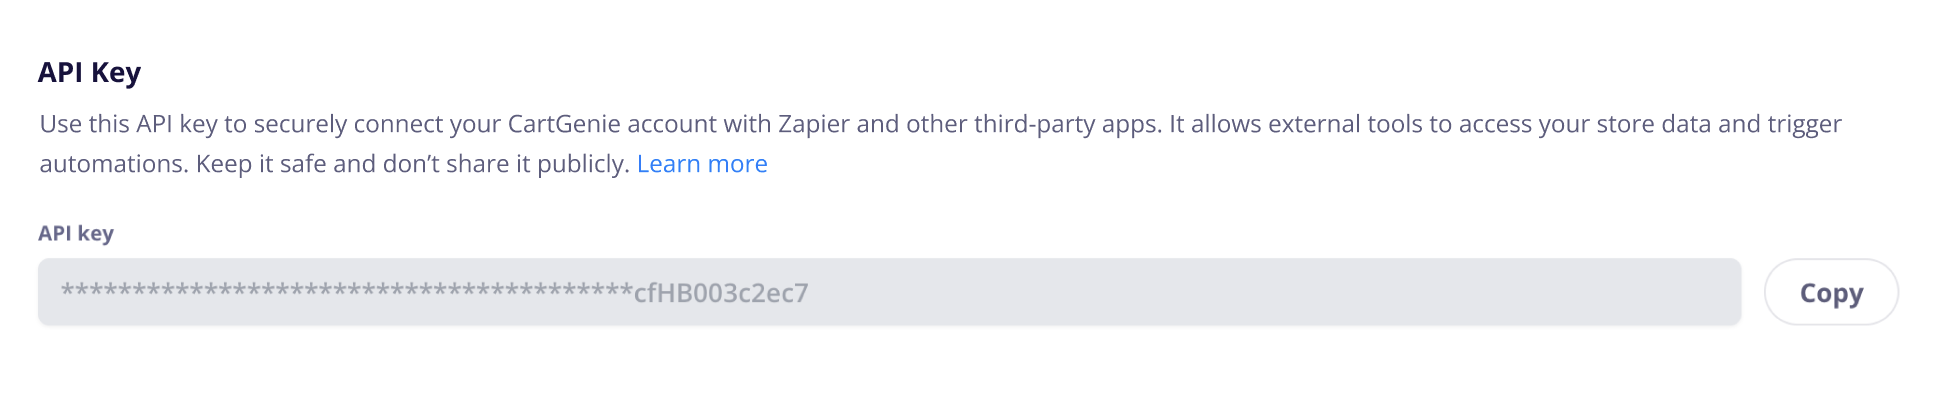
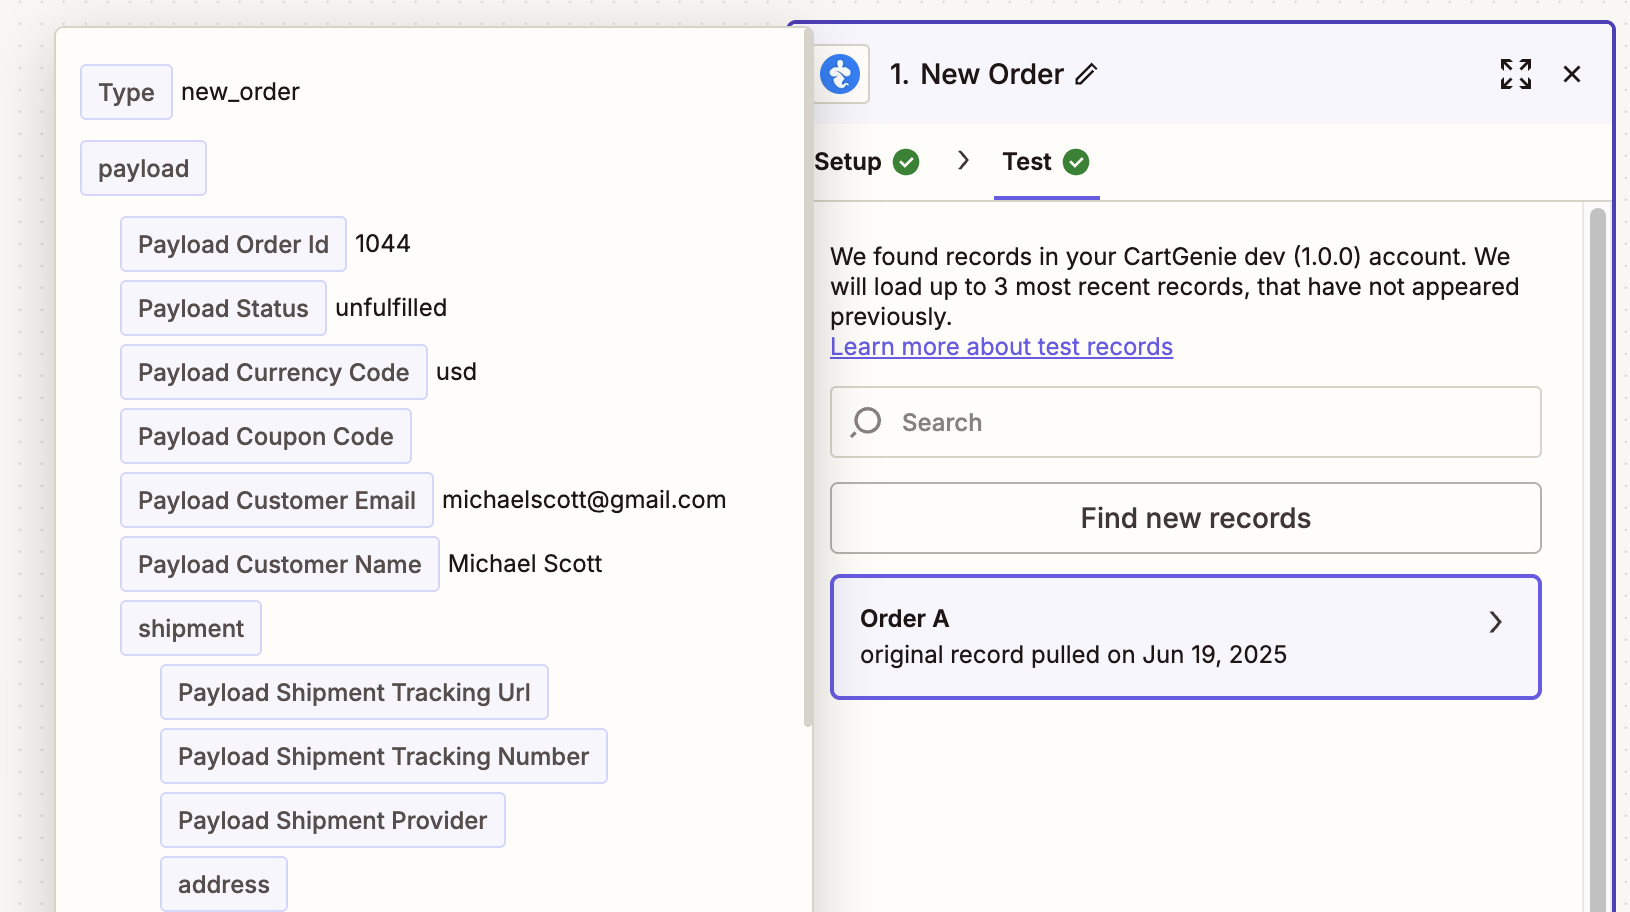
Next, choose and configure your trigger.
CartGenie will send test data to Zapier to assist in setting up your integration. If you see a message like “No order found. Create a order in your account and test again”, you can either wait until you receive a customer order or you can enable test orders, place an order in your store, then ask Zapier to test trigger again. You should then see an “Order A” come through.
Opening the order, you should see all of the available information such as the customers name, email address, products ordered, shipping address, subtotal price, taxes, shipping cost, order total price, etc.
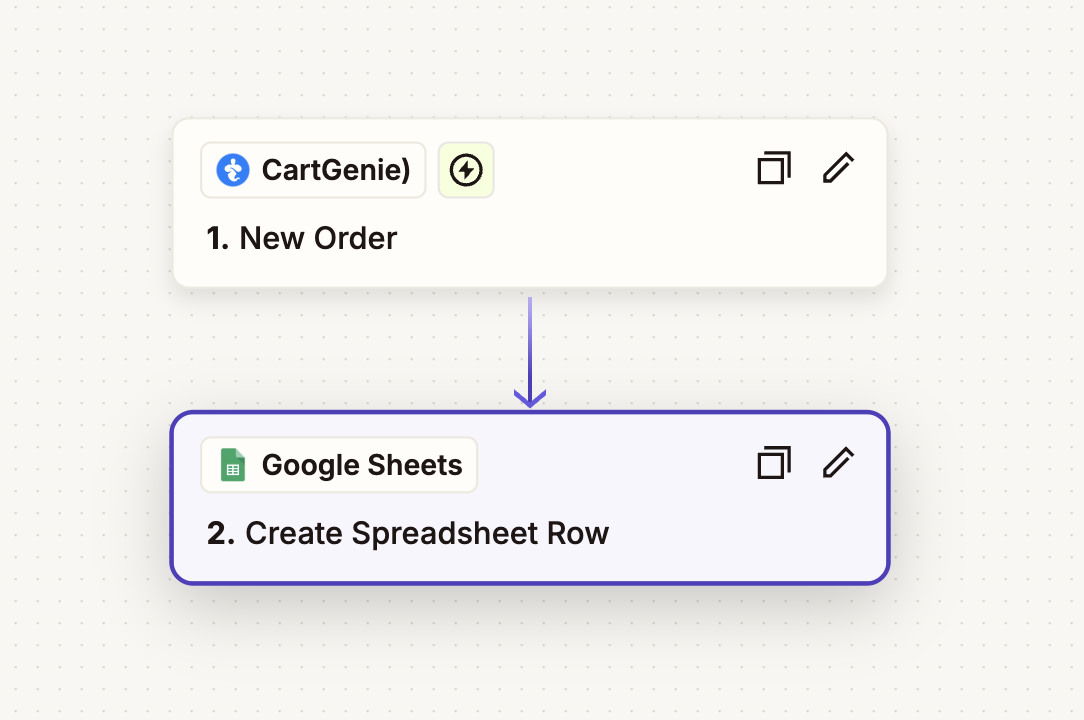
Next, connect a 3rd party app in Zapier that you want to send the CartGenie data to. Connect the data fields as needed and test & publish!
Here is a simple example of sending orders to a Google spreadsheet - but the possibilities are endless!
Once you publish your Zap, CartGenie will automatically send data to Zapier every time the selected trigger occurs.
