Webhooks allow CartGenie to send real-time data to other apps or services when certain events happen in your store. Instead of constantly checking for updates, a webhook acts like a messenger—automatically pushing information to the destination you’ve specified whenever something important occurs.
If you’re using third-party services like email platforms, CRMs, fulfillment centers, or analytics tools, webhooks can be a powerful way to keep everything in sync without manual intervention.
Orders & Subscriptions
New Abandoned Cart: Triggers when a cart is abandoned (no action for 30 minutes) – requires an email to be entered
New Customer: Triggers when a new customer is created
Example: a customer checks out from your store for the very first time
New Order: Triggers when a new order is placed in your store
New Subscription: Triggers when a new subscription is created
New Subscription Charge: Triggers each time a subscription is charged
Updated Order: Triggers when an existing order is updated
Example: fulfillment status changes, payment status changes, etc.
Updated Order Fulfillment: Triggers only when the fulfillment status of an existing order is updated
Updated Subscription: Triggers when a subscription is updated
Example: customer pauses / resumes or cancels their subscription
Refund Issued: Triggers when an order is refunded
Products & Categories
New Category: Triggers when a new category is created
Updated Category: Triggers when a category is updated
Updated Inventory: Triggers when the inventory changes for a product
Discounts
New Discount: Triggers when a new discount is created
Updated Discount: Triggers when a discount is updated
To use webhooks, you’ll first need a webhook URL from the third-party tool or custom endpoint you’re integrating with. When one of the supported events occurs in your store, CartGenie will send a structured JSON payload to that URL with the relevant data.

To get started, go to the Settings > Webhooks page in CartGenie.
Go to Webhook SettingsClick the “Add Webhook” button.
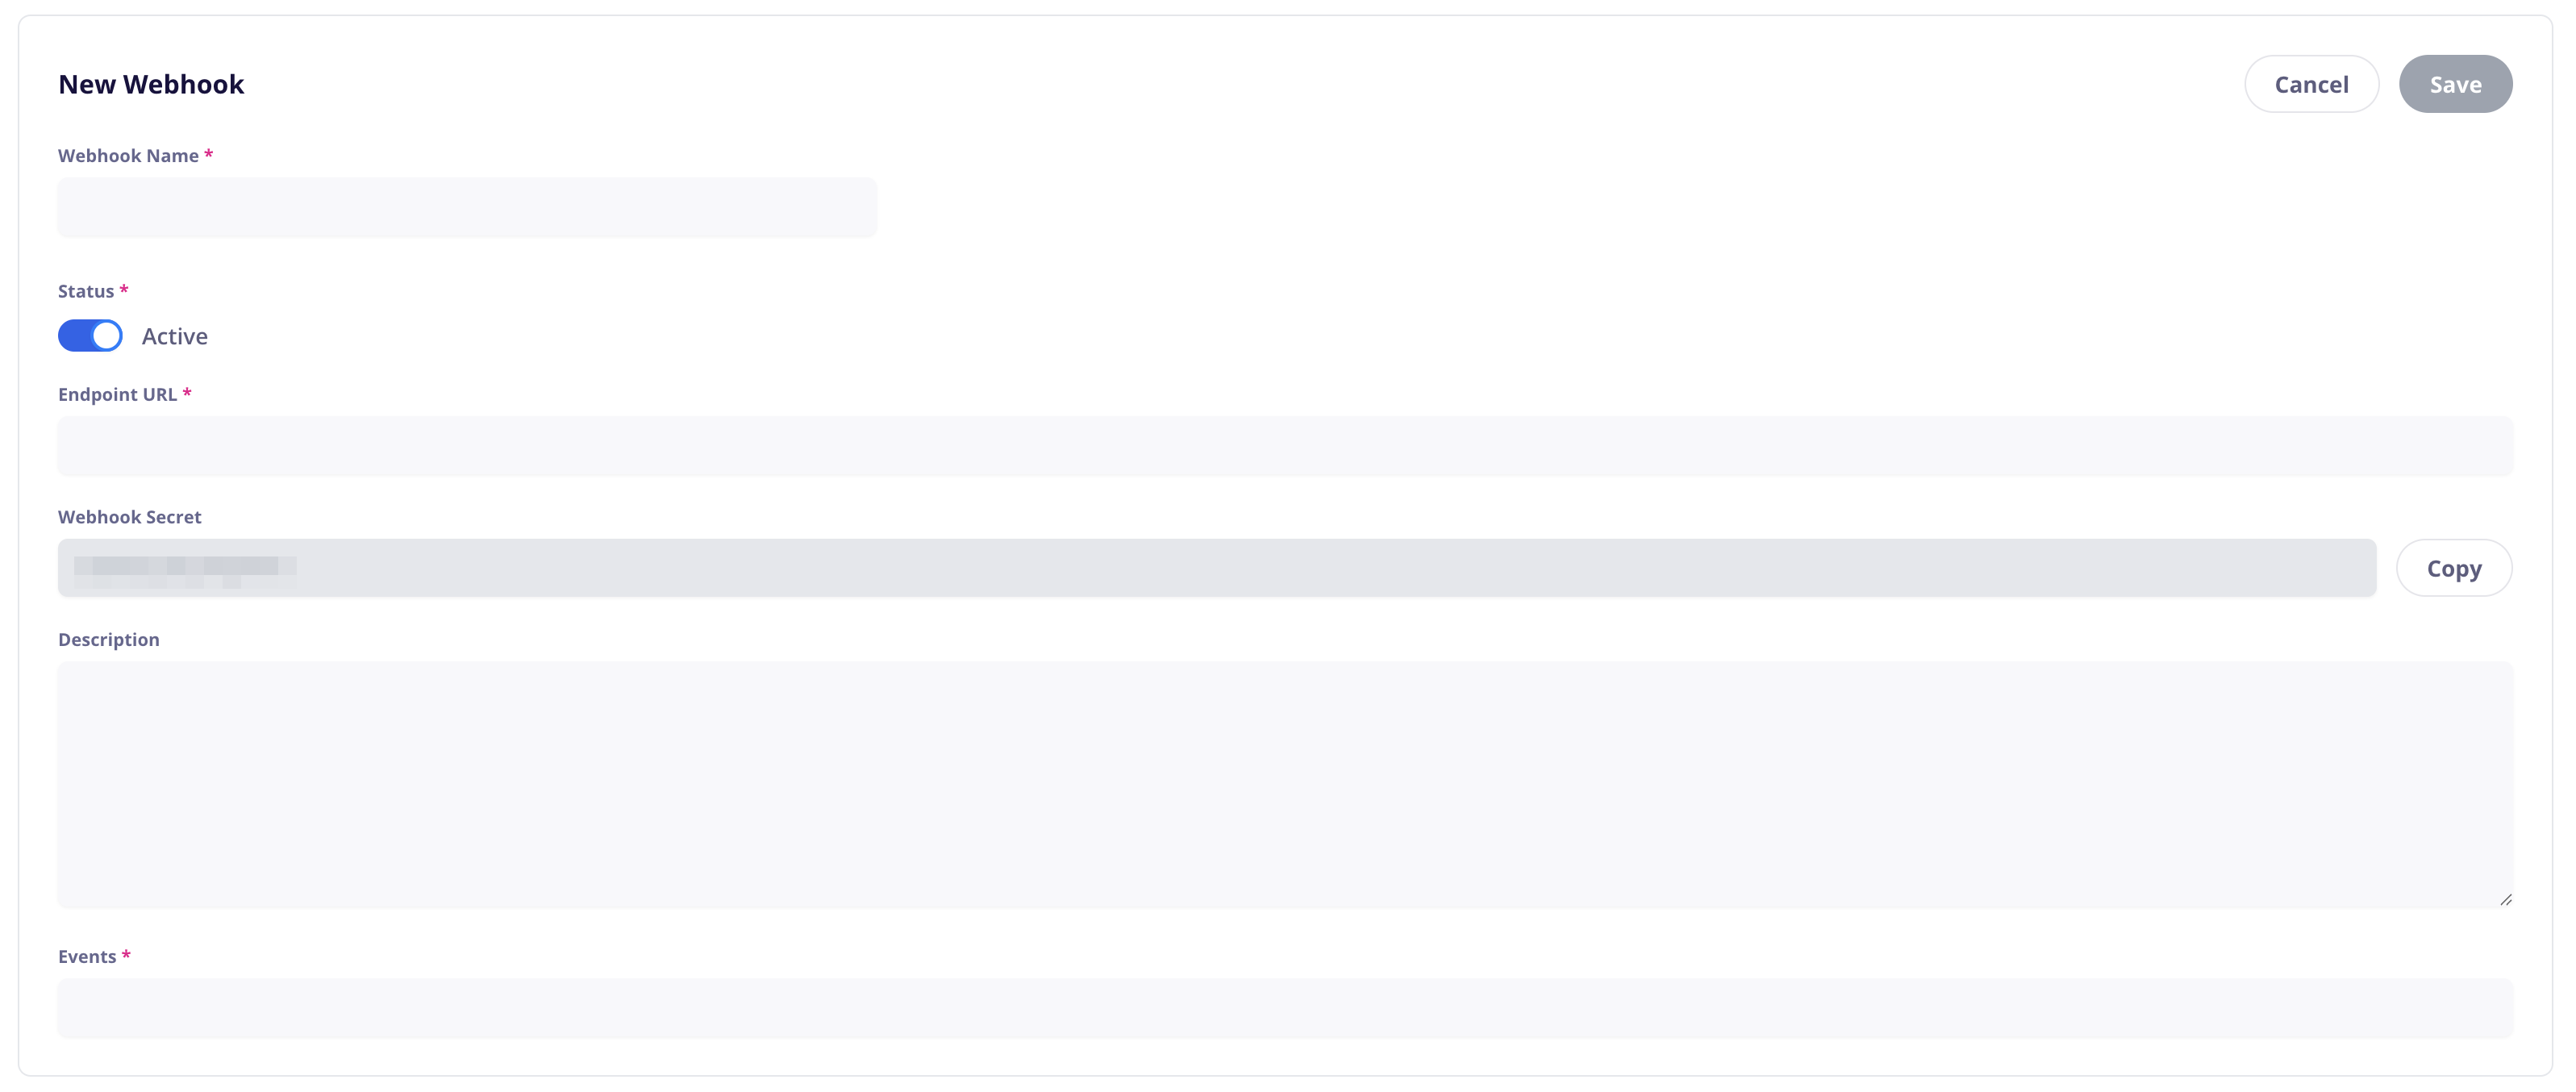
Add a Webhook Name that is unique and will make it easy to remember what the webhook is used for.
Keep the status “Active” if you want the webhook to run.
Paste in the Endpoint URL provided to you from the 3rd party integration you’re using with the webhook (such as Klaviyo, Google Sheets, etc.).
The webhook secret is provided in case your 3rd party integration requires a secret key to validate the authenticity of the webhook.
Click into the Events box to see a list of available events to add in the webhook.
You can click “All Events” to include everything.

Click Save.

Once saved, you can now click “Send Test” in your webhook to send a test packet of all the different events to your endpoint. This will give you sample data you can use to set up your 3rd party integration.
You can use a site like webhook.site to test webhook packets and see what information is sent when different triggers occur.
The webhook will contain all information relevant to that action. For instance, the New Order webhook will contain the customer name, email, shipping address, billing address, products purchased, price, shipping price, taxes, any custom information added at checkout, etc.
Webhooks are best used when you want to build custom integrations, automate workflows, or connect CartGenie with tools that don’t have native integrations yet. Whether you’re a developer or using tools like Zapier, Make (formerly Integromat), or Pipedream, webhooks give you the flexibility to connect CartGenie to your unique stack.
These events can be used to power a wide range of automations. For example:
Send new orders to a fulfillment provider like ShipStation or ShipBob.
Add new customers to your email list in Klaviyo or Mailchimp.
Log subscriptions in your accounting software.
Update a Google Sheet or internal dashboard when order statuses change.
Trigger welcome emails or internal Slack alerts when new subscriptions begin.
