CartGenie makes it easy to update your existing products using a CSV import. This can be a much simpler way to do a bulk update of just a few fields for a large amount of products and variants.
The simplest way to make changes to your existing products is to export a CSV of your current items and variants.
Go to your Products page in CartGenie and click on the Export button in the top right. This will download your CSV file.
Modify your exported CSV to update the fields you want to change in CartGenie. Feel free to leave columns or cells blank if you do not want them to be updated.
There are a few important things to keep in mind:
There are 2 required fields that must be present as the 1st and 2nd columns in your CSV. This allows us to identify the specific item you want to update.
Product ID
Variant ID

Any other columns or cells can be blank when imported
CartGenie only updates cells with information in them. So if you don’t want to change a cell or column, you can leave it blank.

To erase existing data in a specific field for a product, add the following text to the cell:
//NULL//
This will erase any data for that product in that field.
CartGenie supports updating all fields from your product export – including additional custom fields you’ve added in Product Settings!
Column Titles – by default all products are one-time charges, so if you wish to modify a product or variant to be a subscription, use these columns to do so:
Billing Method
Determines whether a product is a one-time purchase or a subscription
Accepted Values:
one_time_payment
subscription
Billing Interval
Sets the interval on which a subscription will be charged to the customer (ex: every month)
Accepted Values:
day
week
month
year
Billing Interval Length
Sets the number of intervals between each renewal (default = 1, meaning “every 1 month” for example)
Accepted Values:
Integers (ex: 1)
Subscription Term
Sets whether a subscription auto-renews forever or stops after a set number of billing intervals (default = renews until canceled)
Accepted Values:
renews_until_canceled
fixed_term
Subscription Ends After
If a fixed term is set, this determines the number of billing intervals (example: 3 would end the subscription after 3 billing intervals)
Accepted Values:
Blank (for renews until canceled)
Integers (ex: 3)
Go to your Products page in CartGenie and click on the Import button in the top right.

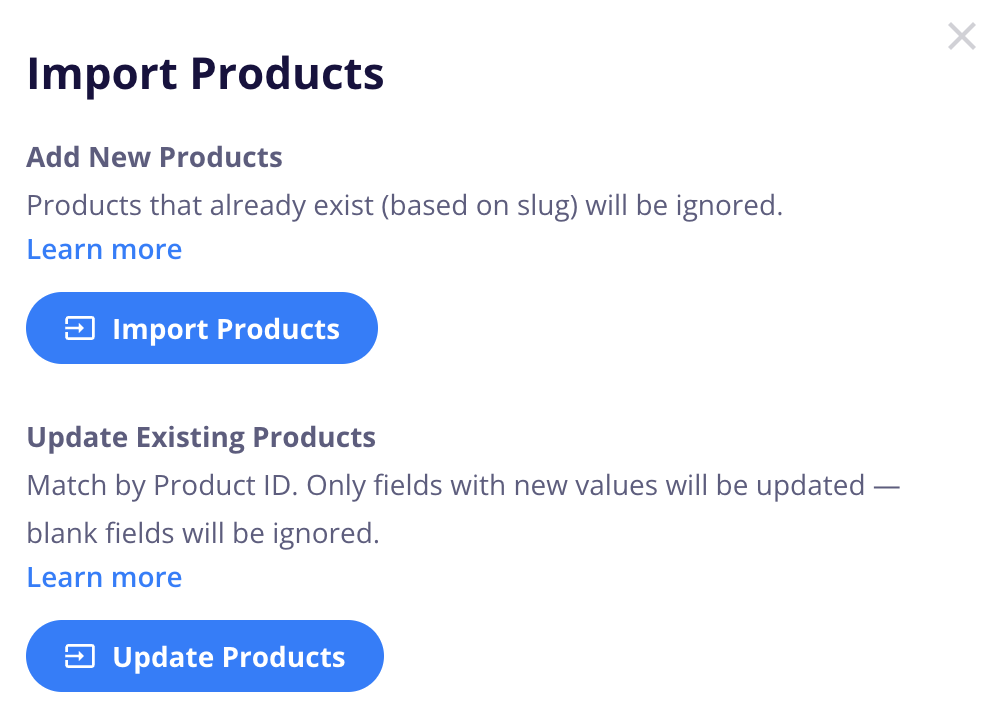
You’ll then see a popup with the option to either import new products or update existing products.
Click the button for Update Products.
Then, select the CSV file you want to use to import your products.
Done!