Meta events power how your ads learn, target, and measure. When your Meta Pixel is connected (Conversions API coming soon), CartGenie sends standard commerce signals so Meta can optimize delivery, build better audiences, and report true performance.
Why these events matter
Improve optimization for conversion and Advantage+ Shopping campaigns
Build high-intent retargeting and lookalike audiences (cart adders and buyers)
See clearer attribution and ROAS in Ads Manager
Troubleshoot funnel drop-offs in Events Manager
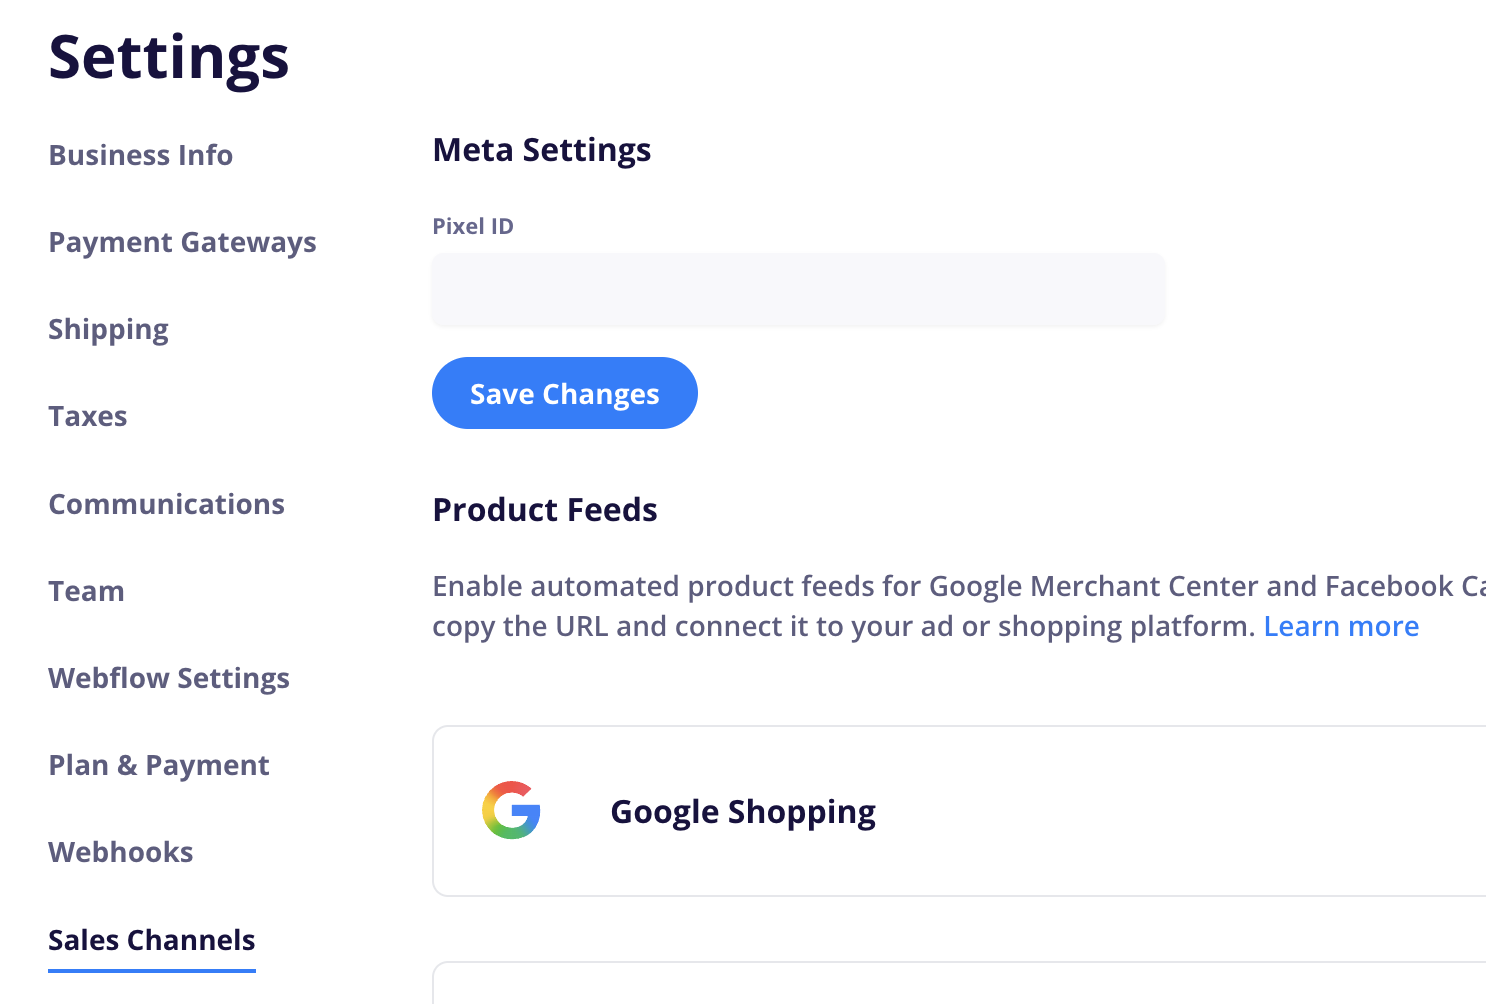
You can find the Meta Pixel in Settings > Sales Channels
Go to Sales ChannelsInput your Pixel ID and click Save Changes.
Done!

The pixel settings are cached for about 10 minutes. It can take a bit for the pixel to appear on your site (this cache is only for the pixel ID in CartGenie’s settings, the actual events will fire every time a customer visits your site)
Ensure you have entered the Meta Pixel ID correctly
Turn off all ad blockers
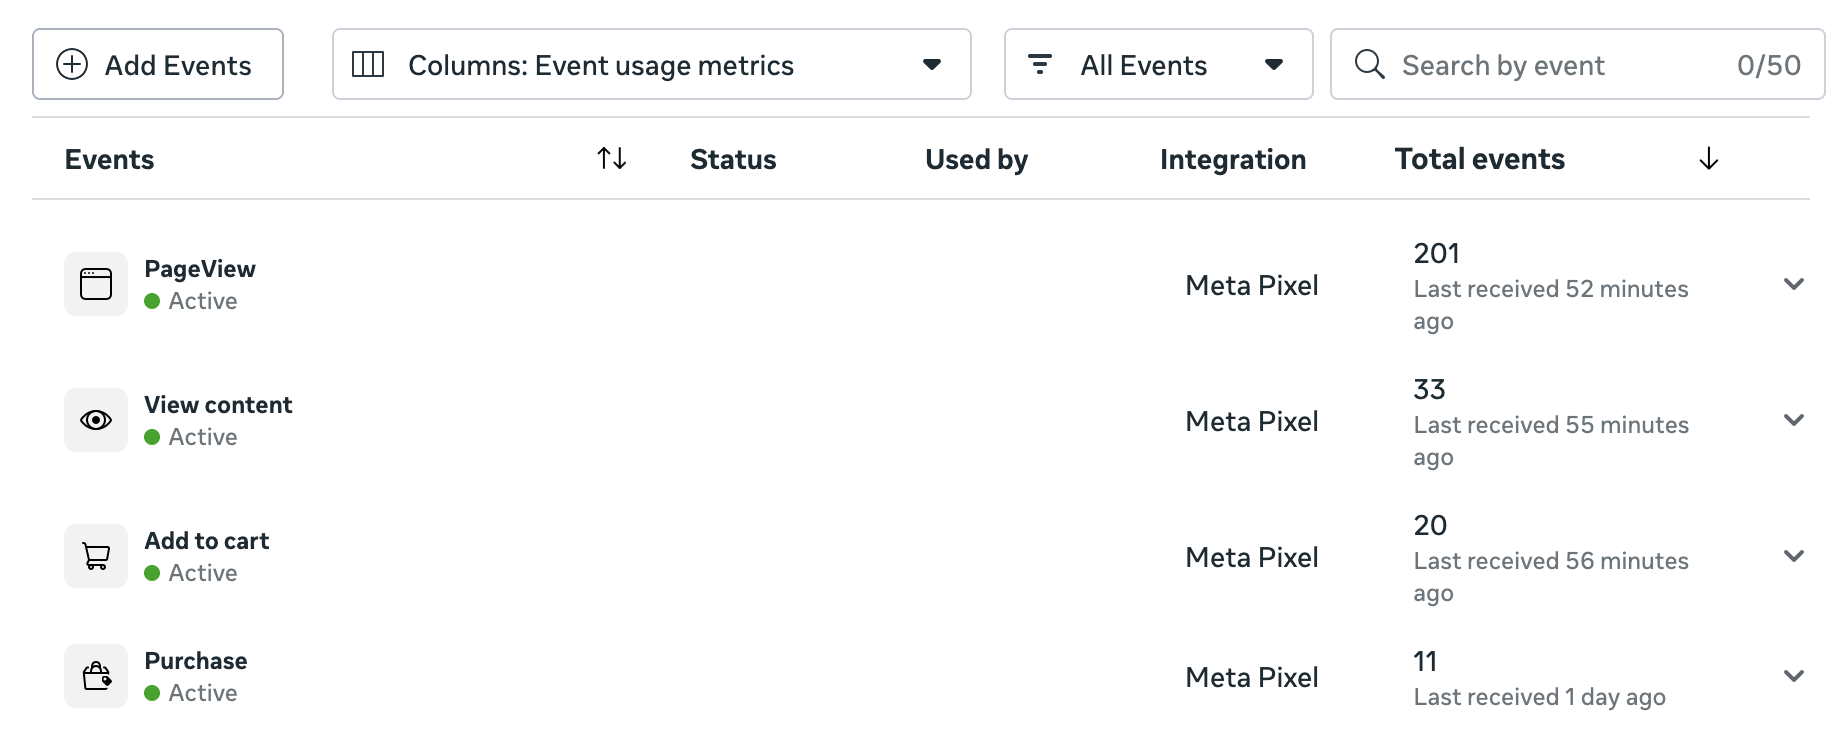
We currently send:
View Content: which products customers view
Add to Cart: which products customers add to cart
Purchase: which products customers buy
In your Meta business account, go to Ads Manager → Events Manager.
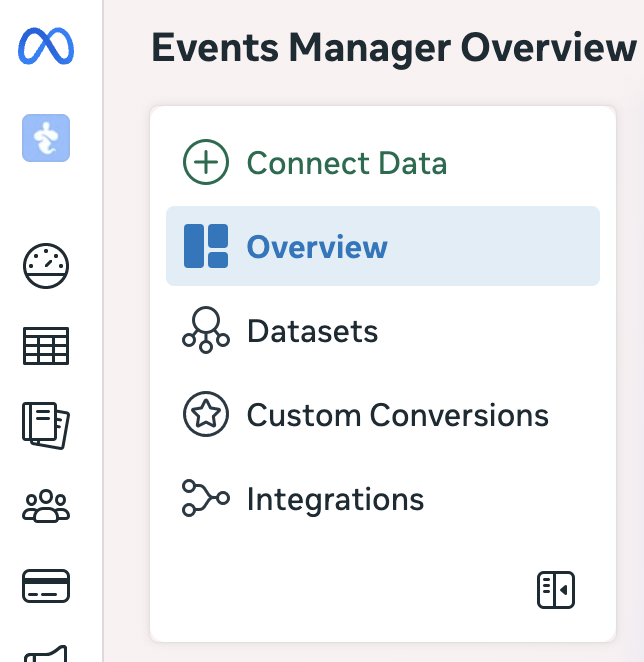
Click Connect Data → Web → Next.
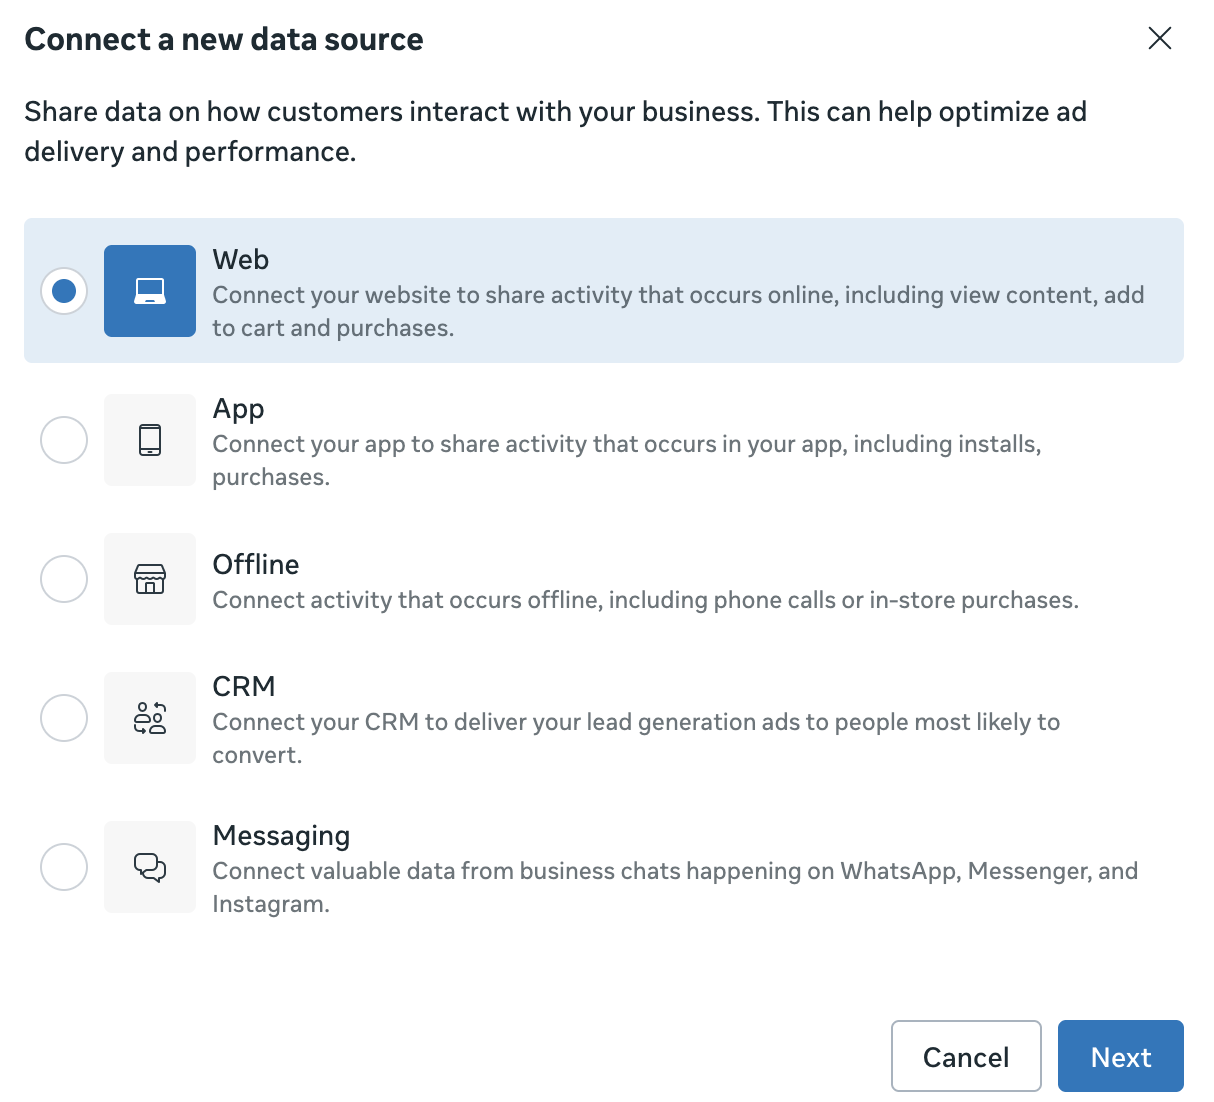
Click to Create a new dataset. Name your pixel and click Create. This creates a new Pixel and associated ID you’ll manage in Events Manager.
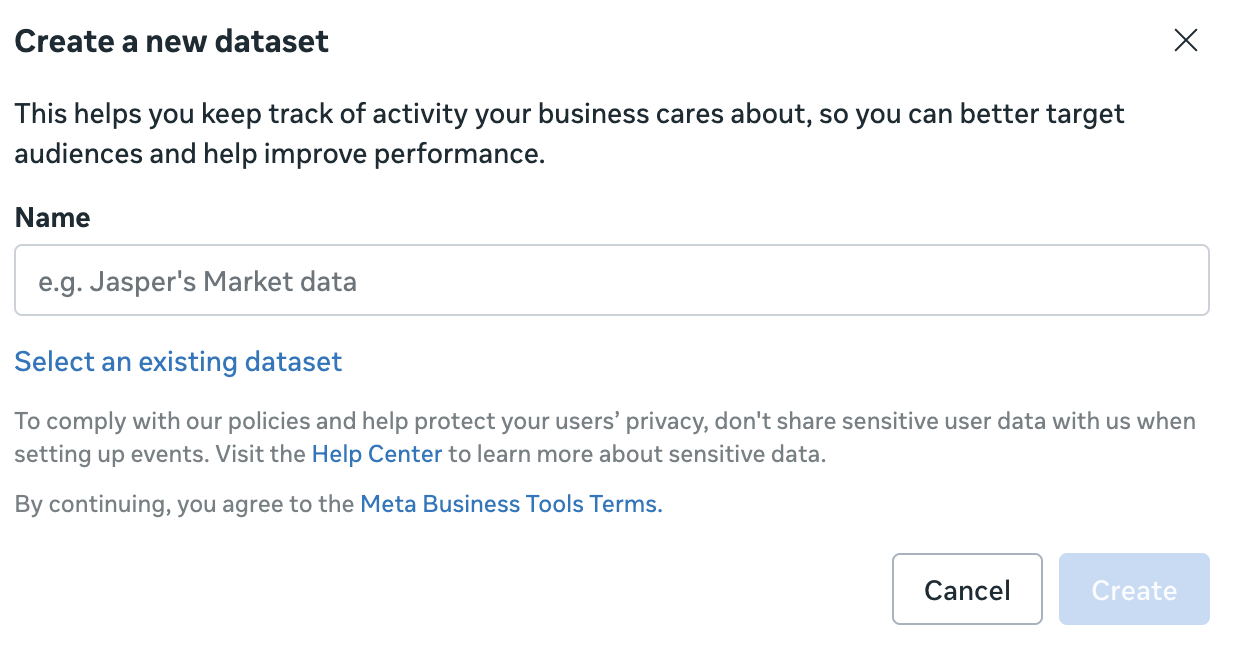
Why this matters – you’ll use the same Pixel when you later add Conversions API; Meta recommends using one Pixel ID for both browser and server events.
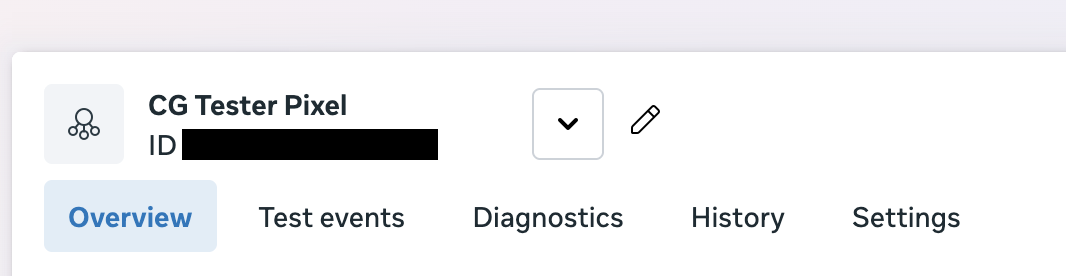
In Events Manager, select your Pixel (aka dataset). The Pixel ID appears near the top of the Pixel’s Overview/Settings.
If your Pixel is linked to a dataset, the dataset ID will be the same as your existing Pixel ID.
In Events Manager → Data Sources → your Pixel → Test events, open your site and perform a few actions (view product, add to cart, purchase) to confirm they’re received.
You can also add the Meta Pixel Helper Chrome Extension which is useful for quickly seeing which pixels and events are firing on the front-end of your site any time.
That’s it – once you’ve copied the Pixel ID, paste it into CartGenie. We’ll send View Content, Add to Cart, and Purchase to Meta so your campaigns can optimize and measure performance accurately.
