By default, all variants use your parent product’s description on the Basic Info tab. This text is sent to Webflow’s CMS and will be displayed automatically when you connect the rich text block on your product page to the description CMS field.
However, you can display a unique description for every product variant as well.
Adding a Variant-Level Description
First, inside the product you want to edit, be sure that the “parent” product has a description on the Basic Info tab.

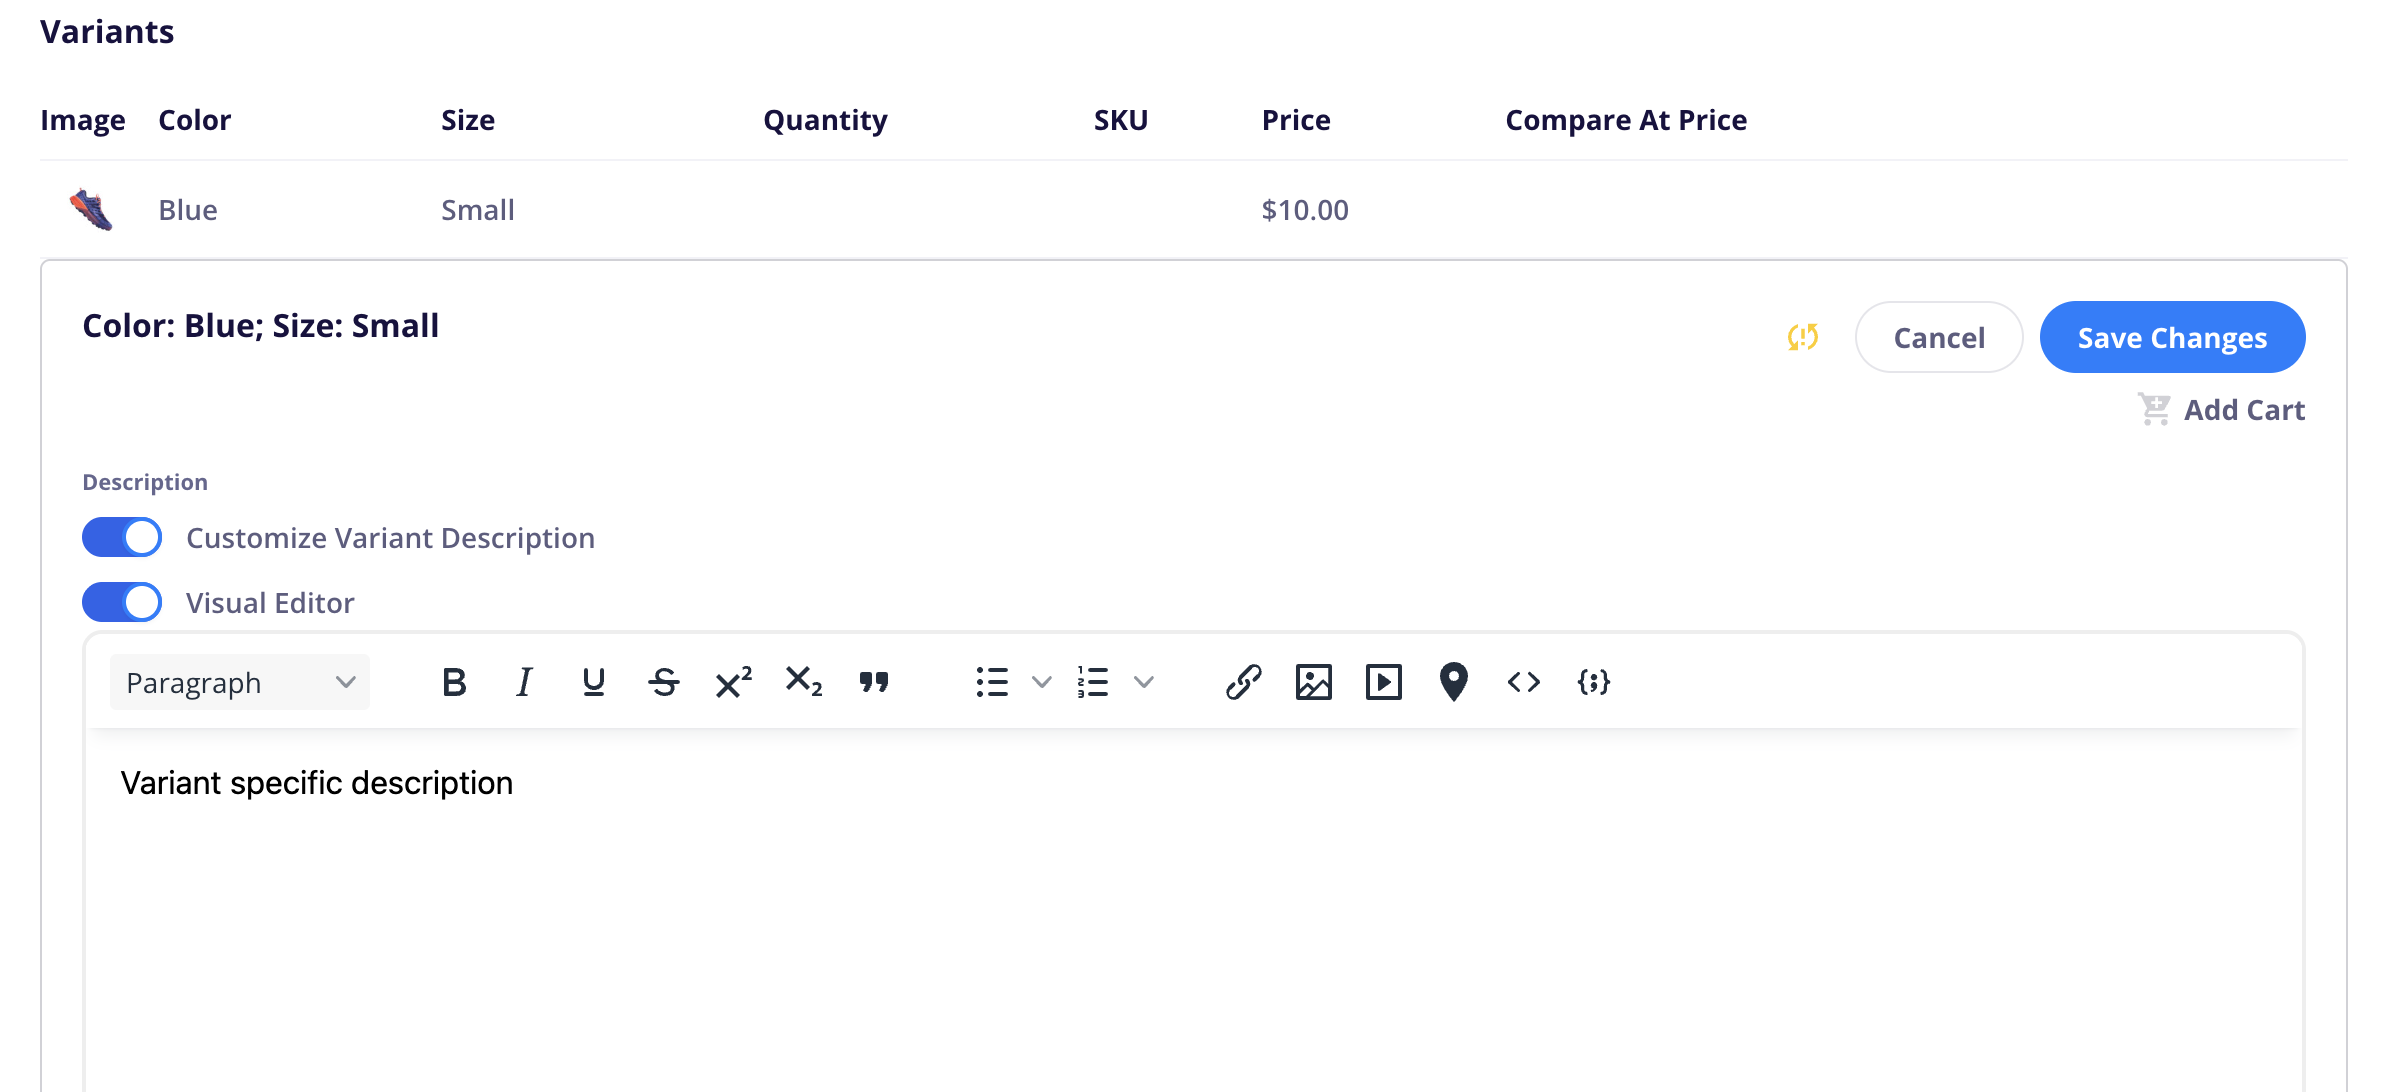
Then, click on the Variants tab and open up the specific variant you want to edit.
Enable the toggle for Customize Variant Description.
You will now see the rich text editor appear. Edit the description and click Save Changes.
Done!
Now, if you’ve used our product page template - whenever a customer selects those option values from the front-end of your site, we will switch out the rich text description to your customized text.
Requirements

In order for our app to switch out the text, you must ensure your description is set up correctly.
Use a Rich Text block (this will not work for regular text or paragraph, etc.)
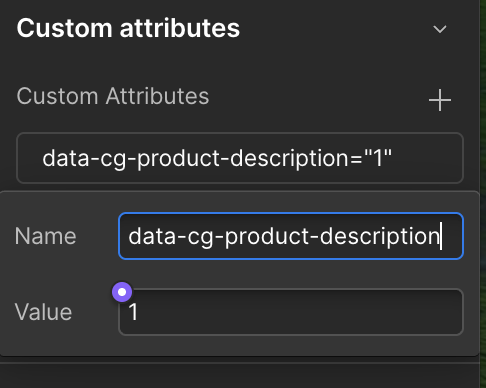
Add the following custom attribute
Name:
data-cg-product-descriptionValue:
1