If you’ve used our custom checkout fields to collect extra information from customers on your checkout page, then these fields are automatically added to each order email. However, you can customize this to control which fields get displayed and how you want them to appear in emails and invoices!
See our guide below on adding custom fields at checkout:
Collect custom information at checkout
Easily collect personalized information at checkout such as notes, gift messages, tax IDs, etc.
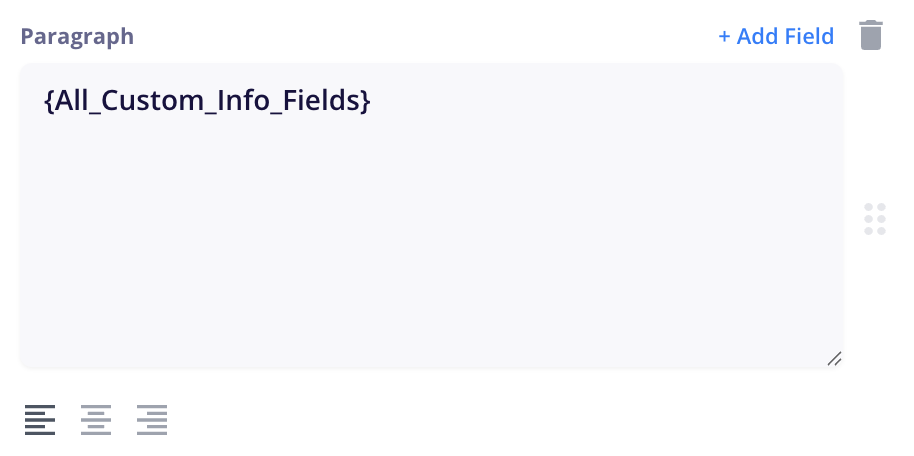
By default, CartGenie adds a paragraph block in your order emails with a {All_Custom_Info_Fields} tag. This will list all custom field values entered by the customer at checkout.
Example:
Gift Message: Happy Birthday John!
Notes: Please deliver to John on March 3
You can move this block / tag anywhere in your email to change where it is displayed.
If you remove this meta tag or the paragraph, these fields will not be added to your order emails, but will still be seen in the Order Details panel in CartGenie.
If you want to display a specific field, you can add a text block anywhere in your email and then click the Add Field link.
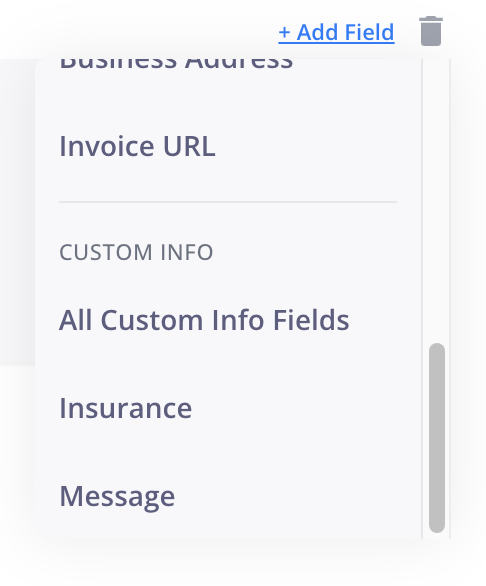
Scroll to the bottom and you’ll see several options:
All Custom Info Fields: This will add the tag from above which will display all fields – even ones added later
You’ll also see the field titles for each of your custom fields which can be selected and placed anywhere in your email to display just that value.

