Stripe Link gives your customers a faster, simpler checkout experience by allowing them to securely save and reuse their payment details across Link-supported businesses. When enabled in CartGenie, eligible customers can check out using their saved Link account information instead of manually entering their payment details each time.
This can help reduce friction at checkout, speed up purchases, and improve the overall customer experience — especially for returning customers or shoppers who already use Link on other sites.
In this guide, we’ll walk through how Link works with CartGenie, how to enable it, and what to check if Link is not appearing at checkout

Link is built by Stripe so first you will need to integrate CartGenie with your Stripe account in CartGenie settings > Payment Gateways page. Follow our guide here:
Integrating CartGenie with Stripe
Use Stripe as a payment gateway at checkout
Once integrated with Stripe, ensure the Link gateway is enabled in CartGenie.
Done! Your store is now integrated.
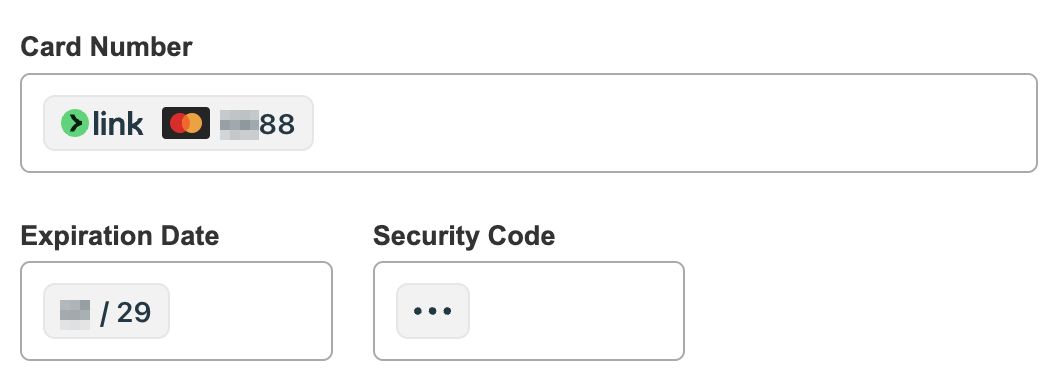
At checkout, your customers will see a Link box added to the end of your Card Number input for their credit card.
Logged out view:

Logged in view:

If the user signs in and selects their saved card, then Link auto-fills the Card Number, Exp Date, and CVV fields for them for a quicker checkout.
There are a few reasons why Stripe Link might not show up at checkout. Here is a list of steps to try:
CartGenie’s Test Order Mode only works with test credit cards, so all other payment methods are hidden at checkout.
Turn off Test Order Mode in Payment Gateway settings to test a live Stripe Link payment.
CartGenie should enable Link automatically when you connect your Stripe account, but you can double-check in Stripe.
Go to:
Stripe Dashboard > Settings > Payment methods
Then click Default: CartGenie configuration and look for Link in the list.
Make sure Link is enabled.
Back in CartGenie Payment Gateway settings, click the refresh icon in the Stripe card to make sure CartGenie recognizes the latest Stripe payment method settings.
Link availability can depend on the country, currency, product, and eligibility of the connected Stripe account.
If Link is not available in the store’s Stripe payment method settings, the connected Stripe account may not be eligible to offer Link.
Link availability can depend on the checkout currency and the payment methods available in the Stripe Payment Element.
If the store currency or payment setup is not supported, Link may not appear.
Stripe payment methods may require the site domain to be registered with Stripe.
If Link is enabled but not appearing, make sure the exact checkout domain is registered and verified in Stripe, especially if the store recently changed domains, added or removed www, moved from staging to live, or is testing on a temporary Webflow/custom domain.
Link payments should be tested on a secure HTTPS page.
If the store is loading over HTTP, has SSL issues, or has mixed-content errors, Link may not appear or may fail during checkout.
Make sure the checkout page loads with a valid HTTPS URL, then republish the site and test again.
Sometimes your browser may cache payment settings and checkout options from previous page loads, especially if you visited checkout before enabling Link.
Try clearing your browser cache, testing in a private/incognito window, or testing in another browser.
You can also delete cookies for only your store site in Chrome here:
chrome://settings/content/all
