Each product already has default CMS fields built in such as name, slug, description, image, price, etc. If you would like to add additional information fields (such as ingredients or country of origin, etc.), you can create those here.
Any fields you add in the Product Settings page will be added to the Product CMS collection as a custom field. This allows you to then add this information on your Product Template page and display it to customers.

Any fields you add here are able to be filled in on the product page when editing an individual product (go to the Additional Fields tab).
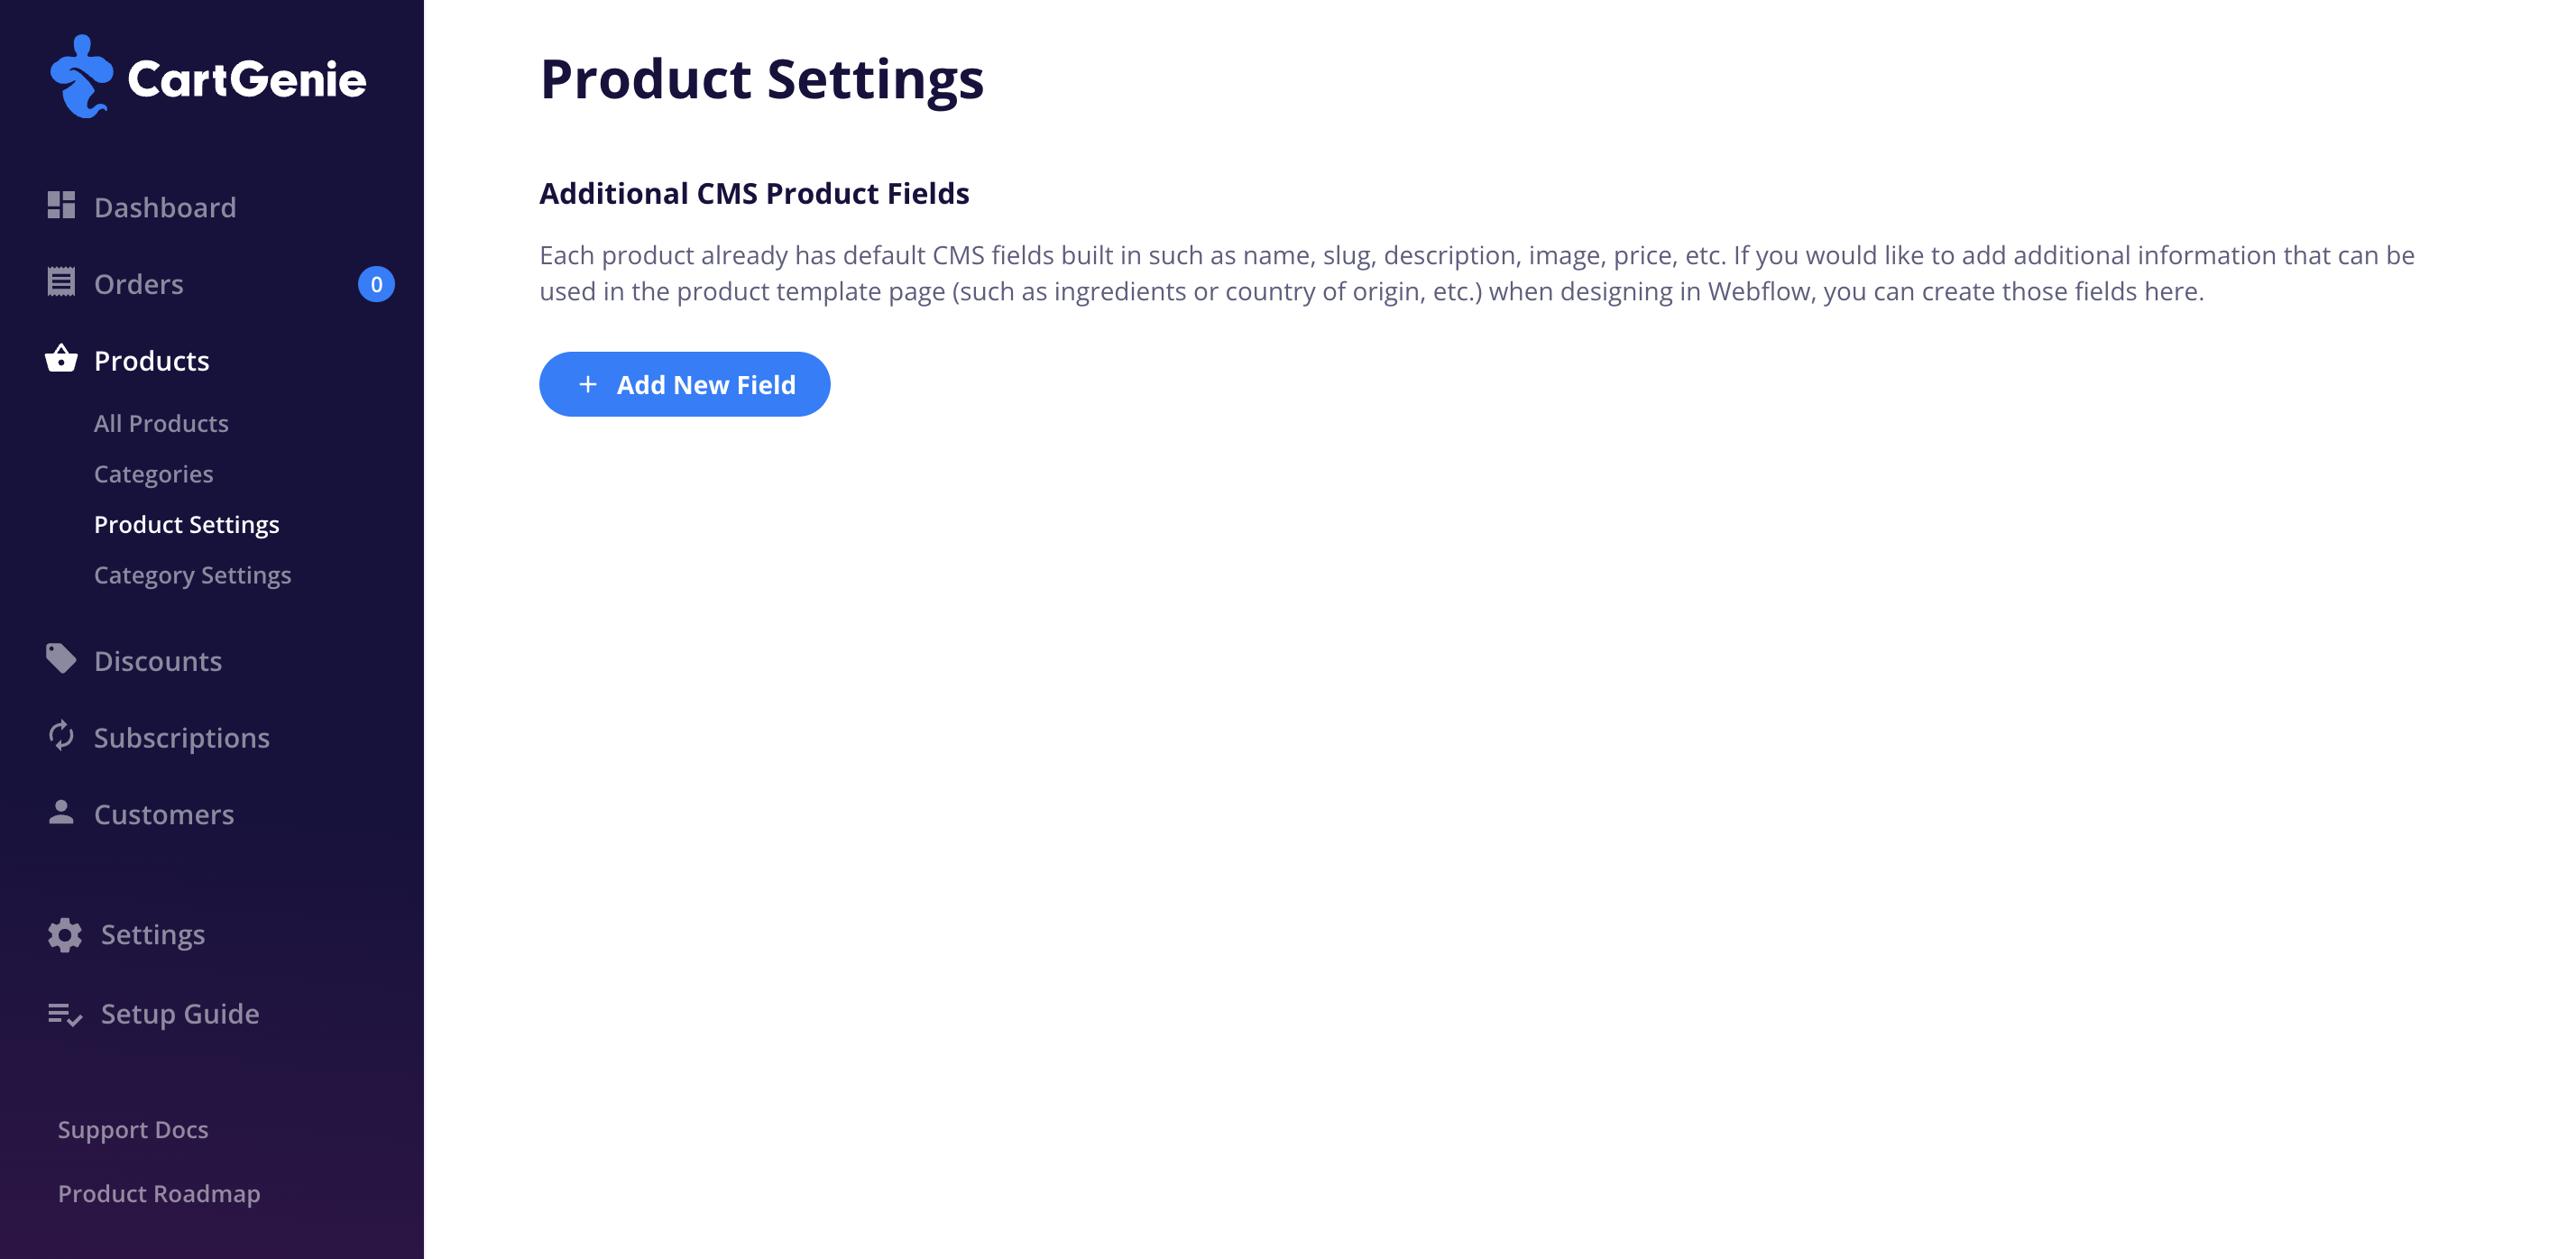
In CartGenie, go to Products > Product Settings subpage.
Click the “Add New Field” button.
Select the type of field you would like to add to your products. These are the standard Webflow custom field types available:
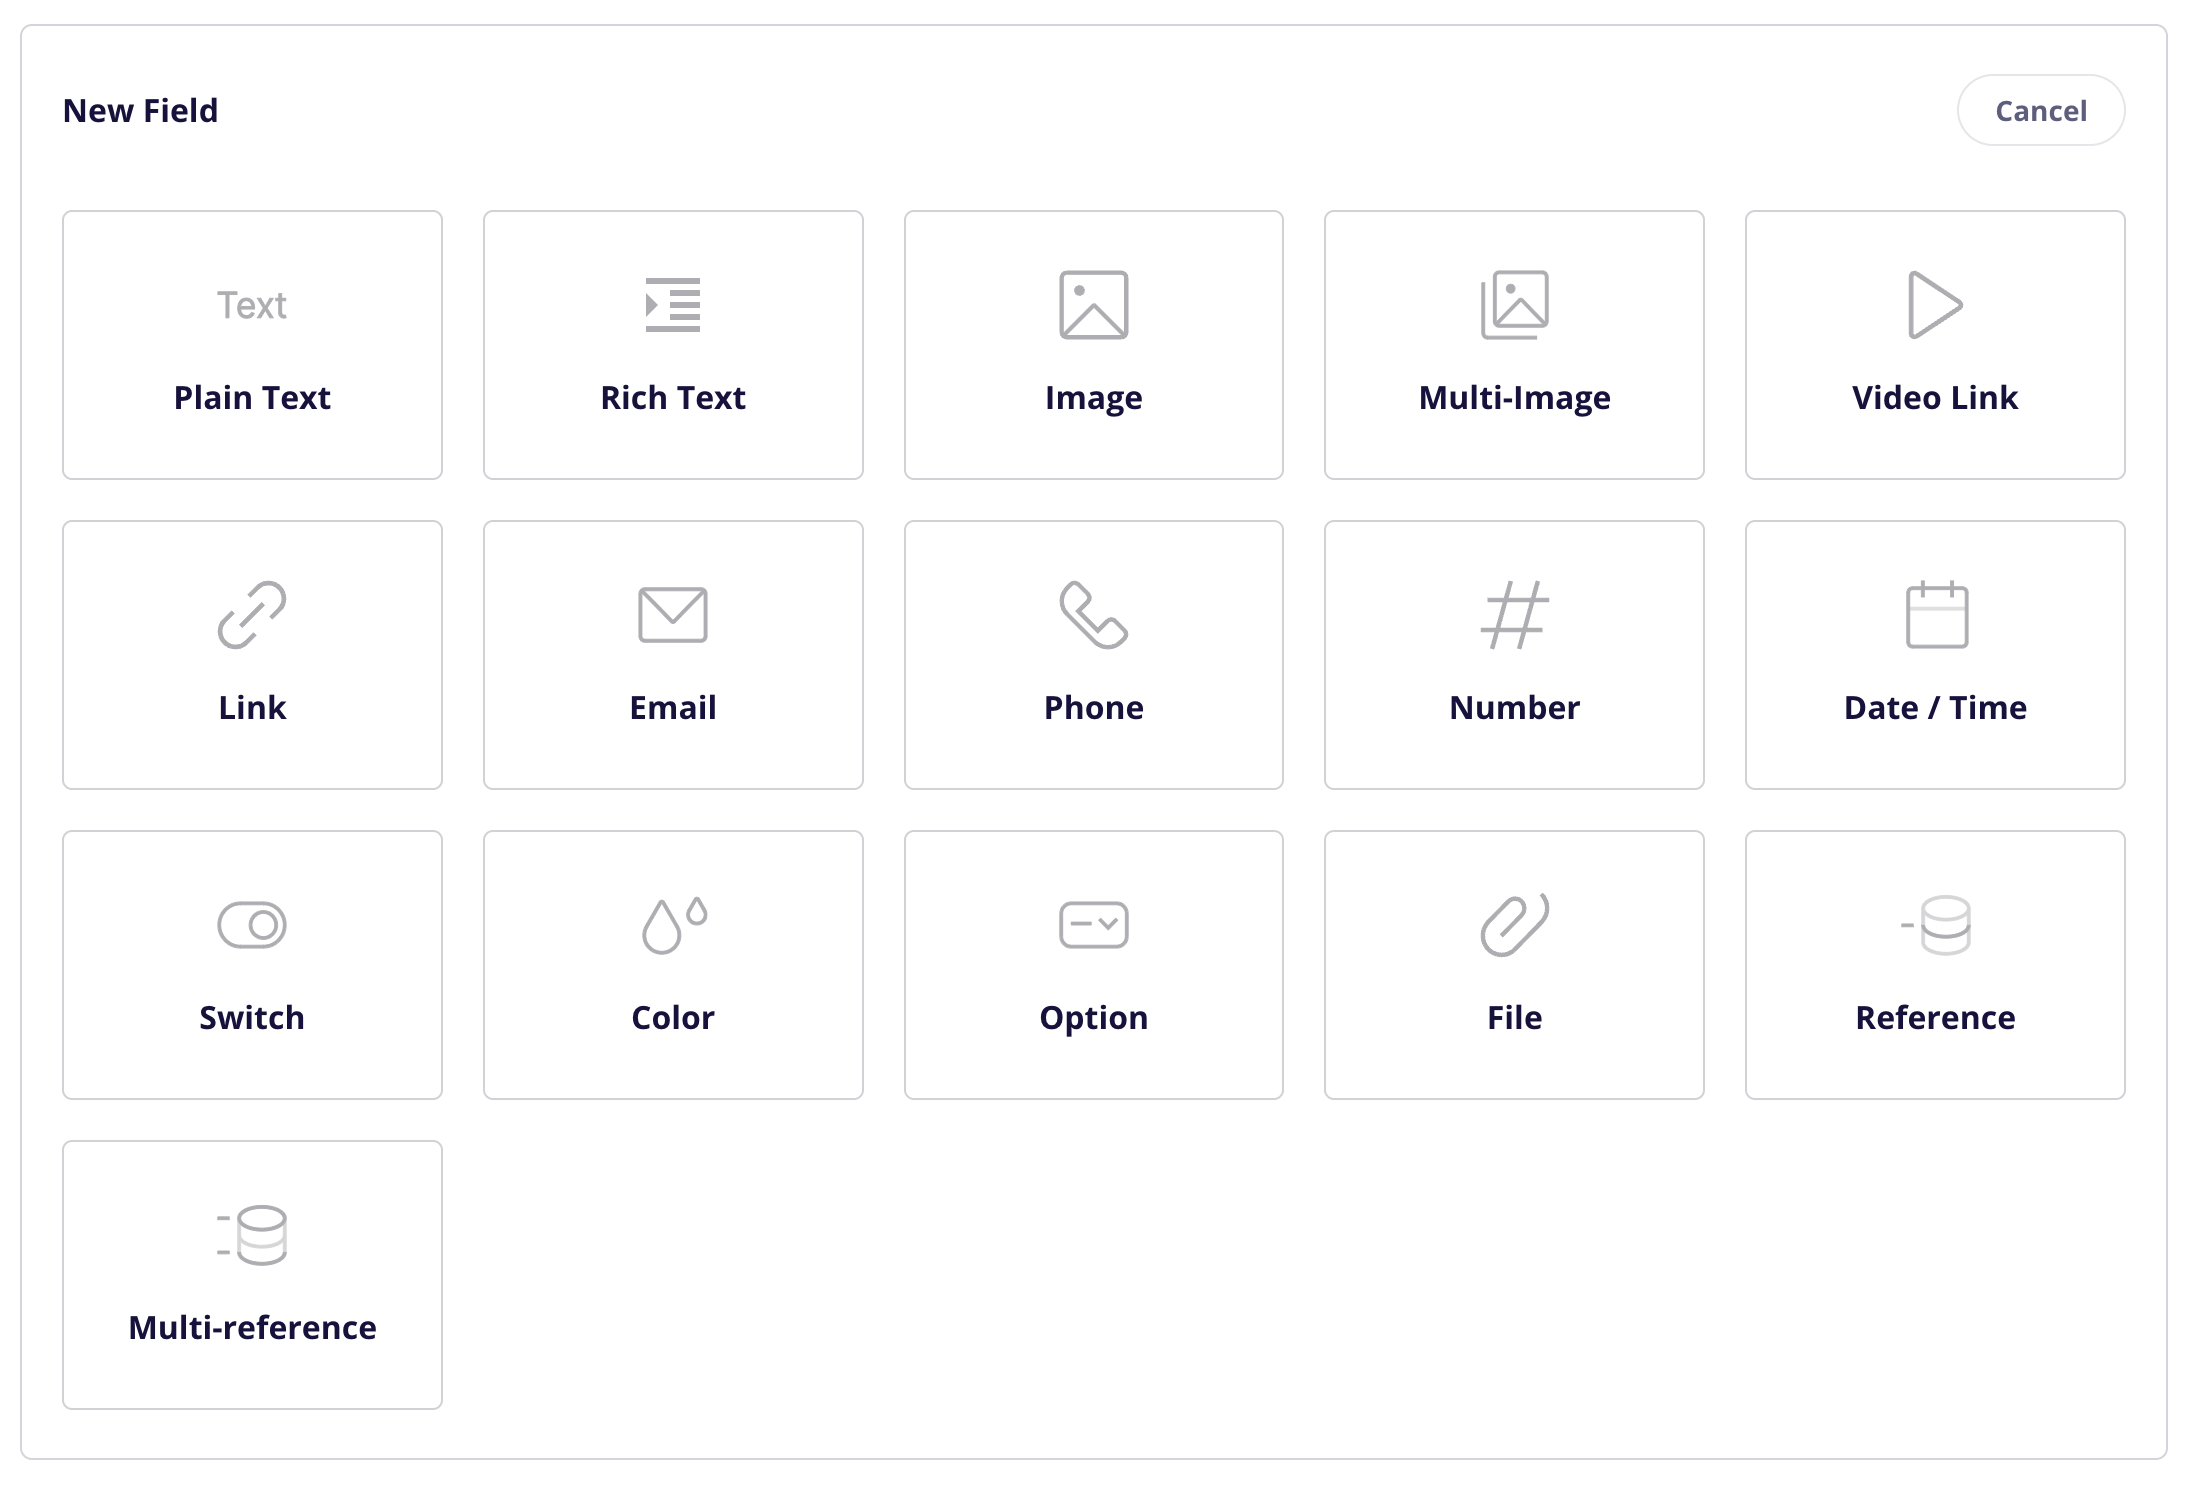
You can learn more about the types of custom fields here.
Plain Text
Used to display a few words, sentences, or paragraphs of plain text.
Ex for a field of Ingredients: “Aqua (Water), Glycerin, Aloe Barbadensis Leaf Extract (Aloe Vera), Simmondsia Chinensis (Jojoba) Seed Oil…”
Rich Text
Used to display multiple formatted elements such as headlines, paragraphs, bullets, etc.
You can use HTML in this field to format
Ex: “<h2>Headline Size 2</h2><ul><li>Bullet point goes here</li></ul>”
Image
Used to display an uploaded image (single)
Multi-Image
Used to display multiple images
Video Link
Used to display a video hosted on an exterior site (such as Youtube, Vimeo, etc.)
Link
Used to display a URL link. This can be displayed as-is or used as the link value for any text or button on the page.
Ex for a button linking to a manufacturer’s website: “samsung.com/products/….”
Used to display an email address
Phone
Used to display a phone number
Number
Used to display a number
Date/Time
Used to display a selected date/time.
Switch
Used to select one of two values (basically true or false) for a given input based on if the switch is enabled or disabled.
Ex: “Is this product gluten free?” (True / False)
Color
Used to select a color value that can be displayed on the page or used in an element’s settings (such as background color or text color)
Option
Used to select a single value from several possible predefined options
Ex for a field named Product Age Range: “Newborn, Infant, Child, Teen, Adult, Senior”
File
Used to add a link to an externally hosted file you can reference on your page
Reference
Used to reference a single item from the same or another CMS collection
Ex: Newer Version of a Product
Multi-Reference
Used to reference multiple items from the same or another CMS collection
Ex: Related Products
Depending on which type of field you select, you will see a number of different field options to fill in.
Example: here is a Plain Text field panel:
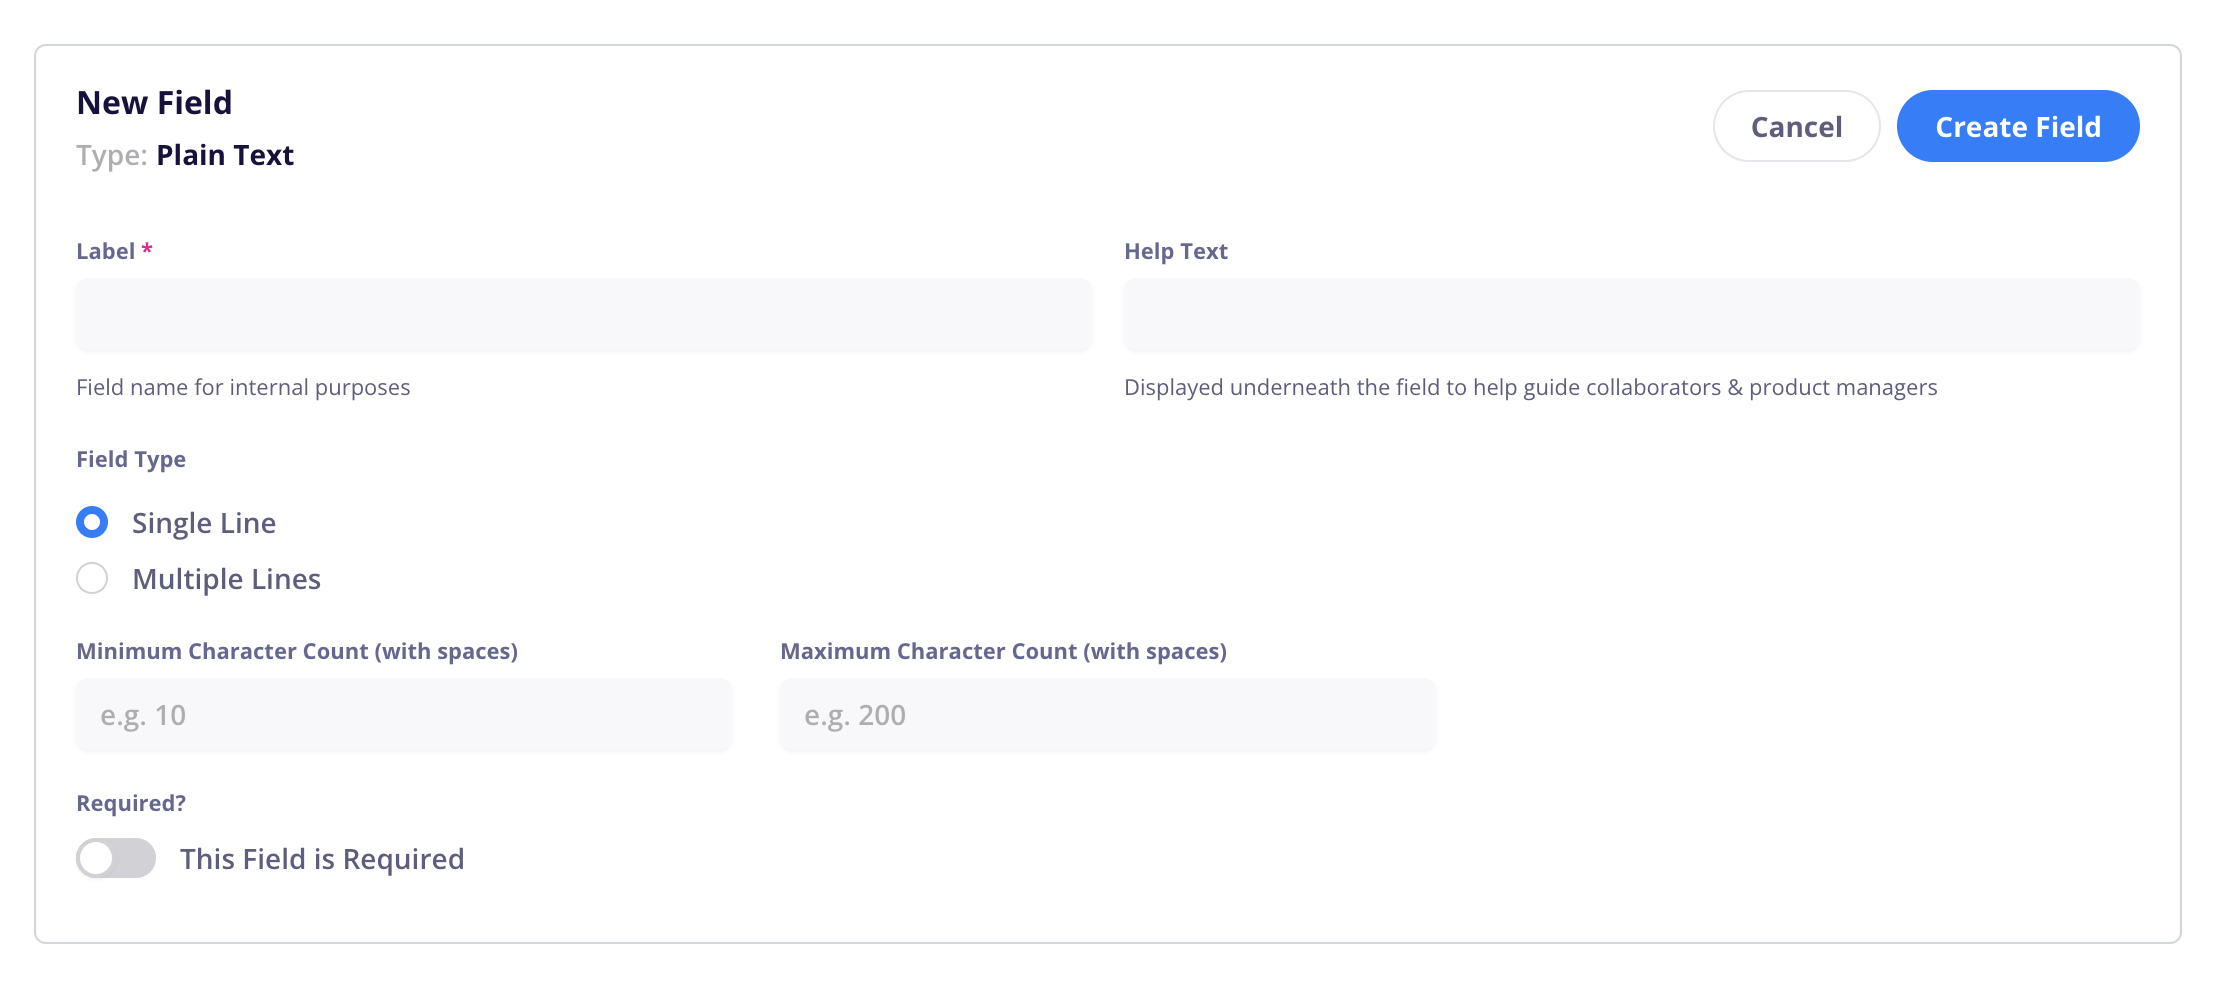
These fields will be added to the Additional Info tab in each product detail page. Any data entered here will be synced to your Webflow CMS collection for each product.
By clicking and holding on the 6 grey dots beside a field in the Product Settings page, you can drag and drop it to rearrange the fields. This will change their order in the Additional Info tab under each product.
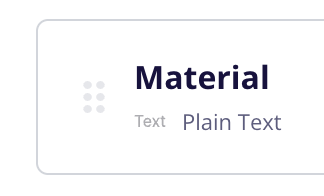
You can better organize your additional info fields by Adding an Internal Section Title in the Product Settings page.

This is for internal CartGenie use only and does not get displayed on your site or sent to Webflow.
To add values to the additional fields you created in Product Settings, go to your Products page and create a new product (or edit an existing product).
Go to the “Additional Info” tab and you will see your new fields to fill out.
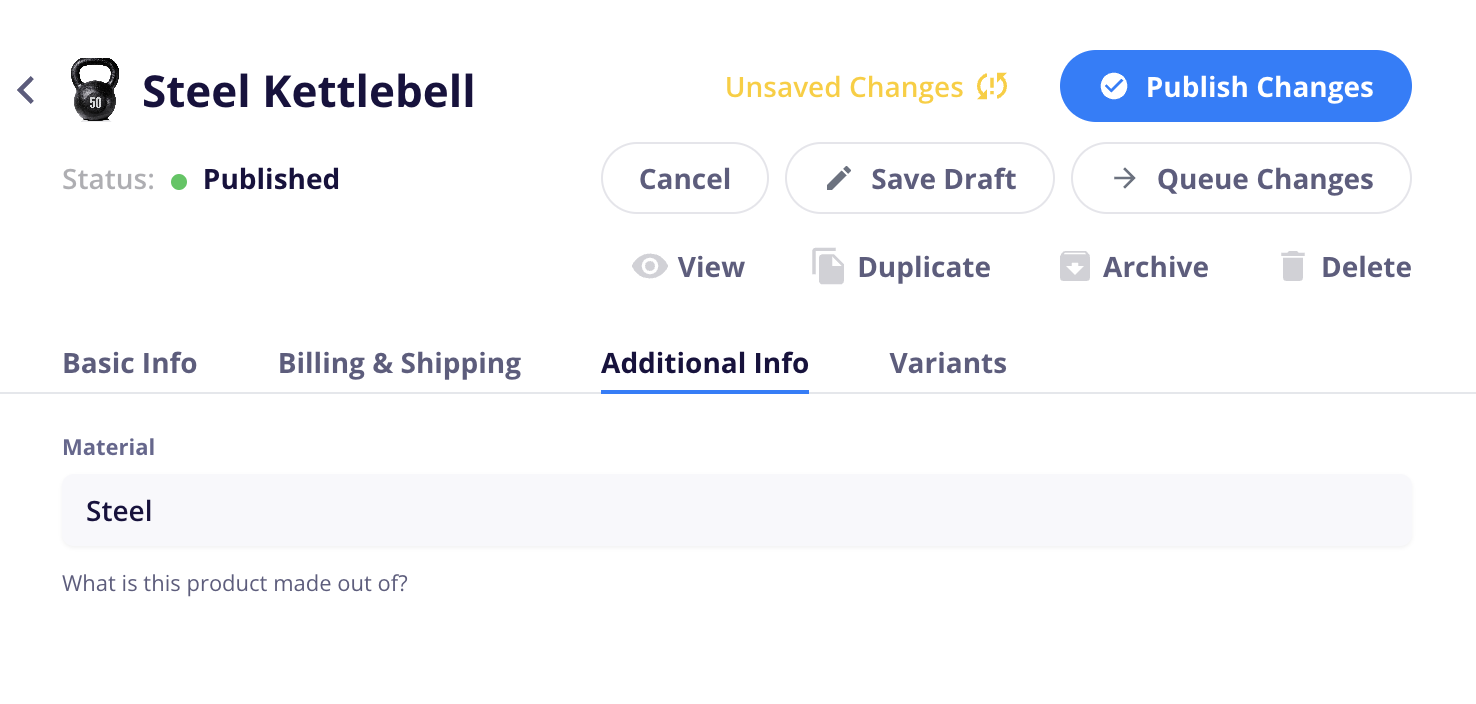
All fields are added as custom fields in your Products CMS collection in Webflow.
To display them on the product page, simply add a text block and then click the purple dot and connect the block to the relevant field.
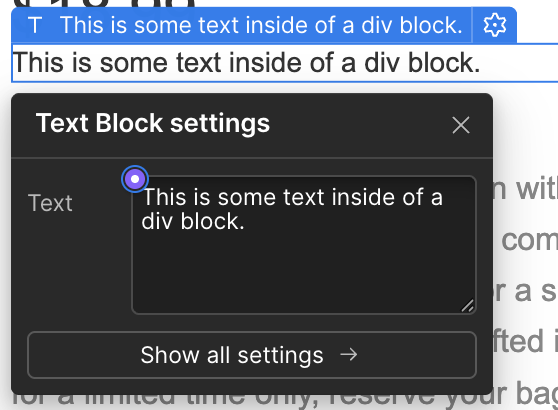
For example:
Multi-reference field: Webflow requires that you use a collection list block and then connect it to the multi-reference field.
Image Field: You must place an image block to display your uploaded image
Because the cart, checkout, and confirmation product lists are populated dynamically, there won’t be a CMS field for you to connect them to like in the product page. Here is how you add custom fields to your customer’s selected products in these locations:
In Product Settings, open up the field you want to display on your site.
You will see a Custom Attribute section with Name and Value listed.
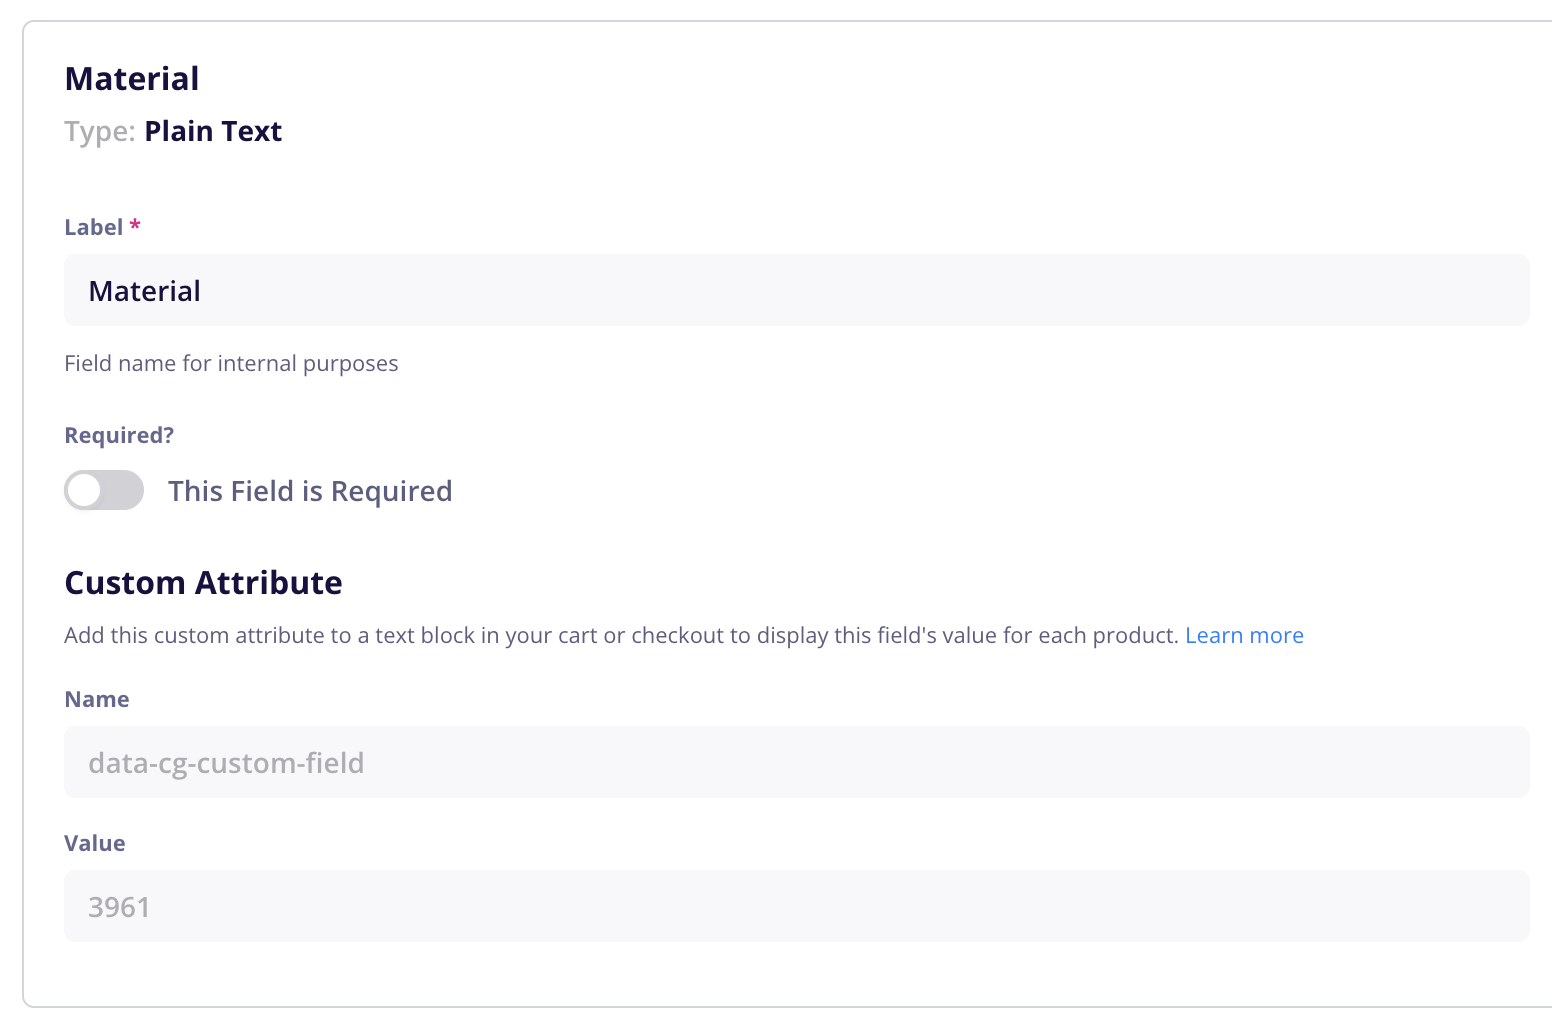
In Webflow, open your cart, checkout, or confirmation page and inside the item wrapper, then add a new text field right below your product options.
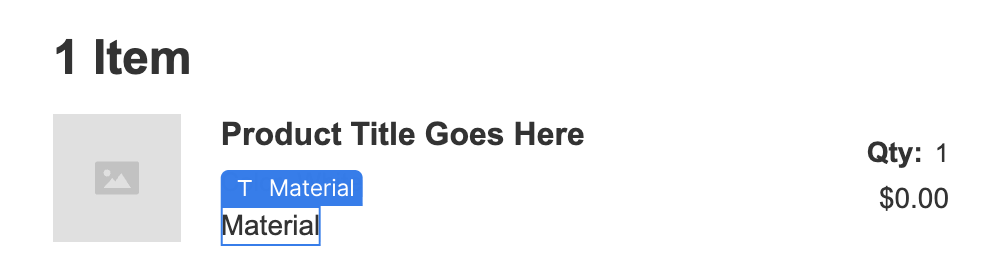
Then in the layer settings, go to the Custom Attributes section and add a new attribute. Use the attribute values provided in CartGenie Product Settings page.
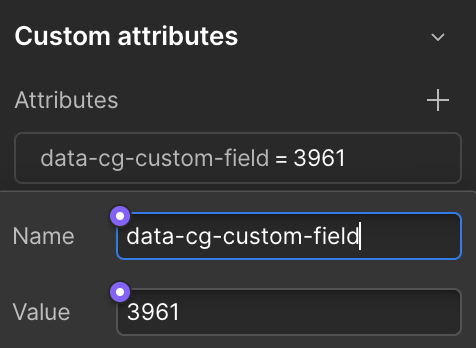
This field will be skeleton-loaded on page load before dynamically pulling in the relevant information. So, the placeholder text you enter should never be seen.