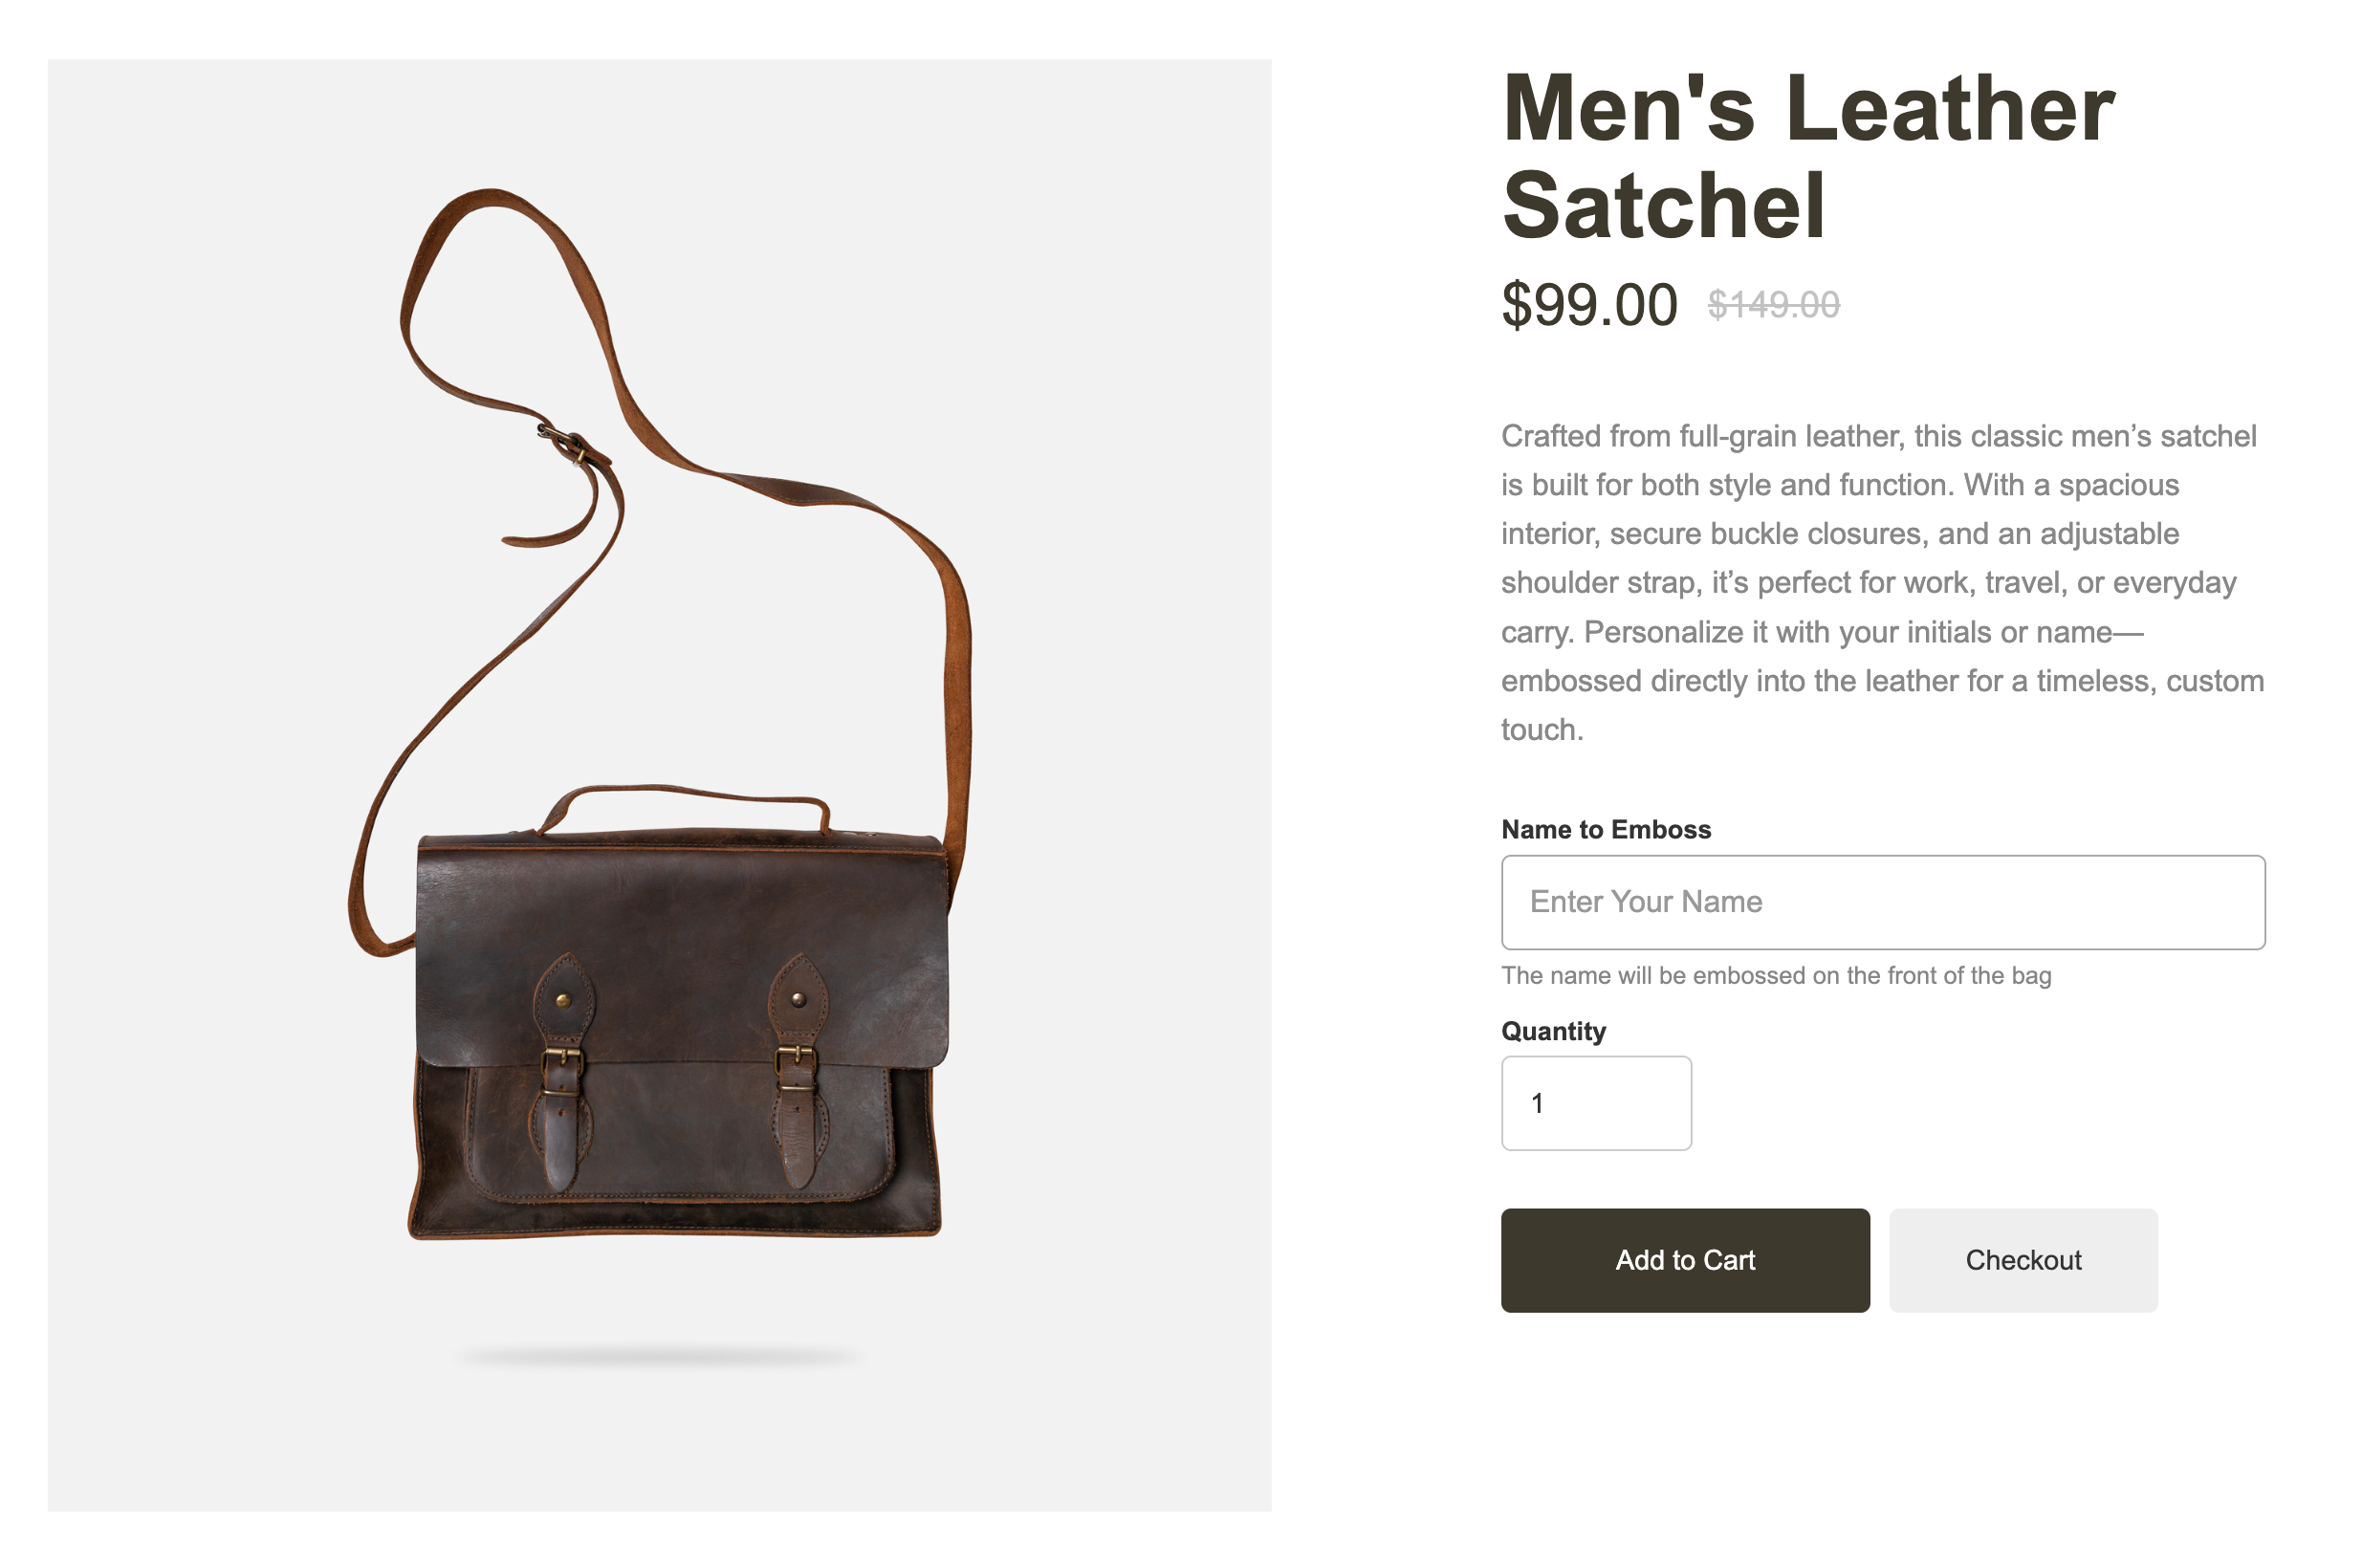
CartGenie lets you add personalization fields to products so customers can enter custom information before adding the item to their cart. Whether you’re offering custom engraving, embroidery, or special requests, this feature helps you sell more personalized, meaningful products.
This feature is for product-level personalization. If you’d like to add order-level input fields at checkout (for things like a gift message, etc.), see our guide here.
The possibilities are endless! Here are some ways you might use personalization fields on your products:
Custom names or initials for engraving, embossing, or embroidery
Special sizing instructions for tailored or handmade items
Favorite quote or phrase to be added to a product
Personal dedication for signed books or artwork
Coordinates of a special location to be printed or engraved
Pet info like birthdate, breed, or size for custom pet products
In CartGenie, open up the product you want to personalize.
Go to My ProductsGo to the “Additional Info” tab and find the personalization fields section. Click the “Add Personalization Fields” button.
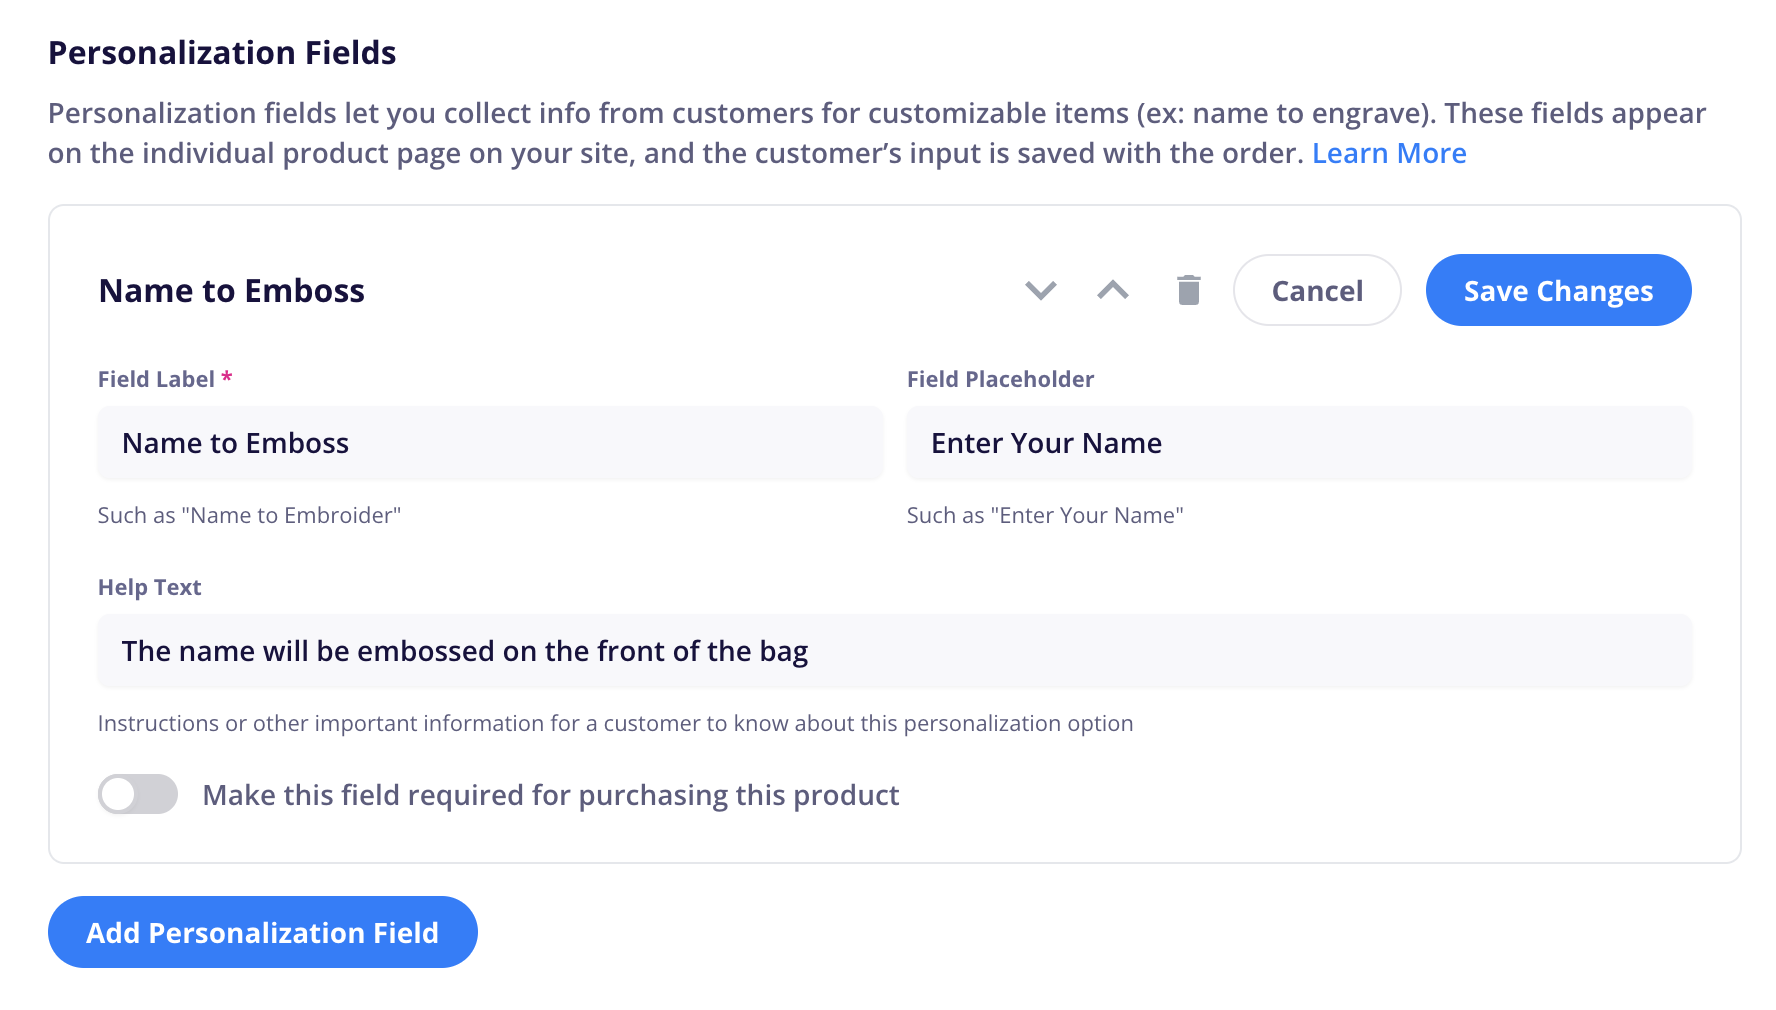
Fill in the personalization fields. All information here will be visible to the customer on the product page so be sure it is clear and concise.
If you enable the required feature, all customers will have to fill in this field before they can add this item to the cart.

Click Save Changes and then Publish your product.
Additional field types (dropdowns, checkboxes, file uploads) are coming soon!
In your Webflow designer, go to your Product page template.
Open up the CartGenie app and navigate to Create Product Pages > Components > Product and find the “Personalization Field” block.

Click the block to copy to your clipboard.
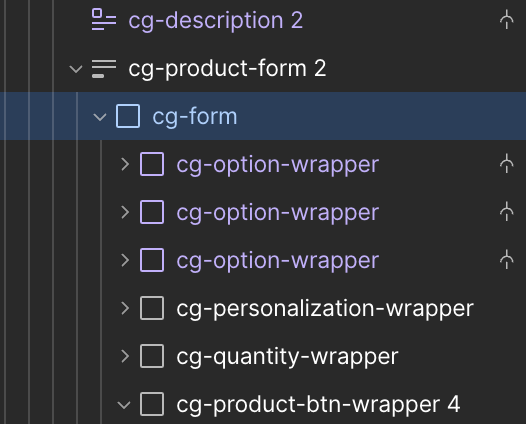
In your layers, find the “cg-form” layer and paste the personalization field block inside of it.
Then, move it to the position you prefer (here we added it below our variant dropdowns and above the quantity field)
You will see the field in your designer with the dummy text. Feel free to style the elements to match your site design!

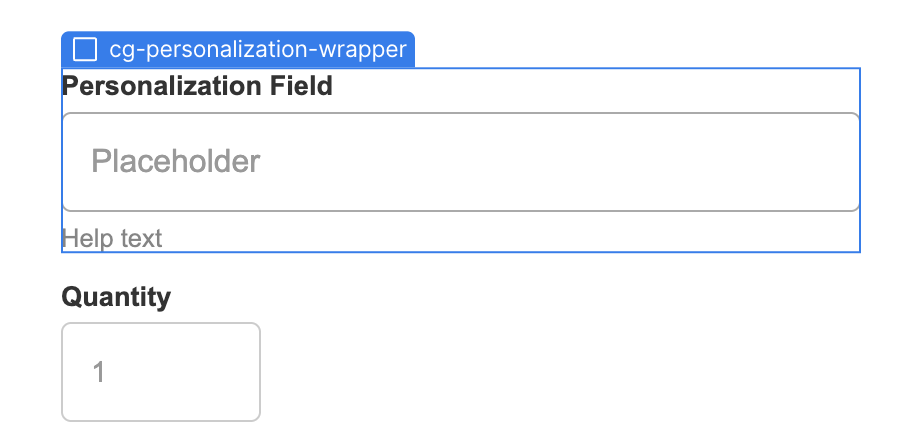
Note: Even though this field will be visible in the Webflow designer on all products, it will not be visible to your customers unless a product contains a personalization field. Do not set the field to display:none or hide it or else it will not function properly.
Publish your Webflow site to see your changes.
Go to your live product page and ensure that the field looks correct.
Test adding the item to cart and even checking out (using a test order so you don’t have to pay).
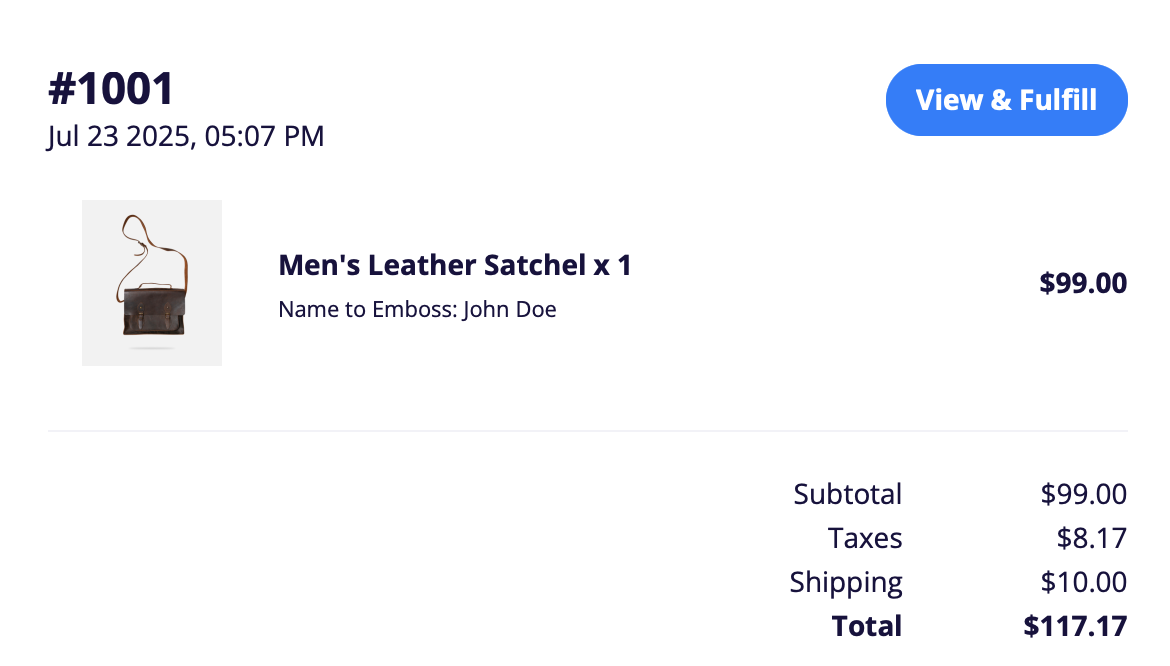
The personalization options entered by each customer will be added to their product and displayed:
In the cart
At checkout
On the confirmation page
In customer & store order emails
CartGenie order dashboard