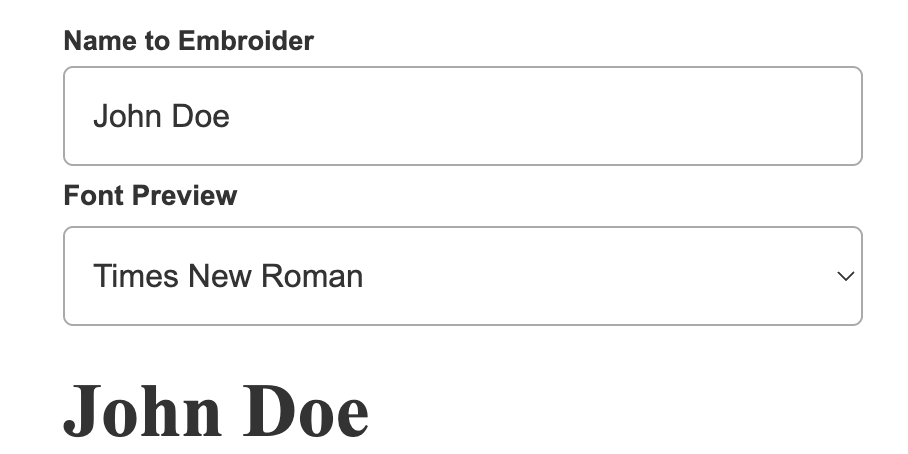
Want to give your customers extra confidence when personalizing their order? CartGenie lets you add a small text preview beneath any personalization field so shoppers can instantly see how the chosen font will look. This simple addition reduces uncertainty, improves trust, and helps your products feel more custom and polished.
Note: this method will illustrate the font choice to the customer, but does not add the selection to the product purchased.
In this guide, we’ll walk you through how to add and customize a font preview beneath your personalization field in just a few steps.
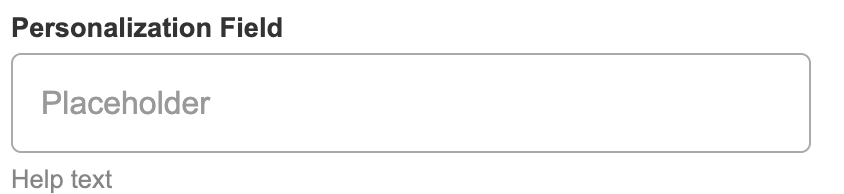
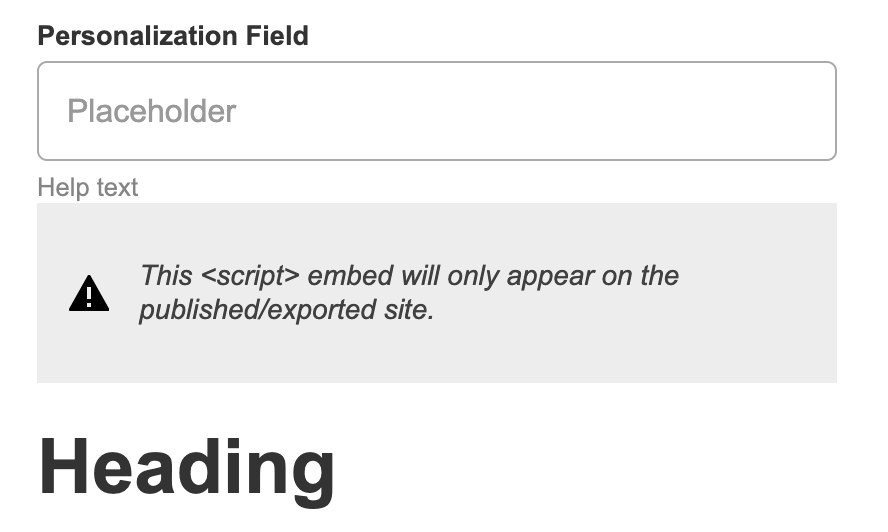
First, add a personalization field to your Product Page template using our CartGenie extension component.
Then, select the input layer and go to the layer settings Custom Attributes section in the right hand panel.
Do not remove the existing custom attribute, but simply add a new one:
Name:
data-input-mirror-sourceValue:
true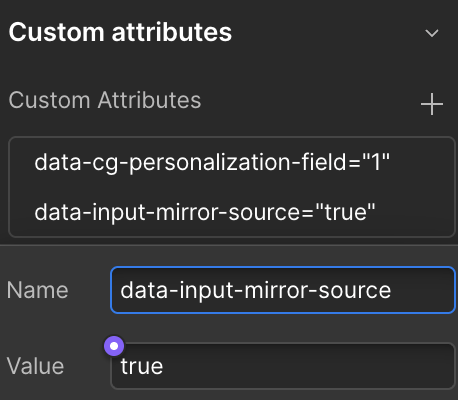
Inside of your Personalization Field Wrapper, add a code embed block.
Add the following code to the Code Embed block
<label class="cg-input-label 20">Font Preview</label>
<select class="cg-input-select 7" data-source-select="font-selector">
      <option value="Arial">Arial</option>
      <option value="Verdana">Verdana</option>
      <option value="Georgia">Georgia</option>
      <option value="Times New Roman">Times New Roman</option>
      <option value="Montserrat">Montserrat</option>
      <option value="Lato">Lato</option>
      <!-- Add more options for your desired fonts here -->
    </select>

       <script>
    document.addEventListener('cartgenie.ready', function () {
			console.log('cartgenie.ready');
      // --- Text Mirroring Logic ---
		  const sourceInput = document.querySelector('[data-input-mirror-source="true"]');
      const mirrorTargetHeading = document.querySelector('[data-mirror-target="text"]'); // Unique target for mirroring

      if (sourceInput && mirrorTargetHeading) {
        const updateMirrorText = () => {
          mirrorTargetHeading.textContent = sourceInput.value;
        };
        // Initial update on load
        updateMirrorText();
        // Update on input event
        sourceInput.addEventListener('input', updateMirrorText);
      }

      // --- Font Selection Logic ---
      const selectElement = document.querySelector('[data-source-select="font-selector"]');
      const fontTargetHeading = document.querySelector('[data-font-target="font"]'); // Unique target for font selection

      if (selectElement && fontTargetHeading) {
        const updateHeadingFont = () => {
          const selectedFont = selectElement.value;
          if (selectedFont) {
            fontTargetHeading.style.fontFamily = selectedFont;
          }
        };
        // Update on input event
        selectElement.addEventListener('input', updateHeadingFont);
        // Initial update on load
        updateHeadingFont();
      }
    });
    </script>
This code will create the font selector dropdown and will make the whole thing work.
Edit the font options values inside the <select> element to match the desired fonts you want to show customers. Be sure that the value name is identical to the font name in Webflow.

You can also add a different class name or CSS styles to the select dropdown box if you’d like to make it look different.
Add a Heading block beneath the code embed block inside the personalization field wrapper.
Add 2 custom attributes to this heading block.
Name:
data-mirror-target
Value:
text
Name:
data-font-target
Value:
font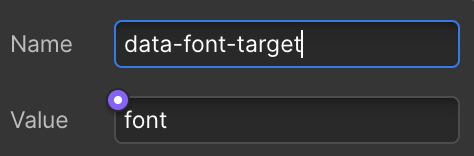
Publish your site and preview it!
If everything is done correctly, you should see a selector box beneath your personalization field that allows your customers to select a font. Any text they insert into the personalization field will show up as the headline block.


