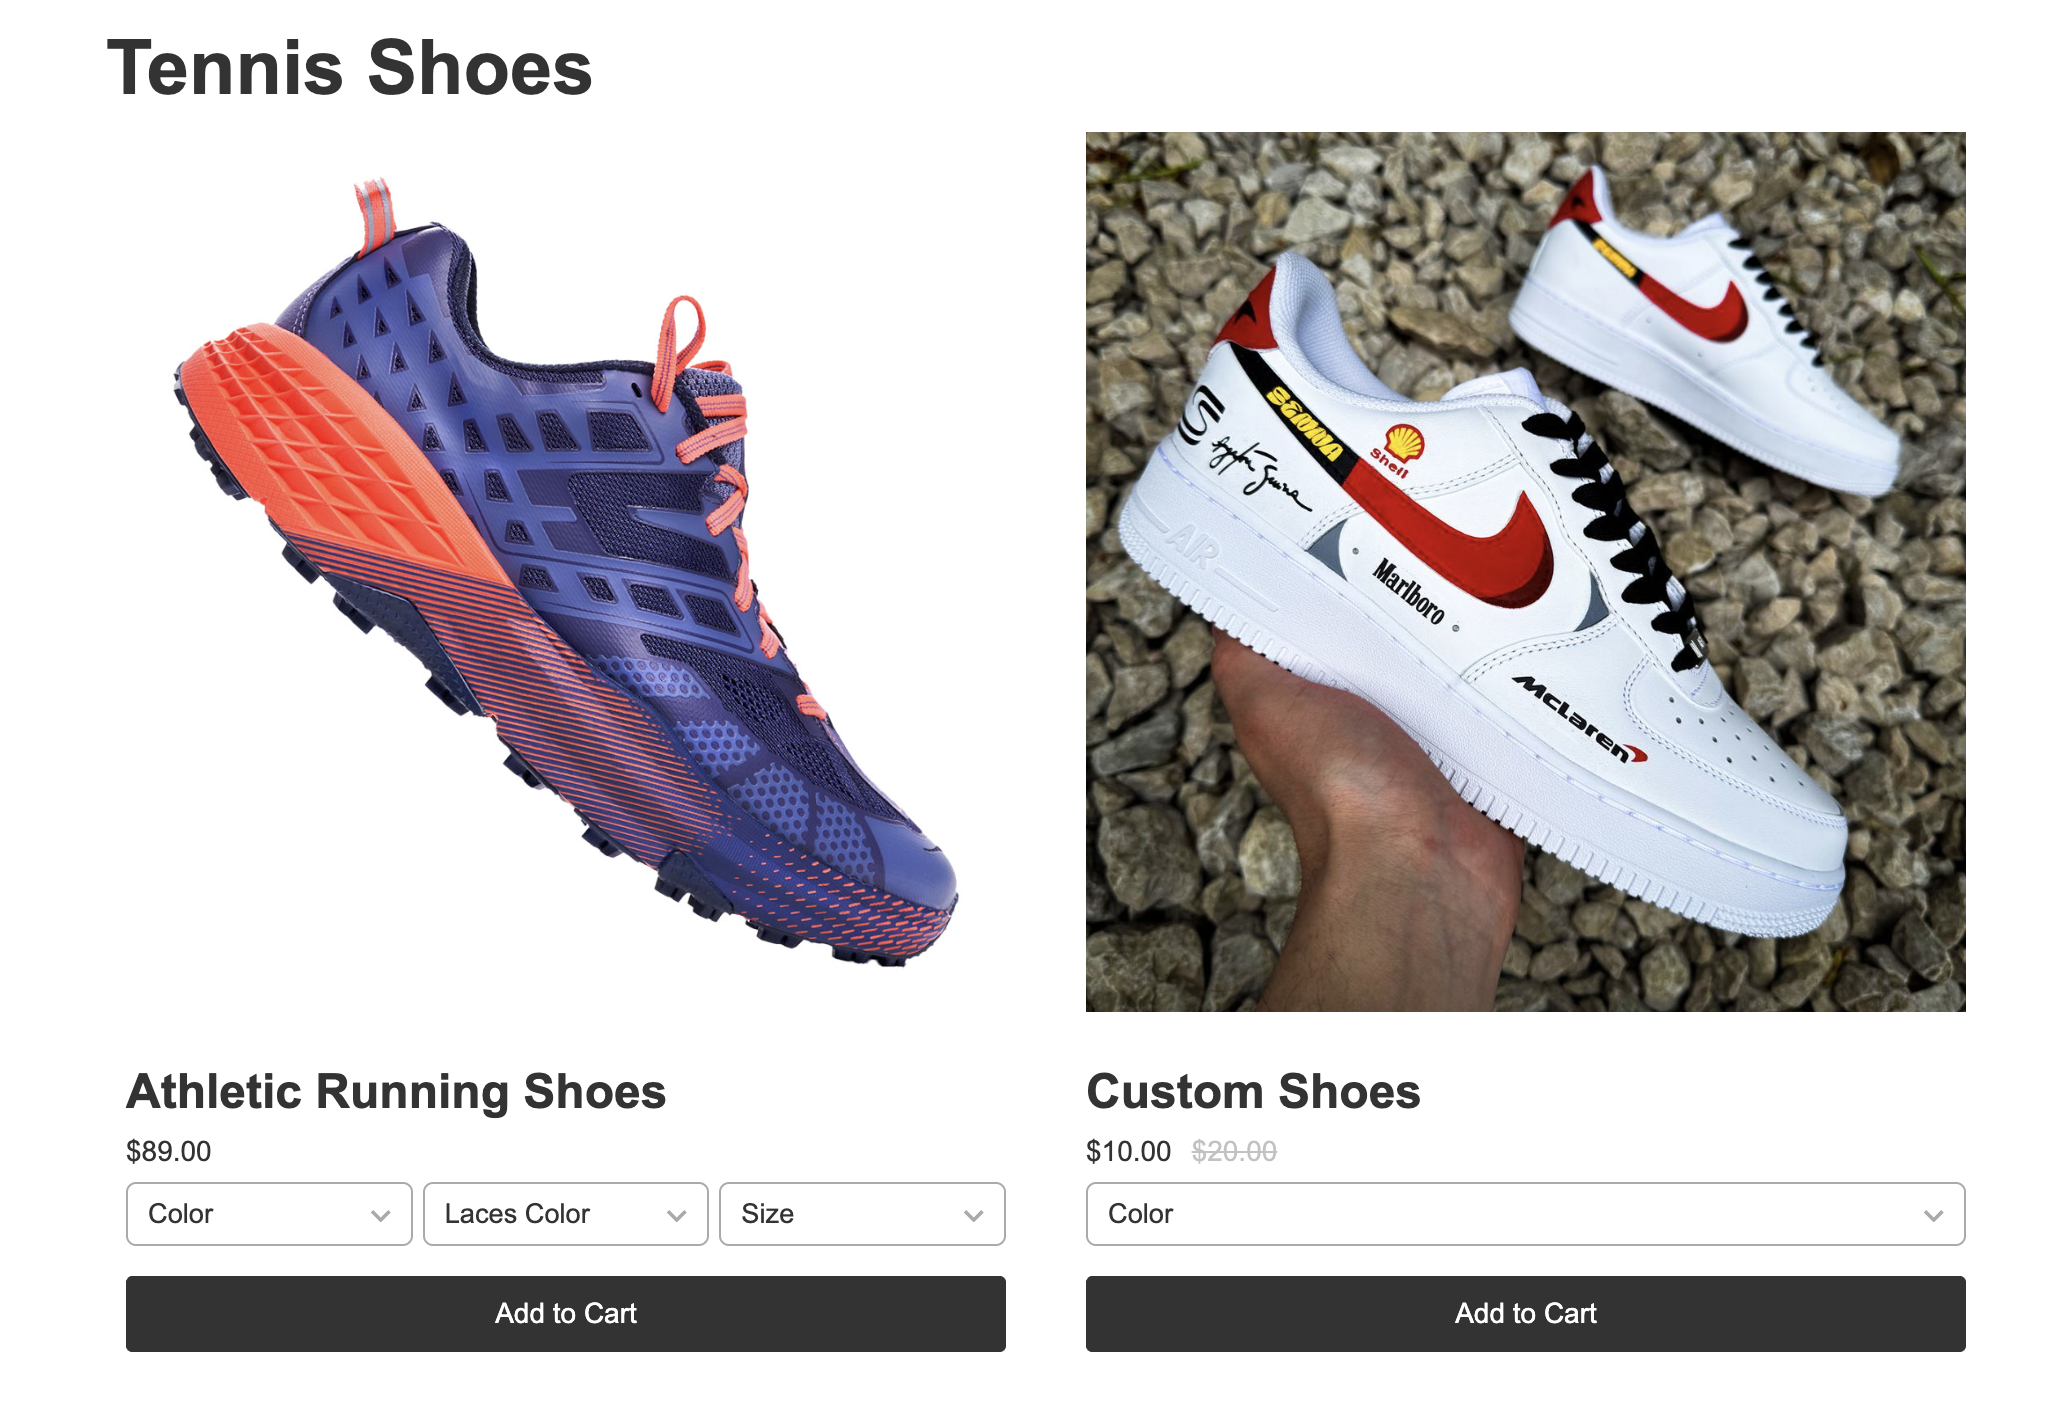
If you want to nest your categories for better organization, you can do this natively in CartGenie and Webflow with multi-reference fields. This can be as many levels deep as you like.
Example:
Shirts
T-Shirts
Polos
Dress Shirts
Shoes
Dress Shoes
Tennis Shoes
In Webflow, create a new CMS collection to house your subcategories. Name it whatever you want such as “Subcategories”.

Create ALL subcategory items here (for all your categories). This is not specific to a certain category.
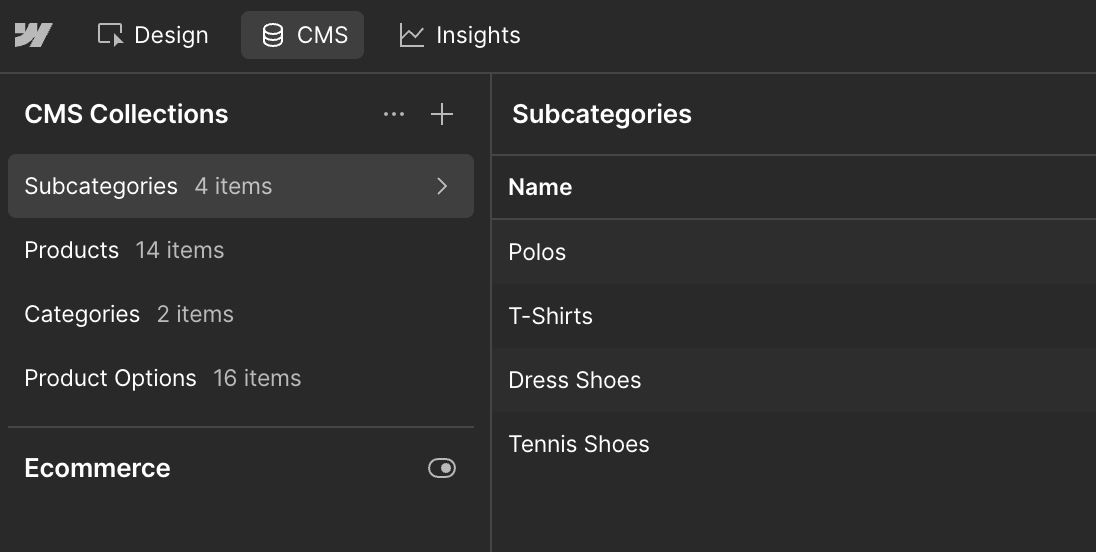
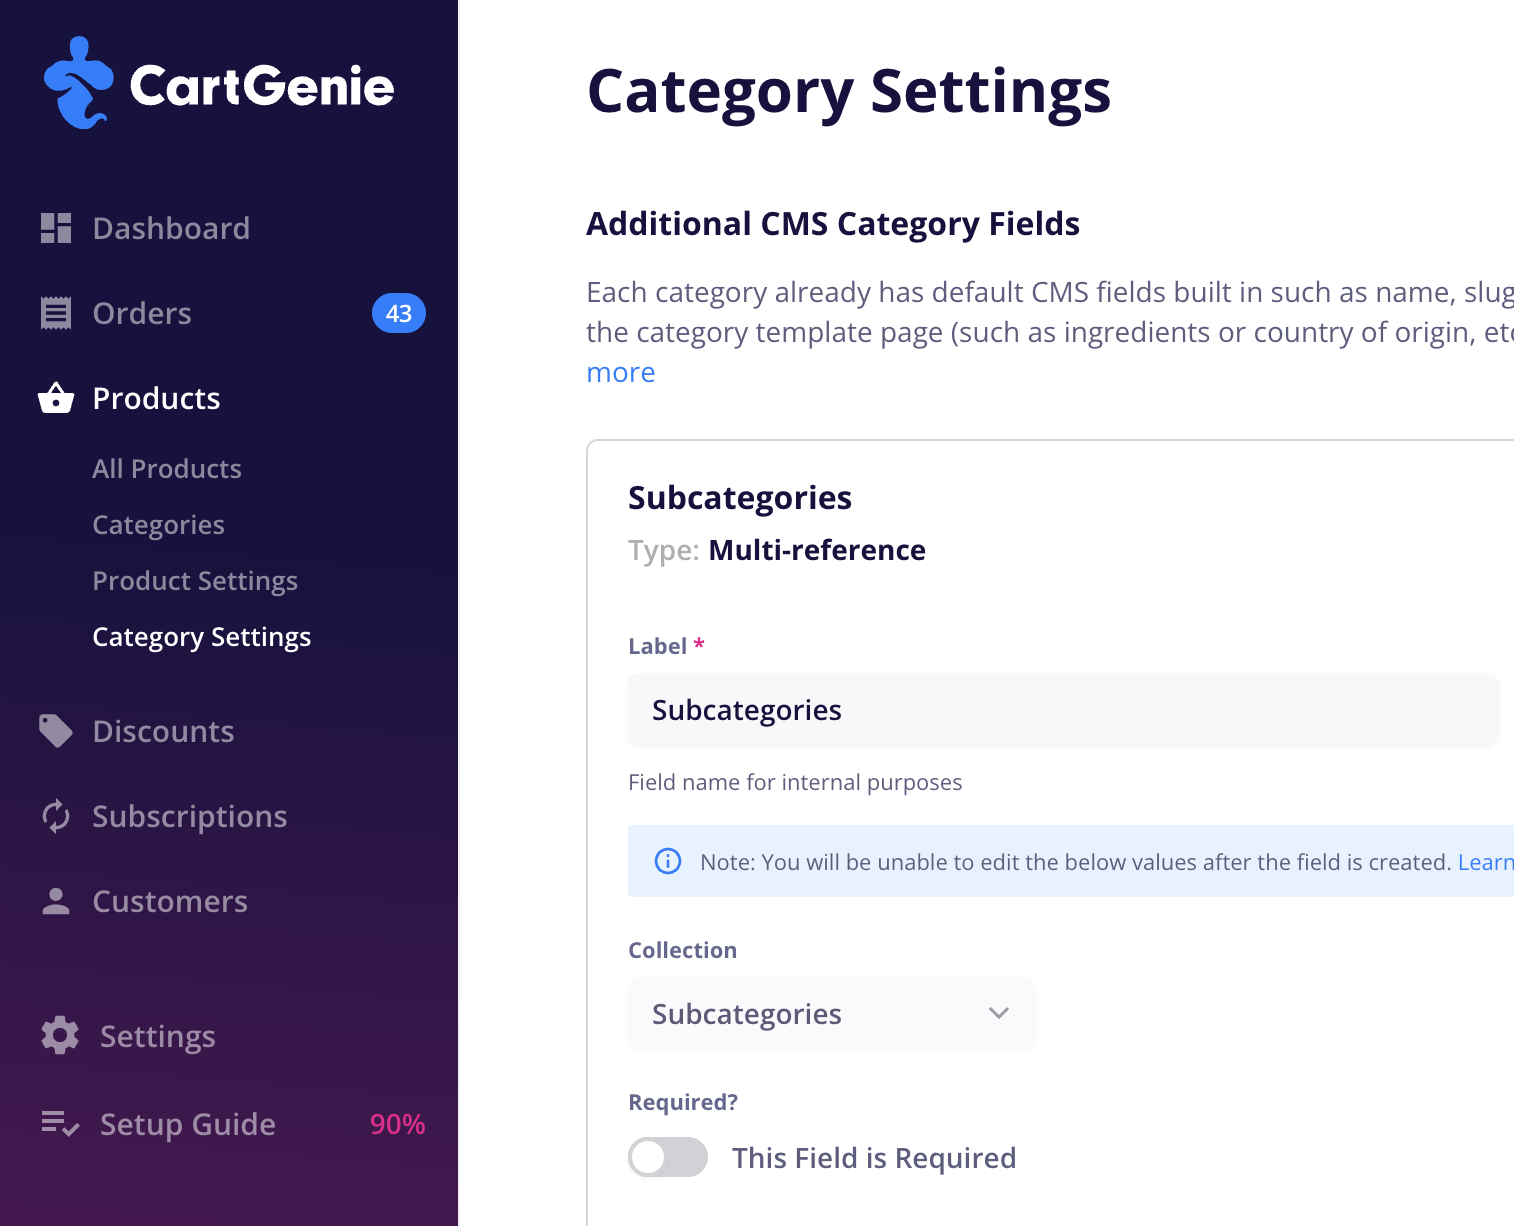
Open CartGenie (this is the preferred method to creating in Webflow) and go to Category Settings page.
Open Category SettingsAdd a New Field. Select Multi-Reference.
Name it as you wish. Such as “Subcategories”.
Select your “Subcategories” CMS collection. Save the field.
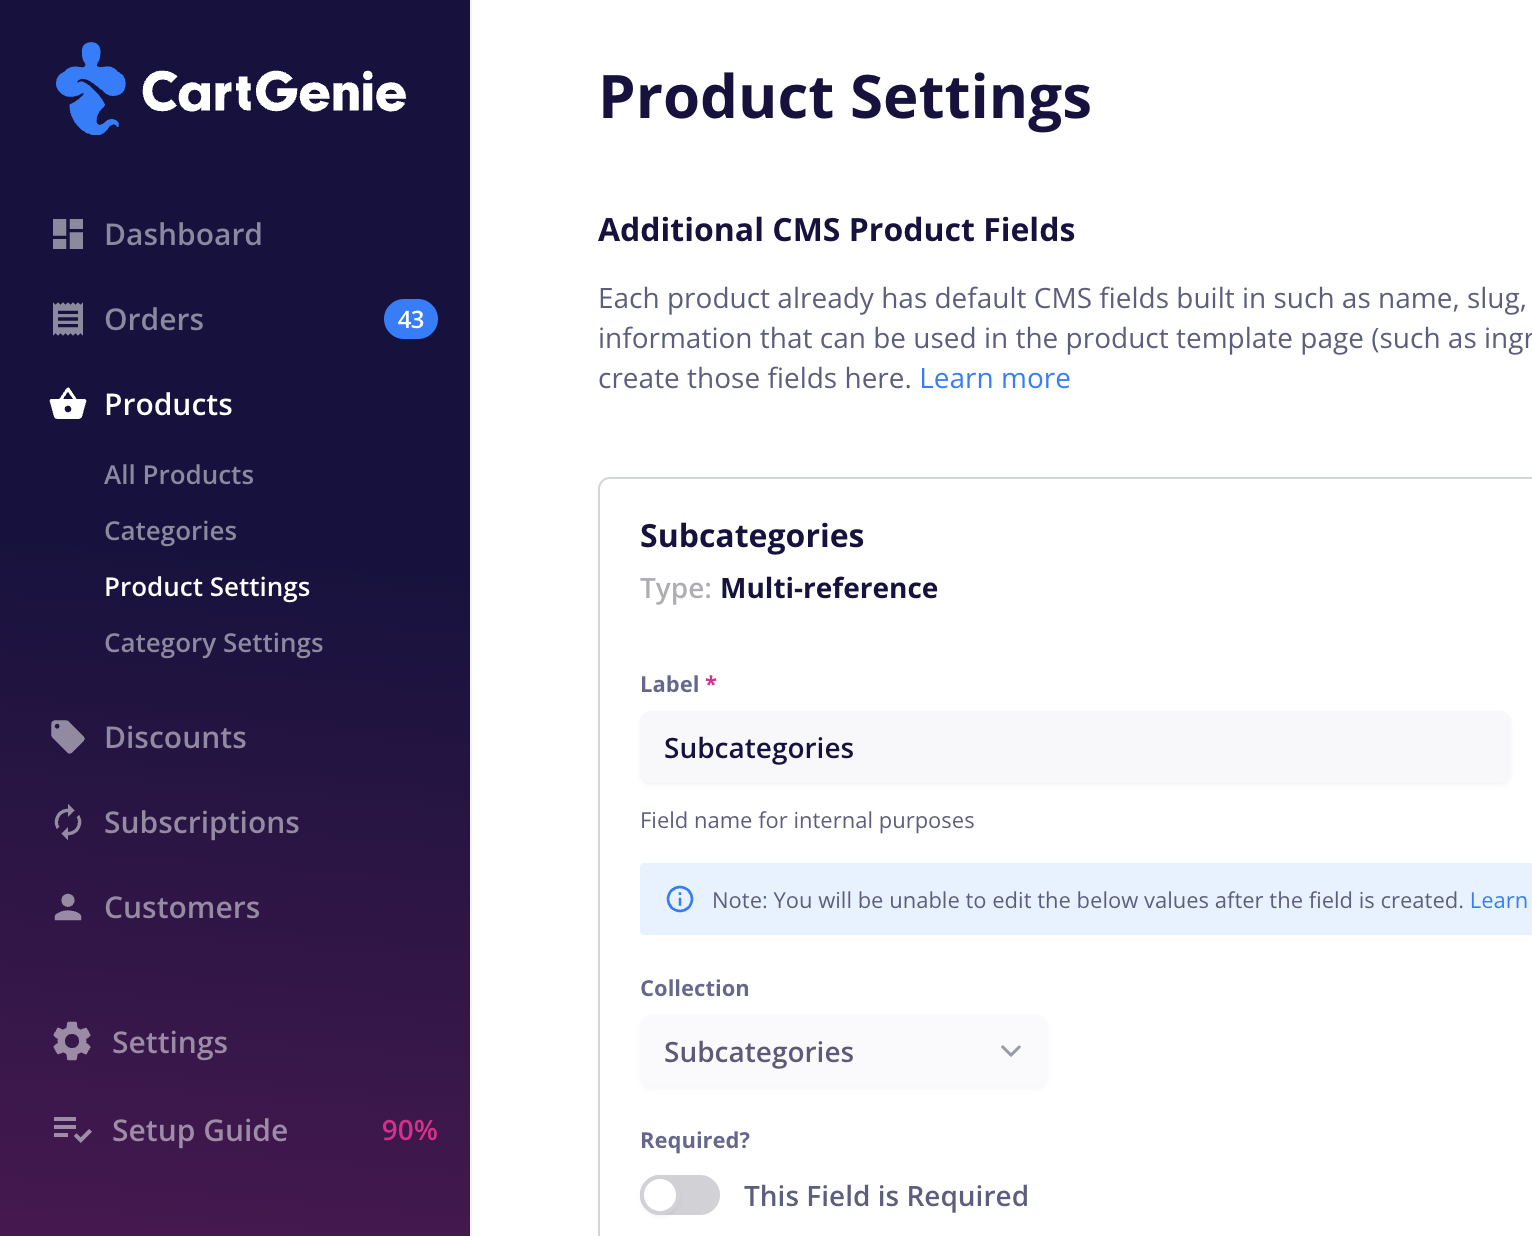
Open CartGenie (this is the preferred method to creating in Webflow) and go to Product Settings page.
Add a New Field. Select Multi-Reference.
Name it as you wish. Such as “Subcategories”.
Select your “Subcategories” CMS collection. Save the field.
Open CartGenie’s Categories page.
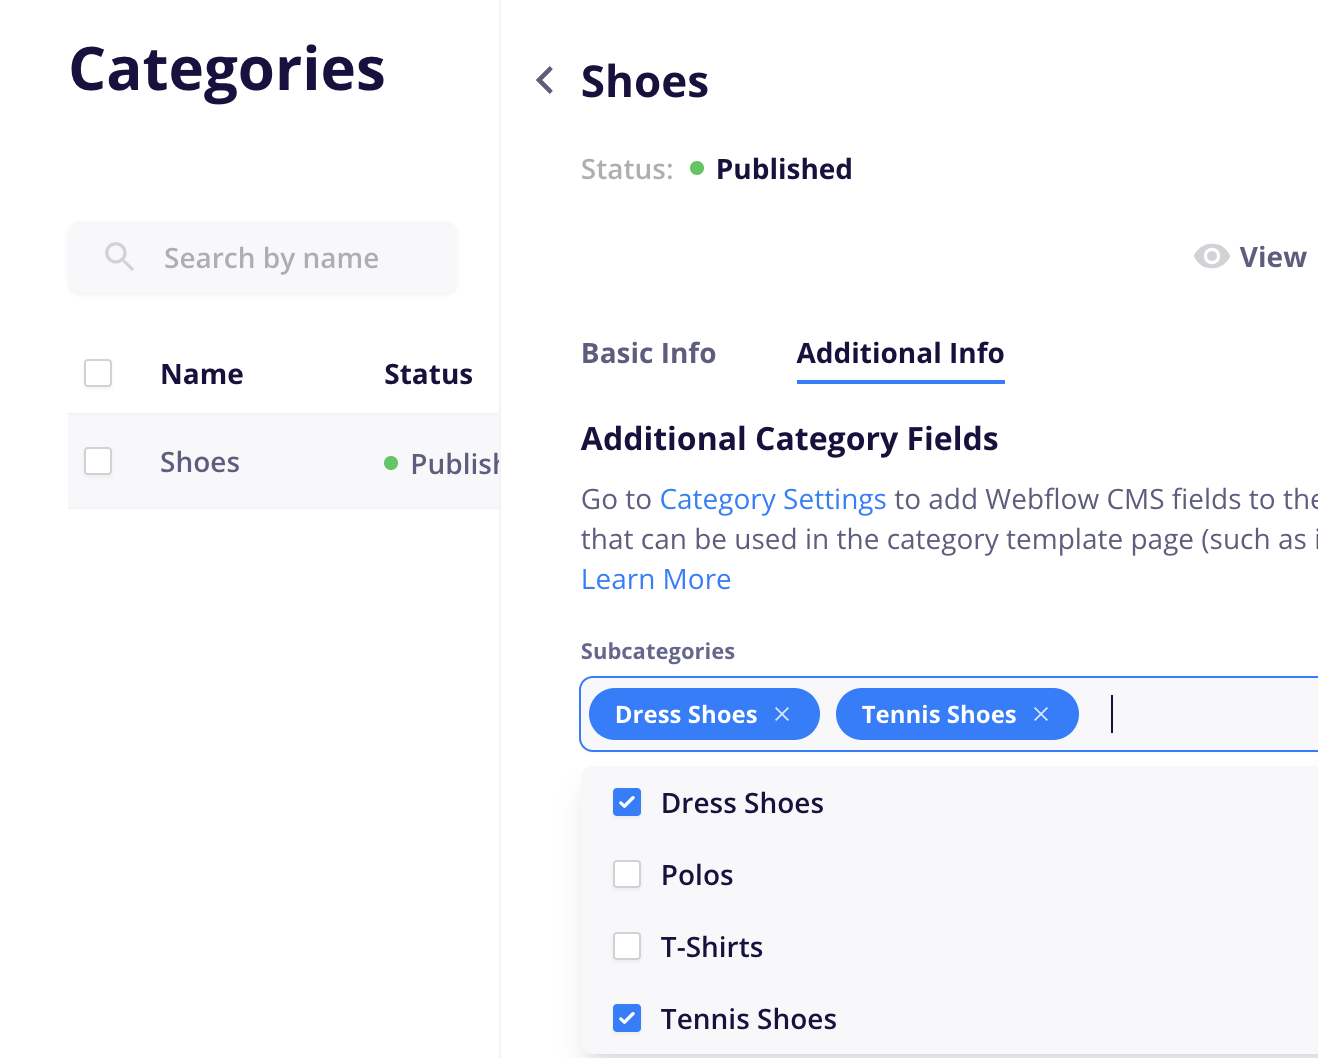
Open CategoriesClick into each category and go to the “Additional Info” tab.
Find the Subcategories reference field you created and add the subcategories for each category. (Example: Dress Shoes and Tennis Shoes go in the “Shoes” category)
Publish each category once you’ve made the changes.
Open CartGenie’s Products page.
Click into each product and add to your preferred categories on the basic info tab.
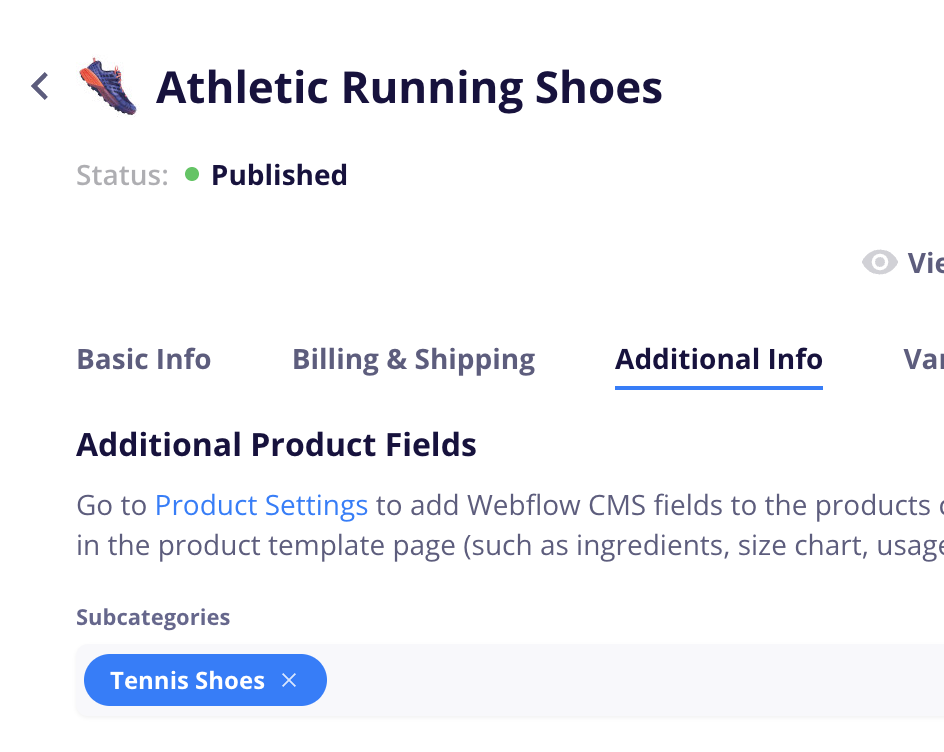
Then, go to the “Additional Info” tab.
Find the Subcategories reference field you created and add the subcategories for each product. (Example: Athletic Running Shoes go in the “Shoes” category and the “Tennis Shoes” subcategory)
Publish each product once you’ve made the changes.

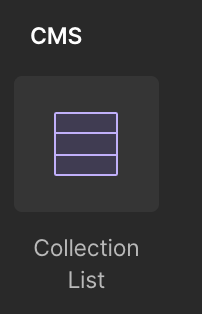
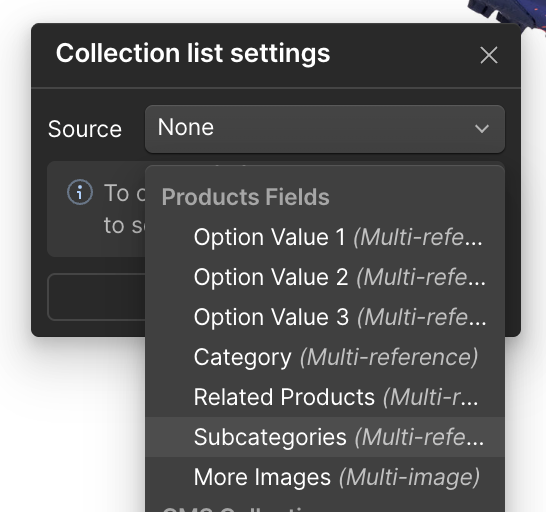
Go to your Products template page in Webflow and add a CMS collection list block wherever you want to display your categories and/or subcategories
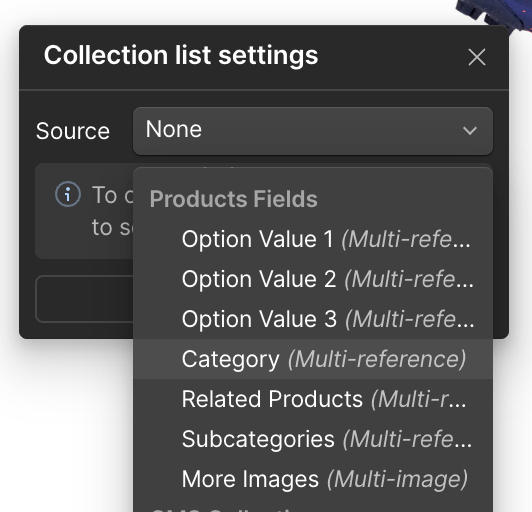
Connect the collection list to your Categories collection.
Be sure to select the “Categories” option which is under the product options section.

Then add a text block inside of the collection item and connect that to the "Name” field to display the category name.
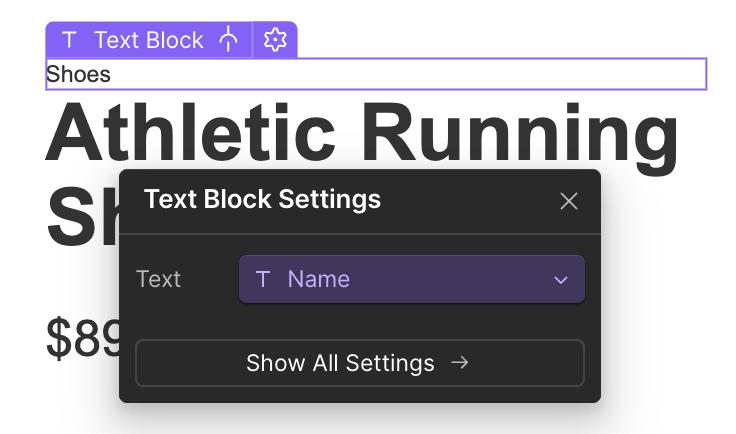
You can do these same steps with a second collection list beside it or underneath it and connect it to the Subcategory collection.
Optional: I wrapped both collections and a > symbol in an H Flex block so they display inline. I also wrapped each text block in a link block and linked it to “Current Category”
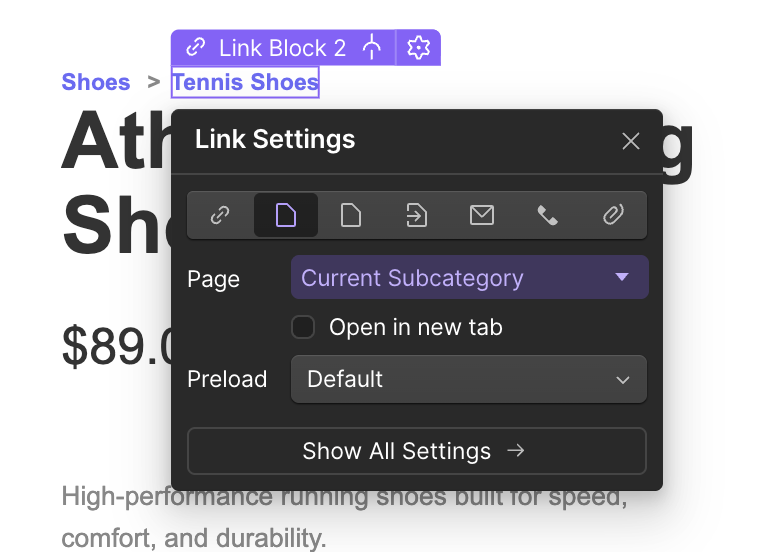
Now, my product page has nice breadcrumb links right at the top for easier navigation.

Go to your Categories template page in Webflow and add a new Collection List block and connect it to Subcategories collection (underneath the “Collection Fields” section)
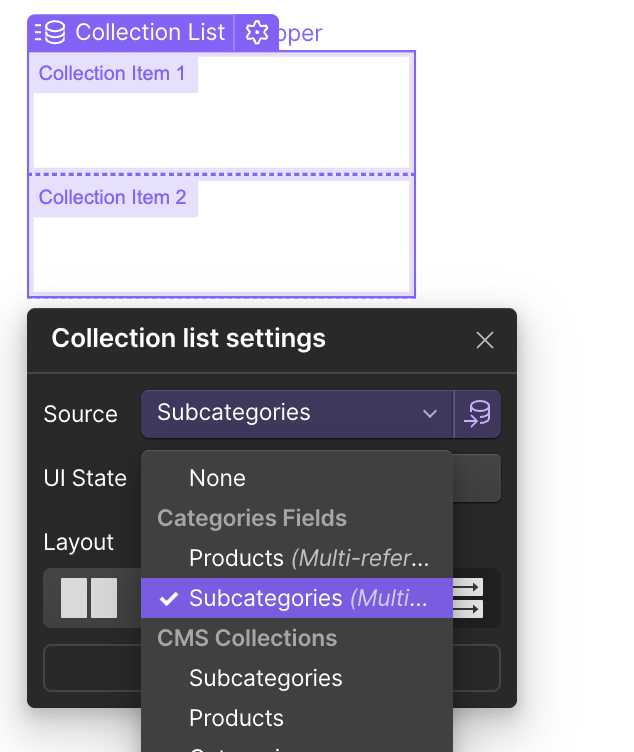
Add a text block (or heading) inside each collection list and connect it to the “Name” field of the subcategory. Wrap each text block in a link block as well and connect it to “Current Subcategory”.
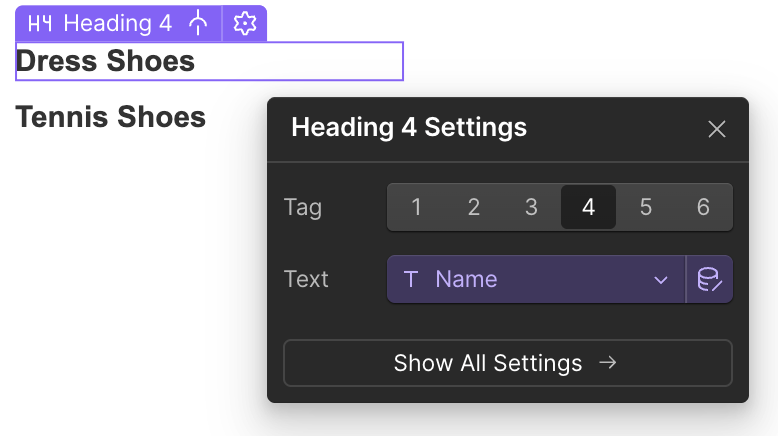
Then add a new collection underneath or beside it and connect it to the "Products” field in the Category Collection.
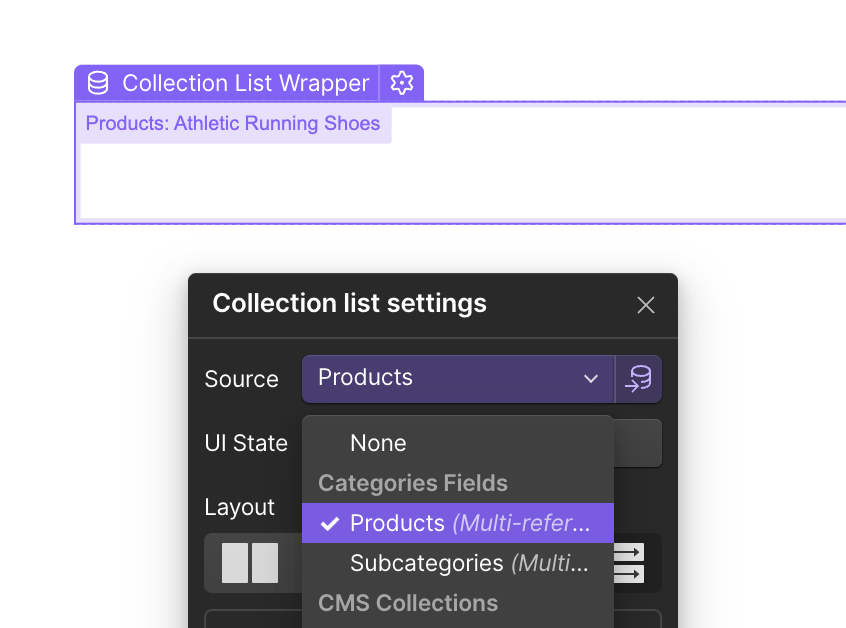
Then, follow these steps to add the CartGenie product card inside the collection.
Showcasing products & styling your pages in Webflow
Add your products to a page using a CMS Collection List Block and our pre-built components
Here’s an idea of how it could look.
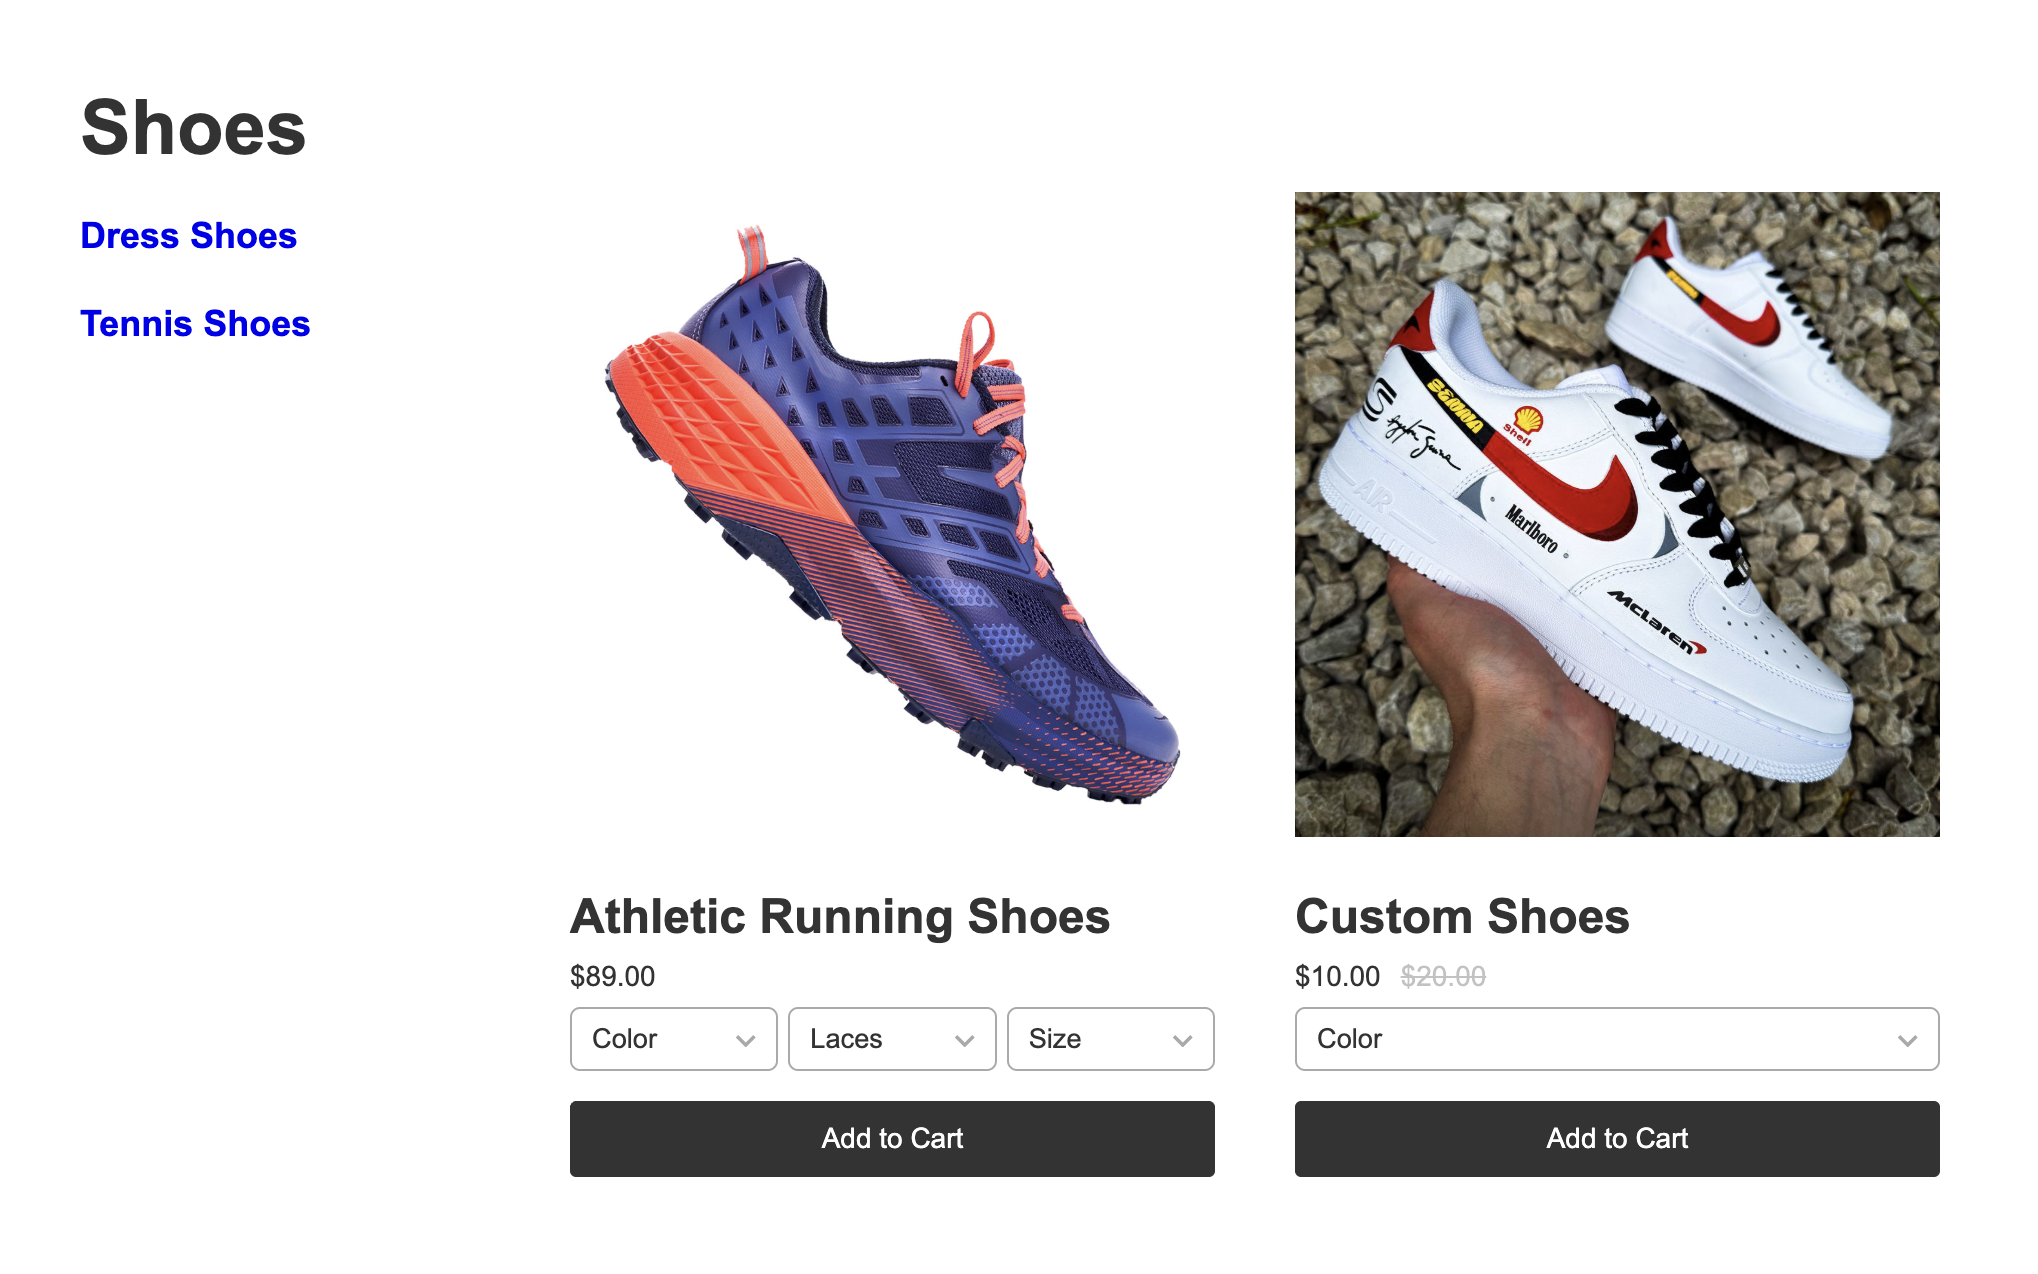
You can now create a similar design and layout on the subcategory page.
The biggest difference here is how you create the Product Collection List block.
Because we have a Subcategories multi-ref field in the Product collection, but we do not have a “Product” field in the Subcategories collection, then we must do the following:
Add a Collection List Block and connect it to the main Products Collection
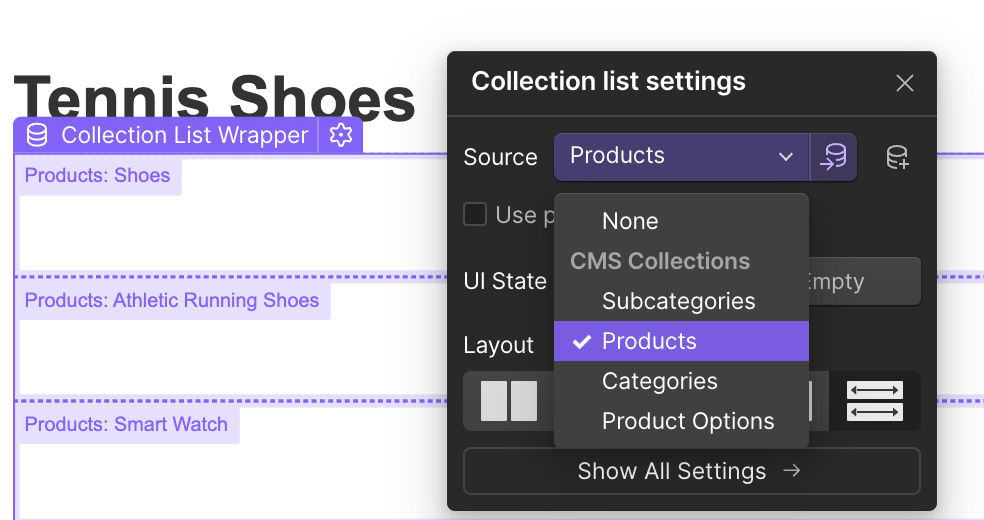
You should now see a list of ALL products - not just the ones that belong to this subcategory.
We can fix this easily by selecting the collection list layer and going to the layer settings panel. Find the “Filter” section and add the following Filter:
Field: Subcategories
When: Contains
Value: Current Subcategory
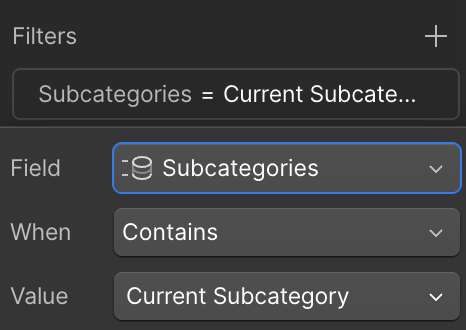
This will filter the collection list to only display products that have added the current subcategory to the multi-ref field in the “Additional Info” tab.
Now our subcategory page looks like this: