Importing products from Webflow or other platforms is super easy with CartGenie.
Note: If you want to upload a CSV to update existing products, then see this guide.
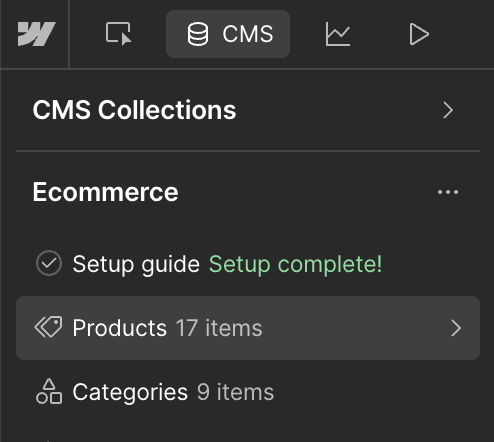
In your Webflow site, navigate to the CMS tab and then Products
In the top right corner, find the “Export” button and click it. This will download a CSV of your products.


Go to the Products tab in CartGenie
Click the “Import” button in the top right of the page.

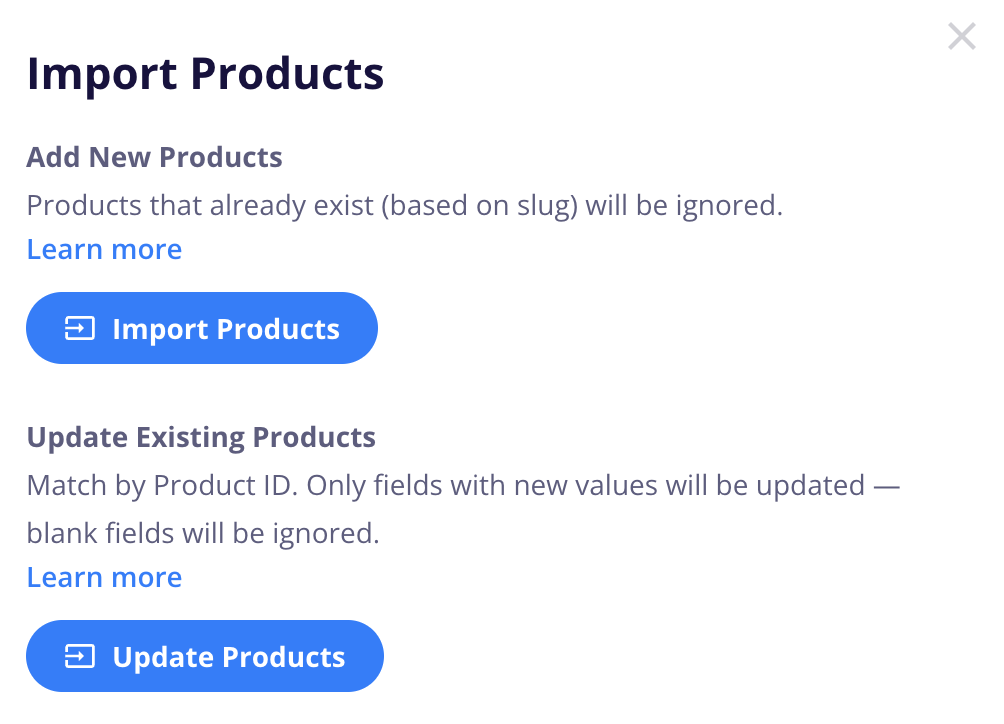
You’ll then see a popup with the following options. Click on the “Import Products” button and select the CSV file you want to upload.
Done!
You should now see all your products loaded into CartGenie!
If you’ve exported your products from Webflow, the CSV should have everything formatted correctly to immediately import into CartGenie.
If you’re exporting from another platform, then you will need to format your document before importing.

The 1st sheet contains instructions. The 2nd and 3rd sheets are examples you can download as CSVs and use as a template.
All columns listed below must be present in the CSV and named exactly as dictated in order for CartGenie to import the file. Only the Product Name must have a value in all cells. Other columns can be left blank.
Product Name
Ex: White Cup
This is the only cell that must have a value for ALL rows
All variants of the same product will have the same name
Product Slug
Ex: white-cup
Must be unique and with no spaces.
All variants of the same product will have the same slug
Product Categories
Ex: Mugs
Product Description
Ex: A simple, classic white coffee cup with a smooth ceramic finish, perfect for enjoying your favorite hot beverages.
Sku
Ex: rifbt840
Price
Ex: $5.50
Can be a 2 digit decimal
Compare-at Price
Ex: 10.50
Main Image
More Images
Ex: https://imagestorage.com/white-cup2.jpg
Track Inventory
Ex: TRUE
Inventory
Ex: 120
The quantity of items in stock (whole numbers only)
Requires Shipping
Ex: TRUE
Must be either “TRUE” or “FALSE”
Weight
Ex: 10
The weight of the item (either lbs/kg) with no units included (imperial vs. metric units are set in your settings > business info)
Width
Ex: 15
The width of the item (either inches/cm) with no units included
Height
Ex: 25
The width of the item (either inches/cm) with no units included
Length
Ex: 5
The width of the item (either inches/cm) with no units included
Download Name
Ex: Design File
Download URL
Meta Description
Ex: A simple, classic white coffee cup with a smooth ceramic finish, perfect for enjoying your favorite hot beverages.
Option1 Name
Ex: Color
Only use this field if creating a variant of a product (see instructions below)
Option1 Value
Ex: White
Only use this field if creating a variant of a product (see instructions below)
Option2 Name
Ex: Size
Only use this field if creating a variant of a product (see instructions below)
Option2 Value
Ex: Small
Only use this field if creating a variant of a product (see instructions below)
Option3 Name
Ex: Material
Only use this field if creating a variant of a product (see instructions below)
Option3 Value
Ex: Ceramic
Only use this field if creating a variant of a product (see instructions below)
Hide Main Image
ex: TRUE
Used to hide the main image on a specific variant
Hide Extra Images
ex: TRUE
Used to hide the extra images on a specific variant
Product Tax Class
Best practice to leave blank and create tax classes in CartGenie store under settings > taxes
Billing Method
Ex: "one_time_payment" or "subscription"
Billing Interval
Ex: day, week, month, or year
Billing Interval Length
Ex: 1
Number of billing intervals between charges. For example, 1 Month means monthly; 3 Months means every 3 months.
Subscription Term
Ex: "renews_until_canceled" or "fixed_term"
Subscription Ends After
Ex: 3
Number of billing cycles before the subscription ends. Leave blank for ongoing subscriptions.
Renewal Price
Ex: $19.95
The recurring renewal price for subscription products. Leave blank if renewals use the original purchase price or the product is not a subscription.
HS Code
Ex: 610910
Harmonized System code used for international customs. (Can be helpful if shipping internationally)
Country of Origin
Ex: USA
Pre-Order
Ex: TRUE
Whether this product or variant is available as a pre-order.
Estimated Shipping Date
Ex: Late 2027
Estimated shipping date for pre-order products. Leave blank if not a pre-order.
CartGenie will automatically create categories and add the relevant products to each since the categories should be included in your product export file from Webflow Ecommerce.
If you want to import a separate additional list of categories, you can do that here:
How to import categories
Upload a CSV to add product categories
If you want to import several variants of a product, you can either import the original parent product and then add the variants in CartGenie’s product editor (easiest option), or you can do it with a little formatting in your doc.
Ensure all variants of a product have the same values in these fields:
Product Slug
Product Name
Set the individual values of each variant for the remaining fields as needed
Be sure Option 1 Name (same with Option 2 and 3 if needed) is the same for all variants of the same item
Set the value of Option 1 Value for each variant (same with Option 2 and 3 if needed)
Example (in the template above):

(we’ve hid some columns for illustration purposes)
