In order for us to sync your CartGenie products and categories to your Webflow site, you must first create the necessary CMS collections that will house them. We can generate these for you to ensure they contain the numerous required custom fields for each.
You can create the necessary CRM collections through either the CartGenie Setup Guide or in Settings > WF Settings.
First, enter the desired name and slug for each collection. The slug will be part of your site’s URL structure (ex: store.com/products/shirt).
Once your preferences are entered, click the “Create CMS Collections” button.
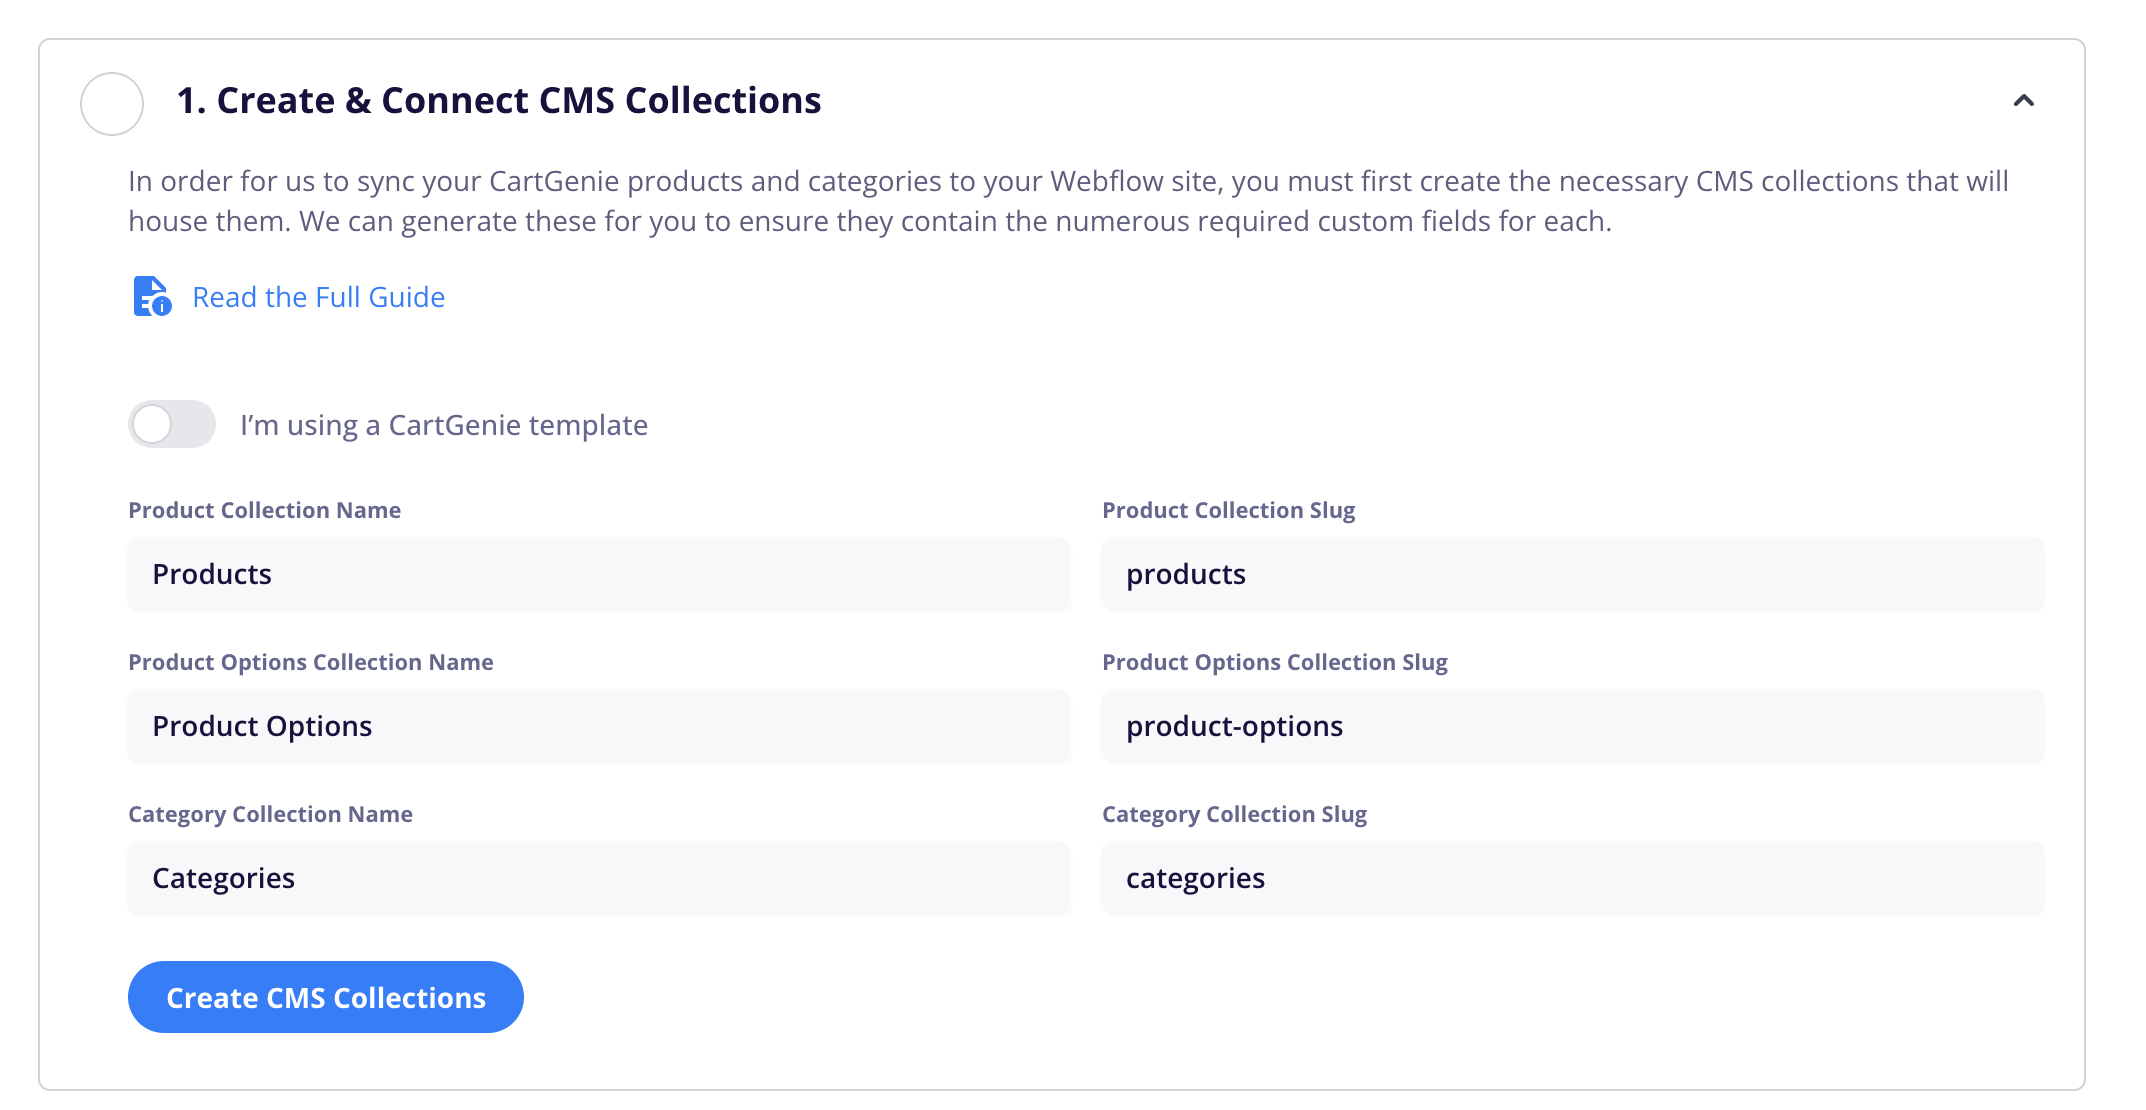
CartGenie will now automatically create the CMS collections for you in your site and ensure they include all the necessary custom fields for your store to function properly!
Once those are created, you’re done!
You can skip the rest of this article and go to the next setup step.

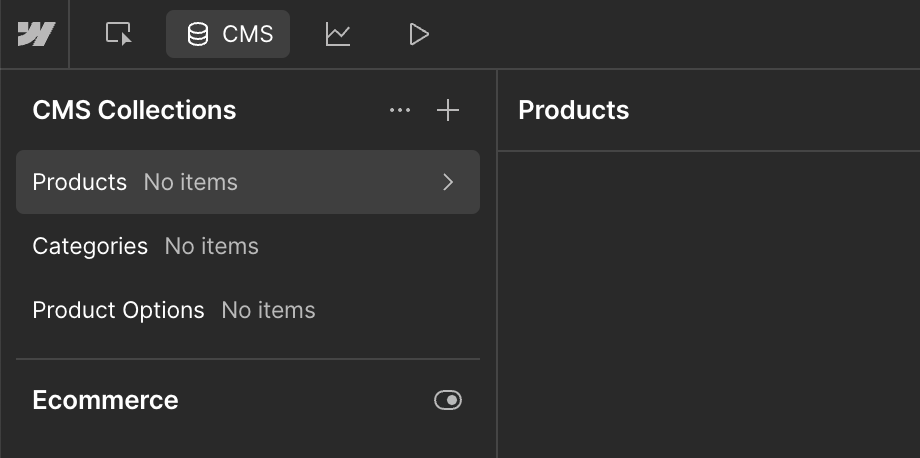
If you want to add additional custom fields to your products or categories, you can do so using the Product Settings or Category Settings page in CartGenie.
Please do not add these directly within Webflow.
Read more here:
Product Settings overview
Easily add additional information to your products to display on your site
If you are using a CartGenie compatible template or would prefer to create your collections manually (not recommended), then click the toggle for “I’m using a CartGenie template”
Choose from the drop downs which CMS collection you wish to use for each option.

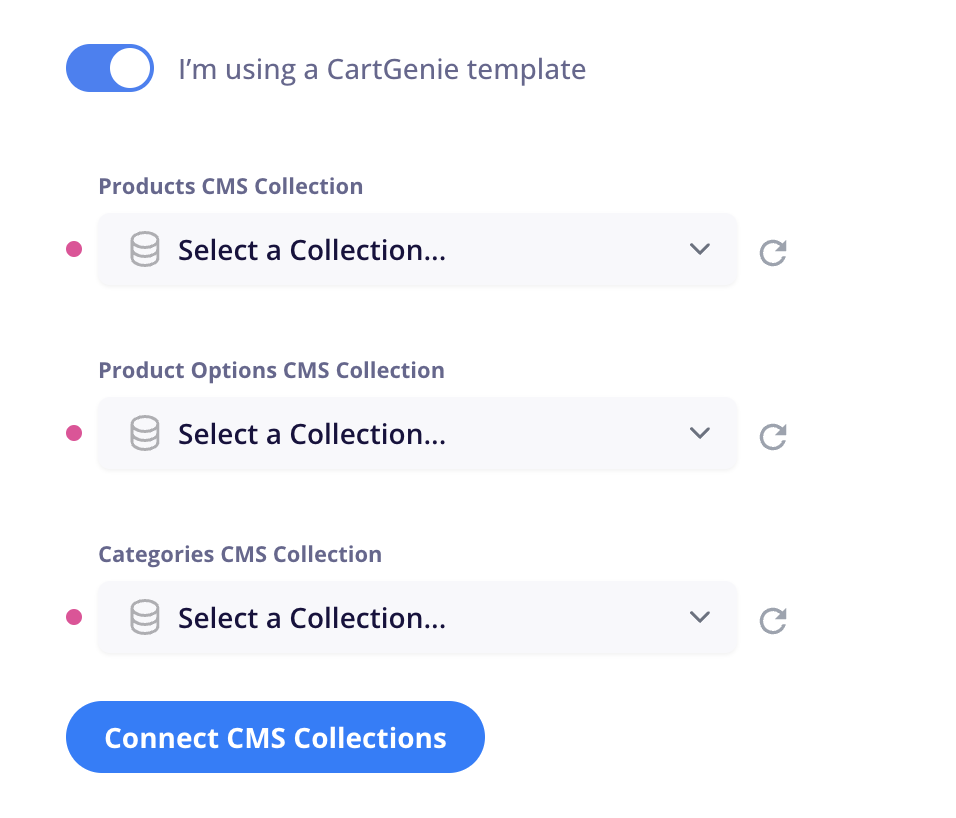
CartGenie will then verify that all necessary fields are in place and your collections are connected.
If you used the Setup Guide to create them automatically, you can ignore this section.
If you are creating the CMS collections manually (not recommended), then you must first add each of the necessary custom fields before connecting to CartGenie.
Products
Name (plain text)
Slug (plain text)
Price (plain text)
Description (rich text)
Meta description (plain text)
Compare-at price (plain text)
SKU (plain text)
Main image (image)
More images (multi-image)
With Subscription (switch)
Track inventory (switch)
Inventory Qty (number)
Requires Shipping? (switch)
Weight (number)
Width (number)
Height (Number)
Length (Number)
Option Name 1 (plain text)
Option Name 2 (plain text)
Option Name 3 (plain text)
Option Value 1 (multi-ref)
connect to “Product Options” collection
Option Value 2 (multi-ref)
connect to “Product Options” collection
Option Value 3 (multi-ref)
connect to “Product Options” collection
Include Downloadable File? (switch)
File Name (plain text)
File URL (link)
Category (multi-ref)
Connect to “Categories” collection
Categories
Name (plain text)
Slug (plain text)
Products (multi-ref)
Connect to “Products” collection
Description (rich text)
Main image (image)
Meta description (plain text)
Product Options
Name (plain text)
Slug (plain text)
Option Name (plain text)
Option Group (plain text)
Parent Product (plain text)
Color Swatch (color)
Image Swatch (image)
Swatch Type (option)
Option values:
button
color
image