CartGenie needs a product, checkout, and confirmation page in order to properly function. The product page template is created when the CMS collection is added to your You can create these instantly using our Designer Extension in Webflow and use our page templates to ensure each page has all necessary elements to function properly.
Or, you can create them manually yourself (advanced users only) and connect them in the Setup Guide or the Settings > WF Settings page.

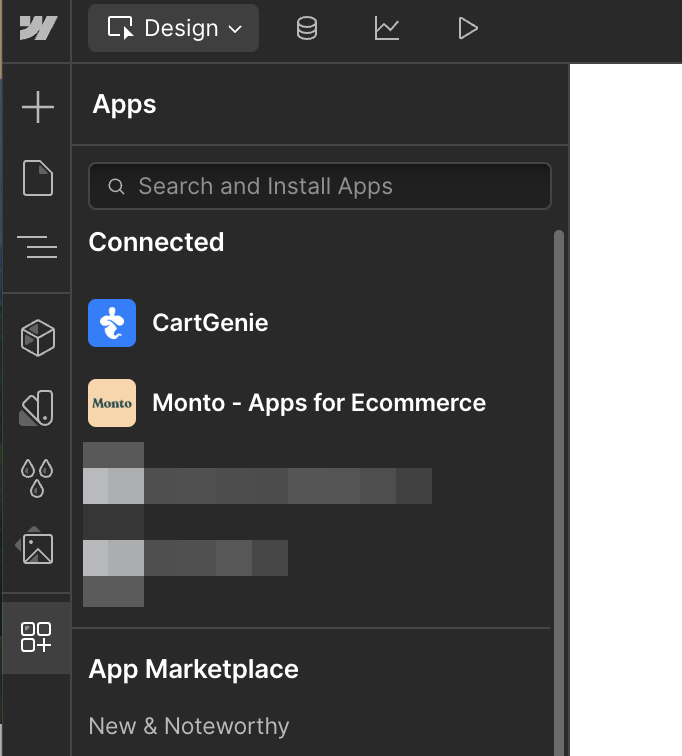
In Webflow designer, go to the Apps tab and launch the “CartGenie” app.
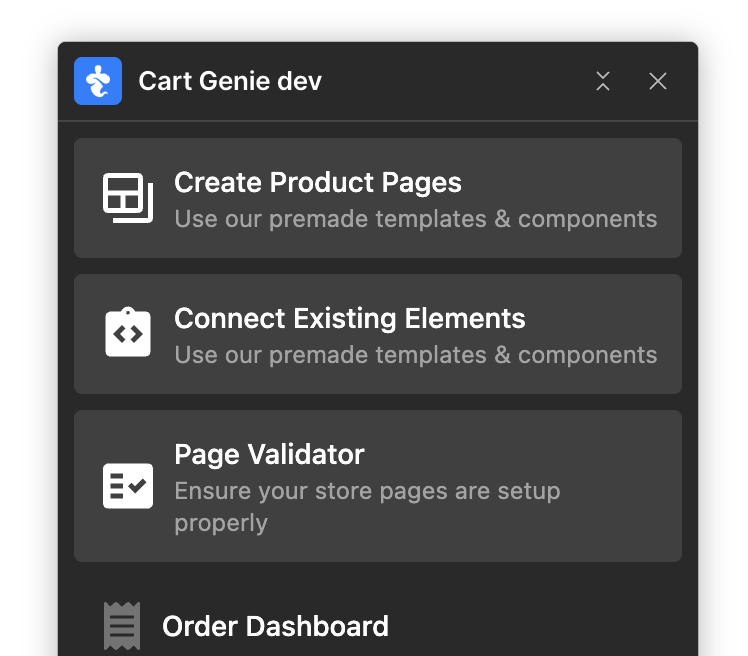
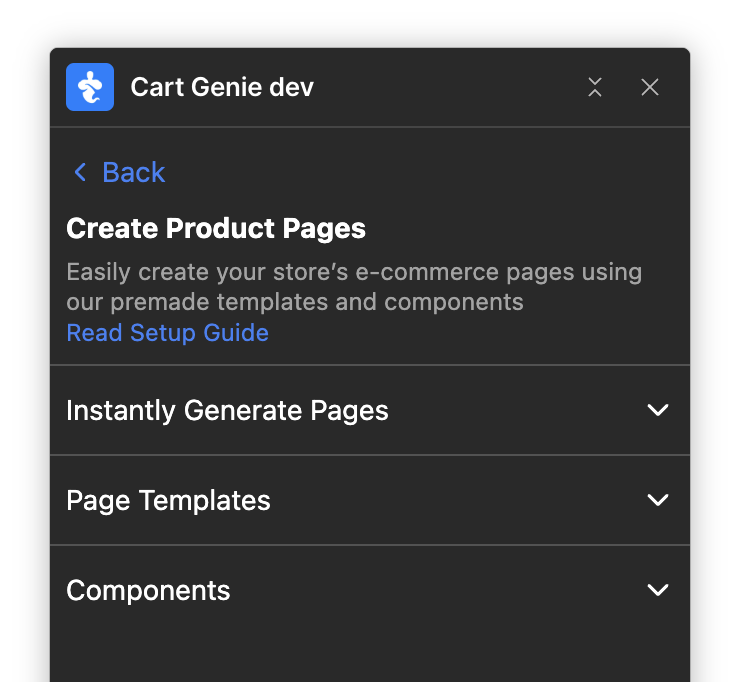
Click on the option to “Create Product Pages” and then expand the “Instantly Generate Pages” section
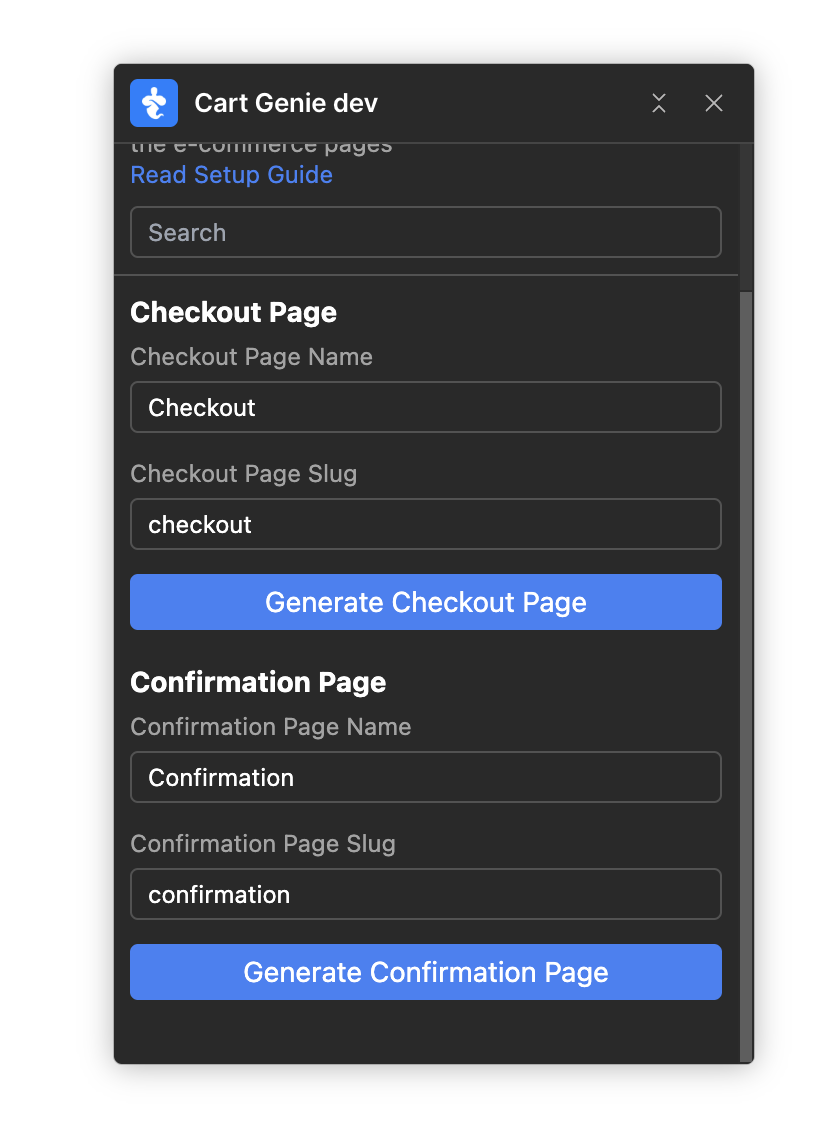
Click the button to “Generate Checkout, & Confirmation Pages”
Here you can set the name and slug you want for your checkout and confirmation pages.
Once ready, click the “Generate” button under each page. This will generate the pages and insert the page template for each.
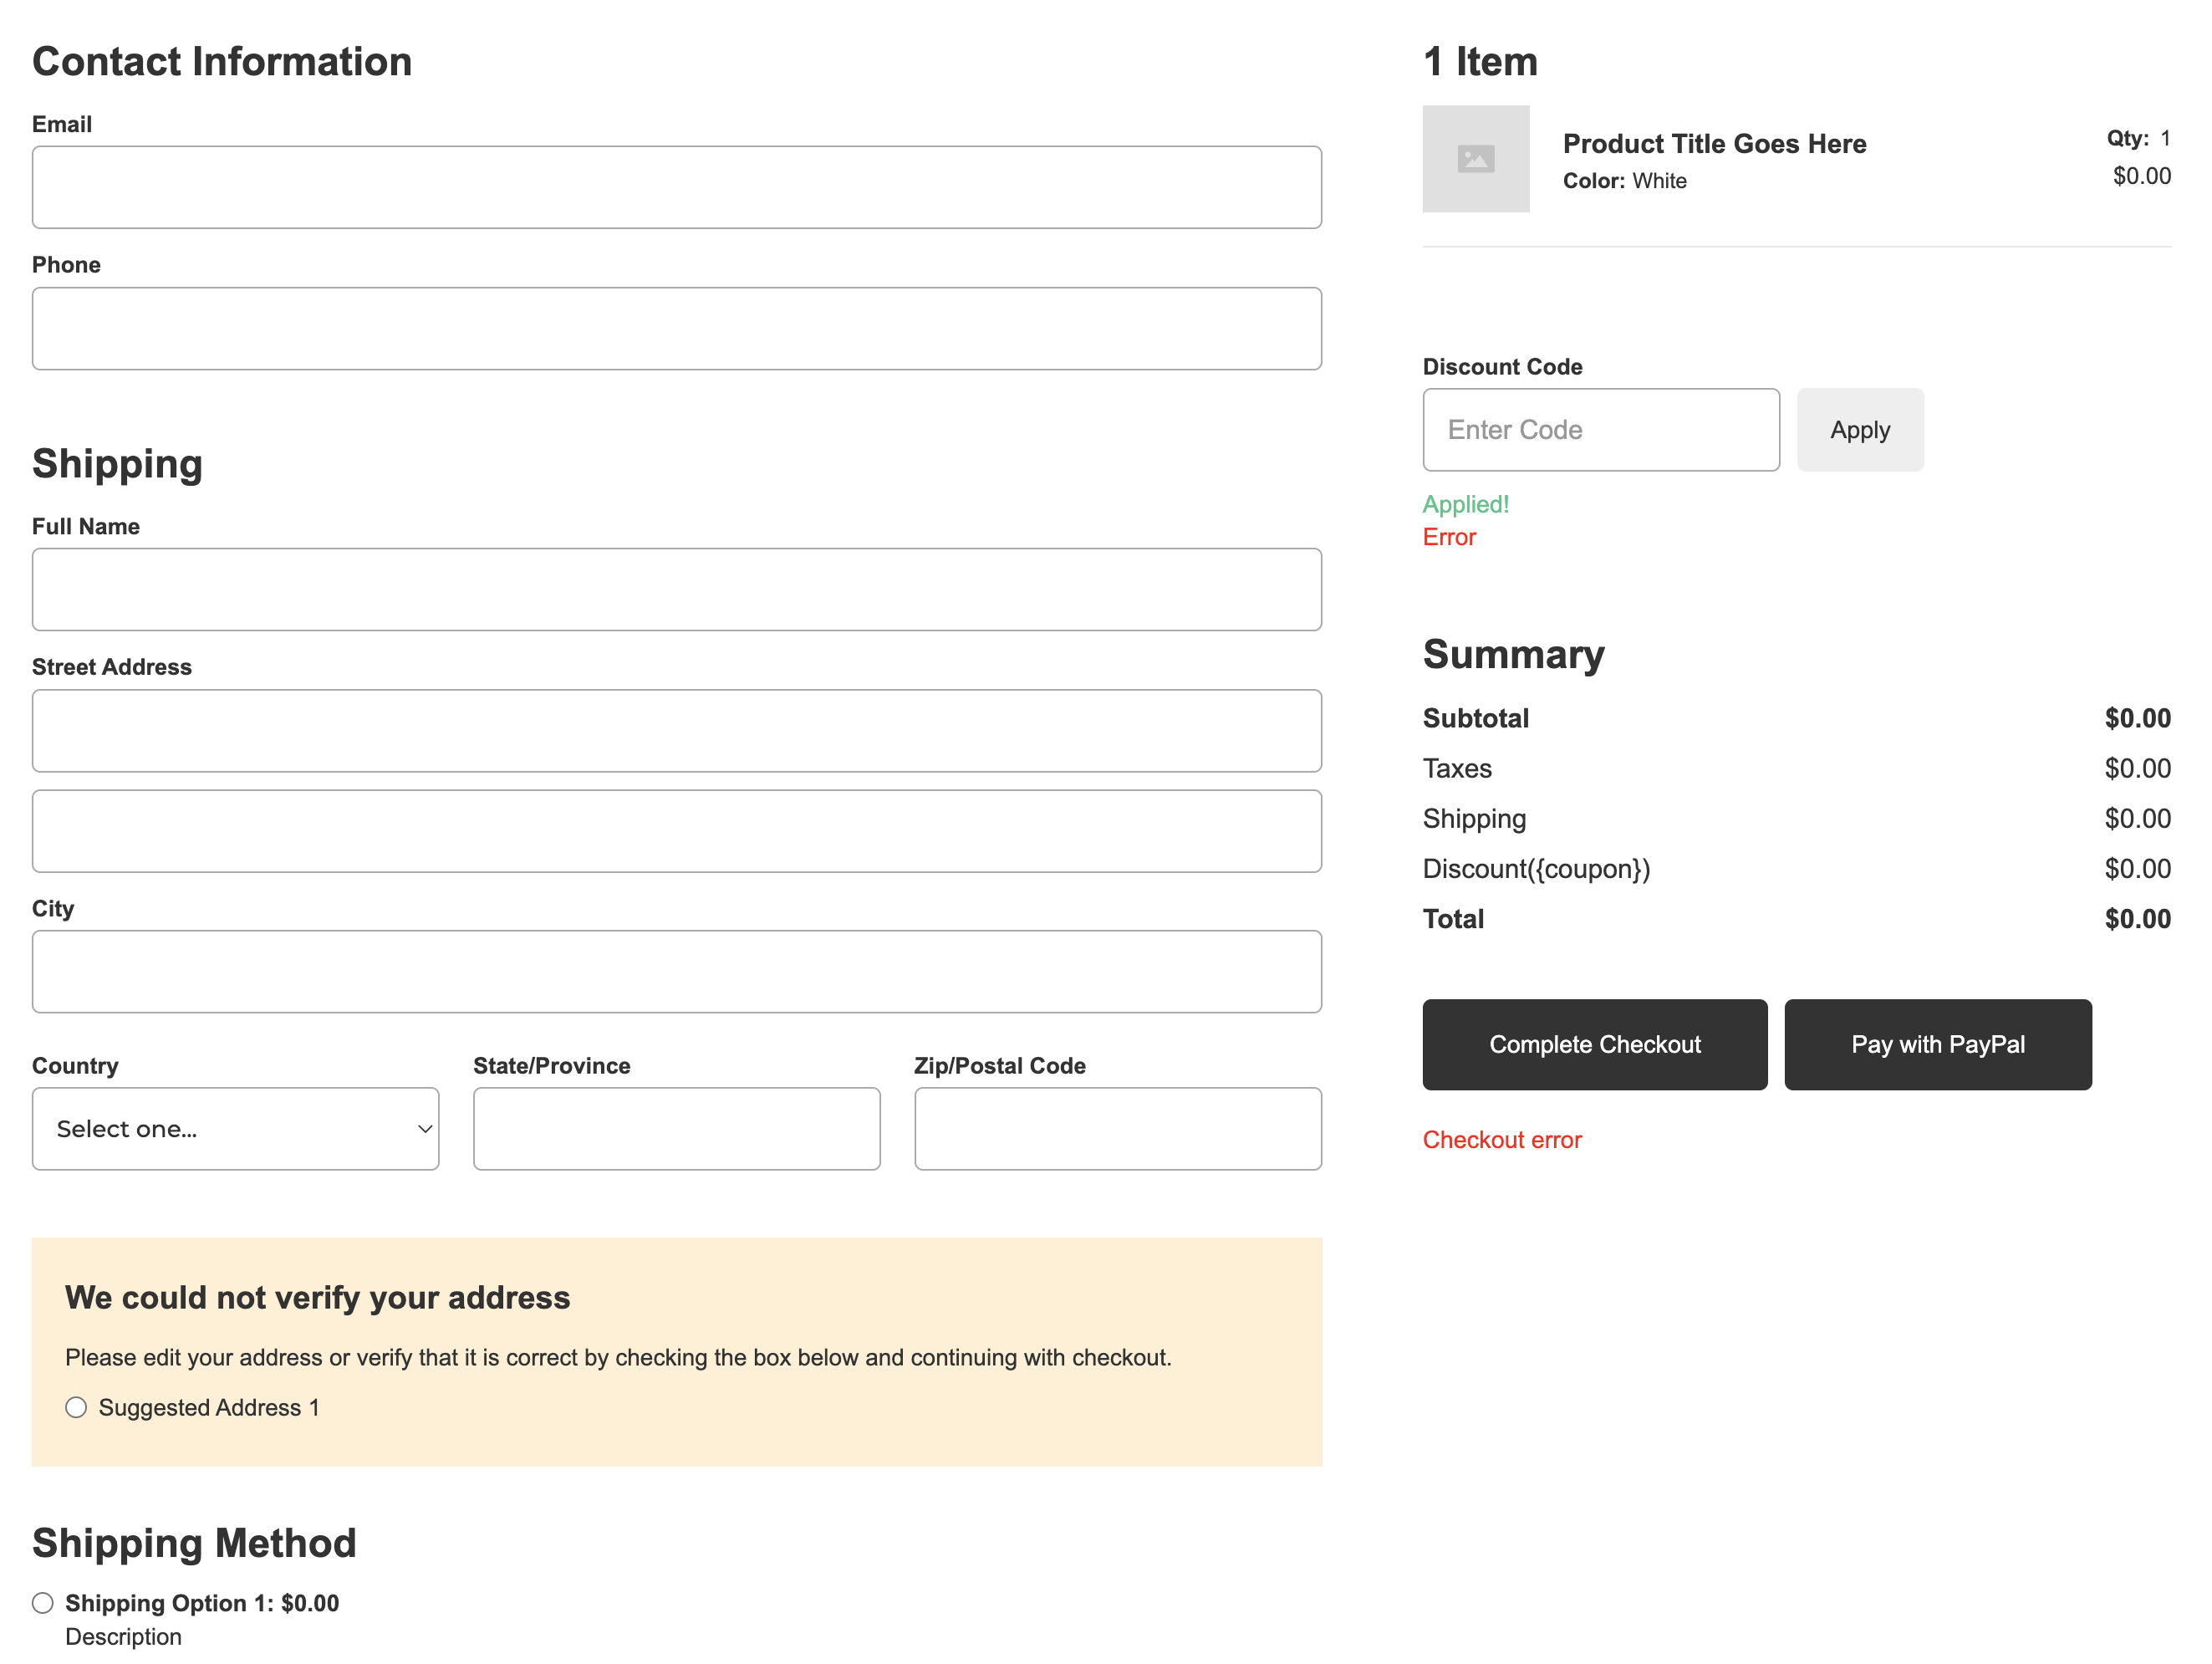
Example checkout page template that will be added when you generate the page using the Designer Extension:
Things to be aware of:

Do not remove any CartGenie custom attributes from any of the store page blocks. These are necessary for the app to function. If you do not see a custom attribute on an item (such as a section title “Shipping” or a field label “Full Name”) then the block is most likely is able to be hidden or deleted.
Items should not be removed from their parent wrapper (such as the item wrapper with class “cg-checkout-item-wrap”). These wrappers are used to dynamically populate multiple instances depending on how many items are added to cart.
The State/Province text input will be used for non-US countries. For the United States, we will automatically change the state input to a dropdown with all states listed.
Note: You can create these pages manually and then paste in the template using the Designer Extension (Create Product Pages > Page Templates), but it is easier to let our extension do it and then style afterwards.
Using CartGenie’s Designer Extension in Webflow, you can copy and paste our page templates into your product page.
If you prefer, you can also build these page templates yourself using components in our Designer Extension, though we strongly recommend pasting in the template and modifying the components as needed to ensure all required components are included and in the required format to function.
In Webflow, navigate to your pages and select your “Products Template” under the CMS Collection Pages section (yours may be named slightly differently if you didn’t use the default CMS collection names).
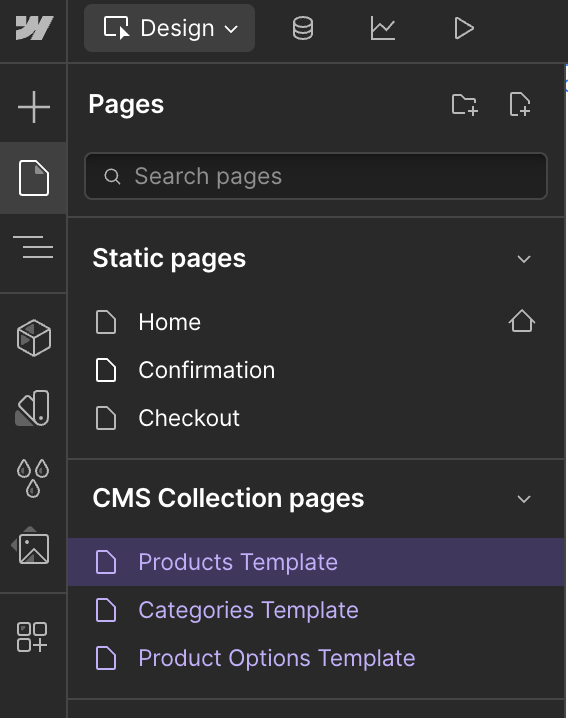
Open the page and then launch the CartGenie app in the App tab. In the Designer Extension, go to Create Product Pages > Page Templates.
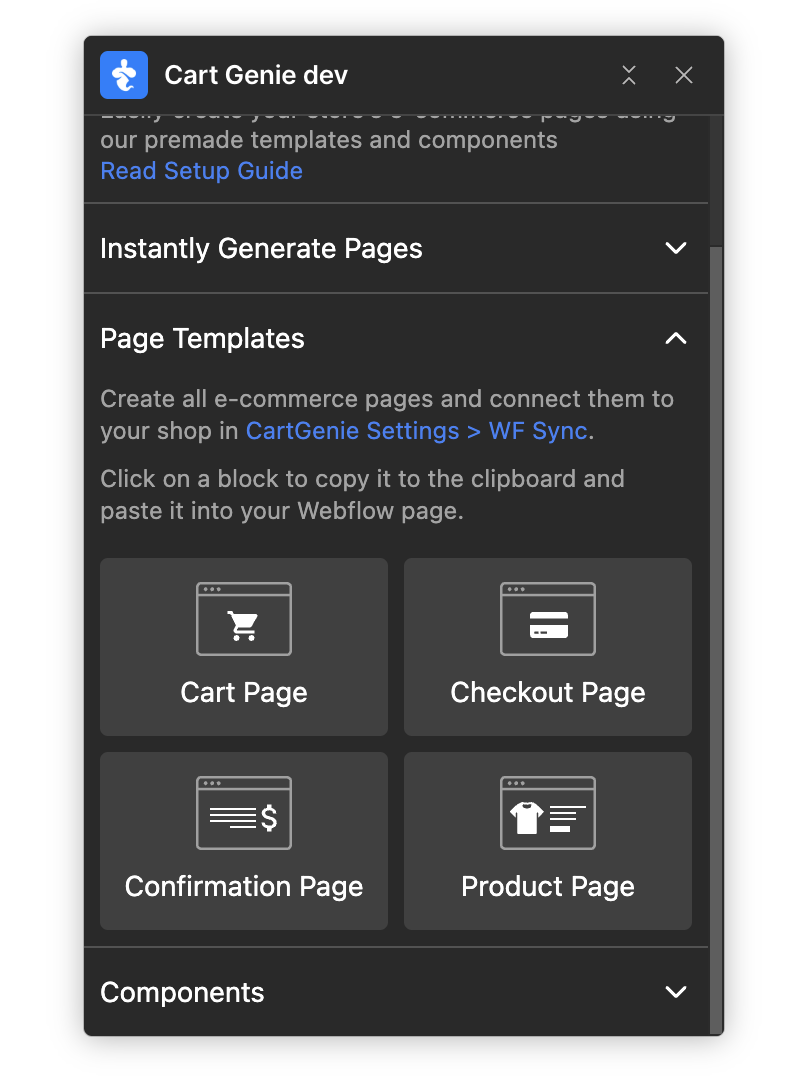
Click the block for the “Product Page”. This will copy the template to your clipboard. Then click in your Products Template page where you want the product block to live and press Ctrl-v (or Cmd-v on mac).

Your page will now show all the necessary product elements in place (don’t worry - it will look prettier soon!).
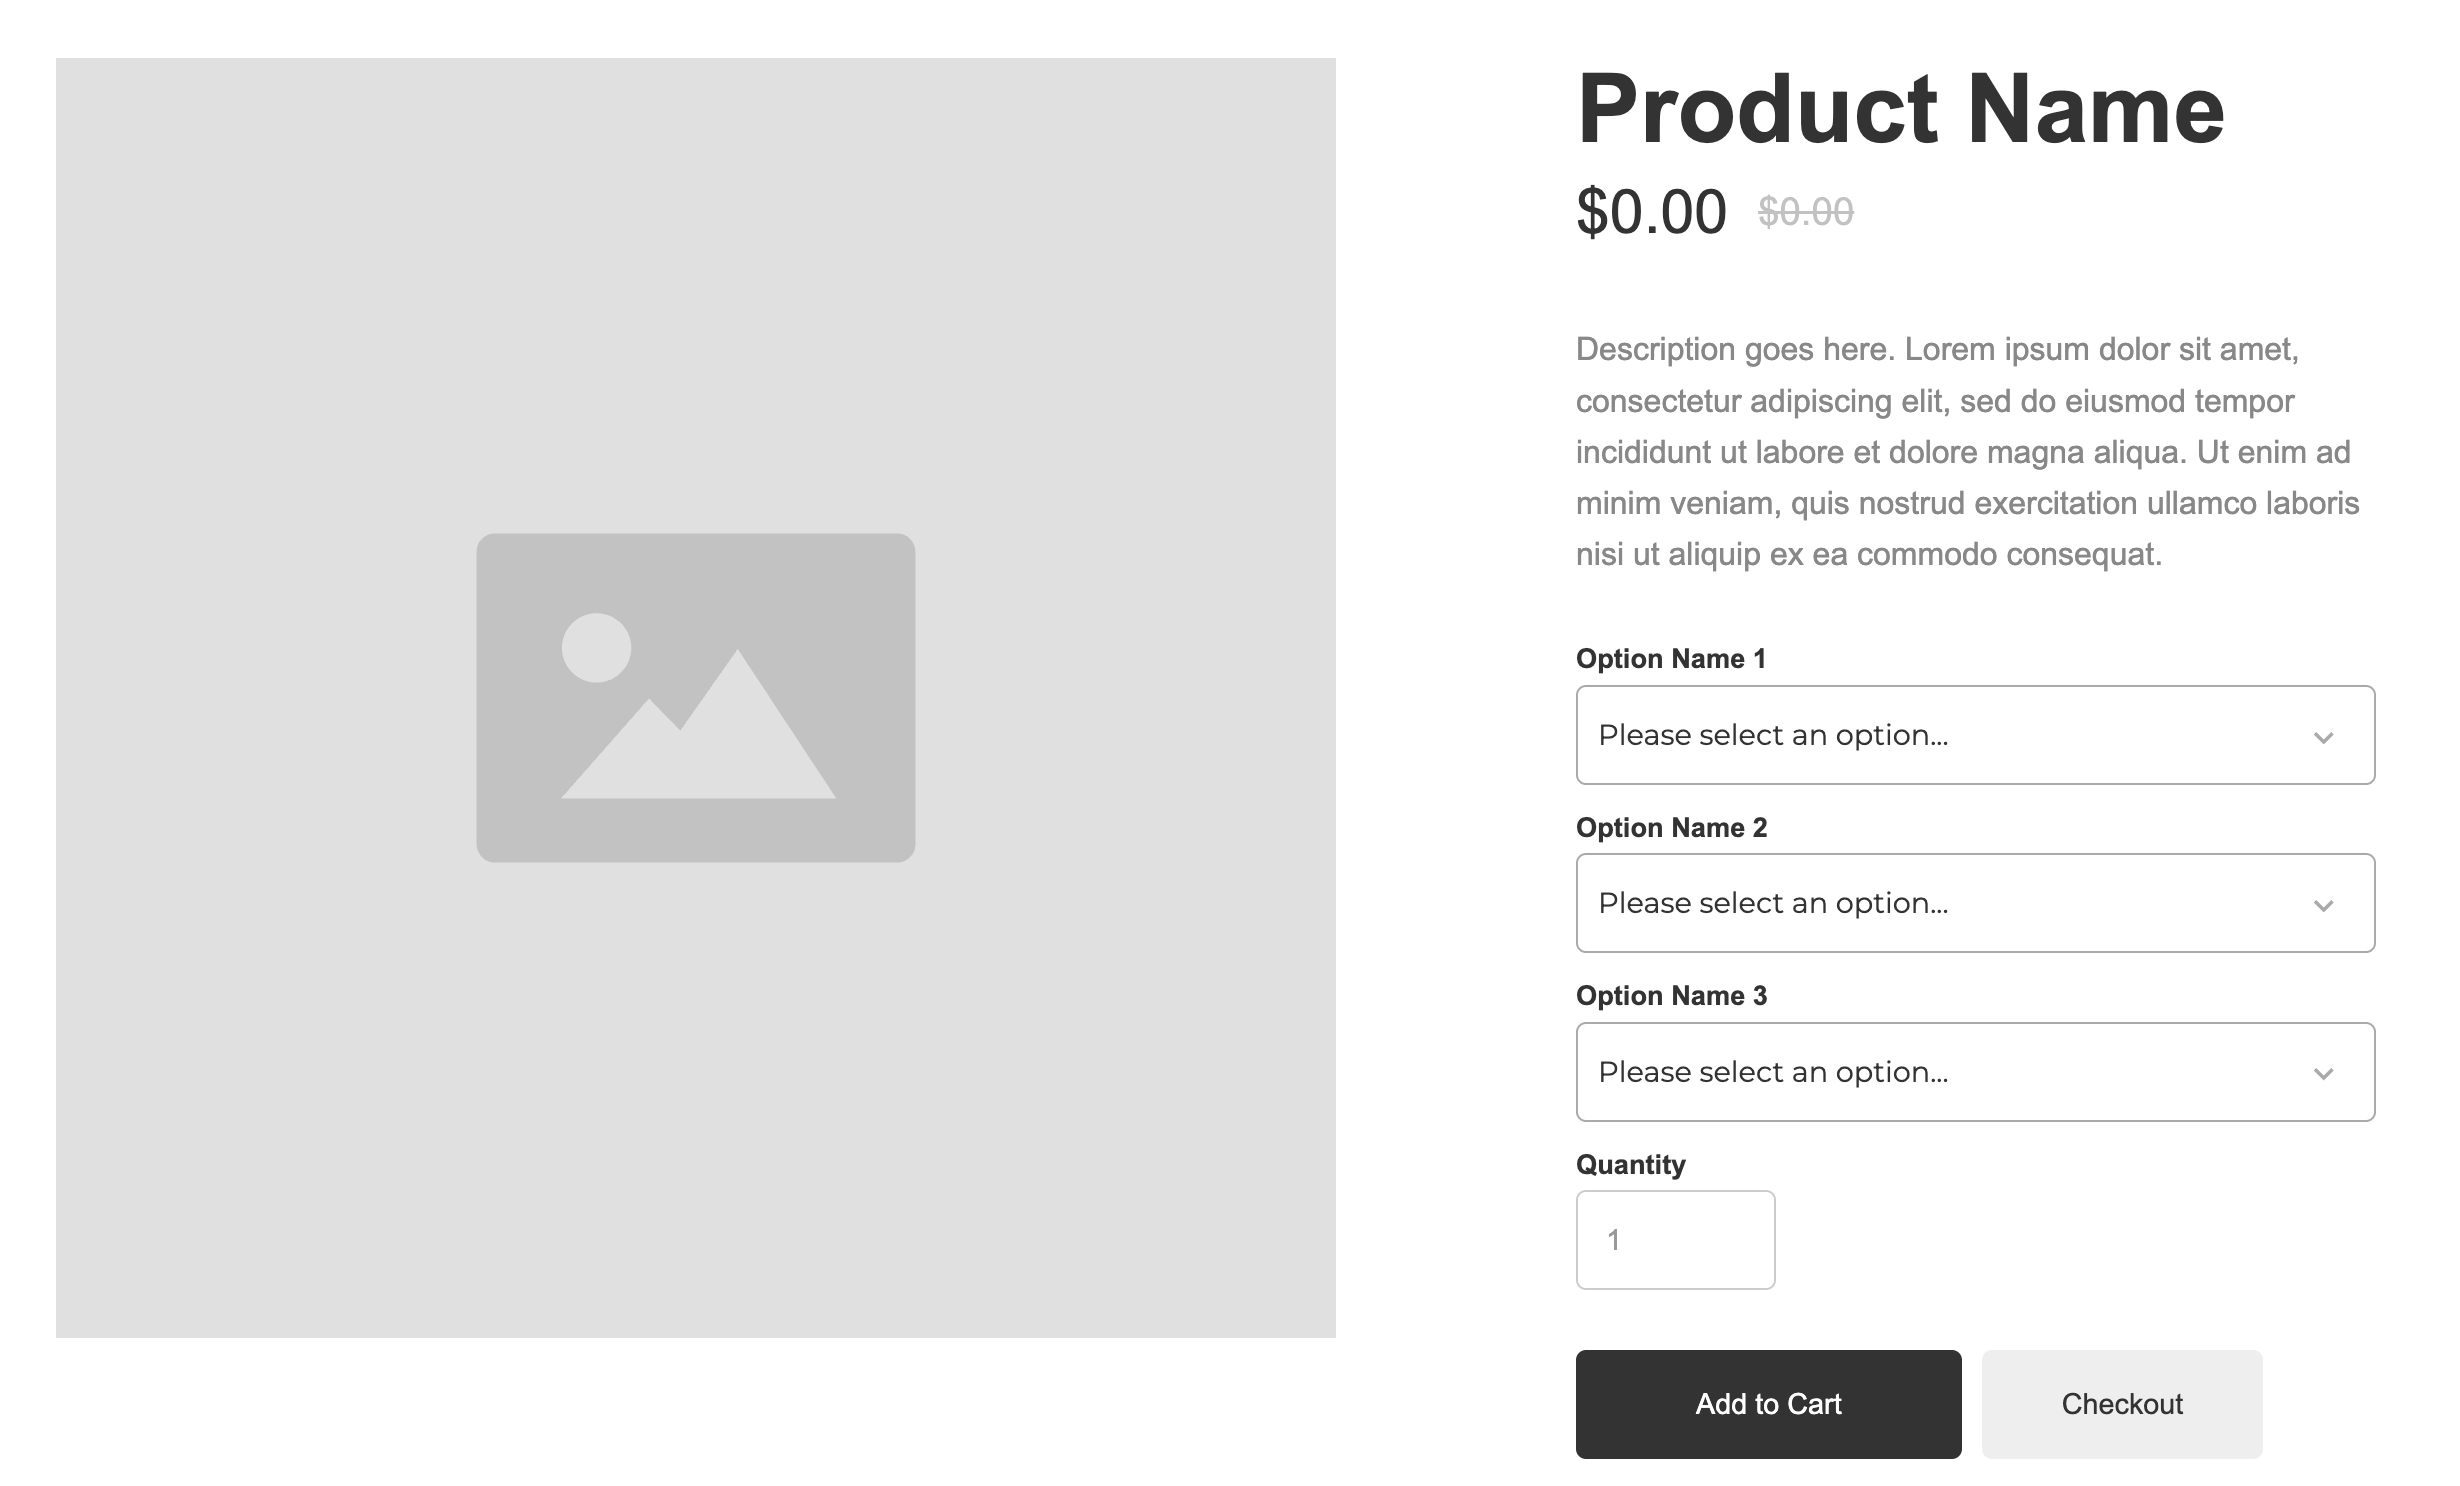
If you would prefer to use button or swatch style selectors instead of dropdowns, then see how to add them here:
Changing product options from a dropdown to a button / swatch style selector
Display your product styles in a beautiful swatch style selector layout
Once your product page template has all the necessary components, now it’s time to connect each block to the corresponding CMS field in order to populate it dynamically with your product information.
For each content block listed below, simply select each content block, then:
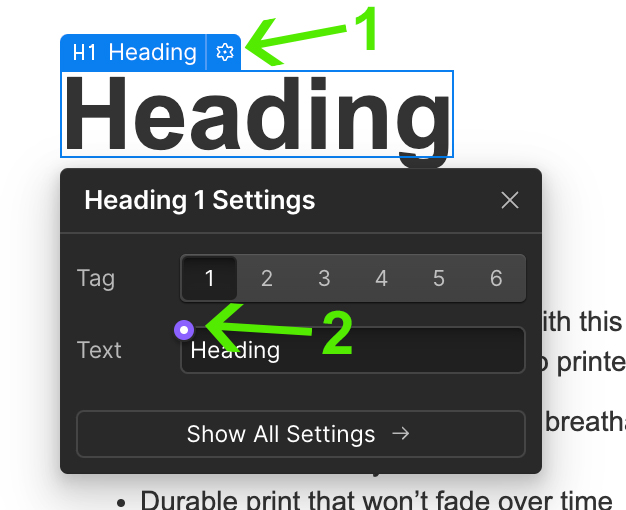
Click the gear icon next to the block name to display the settings popup
Then click on the purple dot. This will open a dropdown and allow you to select the corresponding field.
Example:
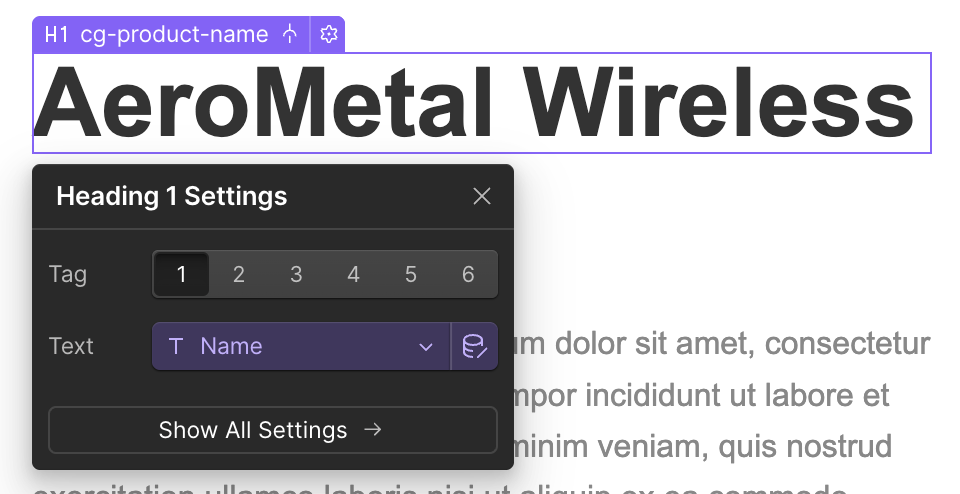
Product Name
This is the big H1 Heading at the top of the page. Select it and connect it to the “Name” field.
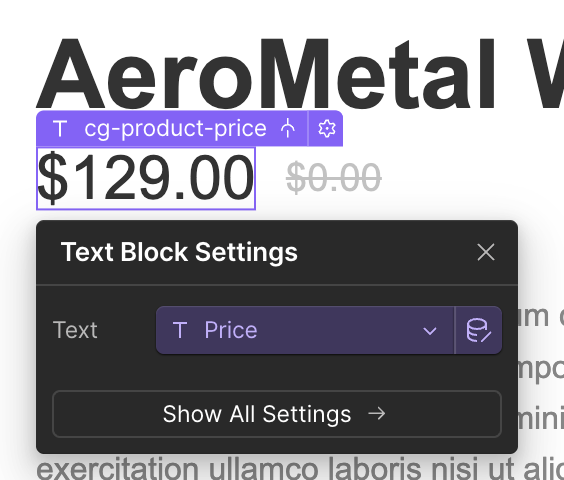
Price
This will be the price right under the big H1 Heading. Select it and connect it to the “Price” field.
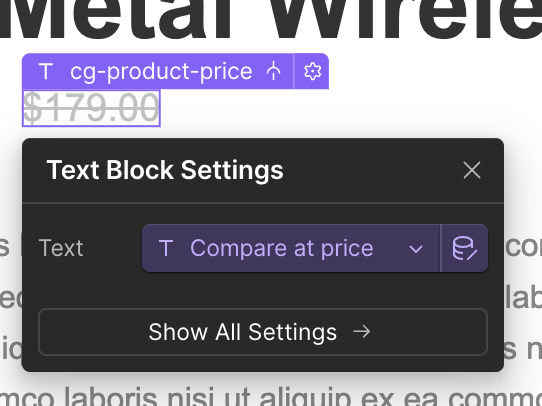
Compare-At Price
This is the crossed out price to the right of the regular Price. Select it and connect it to the “Compare at price” field.
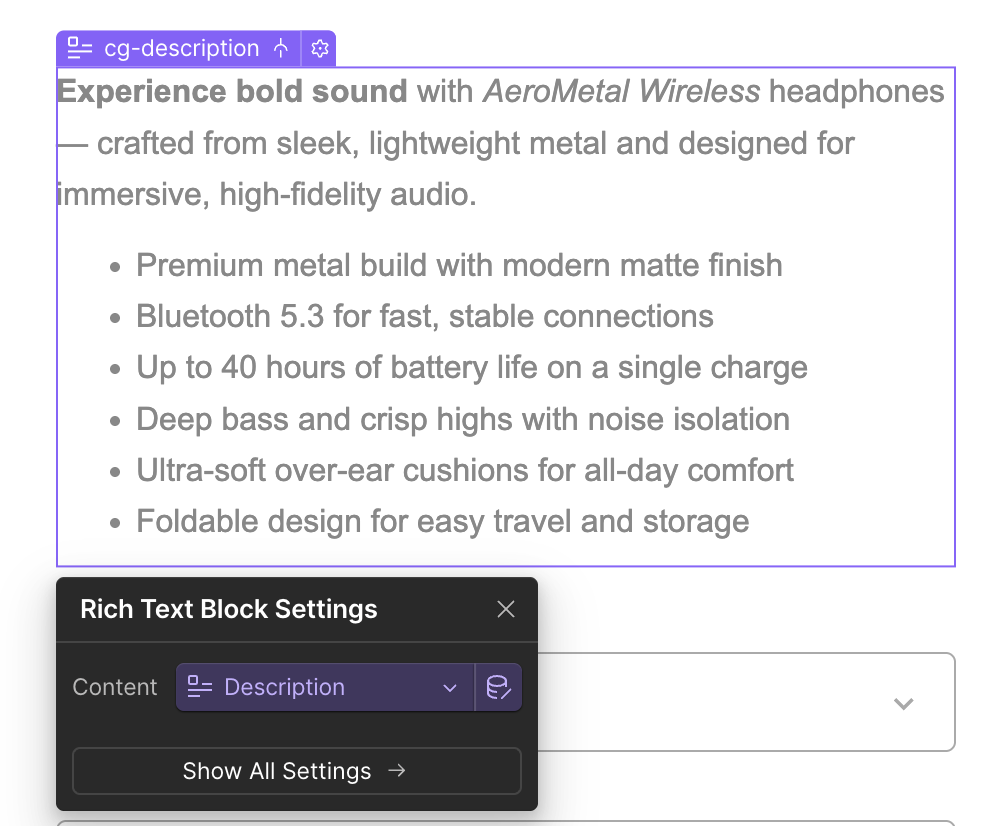
Description
You’ll see a paragraph field, but you want to go into your layers and select the parent Rich Text block and connect it to the “Description” field.
Note: You must select the “Rich Text Block” which houses the paragraph block inside it. Clicking the paragraph block will not work.
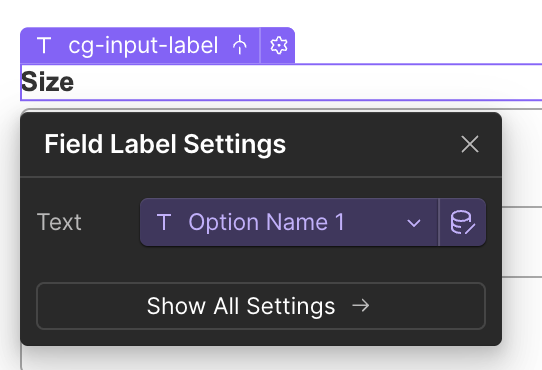
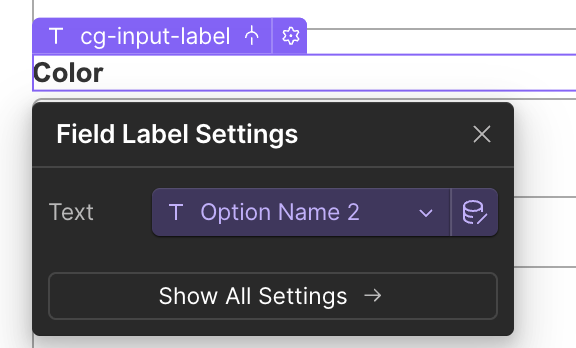
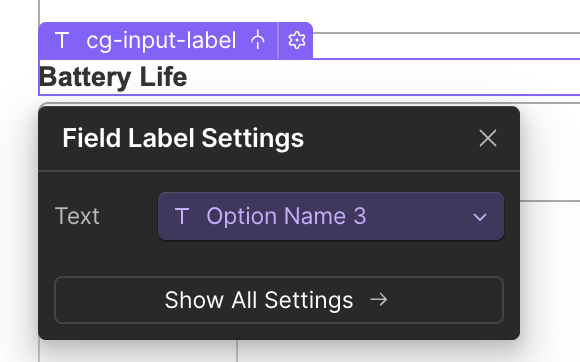
Option Name 1, 2, & 3
These are the labels for the dropdowns. Select each one and connect it to the corresponding field: “Option Name 1”, “Option Name 2” and “Option Name 3”.
You do not need to do anything with the drop downs.
Note: If your product does not have any variants, then after connecting the fields, they will display as blank boxes. This is normal. (we’ll get to conditional visibility in the next step)
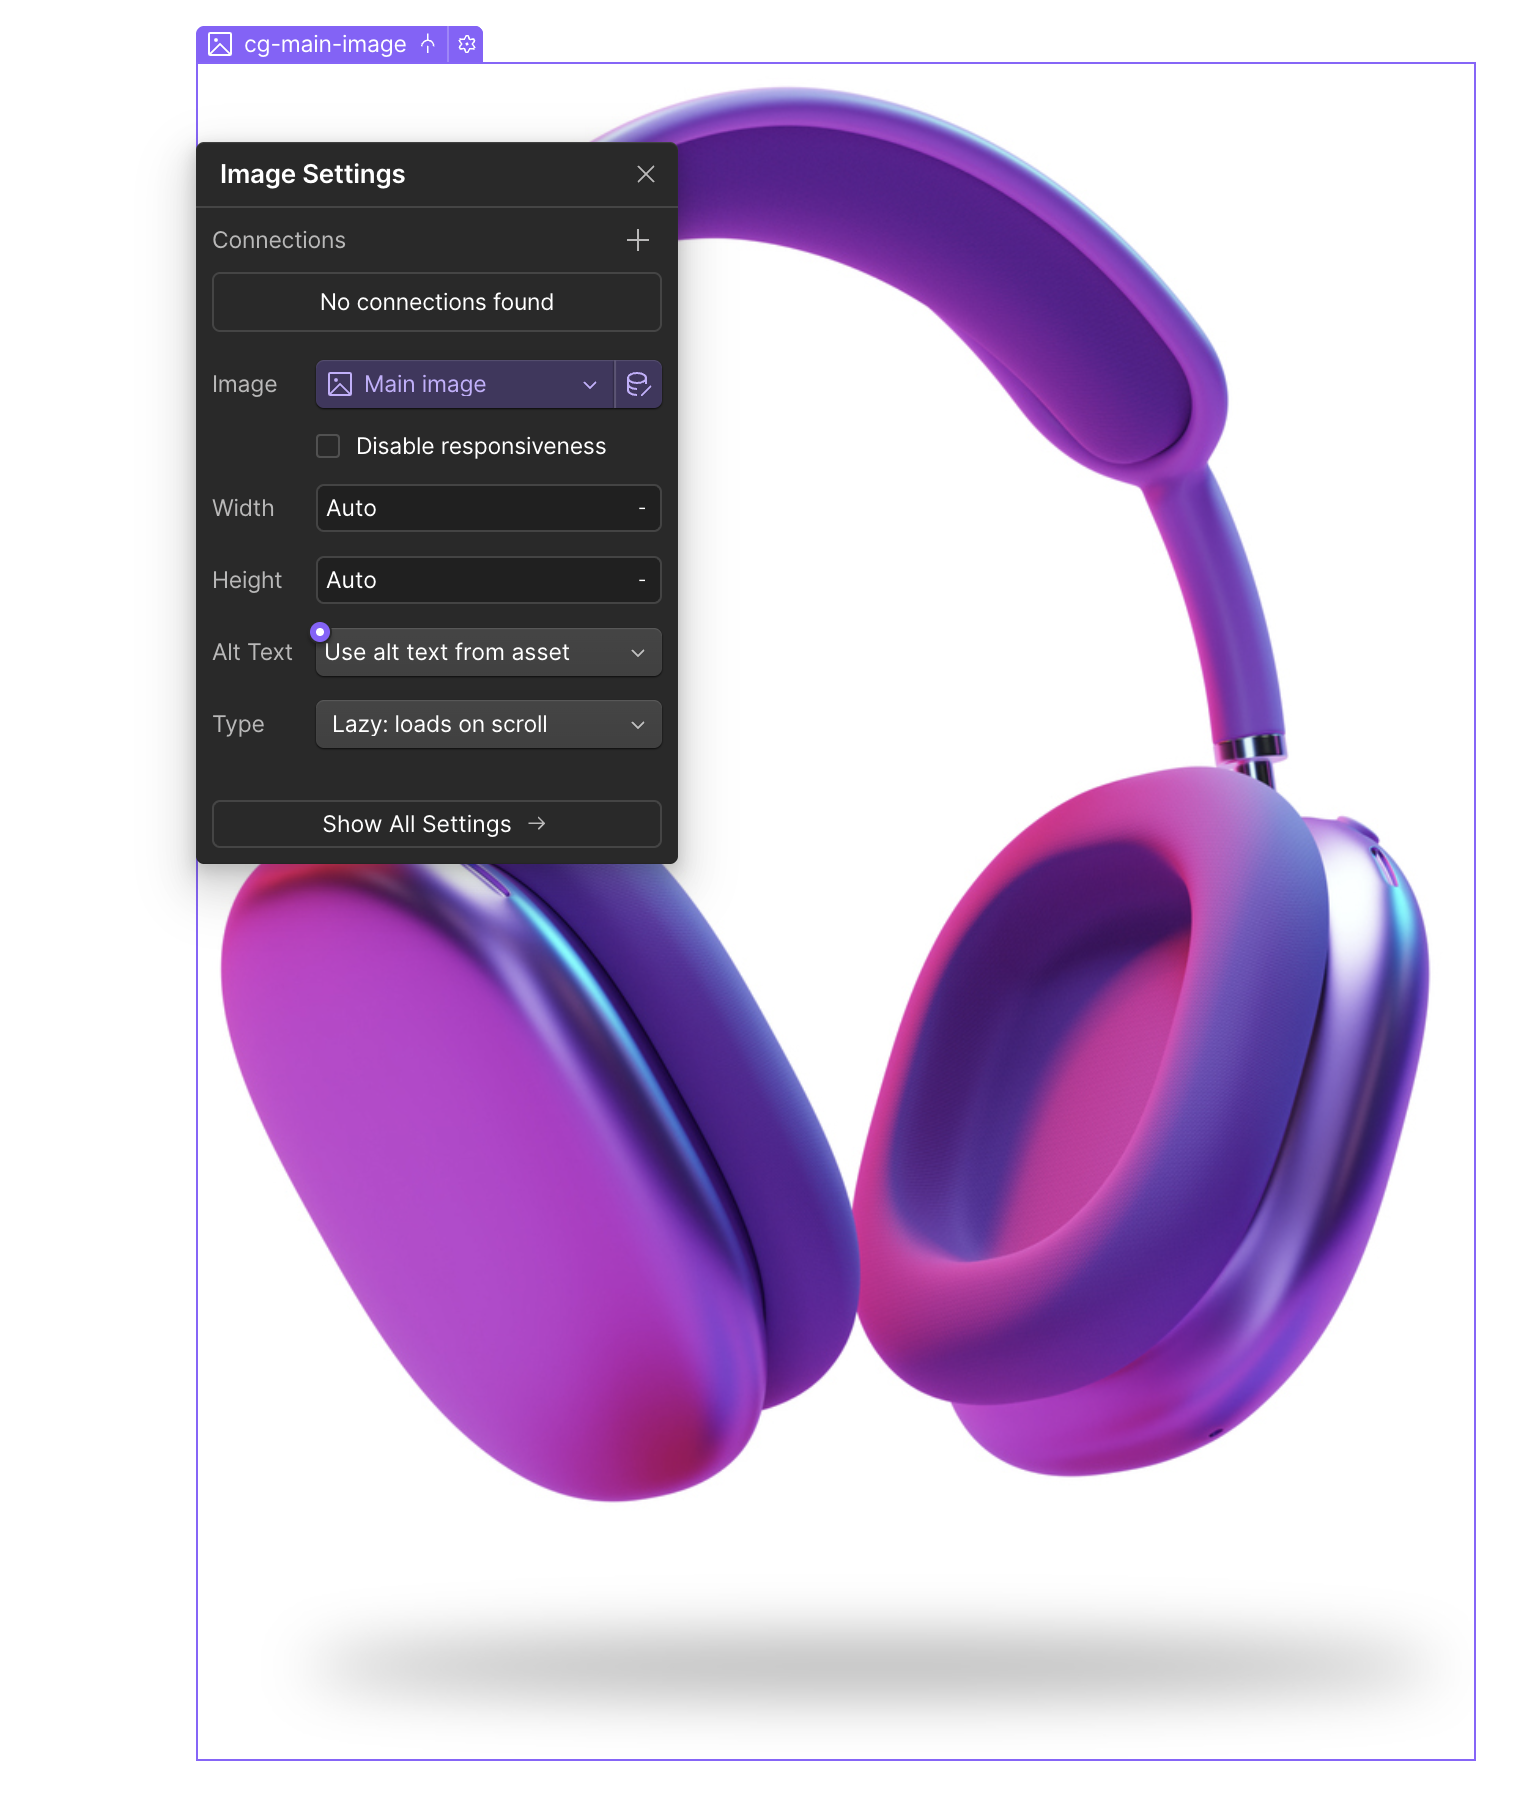
Main Image
This will be the placeholder image you see on the left side. Select it and connect it to the “Main Image” field.
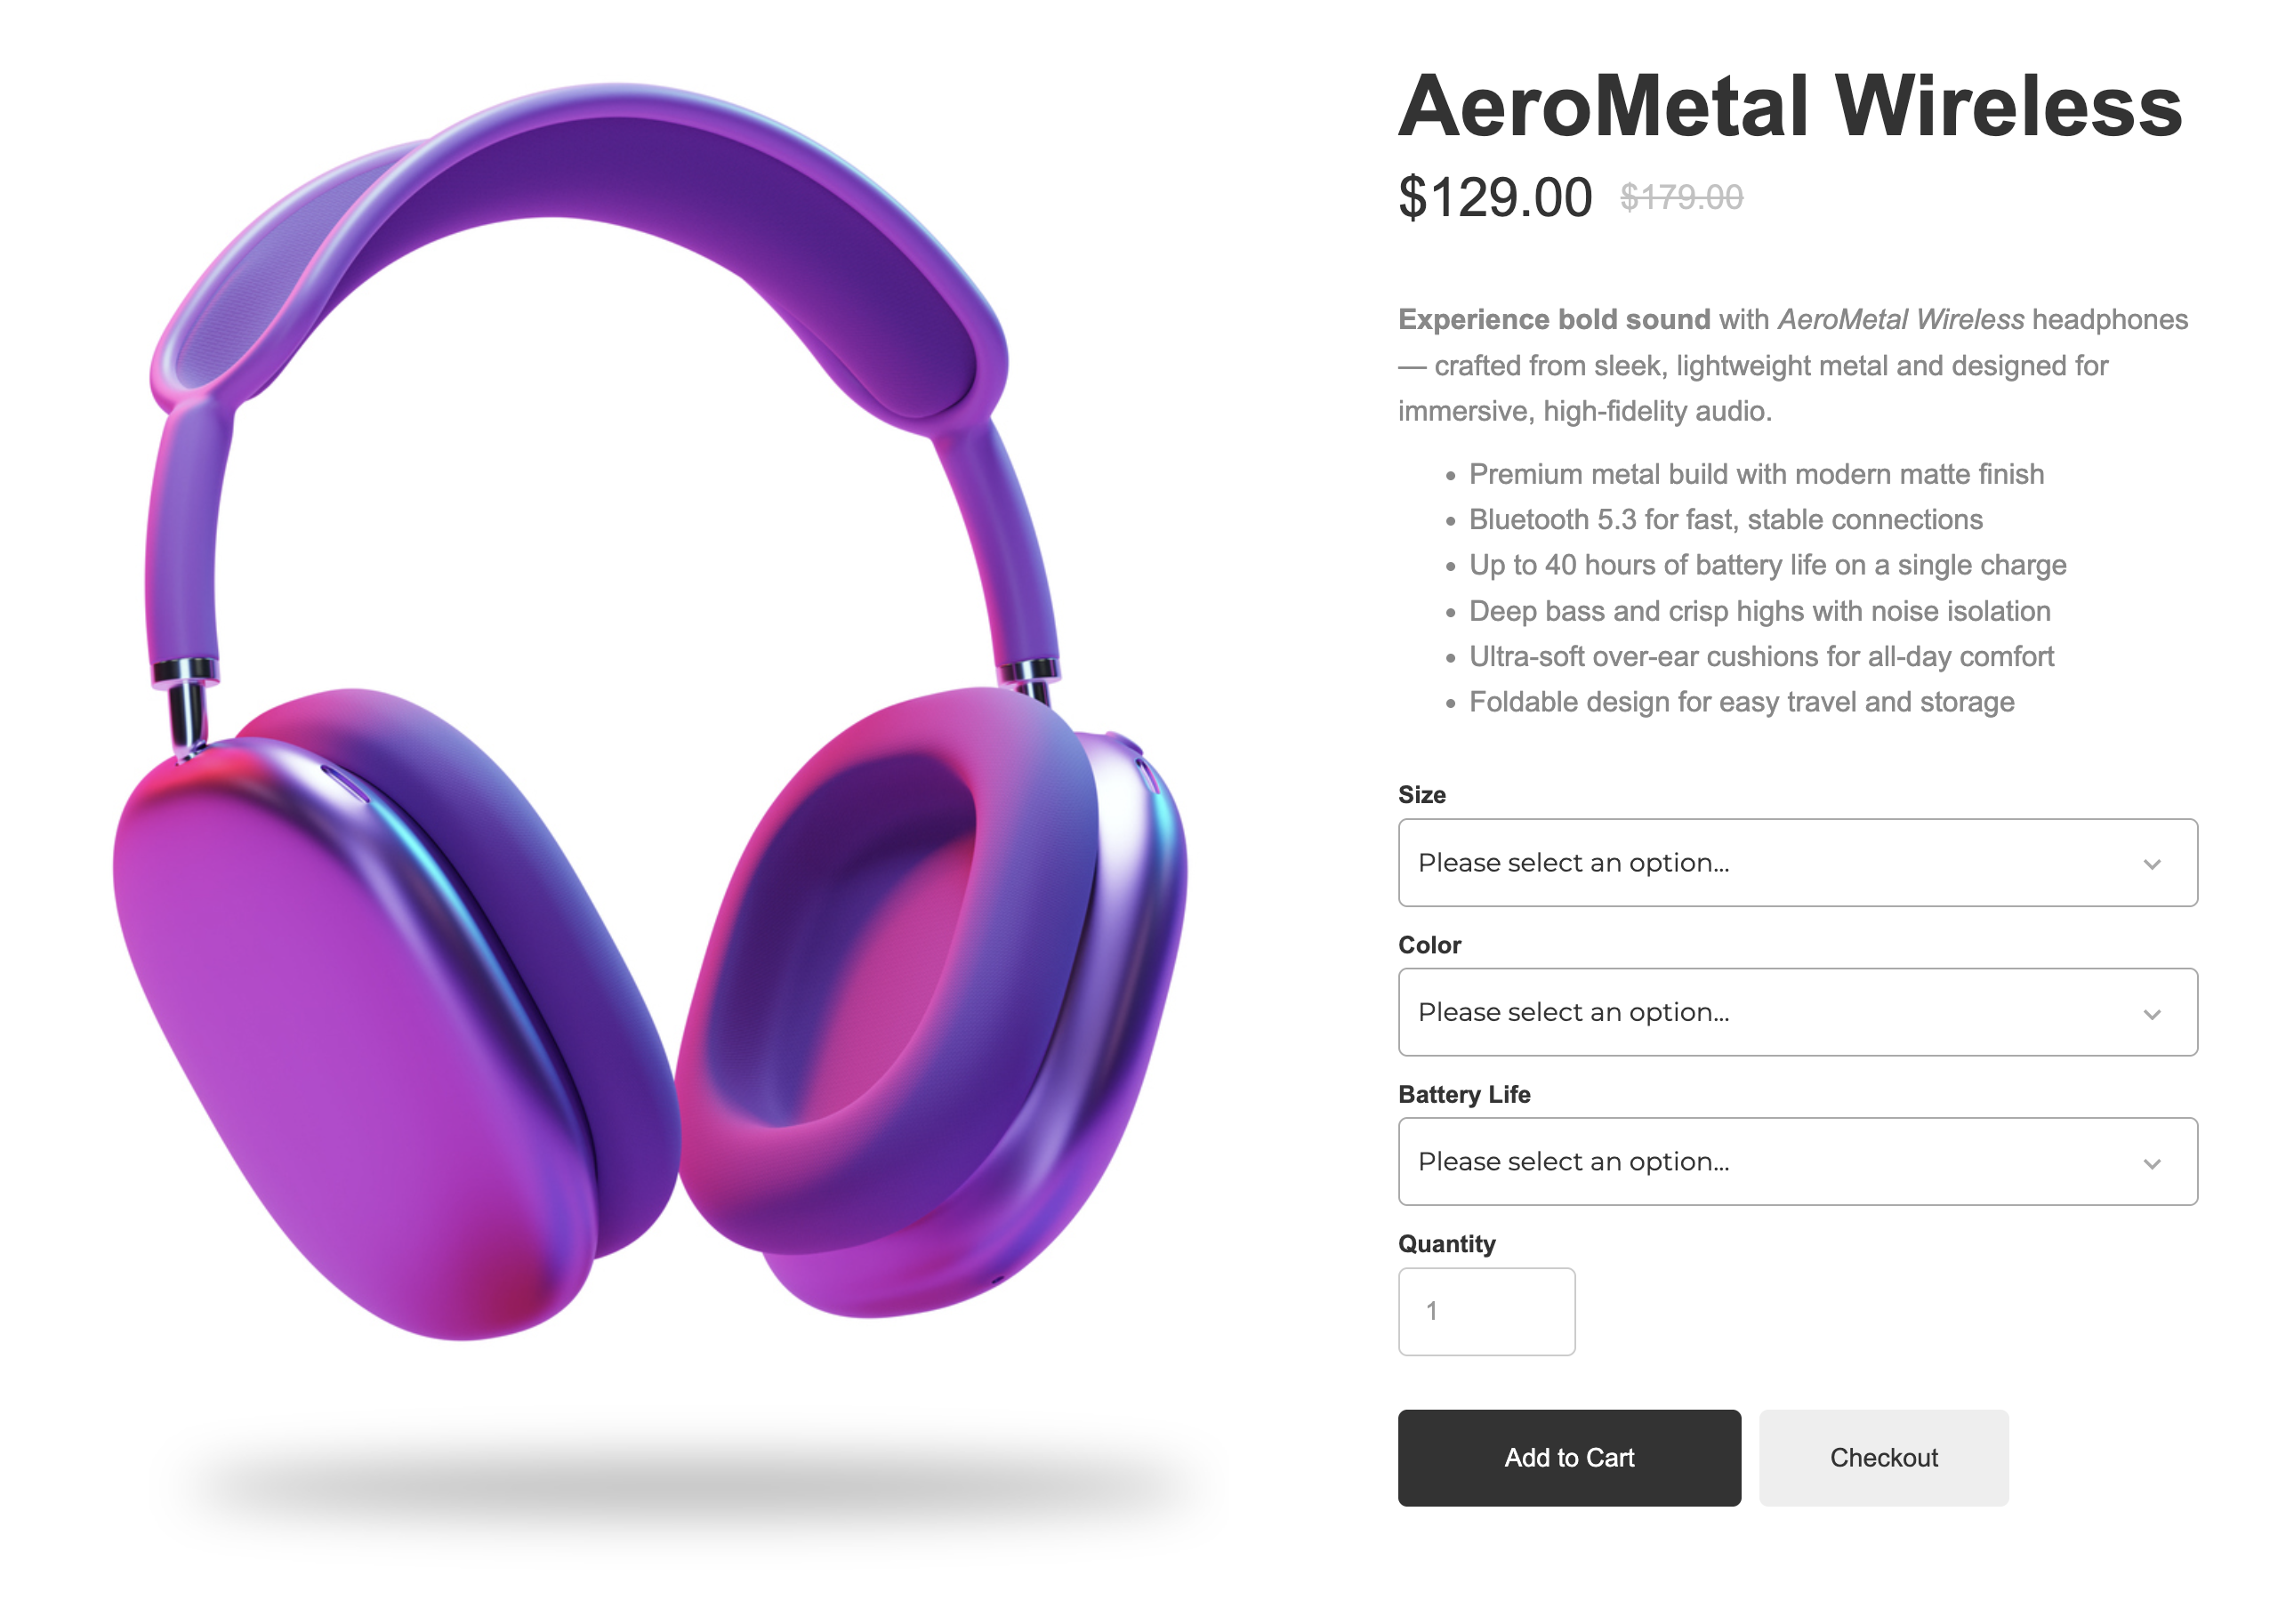
Once you’re done, your page should look something like this (but with your own product info instead)
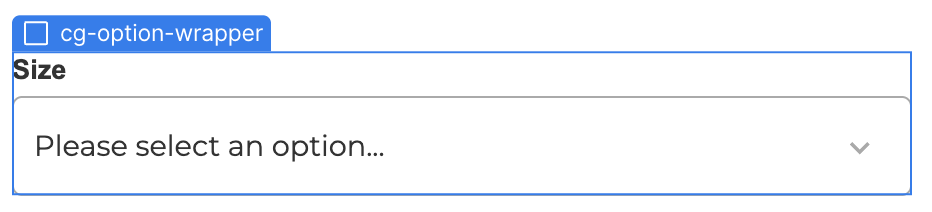
To prevent the option drop downs from displaying on products that don’t have any variants, we need to set up a conditional visibility attribute for these blocks.
Go to the first drop down and select its parent div “cg-option-wrapper”.
(You can select this easily using the layers panel or by right-clicking and going to the “select parent element” selector)
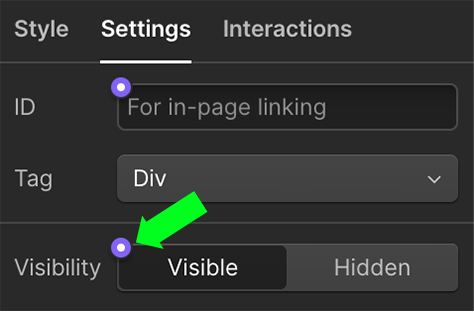
Then, go to the layer settings panel in the right hand sidebar and click on the purple dot in the Visibility section.
Set the field to only be visible when “Option Name 1” is set.
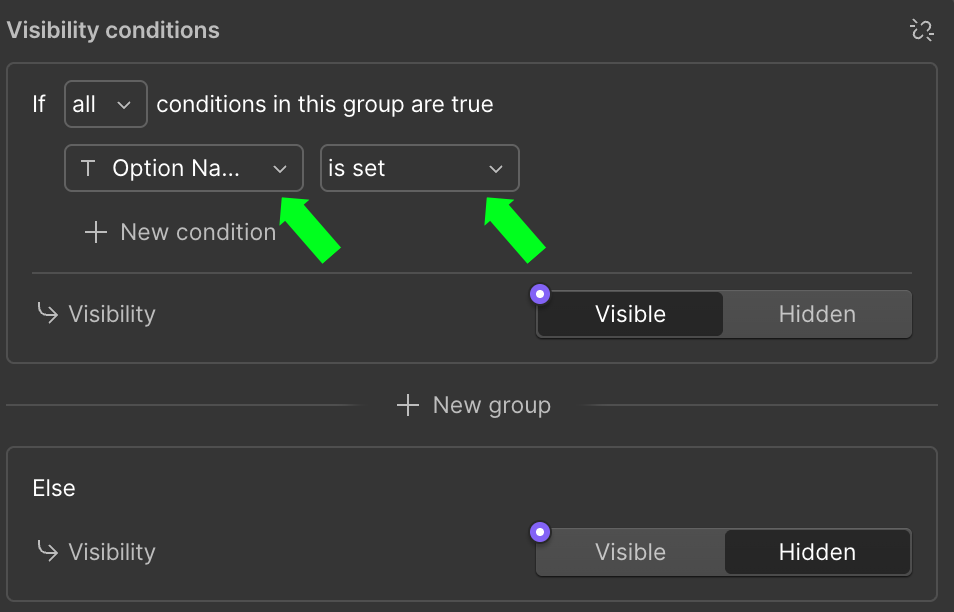
Then, click out of the box to save your settings.
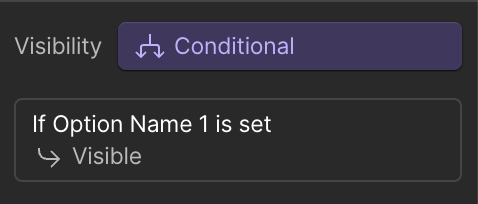
Next, do these same steps with the other two drop downs (be sure you are selecting the “cg-option-wrapper” for each so that you will be hiding both the label and the drop down:
2nd Label & Dropdown: set visibility condition to “Option Name 2” is set
3rd Label & Dropdown: set visibility condition to “Option Name 3” is set
In order for your customers to see how many items they have in their cart and to easily access it, you can add a cart icon to your site’s menu.
How to add the cart icon to your site
Let customers easily access the cart and see how many items are currently in it
CartGenie has a default cart design that we apply to all stores as a backup. However, you can also add a customizable cart modal to your store so you can style it however you wish.
Adding and customizing the cart in CartGenie
How to choose between a modal or sidebar style cart
If your site doesn’t currently have a menu, you can add one using the “Navbar” block in Webflow. Turn it into a component and paste it on all pages of your site to make it easily accessible. Watch a tutorial here.
You can publish your Webflow site to view the products and drop downs in action.
All of these fields already exist in your CMS collection and are available to be placed on your Product Template if you wish to display them to customers. Simply drag and drop the relevant block type from the Elements panel in Webflow and connect them to the corresponding field.
You can also add extra custom fields in the Product Settings page if you necessary.
SKU (plain text)
With Subscription (switch)
Can be used to set the conditional visibility of a block such as a description of ongoing charges
Track Inventory (switch)
Can be used to set the conditional visibility of a block such as the inventory quantity
Inventory Qty (number)
Requires Shipping? (switch)
Can be used to set the conditional visibility of a block such as your shipping policies
Weight (number)
Width (number)
Height (number)
Length (number)
Include Downloadable File? (switch)
Can be used to set the conditional visibility of a block such as a description of how & when they will receive the file.
File Name (plain text)
File URL (link)
Recommend not adding this on the product page unless it is a free giveaway that doesn’t require a purchase
Category (multi-ref)