Welcome to CartGenie! 🧞♂
We’re excited to have you on board.
Setting up your CartGenie account with Headless is quick and easy, so you can start selling seamlessly on your site in no time. This guide will walk you through the first steps to get your store up and running. See a demo store here!
Note: If you’re wanting to use Webflow, follow this guide instead.
To get started, go to to the CartGenie sign up page

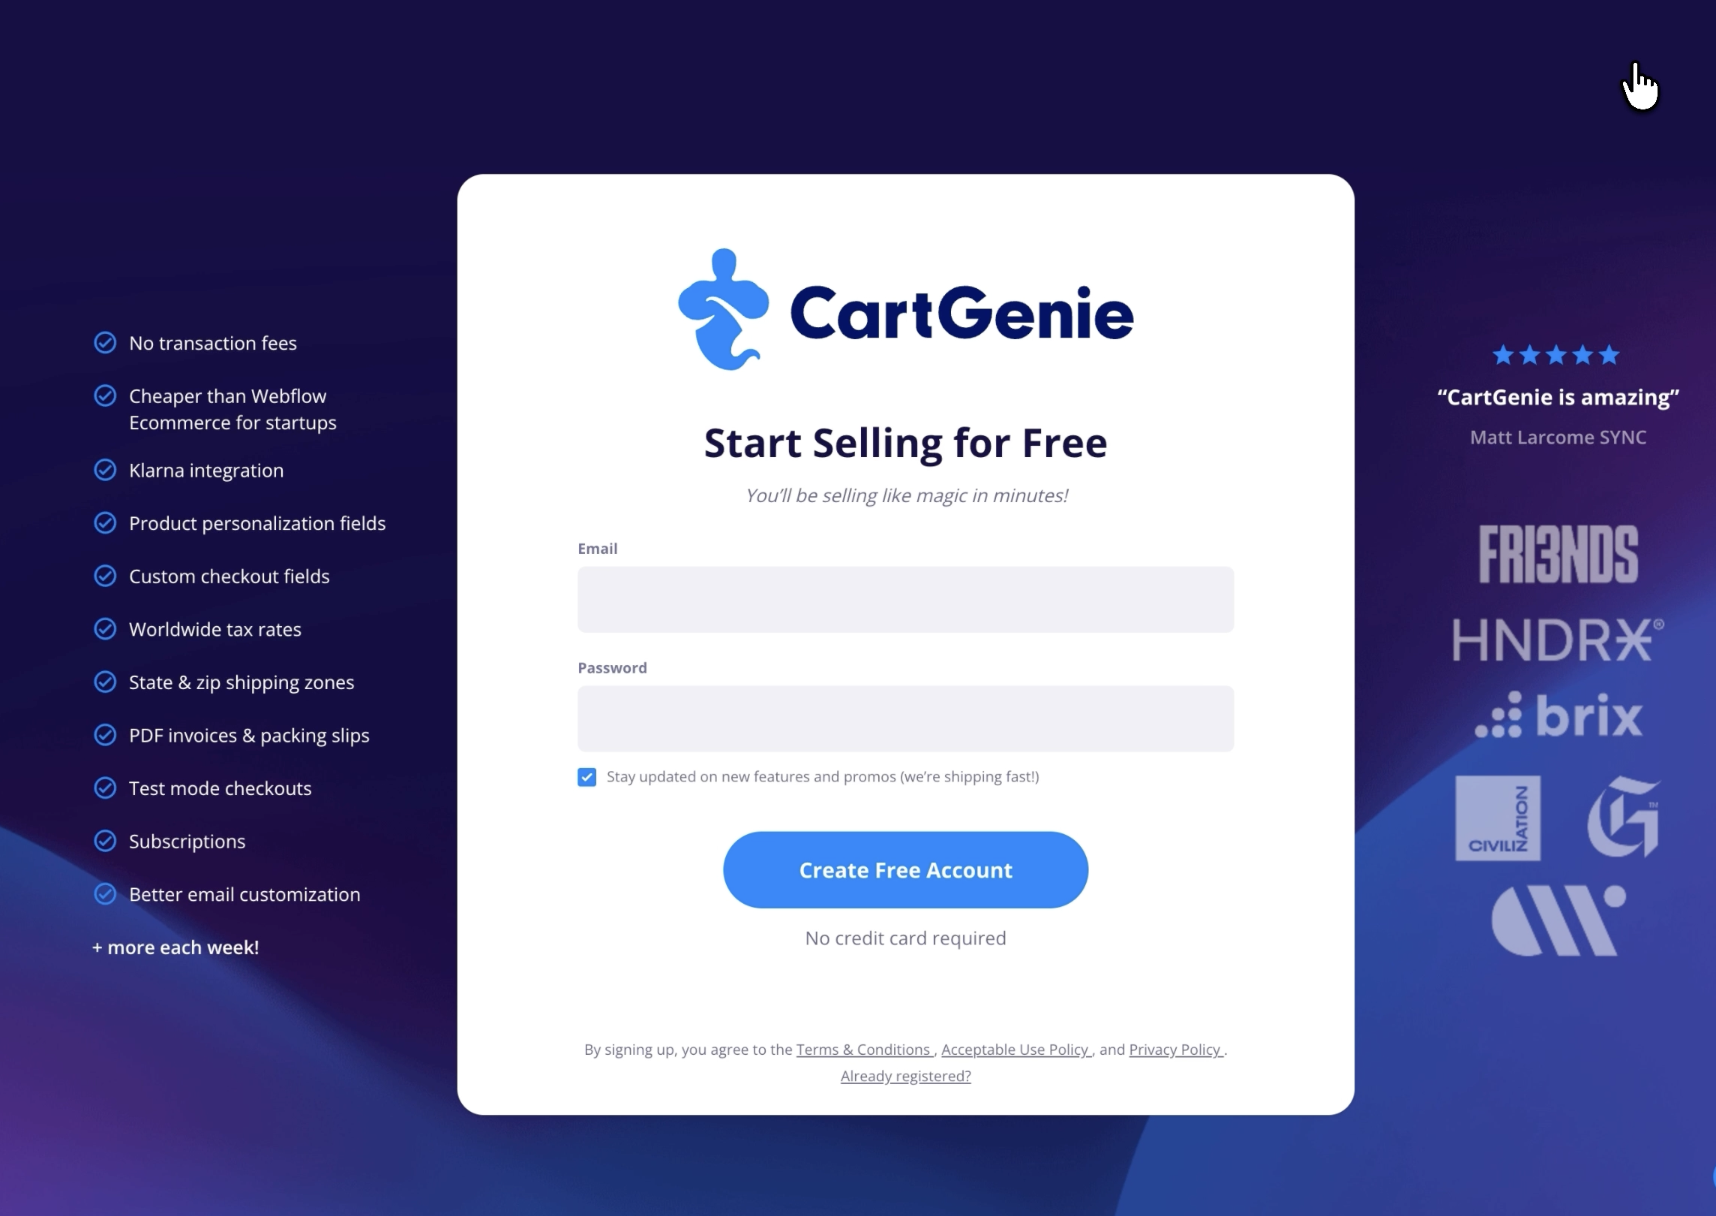
Enter your Email and password to create your account!
If you already have a CartGenie account:
You can simply click your store name in the bottom left of the CartGenie dashboard, and select “Add Store” to create a new headless store.
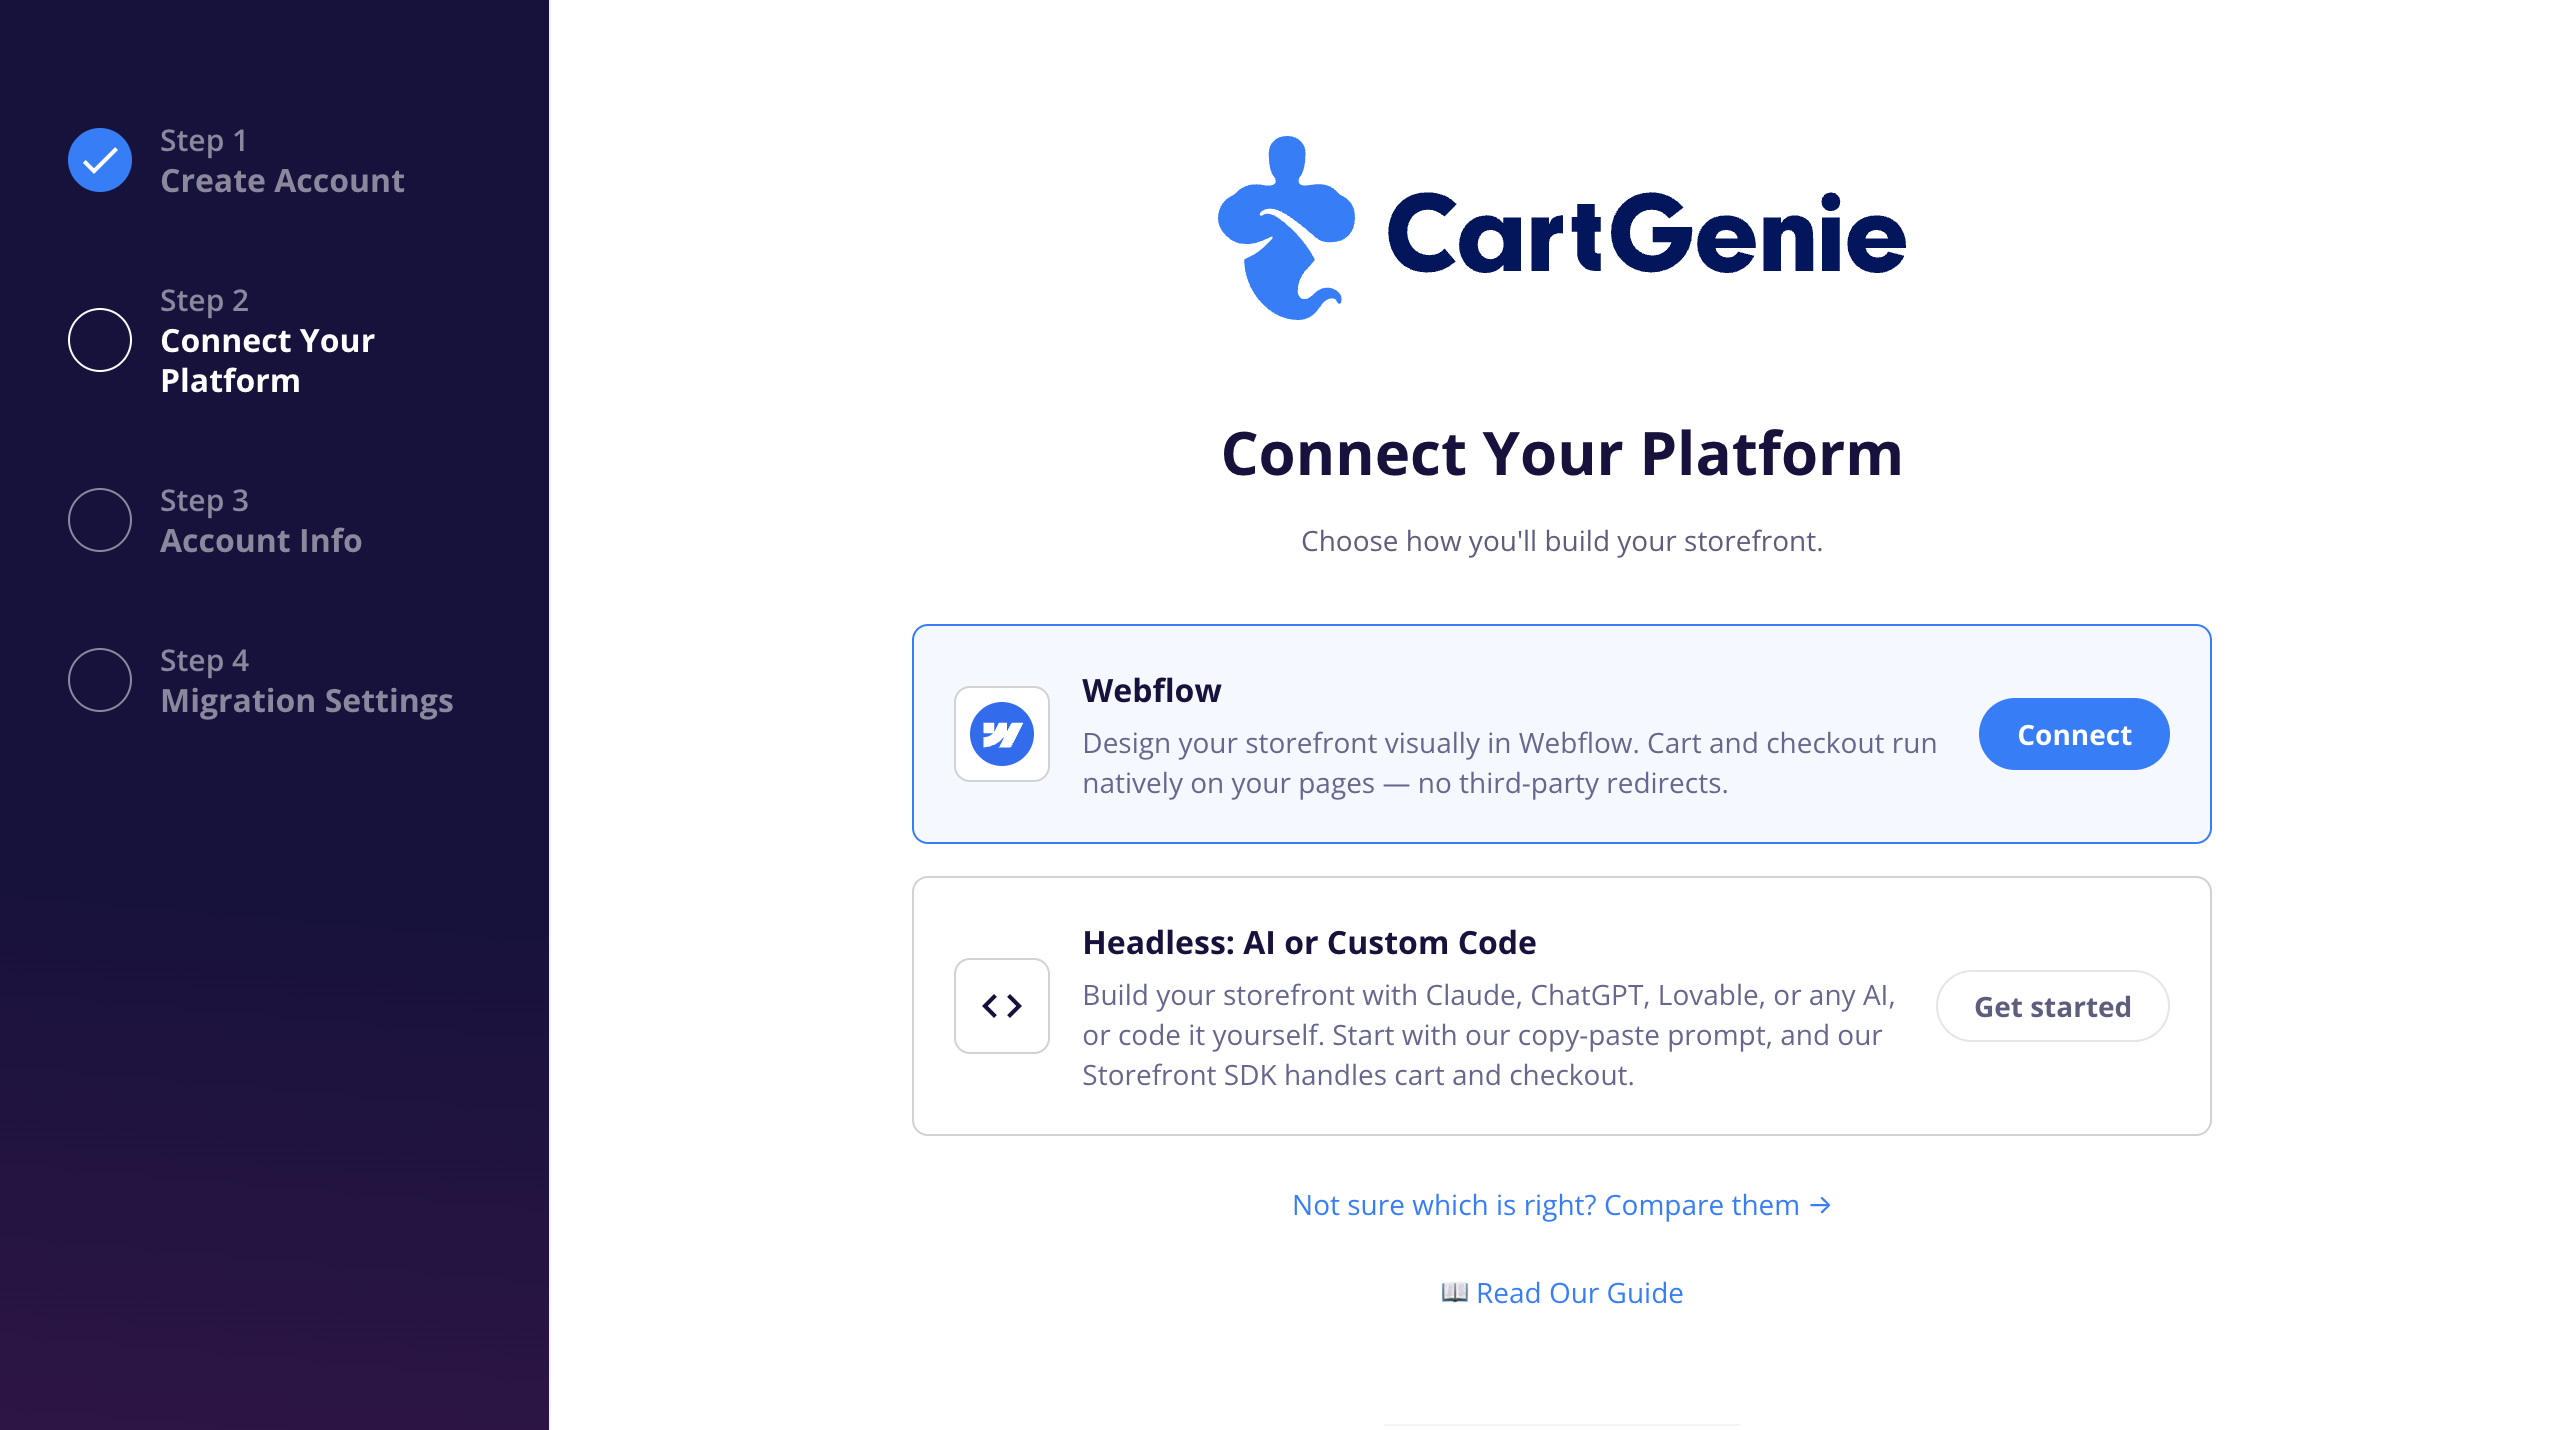
Since this guide is for Headless, we’ll click the Get Started button next to “Headless: AI or Custom Code”.
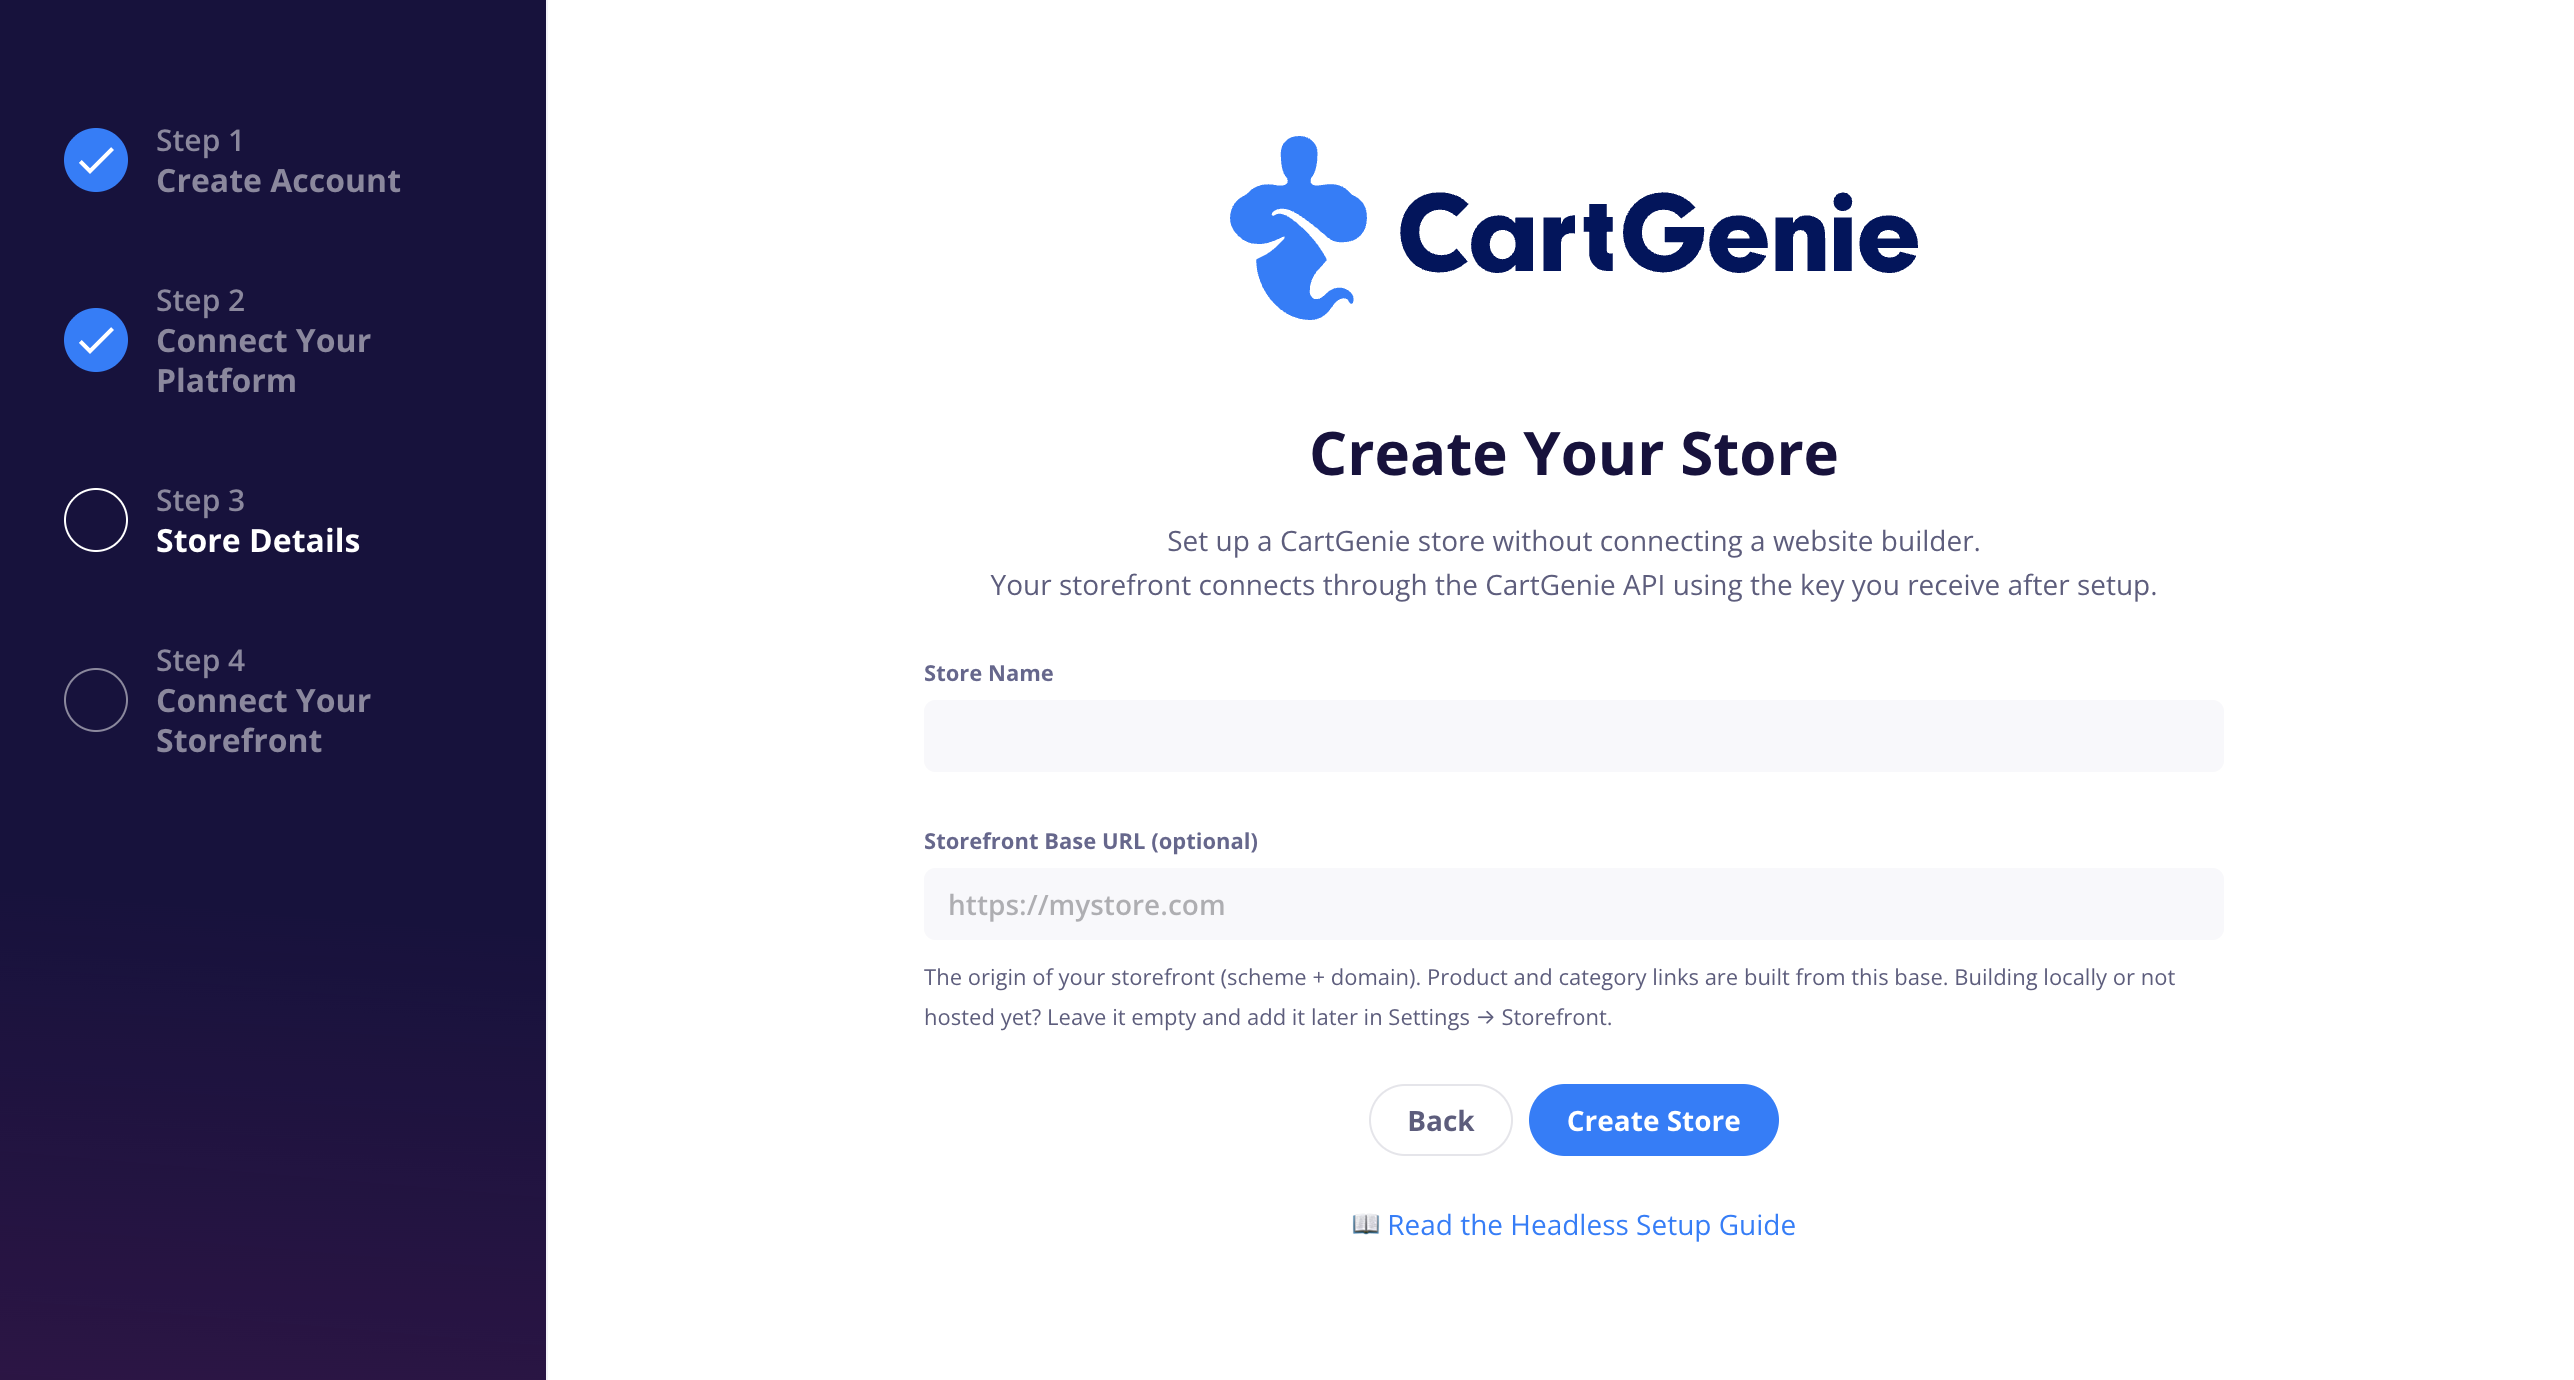
Name
This will be used in emails to customers so make sure it reflects your brand well (this can be changed later)
Storefront Base URL
If your site is already live or on a staging URL, you can insert the Storefront Base URL here. This is used to reference product links, etc. (this can be changed later)
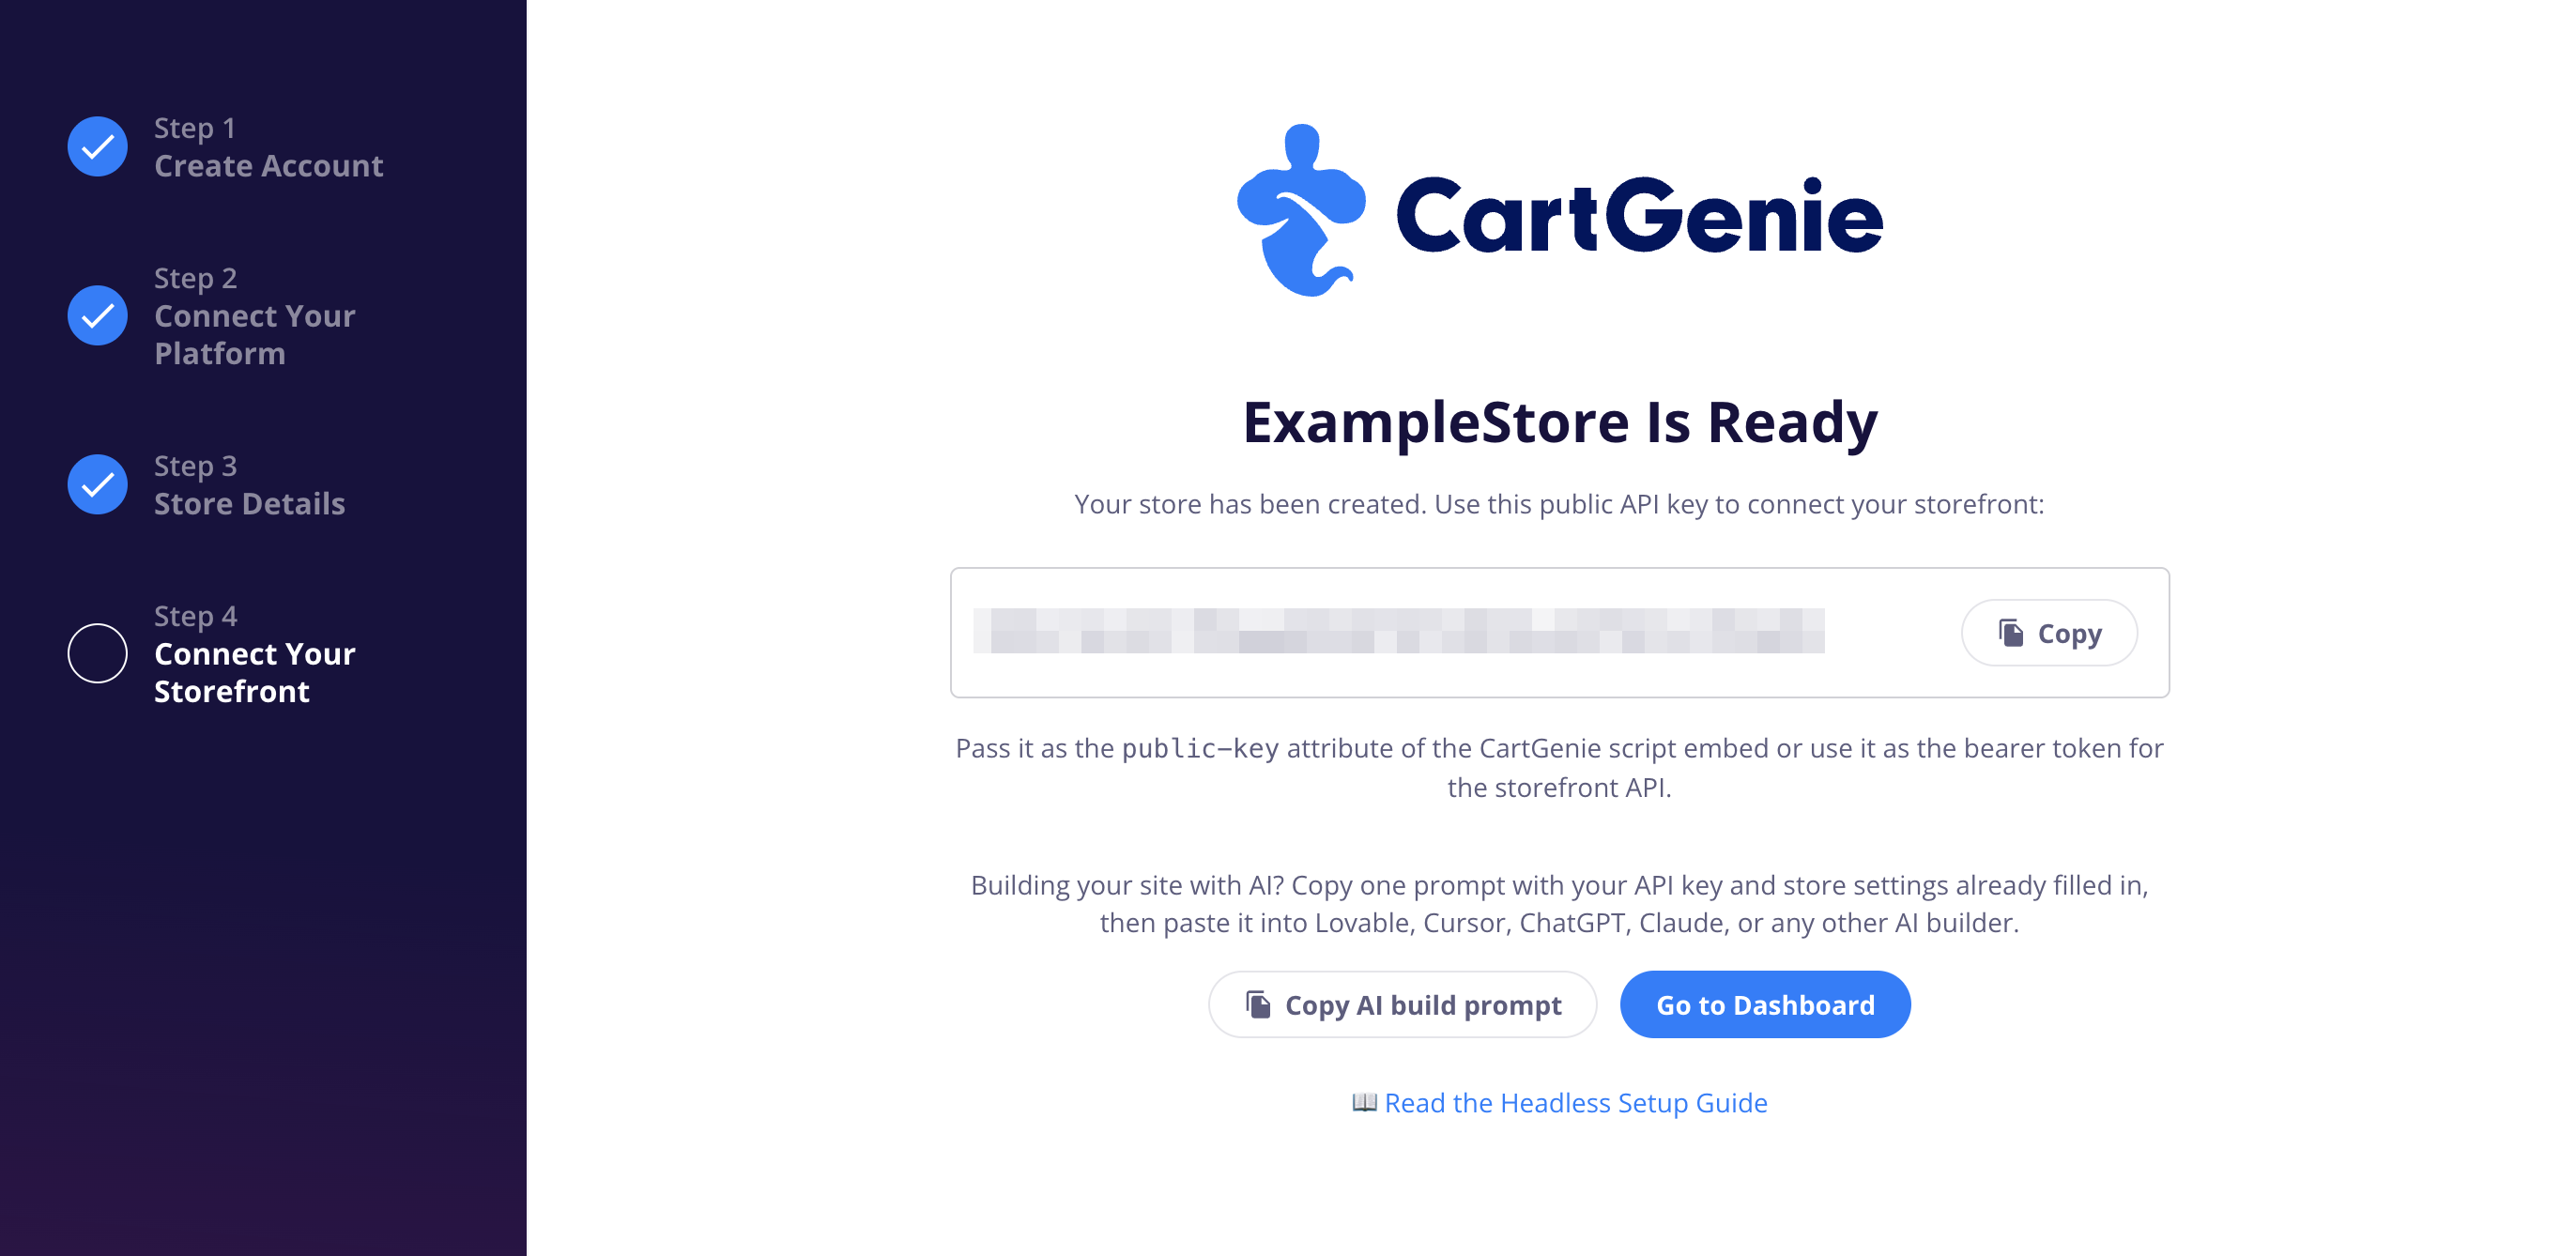
On the next step, you’ll see a Public API key

The Copy AI Build Prompt button will copy to your clipboard a prompt you can paste in an AI coder (this AI prompt can be copied later as well from the Setup Guide page)
This prompt includes your API key in order to connect it to your site.
It also includes all the most important information for the AI coder to have such as links to our storefront SDK docs, readme files, etc.
It tells the AI all the main pages that should be built including product pages, cart, checkout, confirmation page and more.
After pasting in an AI builder, feel free to add any additional instructions you want such as colors, styling, design, etc.
After going to the dashboard, go to the Setup Guide to see guides and steps to finish your store.
Go to Setup GuideTip: Here you can also copy the same AI build prompt if you missed it on the last step.
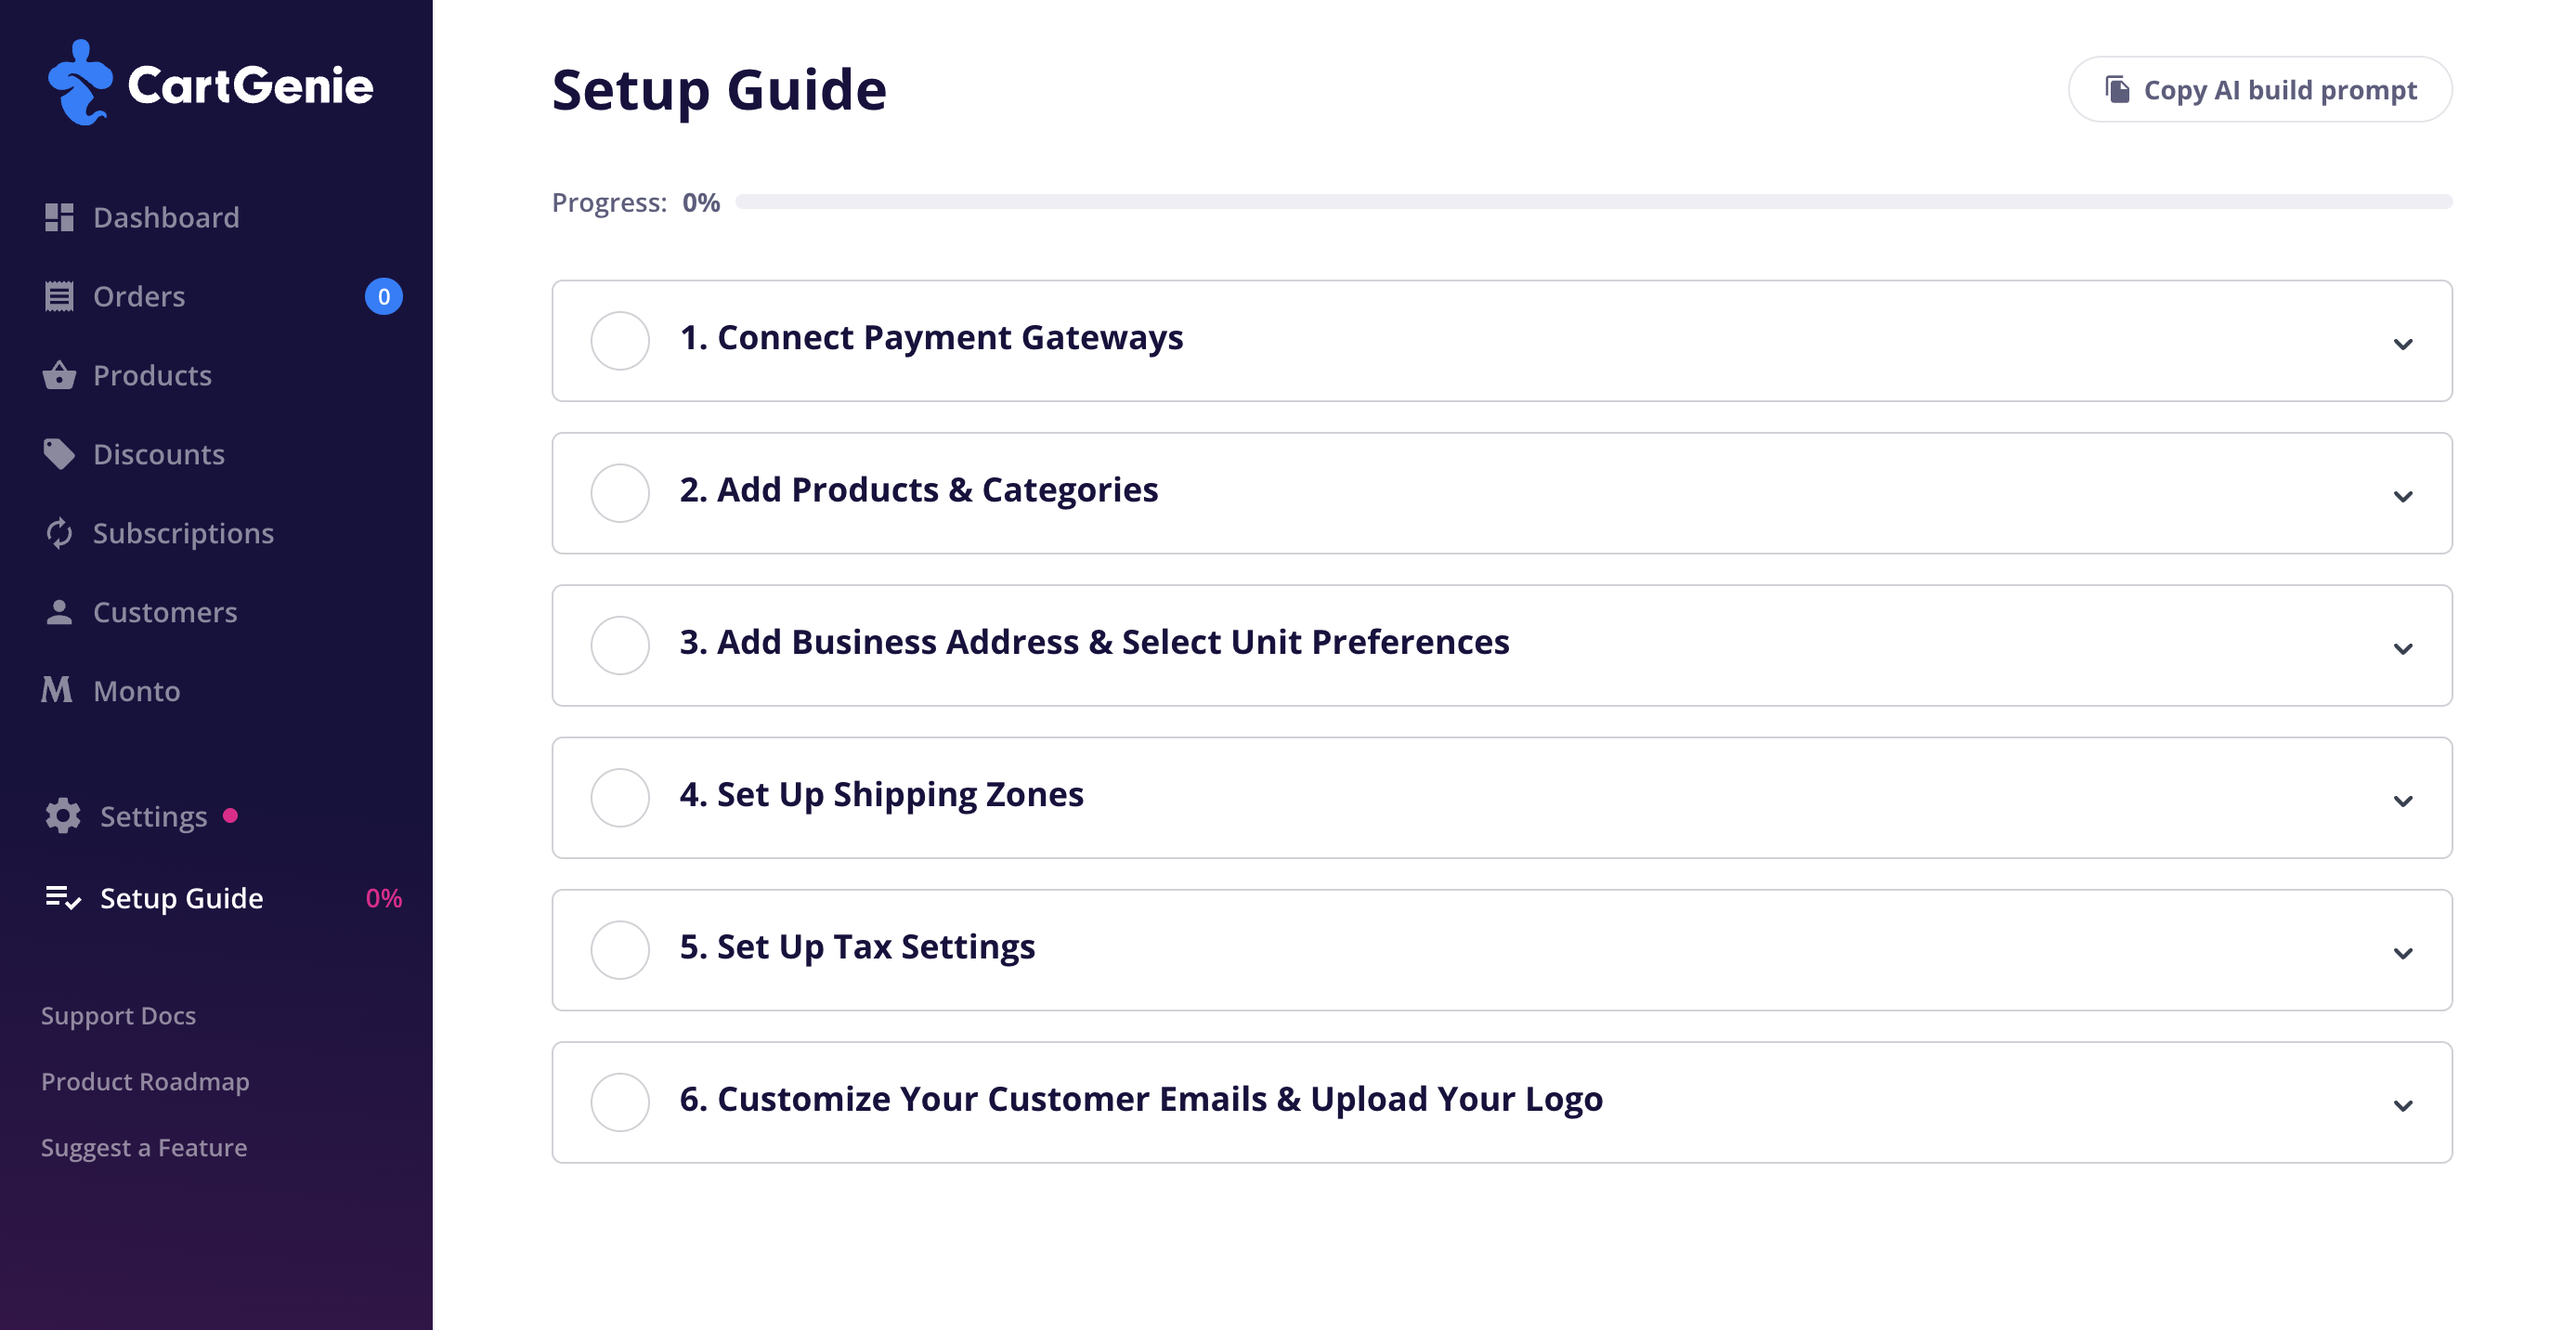
Follow the guide below to connect your Stripe account (Credit Card, Apple, Google, Klarna, etc.) & Paypal, and others to your store to process live payments.
Connecting payment gateways to CartGenie
How to connect a payment gateway to CartGenie for payment processing
Follow the guide below to add products to your CartGenie store! Once they are adding and published in CartGenie, they will automatically be live on your headless storefront.
Creating products and variants
How to create a product or variant as a one-time purchase or subscription
Follow the guide below to add your business information to your account and select your preferred units for currency, time zone, dimensions, and weights, etc.
Adding business information to your store
How to add your business info to your store & set your preferences for currency, units, and time zone
Shipping zones are what determine who can purchase your products (in which countries) and how much they will be charged for shipping of the items they purchase. No shippable products can be published until shipping zones are set up.
Follow the guide below to set up shipping zones for your store.
Creating Shipping Zones
How to set up shipping methods & determine how much customers pay for shipping
CartGenie allows for flexible custom tax configurations in all countries – or use TaxJar for automatic tax calculation in the USA.
Follow the guide below to set it up.
Configuring sales & VAT tax settings
Setting up your store's tax settings
Ensure that all your customer’s order emails match your brand and voice. Customize your template and individual email wording and blocks in our Communications editor.
Customizing your email template
How to add your logo and brand colors to your store's order emails
Once the Setup Guide is complete and your products are built, its time to go live!
Ensure your Site URL and the relative path to Products and Categories is inserted correctly in the Storefront page.
Go to Storefront Settings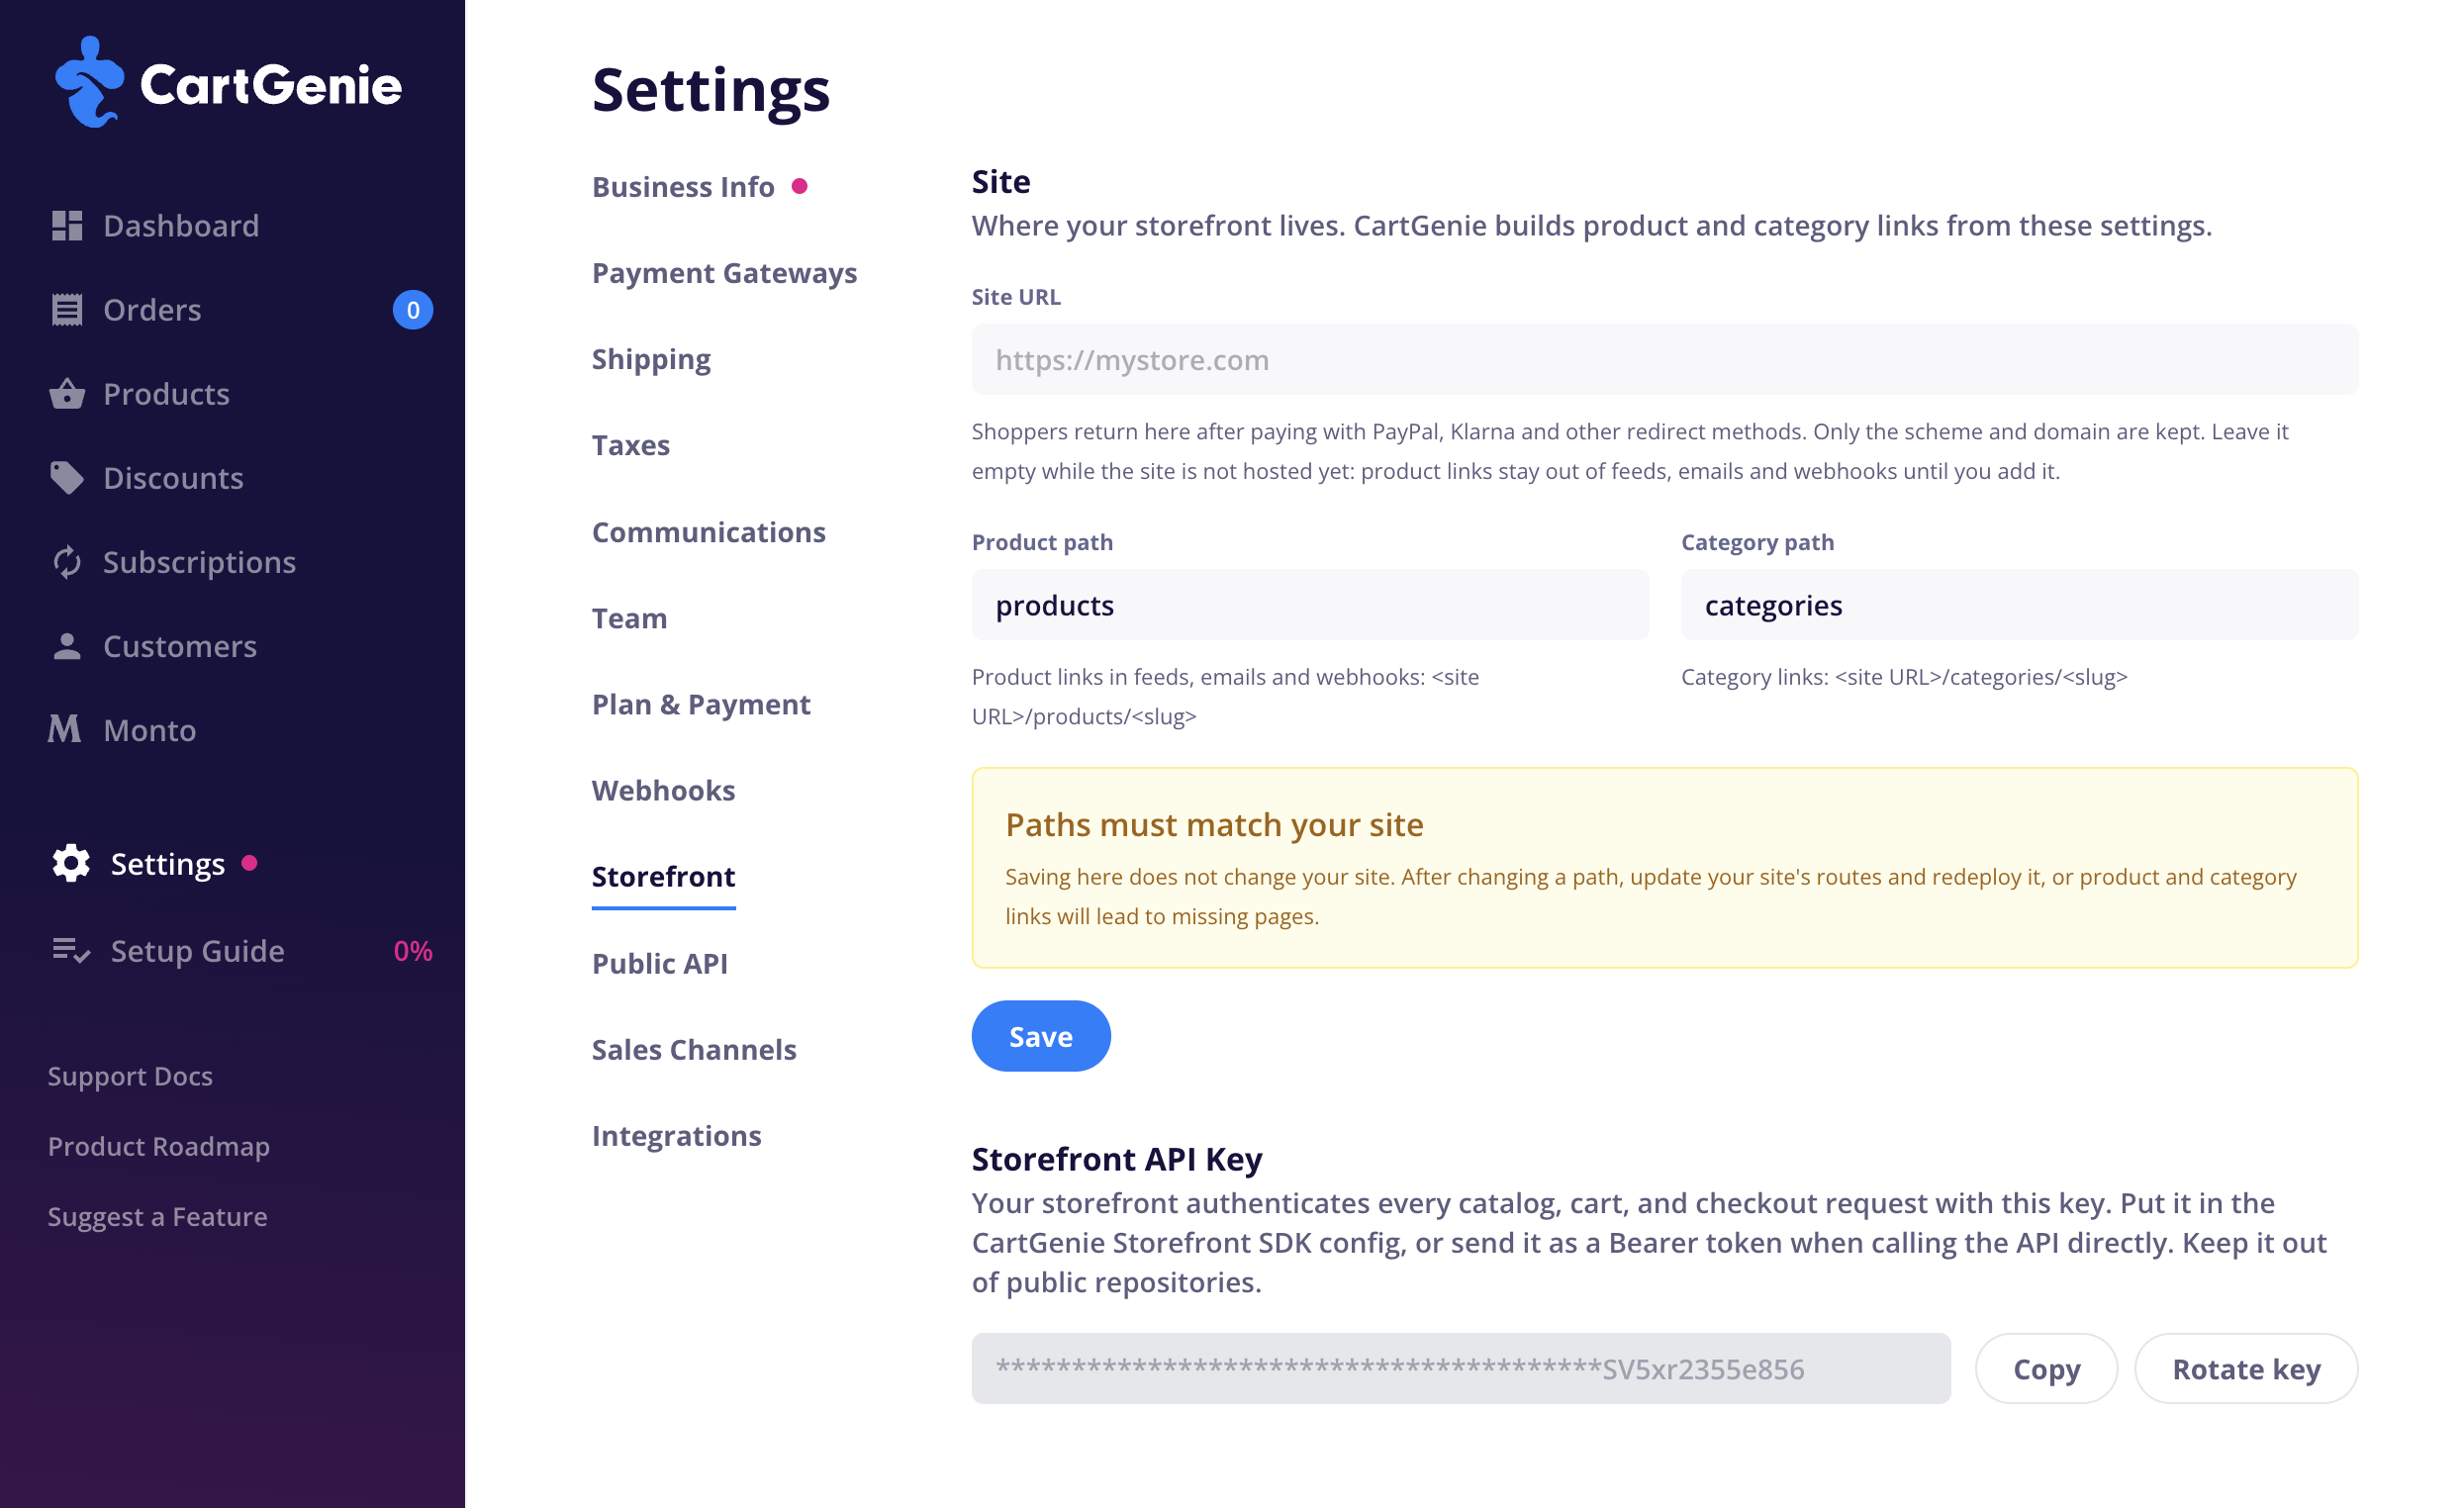
Before you can accept live payments, you will need to add a credit card to your CartGenie account.
You can do this in the Plan & Payment page.
Add a Credit CardOnce you’re done testing and want to start accepting real order payments, go to the Payment Gateways page and disable the Enable Test Orders toggle.
Go to Payment Gateways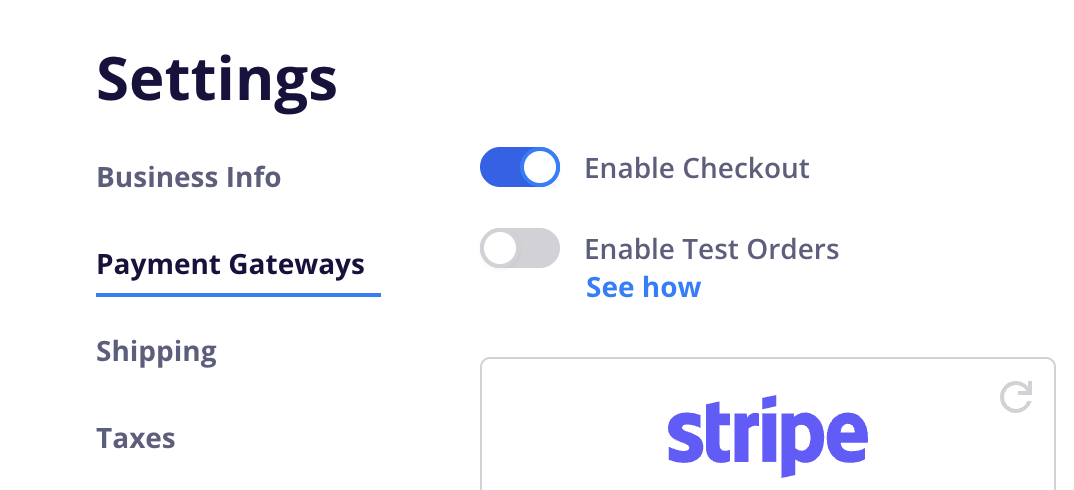
Done! Your site is live!
Congrats and thanks for being a CartGenie customer.
If you have any questions, please reach out to our team by clicking the Genie icon in the bottom right or by emailing us at [email protected]. Good luck on your store’s success!