Creating products in CartGenie is quick and easy. If you already have an existing store and would like to import products, follow this guide to do so.
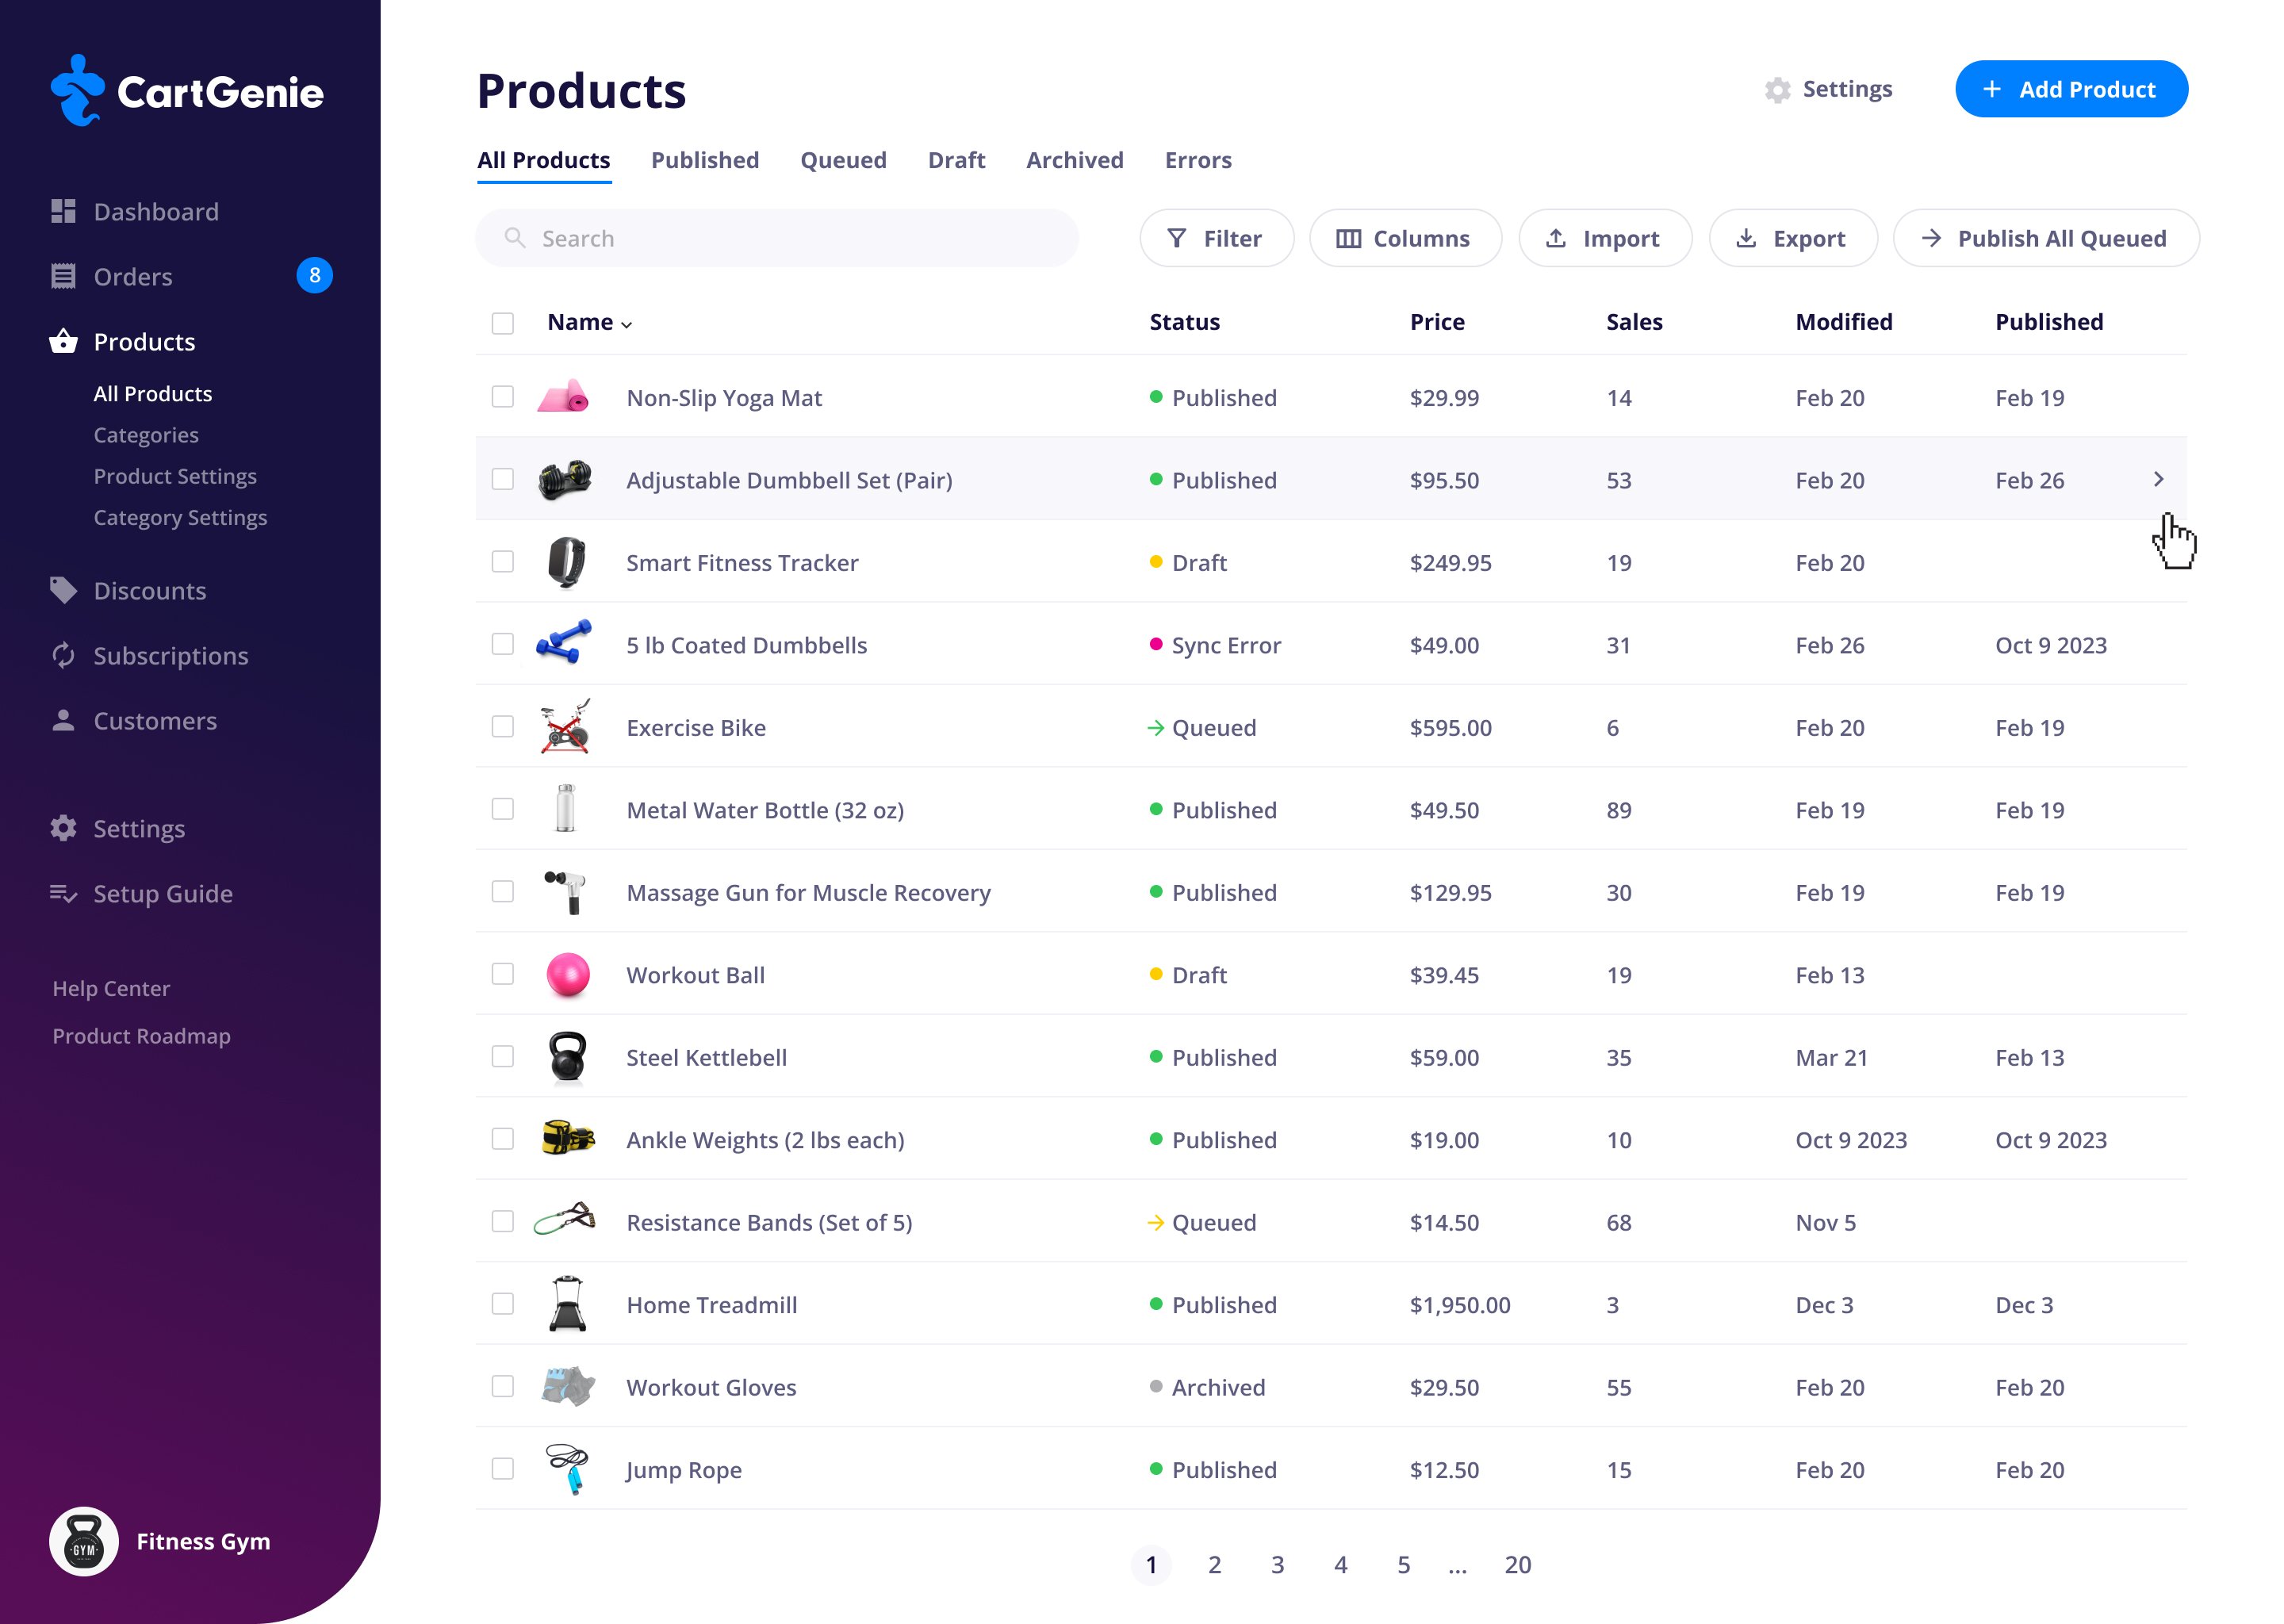
To create a product in CartGenie, first go to the Products page
Then click the “Add Product” button in the top right
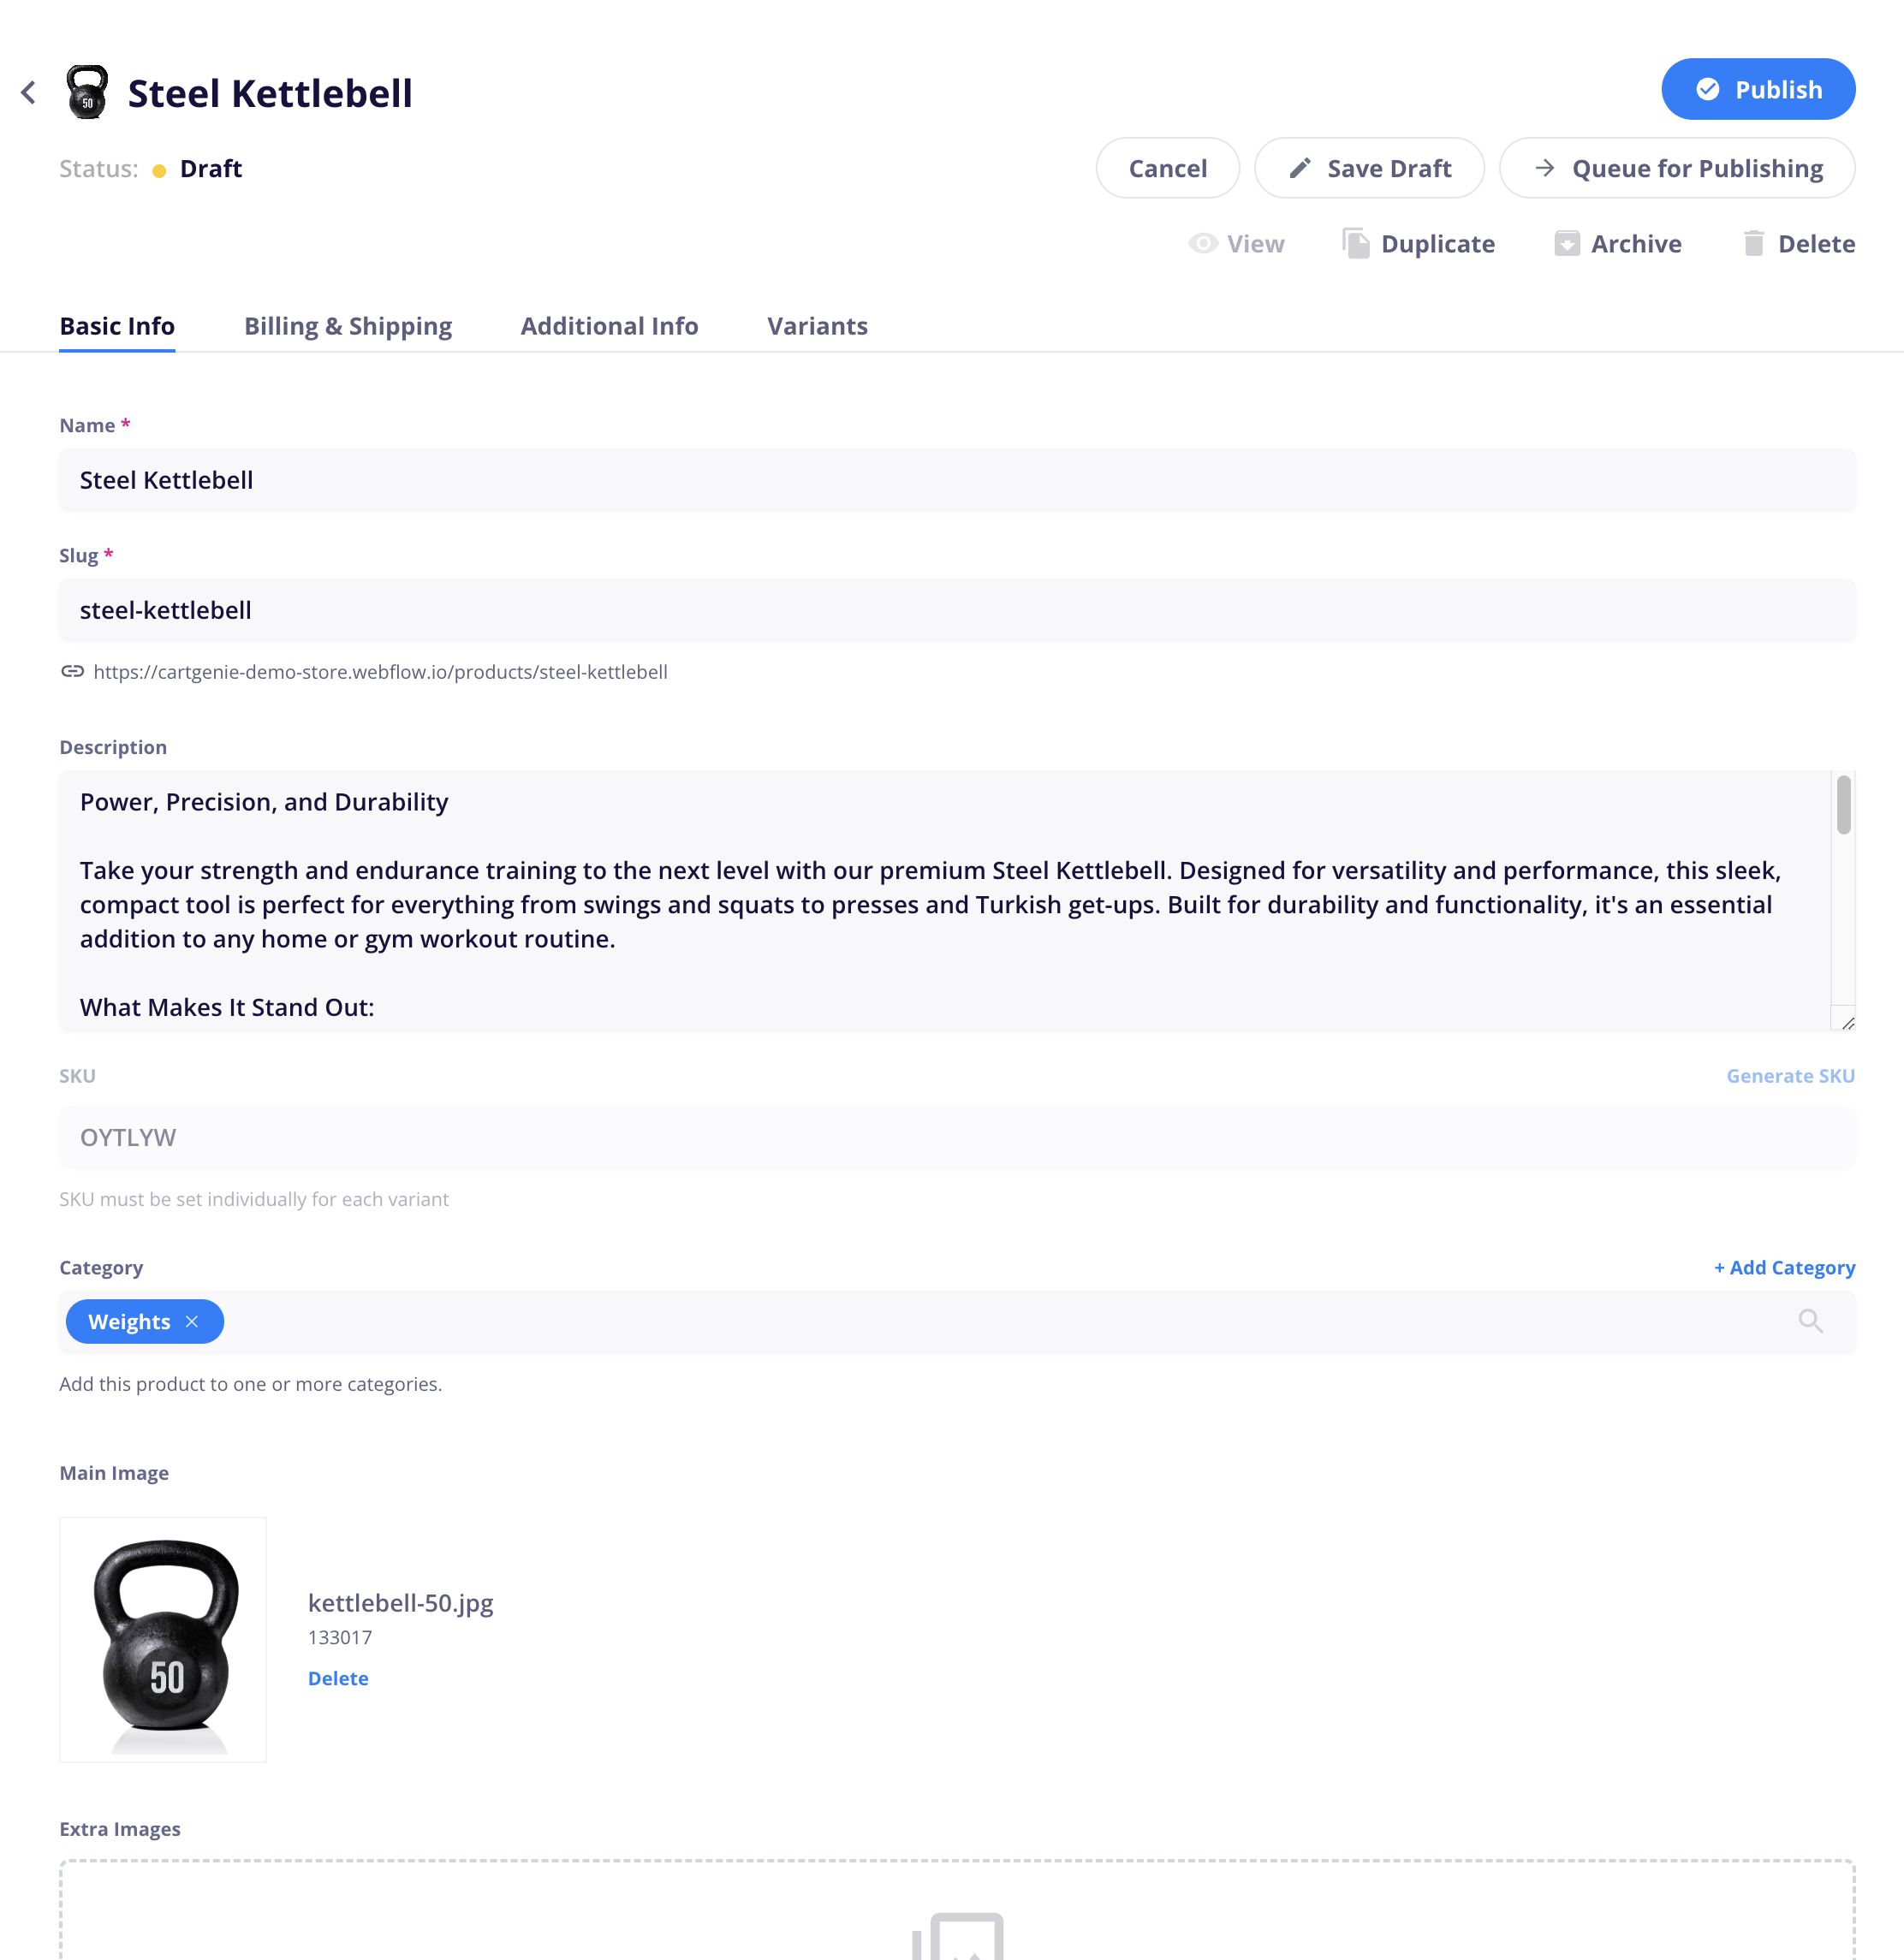
In the slide-out panel, you’ll see 4 tabs which contain various fields you can fill out with information about your product:
Basic Info: Add product name, description, category, and images
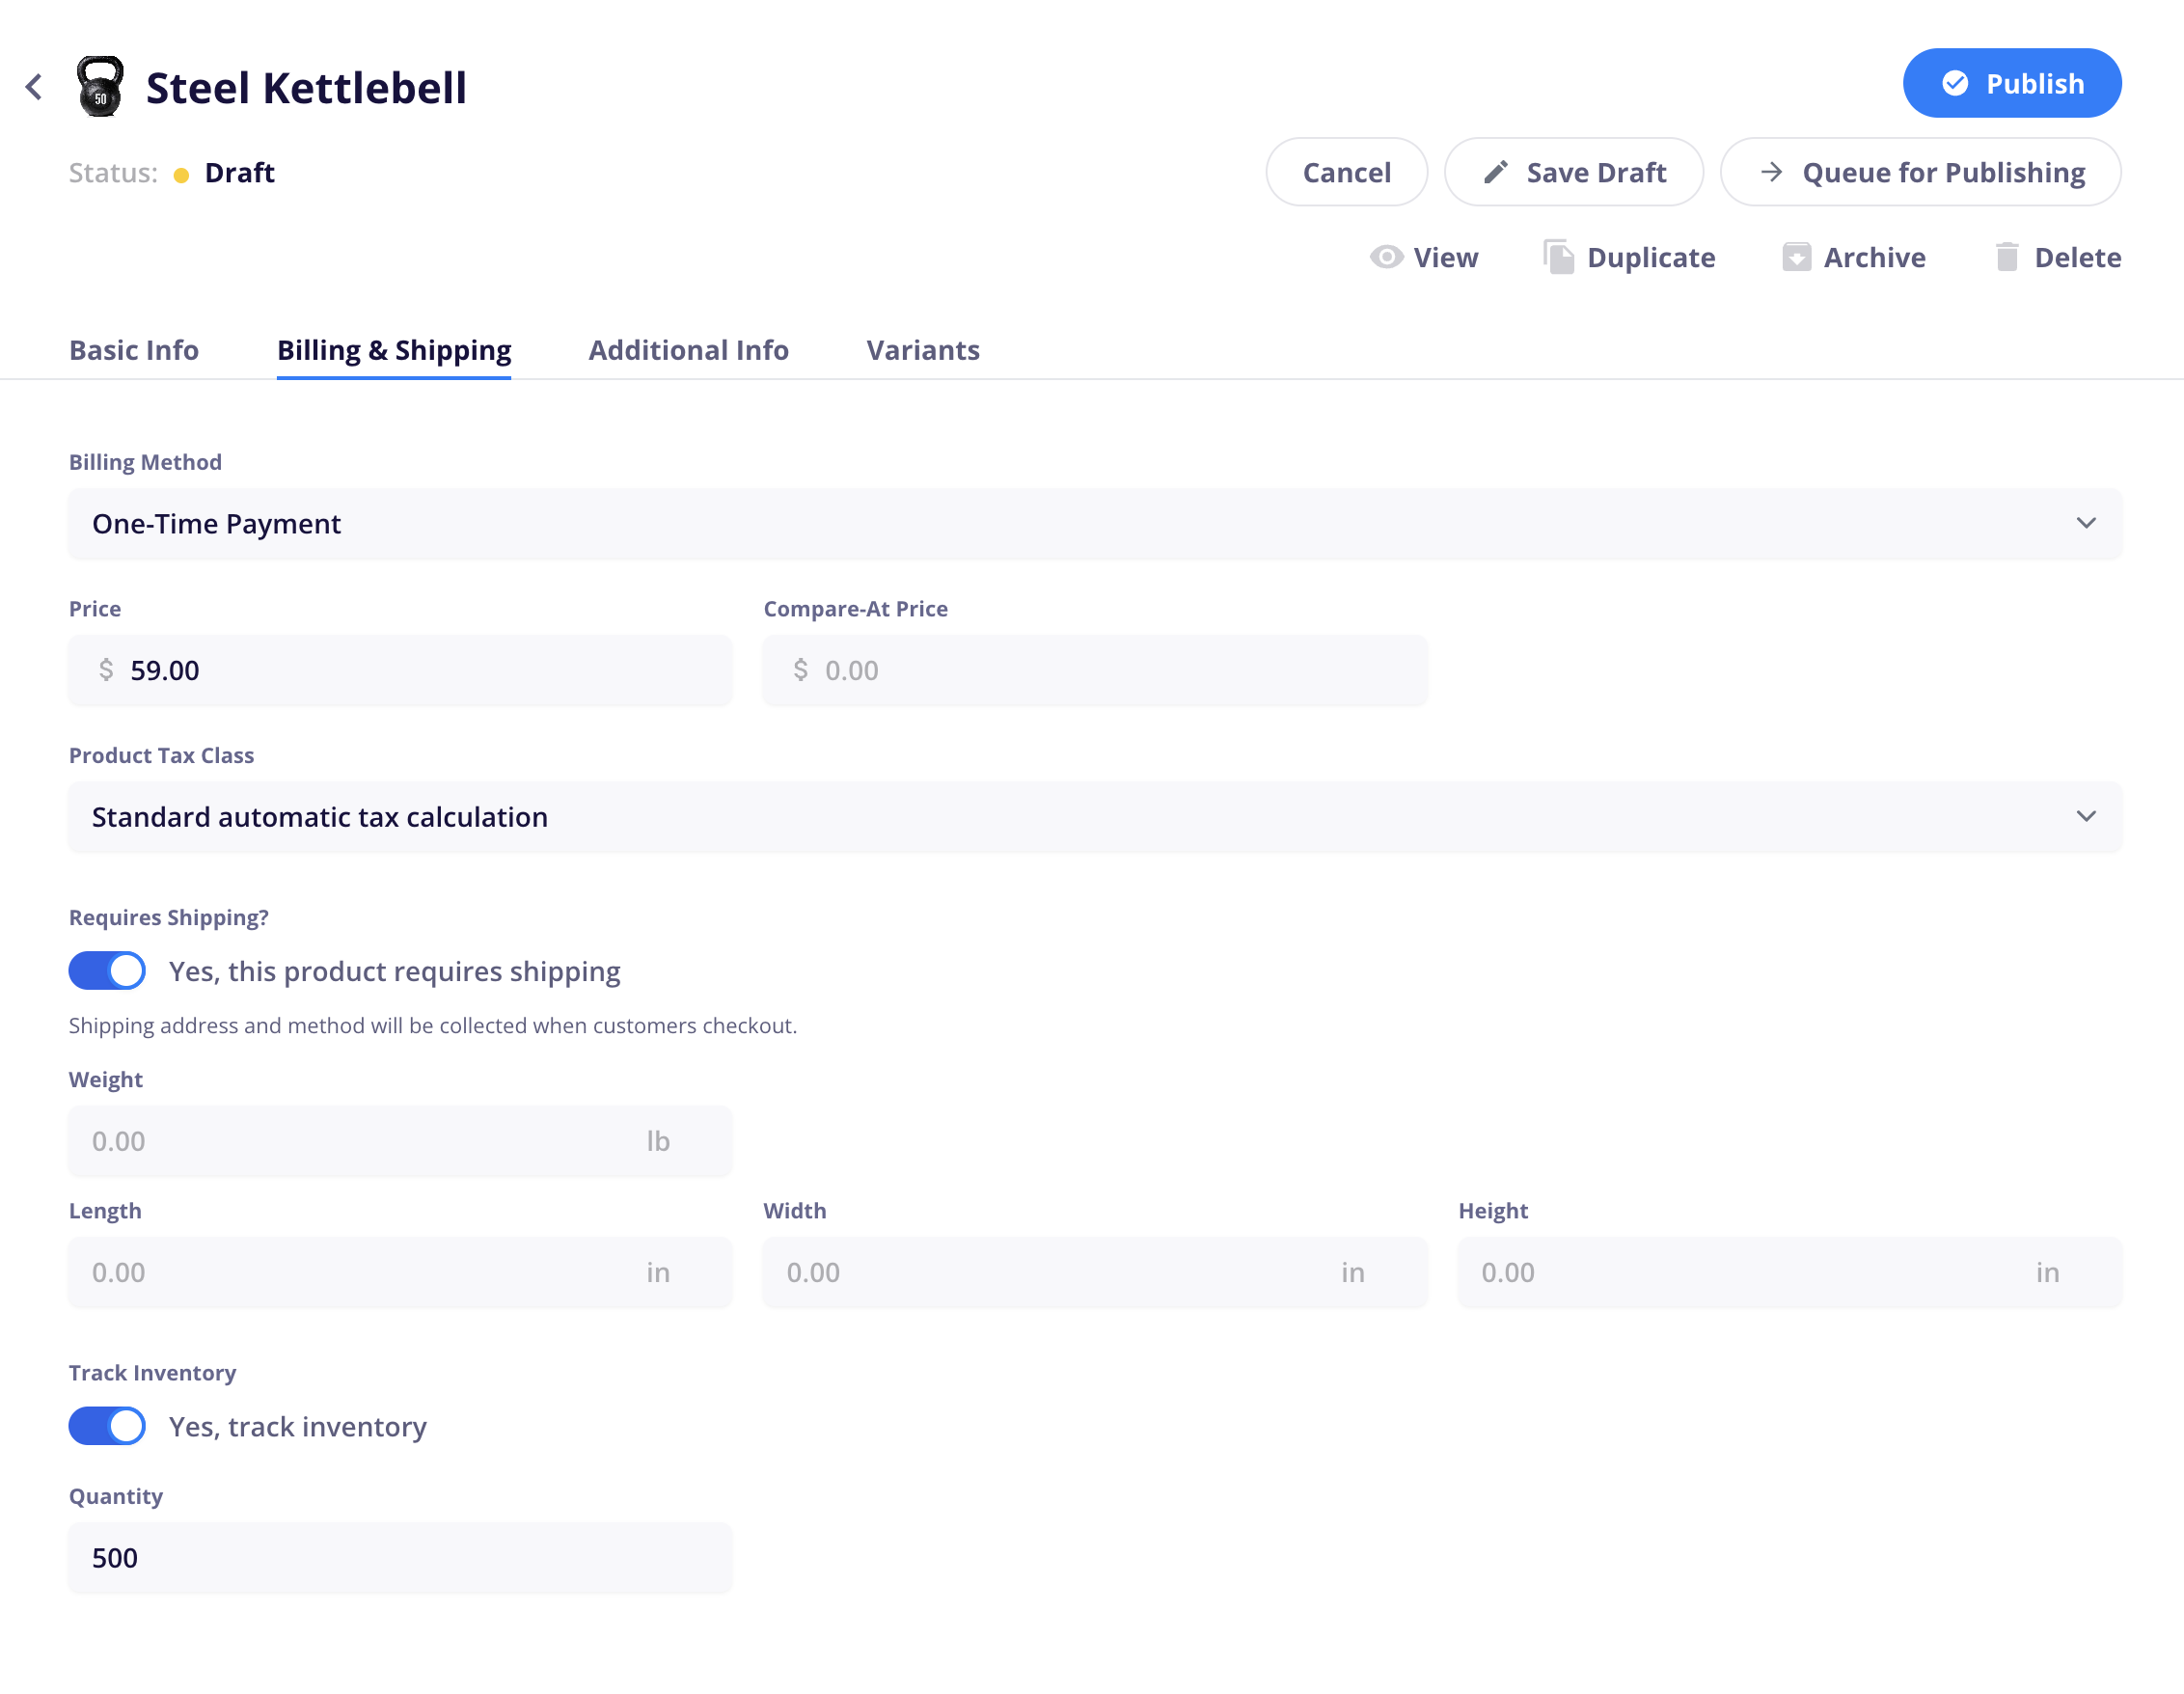
Billing & Shipping: Price, subscription frequency, shipping, file downloads
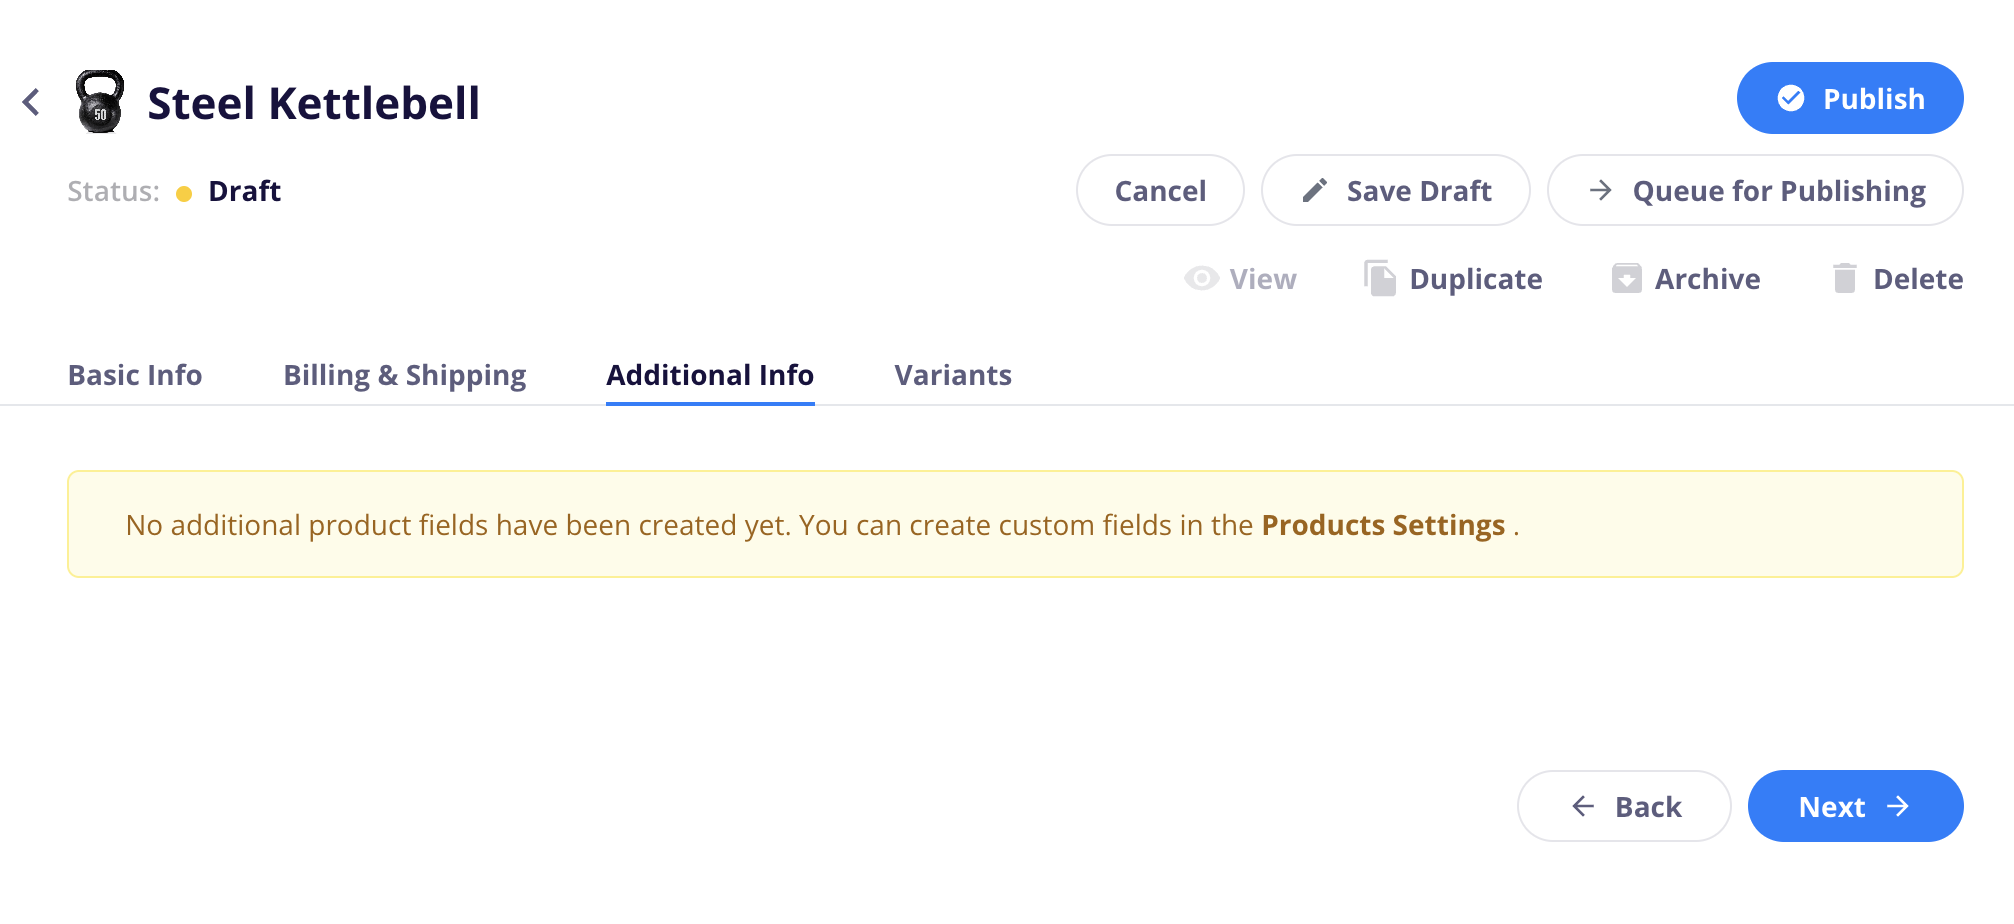
Additional Fields: Extra information fields you’ve created from product settings
Variants: Add option sets and values to create variants of a product
Note: You must save your new product as a draft (or publish it) before you can add variants
Name (required)
This is the public product name that will be displayed to your customers on your site
Slug (required)
The slug determines the URL of your product. It must be unique
Description
The product description that will be displayed on the product detail page of your site
This is a rich text field, so you can use our visual editor (or HTML) to format your description. See how here.
Meta Description
This is what Google will show beneath your product in search results.
SKU
If your product has a SKU you can enter it here or generate one that can be used for identification purposes
Category
The category (or categories) that your product belongs to. These can be used to display specific groups of products on your site.
Main Image
The primary product image that will be displayed on your site to represent the product
Images added here will be automatically applied to all variants unless a new image is uploaded for that variant.
Extra Images
You can add multiple images here to be used alongside the primary product image. (Variant specific images will be added in the “Variants” tab later)
Images added here will be automatically applied to all variants unless a new image is uploaded for that variant.
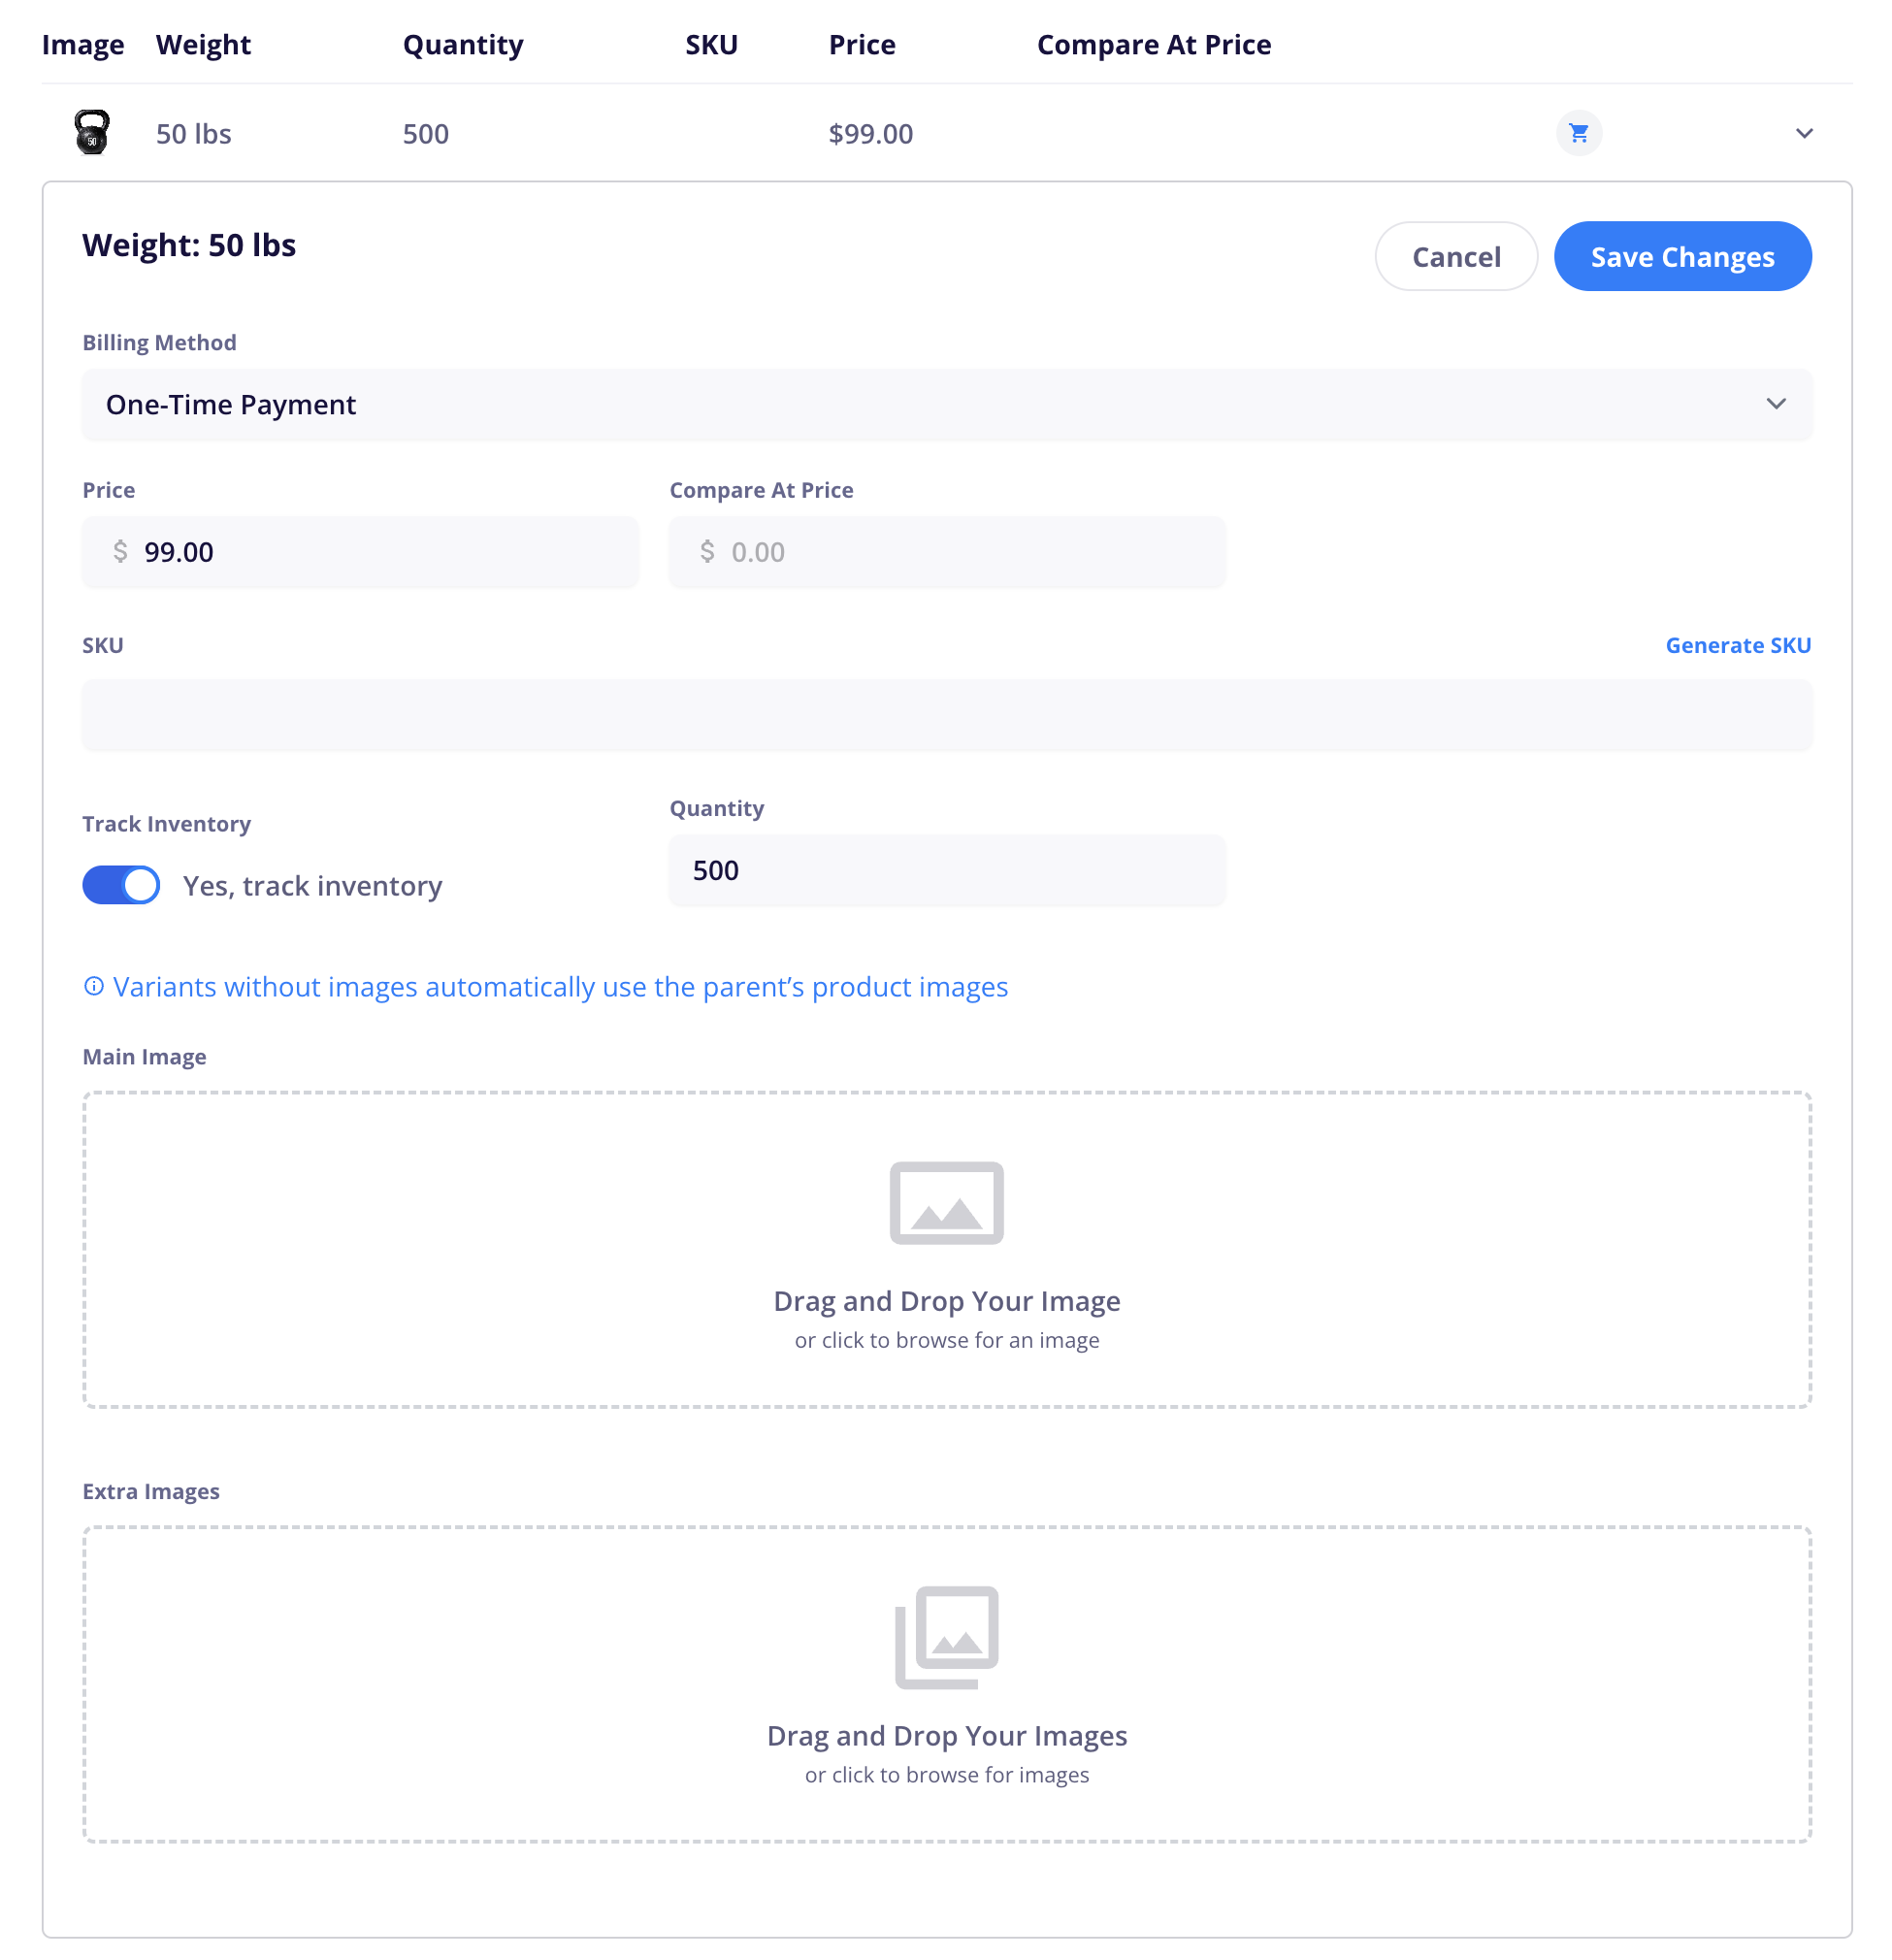
Billing Method
Choose whether you want the product to be a one-time purchase or an ongoing subscription. (Individual variants can have different billing methods which you can select in the “Variants” tab)
Price
The price of the product you are selling
Compare-At Price
The original or comparison price you want to display alongside the regular price on the product page. This will be crossed out by default.
Product Tax Class
Choose whether to use your default class chosen in the store Settings > Taxes tab or a specific tax class for this specific product
“Use default tax rate”: This will use the default rate of the taxable jurisdiction in which your customer resides.
Requires Shipping
If this is a physical product which requires shipping, enable this option to add length, height, width, and weight (optional). If enabled, you must set up shipping classes in the store Settings > Shipping tab before you can purchase this product to your store.
Digital Download
Add a file URL that you want to be sent to the customer once they purchase this product. This can be set on the parent product and/or variant level.
Track Inventory
Choose whether to have CartGenie track inventory from your store and stop sales if there is no more supply left
This setting (and the quantity of inventory entered here) will be replicated across all variants of this product, but can be edited on a per-variant basis.
This tab will display any custom fields you’ve added in the Product Settings page. These custom fields will be synced to your product items in Webflow as well.
You can use this to display standard information in your Webflow products page templates that needs to be individualized for each product. (examples: Ingredients, Materials, Washing Instructions, Disclaimers, etc.)
Read our full Product Settings guide
Variants let you offer various versions of a single product (like different sizes and colors for clothing) in a single listing. Each combination of options creates a unique variation, which is displayed in the table on this tab. Each variation can have its own price, SKU, inventory, and image, etc.
To create a set of variants, you must first save your product as a draft so we can pull in the default information from the previous tabs. Then, click the blue button to “Add Option Set.”

Option (set) Name (required)
Option Sets contain a group of Option Values. An option set for a product might be something like “Color.”
Each option set will be displayed on the product page as a separate dropdown with this name as the title.
You can drag and drop each option set to change the order they appear on your product page.
Option Values (required)
The set of values that correspond to the current option set. If the option set is “Color”, the values might be “Red,” “Yellow,” and “Green.”
These will be the options within the dropdown that someone can select on the product page.
You can drag and drop them to change the order they appear on your product page. You can also edit the values after they’re created.
Smart Variant Image Uploader
Easily upload and apply images for one option set to all variants with that value.
Example: Upload separate blue, green, and red images for “Color” option set and it will be applied to all variants with those colors (such as Blue / Small, Blue / Medium, etc.)
How to use the Smart Variant Image Uploader to bulk upload images to your product variants
CartGenie makes it fast and easy to add unique images to each product variant
Variant Selector Style
You can now also choose a “Variant Selector Style” if you want to use button or swatch style selectors on your product page.
Changing product options from a dropdown to a button / swatch style selector
Display your product styles in a beautiful swatch style selector layout
Once you’ve added all the necessary Option Sets and corresponding values, you’ll see a table of products at the bottom of the page.
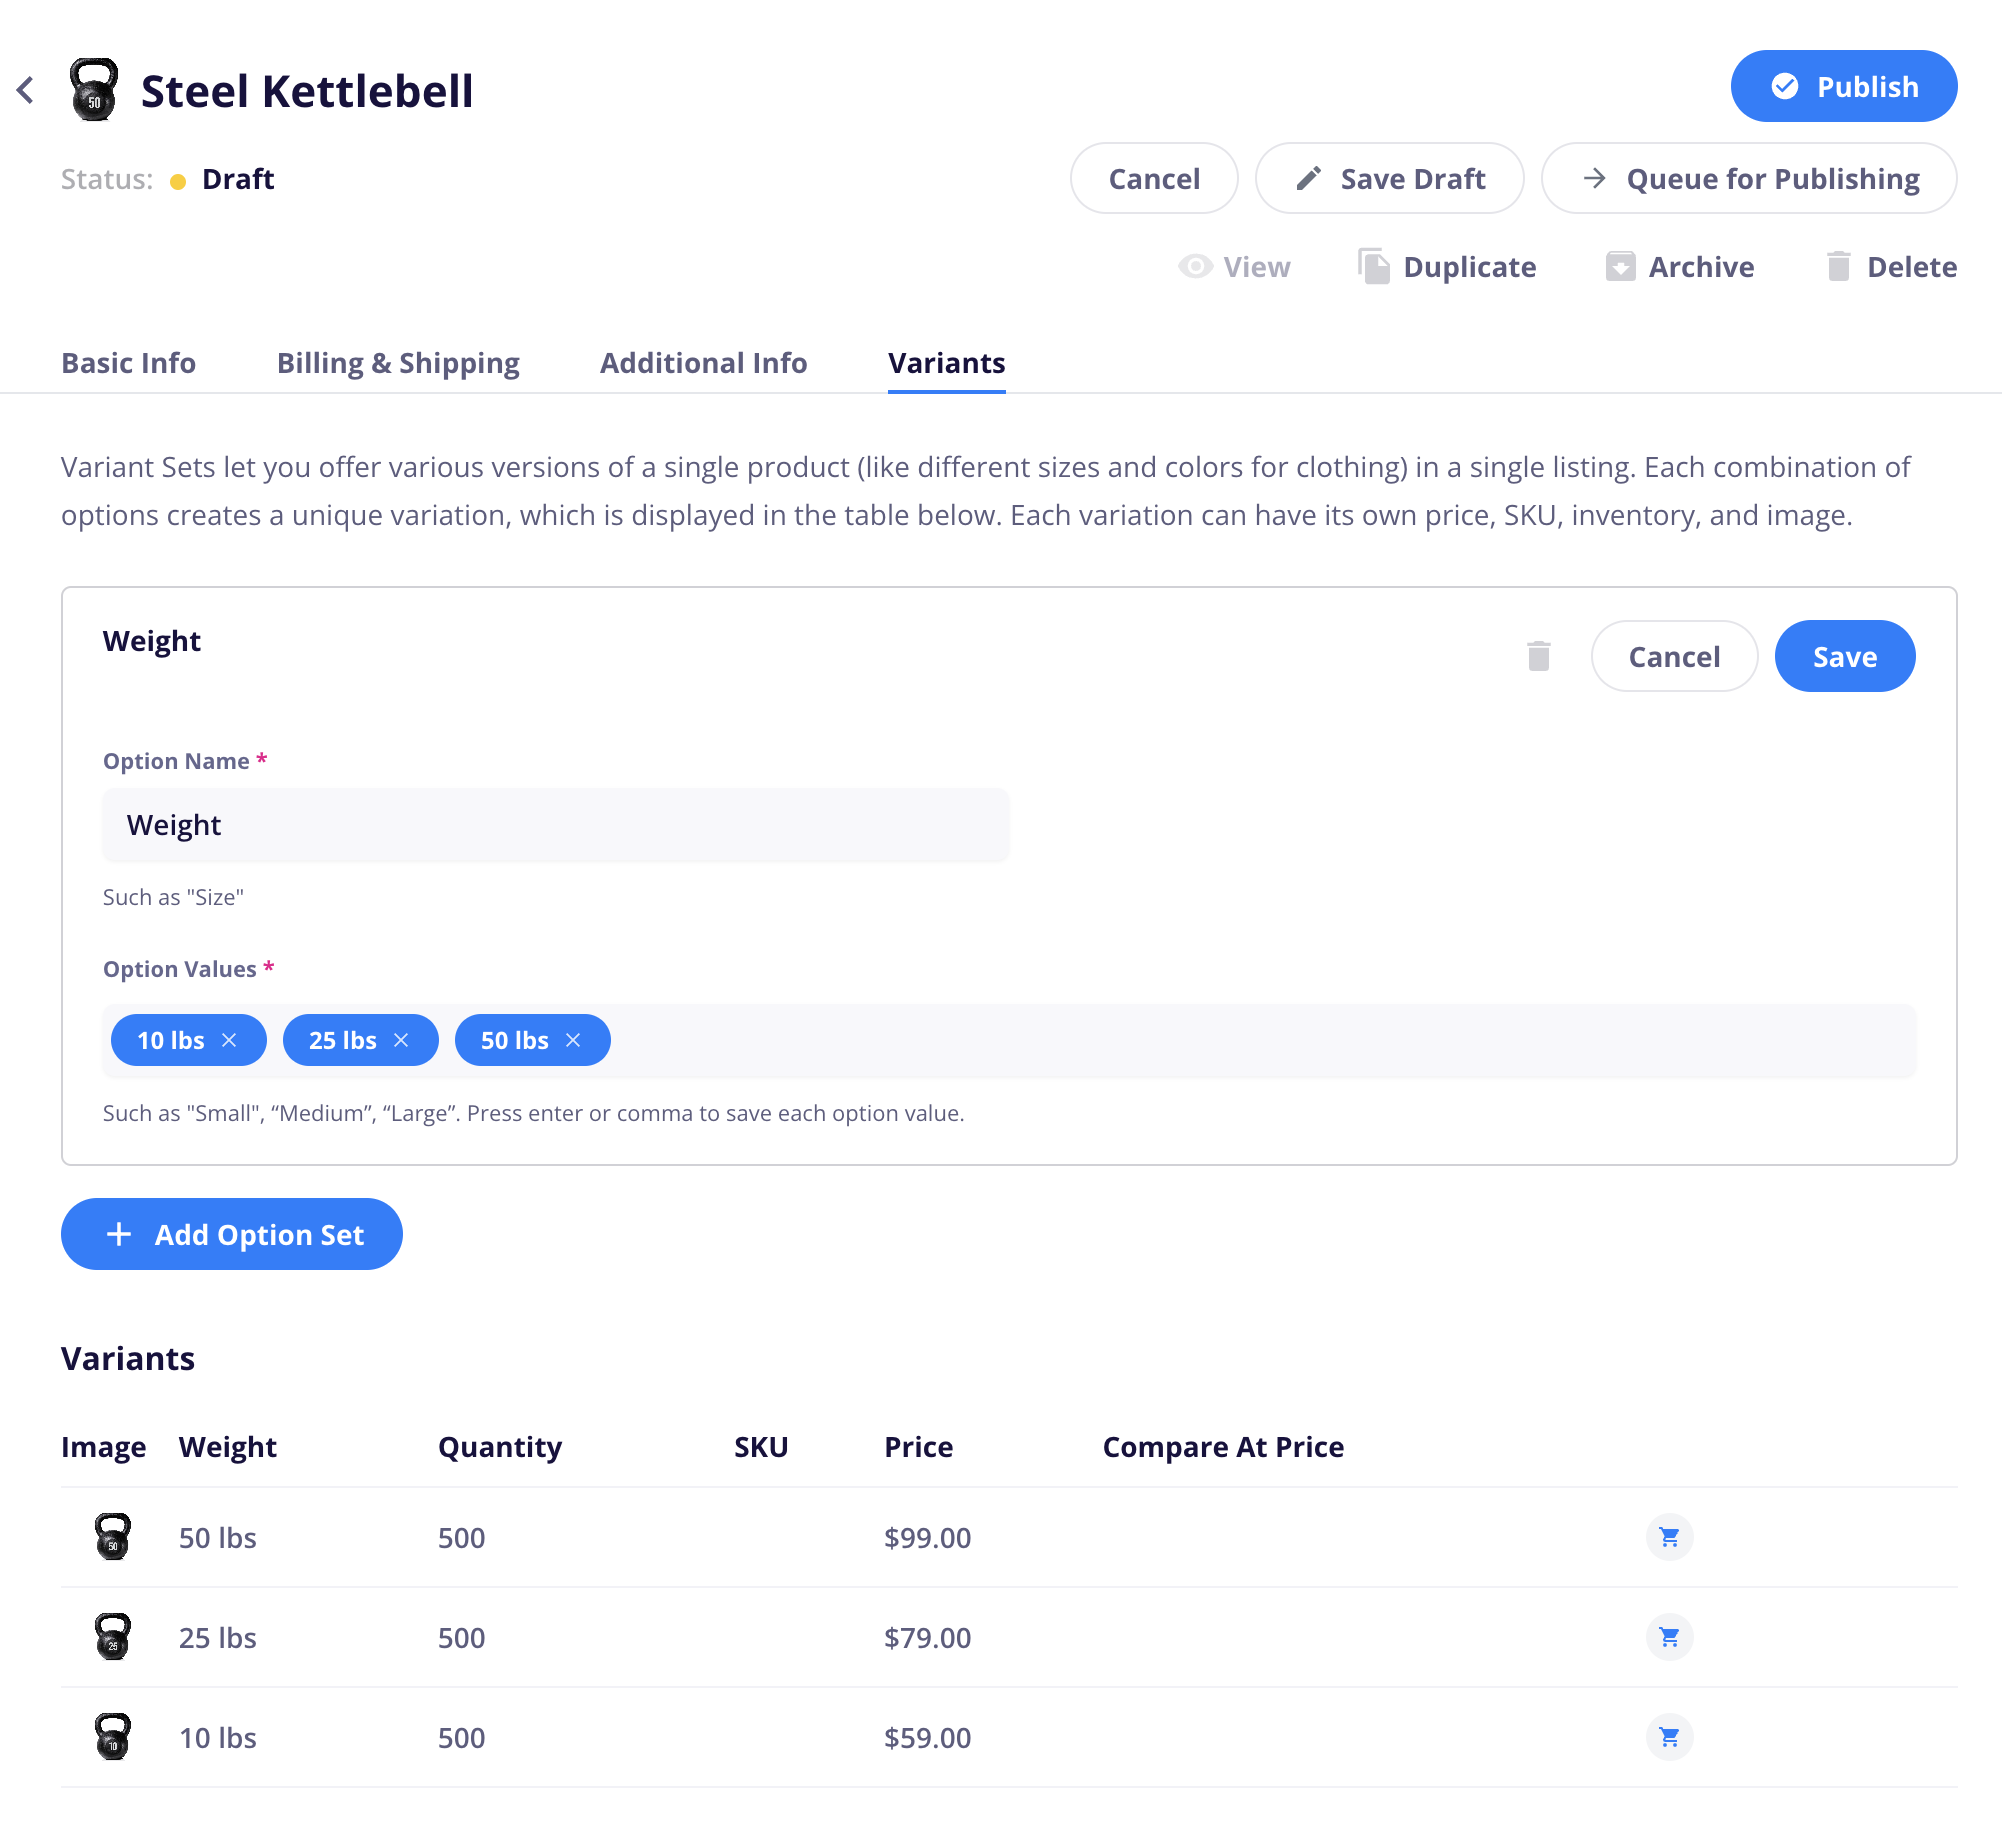
Clicking into a variant will allow you to edit that variant’s image, price, SKU, billing method, etc.

Once your product is done, you can now save it as a draft or publish it on your site!
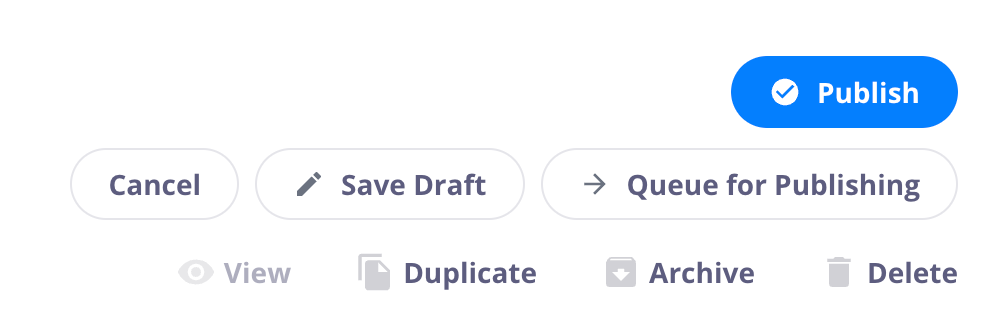
Publish
This will publish the current product to your CMS collection and make it live on your site.
You cannot publish items if your store is not fully set up or if a product is shippable, but no shipping zones have been created
Cancel
This will close the edit panel of the current product you’re editing and not save any changes you’ve made to it
Save Draft
This button will save the current product as a draft in your CMS collection and in CartGenie. It will not be visible to customers.
Queue for Publishing
This will set the current product to be “queued” in your CMS collection so that the next time you publish your site it will be live.
View
View the current product live on your site
Duplicate
Duplicate the current product so you can create one similar to it
Archive
Removes the product from the live site, but retains all metrics and information in CartGenie
Delete
Removes the product from the live site and from CartGenie, deleting it forever.
