Welcome to CartGenie! 🧞♂
This guide will walk you through migrating your existing Webflow Ecommerce site, orders, and products to CartGenie. CartGenie makes it easy to migrate these items to either a new CMS site (recommended) or in parallel within the same existing Ecommerce site.
Note: If you’ve already created your CartGenie store and want to migrate Ecommerce products, you can still import them manually using a CSV (contact us and we may be able to migrate your orders over for you as well).
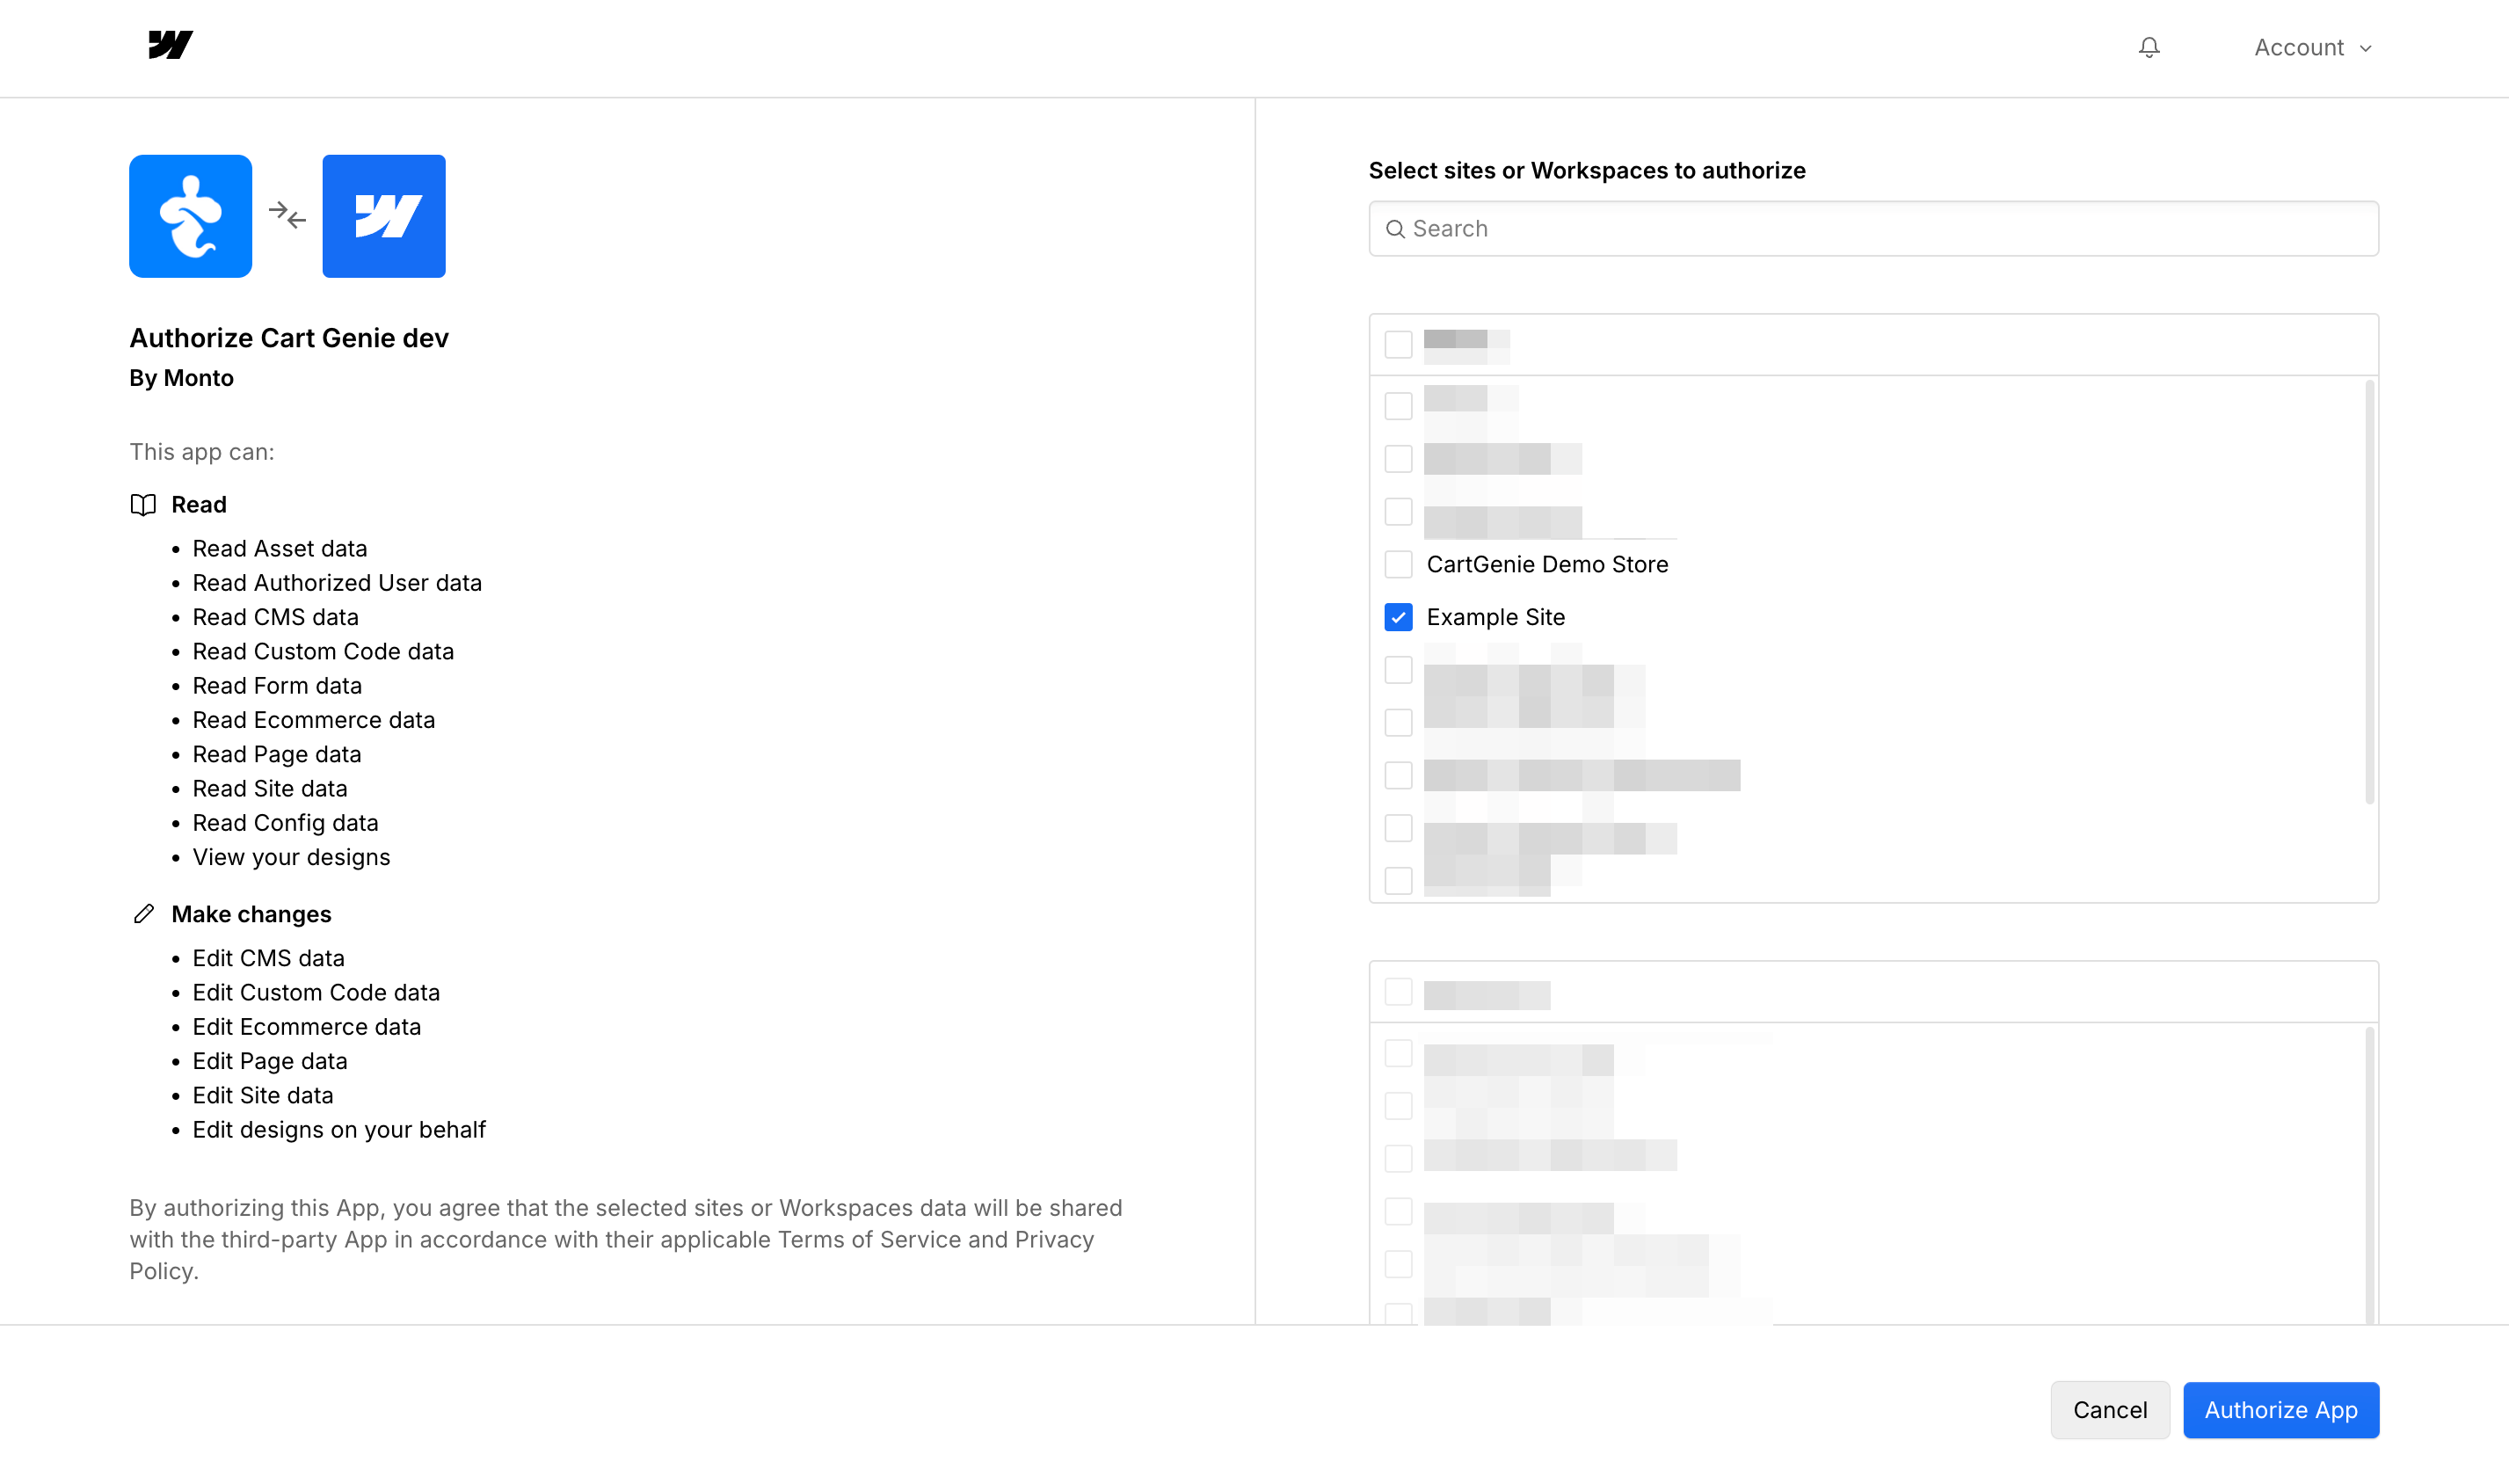
Create a new account to get started by going to the link below. If you have an existing account, you can simply click “Add Store” in the store selector popup in the bottom left menu of CartGenie.
Create a CartGenie AccountDuring the new account creation screen, connect to the Website site you want to use for your live CartGenie store.
This may either be a CMS site (recommended) or a current Webflow Ecommerce store.

In the Migration Settings step, “enable” the toggle to import your existing orders, products, and categories. This feature allows you to migrate settings from an entirely separate Webflow Ecommerce site to your new CartGenie CMS site (or within the same Webflow Ecommerce site).
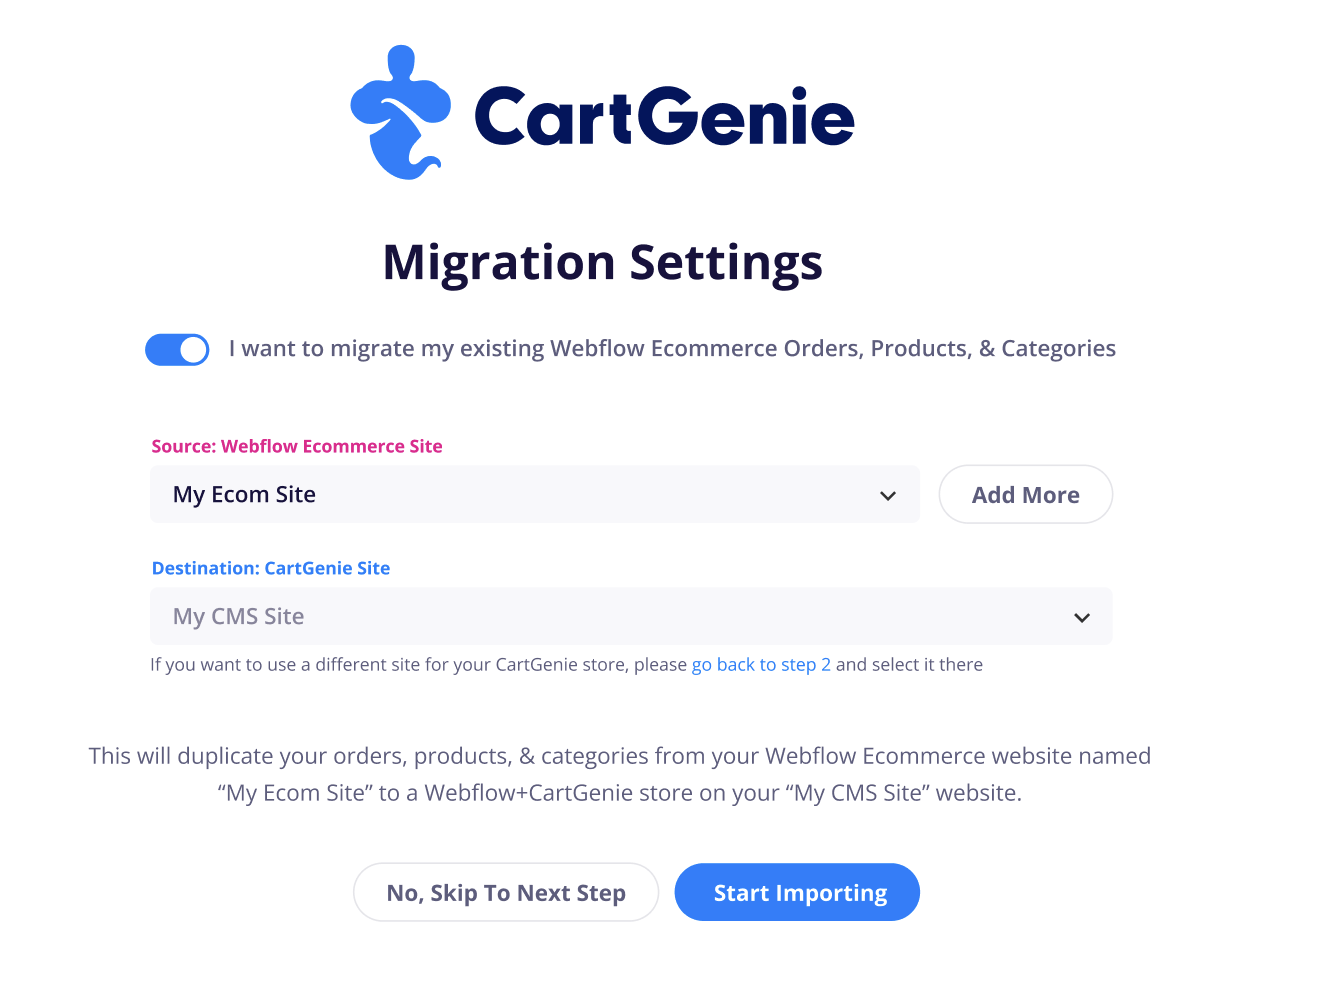
The “Source: Webflow Ecommerce Site” dropdown is used to select the store you want to import to CartGenie. If the site you previously connected in step 1 is a WF Ecommerce site, you can use it here as the import source as well.
If you don’t see your store listed, click the “Add More” option to connect to another Webflow site.
Then click “Start Importing”
Once you’ve created your account, CartGenie will automatically start migrating your site’s orders, products, and categories!
You’ll see a progress bar at the top of the screen we work to transfer your items.
Once the process is complete, you can now confirm that everything was imported correctly by looking at your CartGenie Dashboard to see recent sale stats, orders, products, & categories.
(The “Sessions” metric will start collecting data from today onwards)

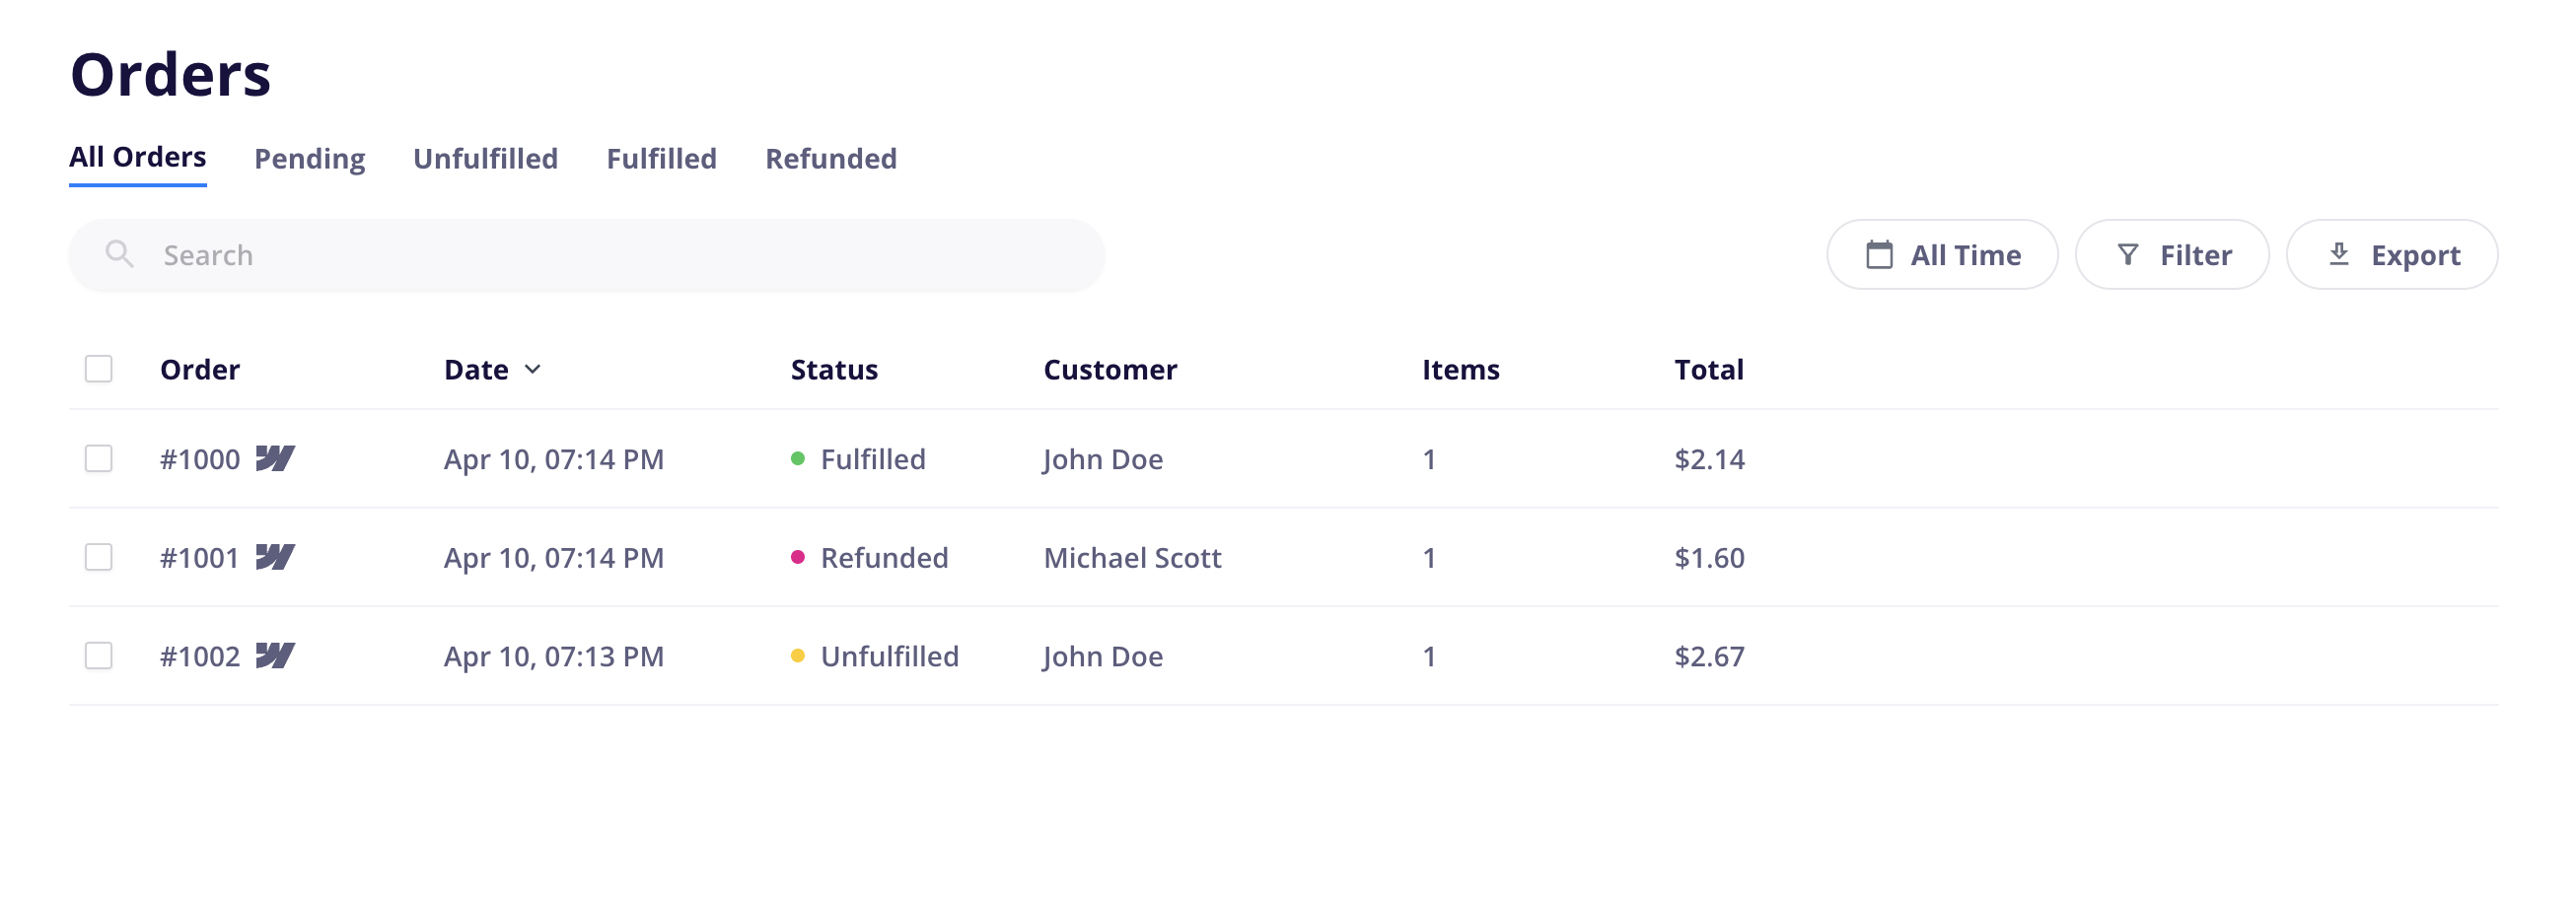
In the Orders page, you should see all of your Webflow Ecommerce orders with a “W” icon indicating that they were from Webflow. Normal orders from CartGenie will not have this icon.
However, before you can publish your products and see them on your store, there are a few setup steps you need to do first.
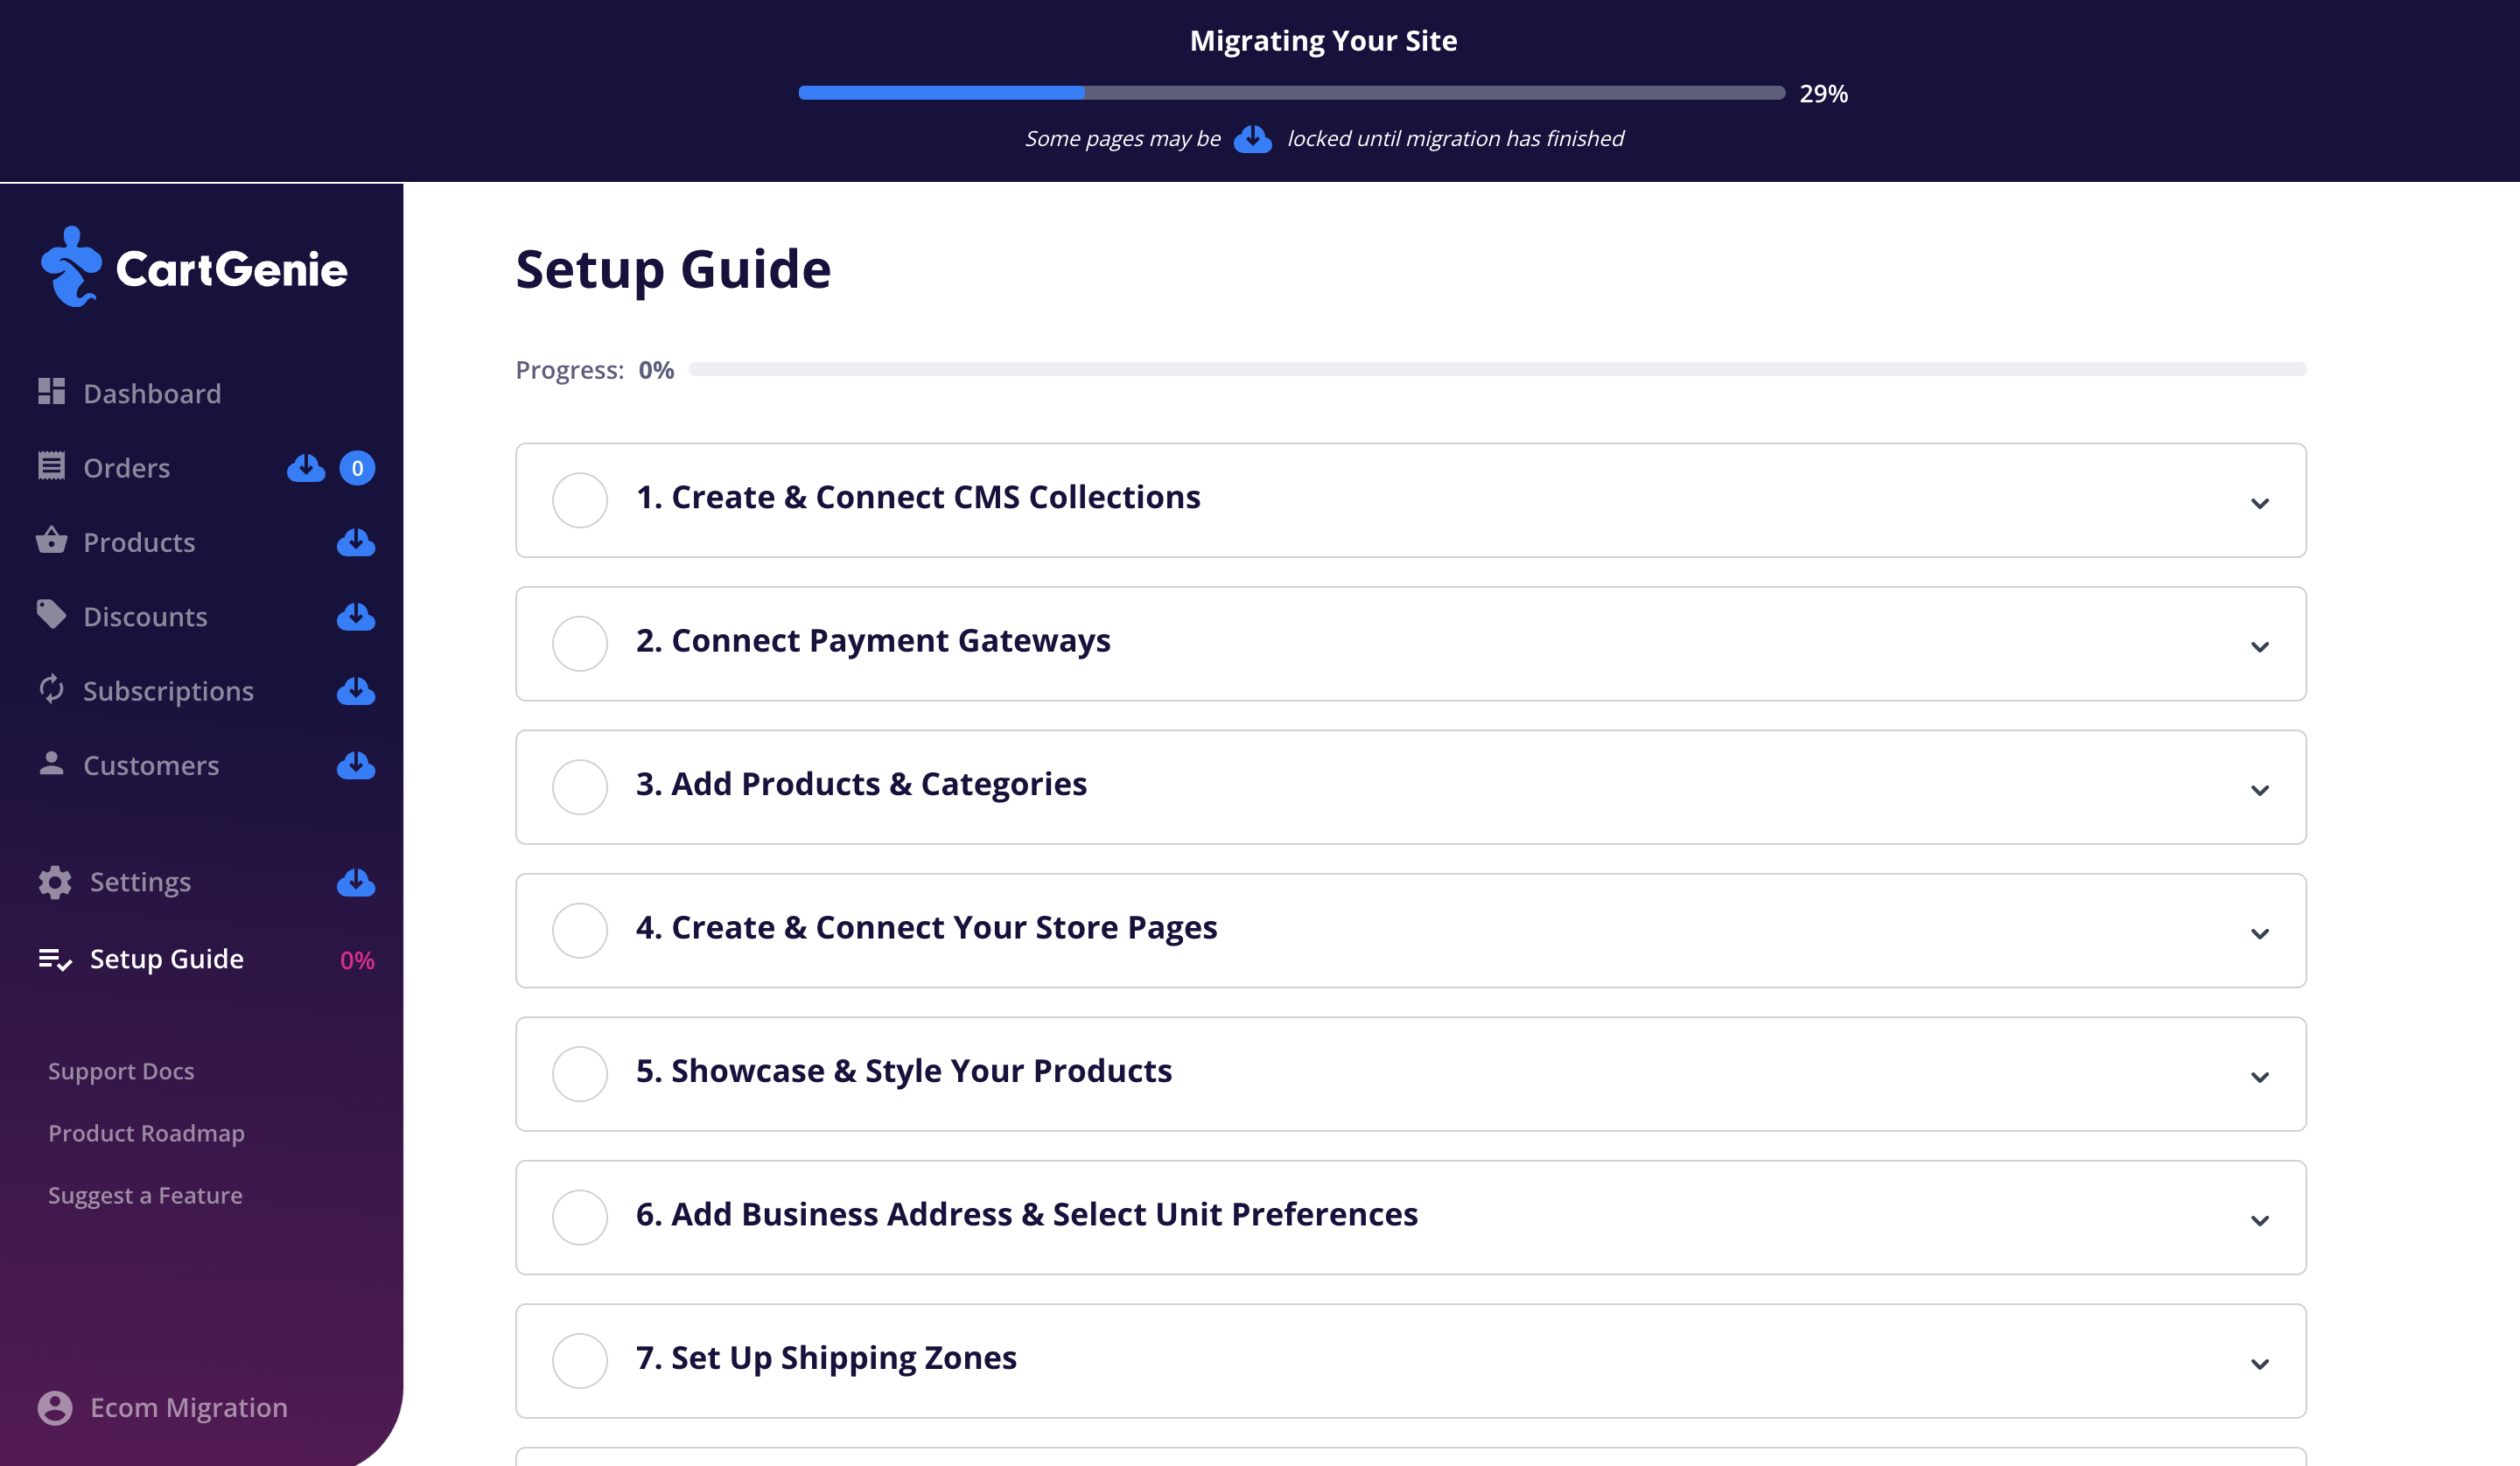
Once your items are migrated, you can start setting up your CartGenie store!
You’ll want to complete each section of the Setup Guide to ensure all necessary steps are done before you test your new store. Each step has a guide link inside of it which gives a step by step explanation.
There are a few important differences to note below when migrating an Ecommerce site:
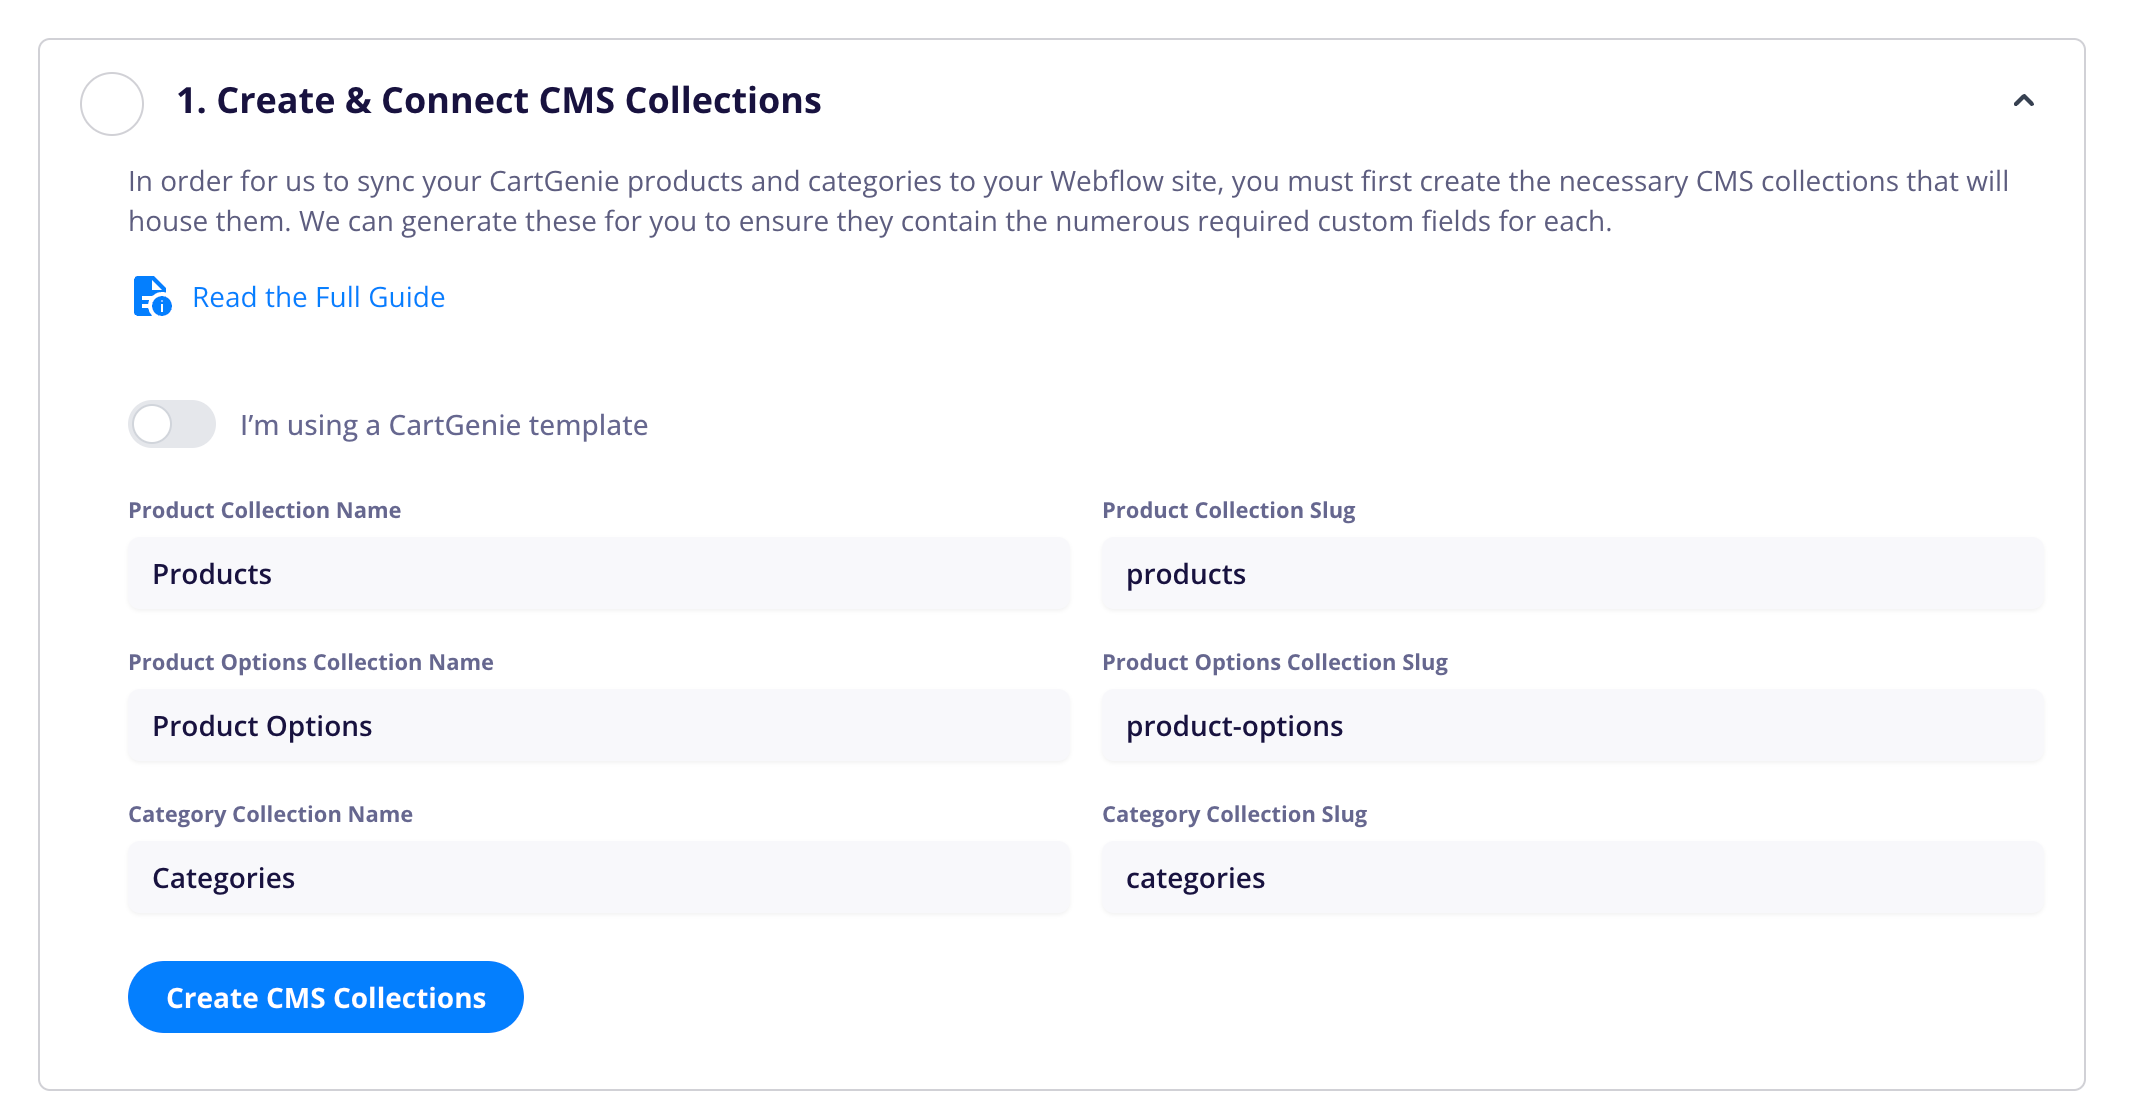
CartGenie needs to create new CMS collections on your site in order to house your store’s products and variants. Using our built-in CMS collection creator will ensure that all of the necessary custom fields are added automatically.
However, reference and multi-reference custom fields are not able to be migrated as they may be referencing outside collections such as blogs, etc.
Webflow CMS Sites
Use the default values or edit as desired for the collection names and slugs.
These are the same slugs as Webflow Ecommerce so if you’re transferring a site to CartGenie, the product URLs will stay the same.
Webflow Ecommerce Sites
By default, we name these “Products”, “Categories”, and “Product Options”. Unfortunately, if you’re using a Webflow Ecommerce site as your CartGenie store, your site will already have collections named “Products” and “Categories”, so you will need to create a different name and slug for these collections.
Here is one suggestion, but feel free to change it to something you prefer:

Connecting payment gateways to CartGenie
How to connect a payment gateway to CartGenie for payment processing
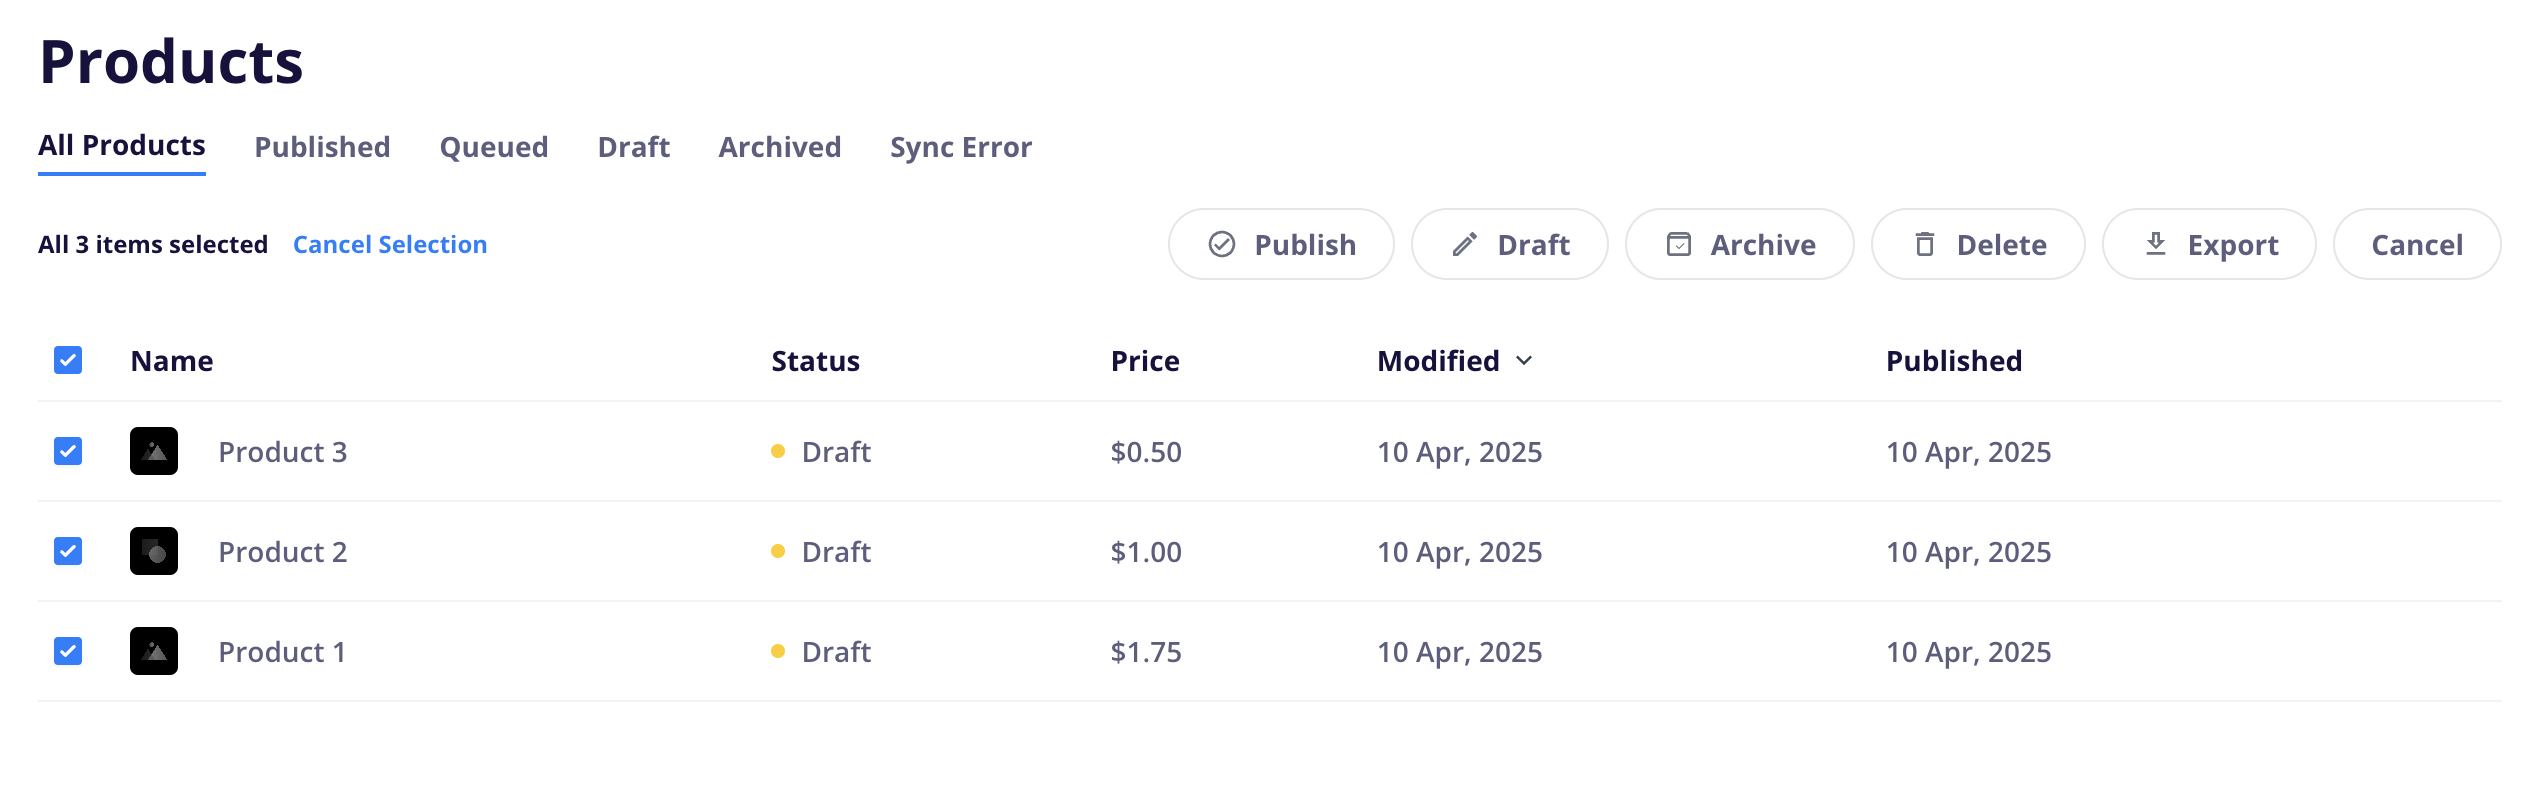
Since CartGenie has already imported your products & categories into your dashboard, you can go to the products tab and ensure everything looks correct.
By default, all products imported will be set to “Imported”. This is a placeholder status and means they are not yet added to Webflow’s CMS.
To add your products to your newly created CMS collections, you can select all using the checkboxes and “Save as Draft” or “Publish” them to Webflow.
📖 See the product creation guide
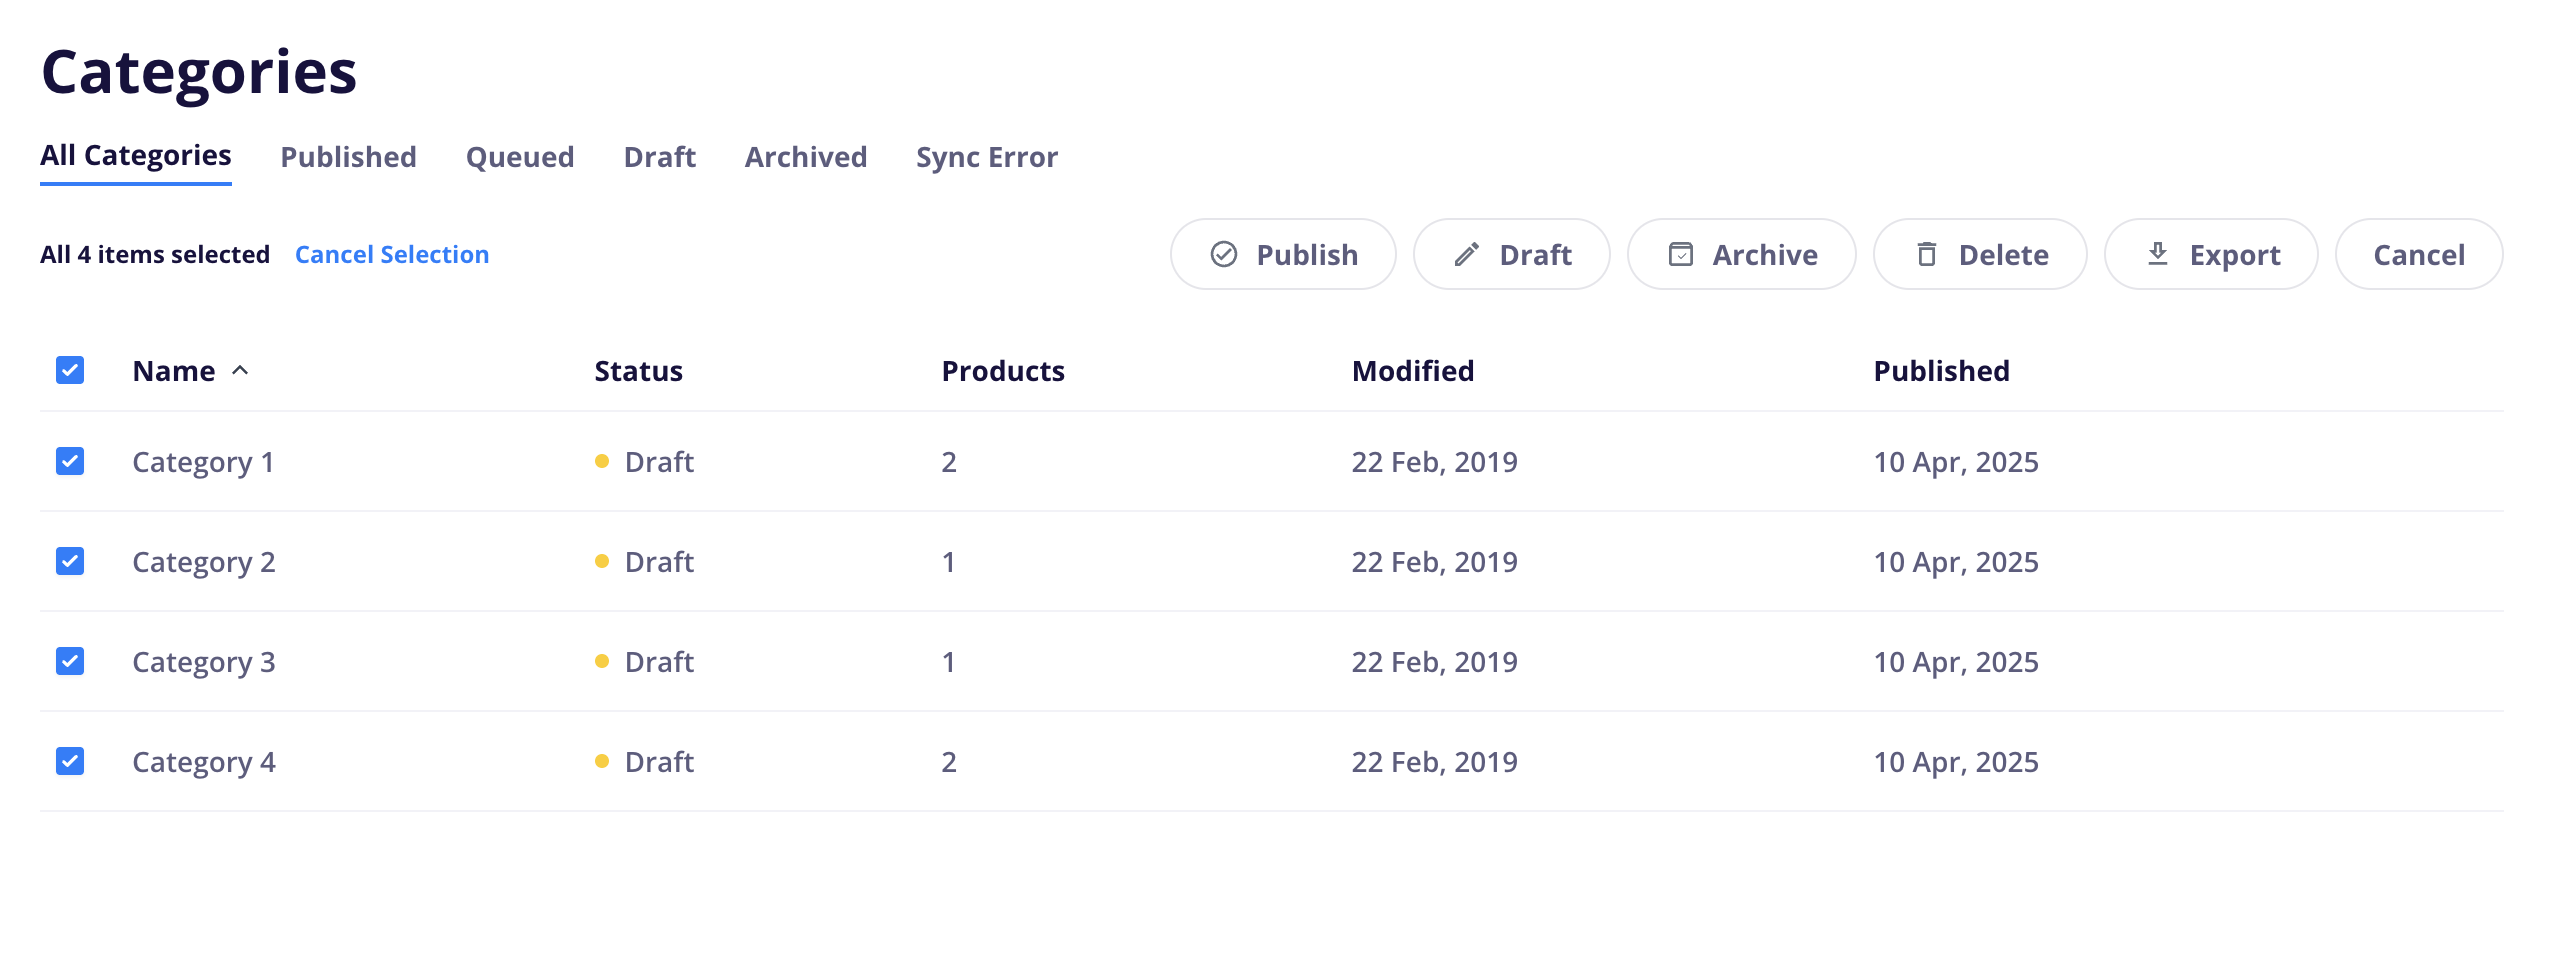
Similarly, all your categories should now be visible in the Categories page in CartGenie. They will be set to “Imported” by default. You can select all using the checkboxes and publish them here.
CMS Sites
Follow the rest of the steps in the guide here to set up your store pages.
Creating your store pages in Webflow
How to create your product, checkout, and confirmation store pages in Webflow and connect them to CartGenie
Ecommerce Sites
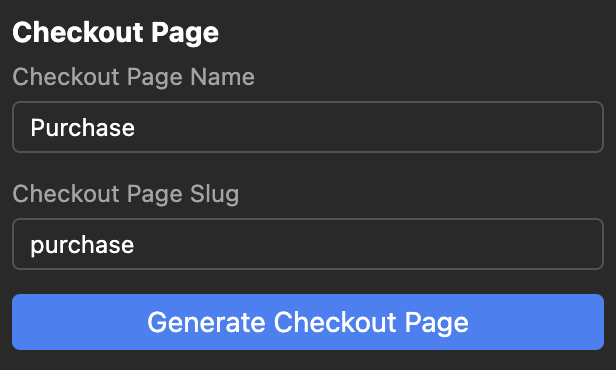
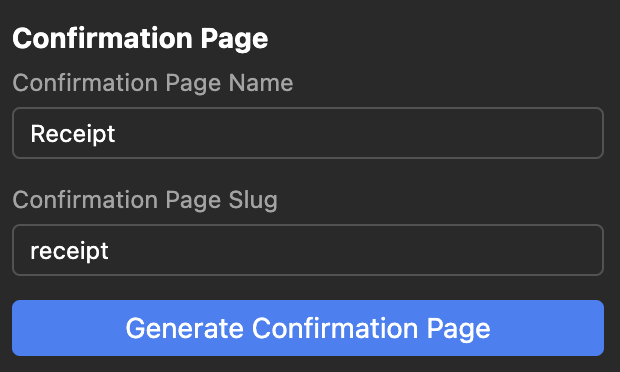
Similar to the CMS collections, Webflow Ecommerce already has pages named “Checkout” and “Confirmation” and CartGenie cannot use these existing pages. So, when following the page guide to generate these pages, be sure to select a new name and slug.
So, when following the page guide to generate these pages, be sure to select a new name and slug.
Here is one suggestion:
Follow the rest of the steps in the guide here to set up your store pages.
We recommend using the CartGenie page templates for products, checkout, and confirmation in order to ensure all required elements are in place. Then, paste in your existing page designs and use your old style classes in the CartGenie template.
However, be sure not to delete any of the CartGenie blocks or custom attributes to ensure the app functions properly.
Alternatively, you can paste in your old page designs and use them as they are by connecting each element to CartGenie using our Designer Extension.
Showcasing products & styling your pages in Webflow
How to customize your store to look exactly like you want
Adding business information to your store
How to add your business info to your store & set your preferences for currency, units, and time zone
Creating Shipping Zones
How to set up shipping methods & determine how much customers pay for shipping
Configuring sales & VAT tax settings
Setting up your store's tax settings
Customizing your email template
How to add your logo and brand colors to your store's order emails
In order for your store to function correctly, you’ll need to add the CartGenie global header script to your Webflow site. You can do this simply by opening our CartGenie Designer Extension in the Webflow designer. Your header script will be added automatically!
Note: You must publish your Webflow site before we can verify the script.
Before linking to your new CartGenie pages in your menu or changing out the products on your homepage, you should test the CartGenie order process.
Publish your new pages and CMS collections in Webflow
On your live site, navigate to a CartGenie product page.
Add the item to cart and go to checkout
Complete a purchase (you can use the test orders feature to not make a real payment)
If everything works smoothly, you’re good to go!
Webflow currently prevents the renaming of Ecommerce collection slugs and page slugs. Therefore, you will need to set up 301 redirects in Webflow to redirect all of your old Ecom pages to your new CartGenie ones.
You can do this by going to your Webflow project settings > Publishing tab and then finding the 301 redirects section.
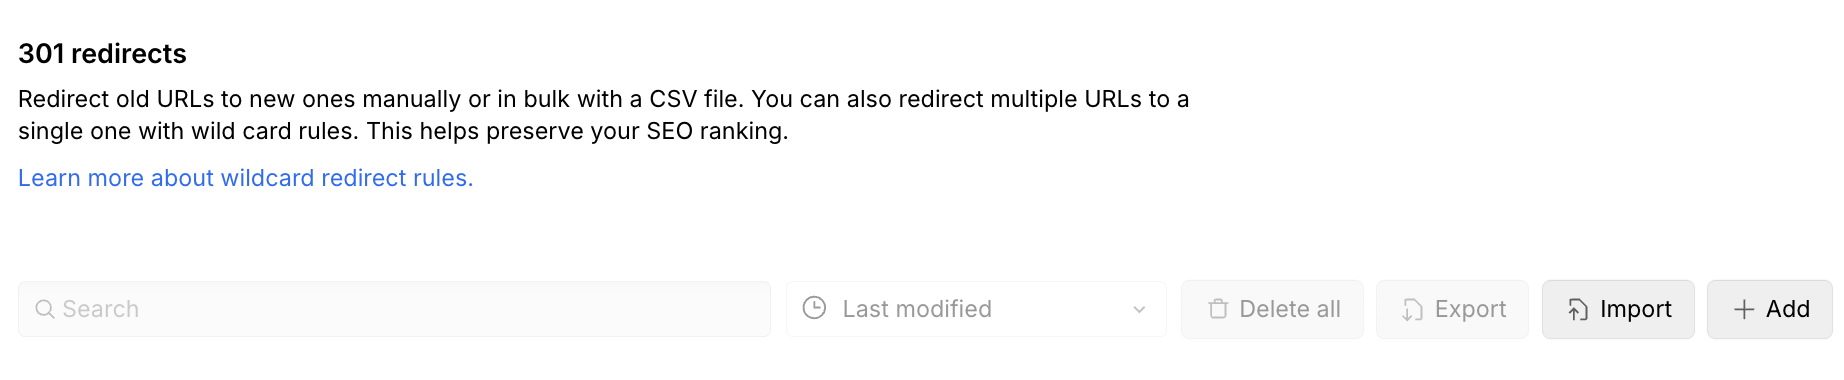
Read our full help guide here:
How to 301 redirect your old products & pages to your new CartGenie URLs
Before you go live, you'll want to redirect all your old products to your new URLs to ensure no broken links & to preserve SEO
